How to Glue Wood Together Without Clamps: 7 Methods That Work
You don’t need C-clamps to glue wood together — weighted objects, rope, tape, or a $12 strap clamp apply the same pressure. Skip pressure entirely, though, and a joint holds only 10-20% of final strength at the 15-minute mark (per Titebond’s own glue specs), so a rushed glue-up can fail under load days later. This guide covers seven clamp-free pressure methods, the zero-tool “rub joint” trick, and exactly how long to wait before stressing the joint.
What You’ll Need
Best Clamp-Free Glue-Up Pick
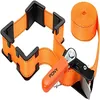
Pony Jorgensen Adjustable Band Clamp – $15.99
The self-locking ratchet handle and 15-ft nylon strap deliver up to 1,000 lb. of clamping force — exactly the even, all-around pressure the Strap Clamp method below describes, without tying a single knot.
- Best for: frames, mitered boxes, and irregular shapes a bar clamp can’t reach around
- Why we picked it: non-marring corner pads and a 15-ft strap cover most glue-ups in this guide
- Main drawback: not rigid enough for edge-jointing long, flat panels
Compare more clamp-free gluing options
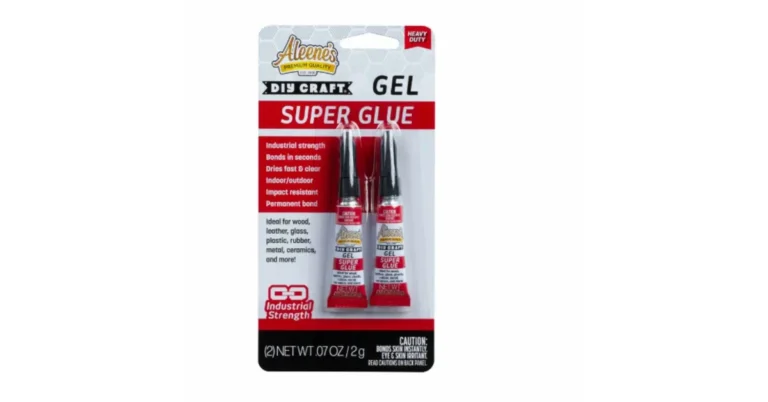
 Option 1 Krazy Glue Fast-Dry Wood Superglue – $6.49
|
 Option 2 Titebond Speed Set Wood Glue – $12.07
|
 Option 3 ScotchBlue Painter’s Tape – $4.49
|
As an Amazon Associate we earn from qualifying purchases.
Any of these seven methods works with ordinary wood glue (PVA) — you just need one pressure source and a few minutes of patience.
- Wood glue (PVA) – Titebond Original, II, or III depending on moisture exposure
- Optional: CA (super) glue + accelerant – only needed for the instant no-wait method below
- One pressure source – weighted objects, rope or cord, a strap clamp, painter’s tape, or scrap wood blocks
- A damp rag for glue squeeze-out
- Wax paper or plastic sheeting to protect your worktable
The Rub Joint Method (No Tools, No Clamps At All)
A rub joint needs nothing but glue and your own hands. Rubbing two freshly glued edges together forces out the air between them, creating a light vacuum that holds the joint under pressure while the glue sets — no rope, weight, or strap required.
This method only works on small glue-ups: edge joints on panels, mitered picture-frame corners, and glue blocks. It is not a substitute for real clamping pressure on large panels or structural joints.
- Mill flat, square edges: Any gap defeats the vacuum seal, so joint the mating edges flat and square first.
- Apply glue thin and even: Spread a thin, even coat of PVA wood glue on both surfaces.
- Press and rub: Push the pieces together and rub them back and forth a few inches, several times, to spread the glue and force out trapped air.
- Align and hold: Slide the pieces to final alignment, then hold without moving for 30–60 seconds while the vacuum sets.
- Let it cure undisturbed: Leave the joint untouched for at least an hour before light handling, and 24 hours before any real stress.
📊 A rub joint holds through plain atmospheric pressure — roughly 14 lb. per square inch once the air is pressed out from between the glued surfaces, enough to seat a glue block or a small edge joint with no clamp at all. Source: Fine Woodworking, 2020
Combine Super Glue With Wood Glue for an Instant Clamp-Free Bond
Add a few drops of thin cyanoacrylate (CA/super) glue between lines of wood glue and you get an instant mechanical hold — the CA glue tacks up in 15–30 seconds and does the clamping job while the wood glue cures underneath it.
- Run lines of wood glue with gaps: apply PVA wood glue in small dabs or lines, leaving bare gaps between them — not one solid coat.
- Drop CA glue into the gaps: add a couple of drops of thin cyanoacrylate glue into the spaces between the wood-glue lines.
- Press and hold 15–30 seconds: press the pieces together firmly and hold them still while the CA glue tacks up.
- Let the wood glue finish curing: set the piece aside — the CA glue holds full pressure on its own while the PVA wood glue cures for 24 hours.
“…the super glue will hold the surfaces firmly together just as clamps would.”
Curious how hot glue stacks up for a truly instant tack? See our guide on whether you can hot glue wood together — it sets faster than CA glue but holds up worse under long-term stress.
Method: Weighted Objects
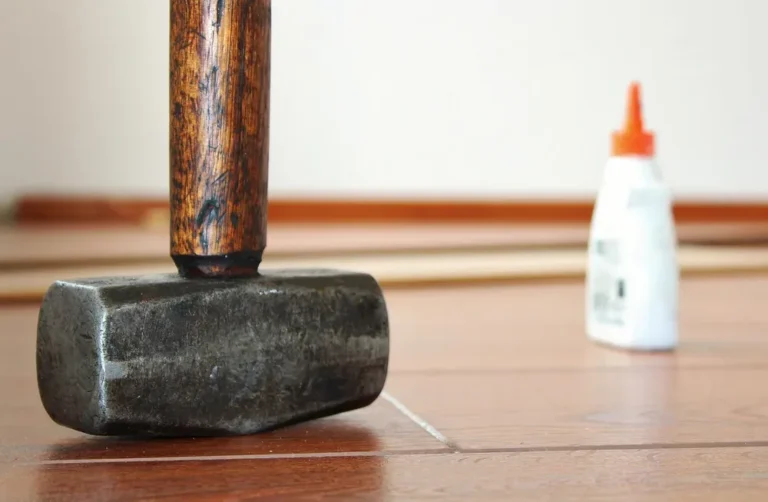
Stacking heavy, evenly-distributed objects on top of a glued joint is the simplest pressure source in this guide — books, bricks, or full paint cans all work, as long as the weight sits flat across the joint rather than tipping to one side.
This works best on flat panel and edge glue-ups where gravity can press straight down on the seam. Slide a scrap board between the weight and your workpiece first, so the weight’s edges don’t dent or mark the wood.
Method: Rope or Cord
Wrap rope or cord tightly around the glued pieces and twist it against itself (a Spanish windlass) to ratchet up the tension. It conforms to irregular or curved shapes a bar clamp can’t reach, and costs nothing if you already have cord on hand.
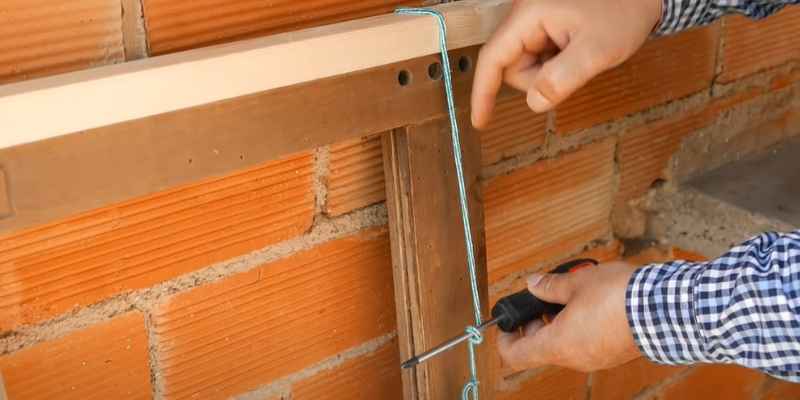
Slip a scrap block under the rope wherever it crosses a corner or edge, so the cord doesn’t bite into the workpiece as you tighten it.
Method: Wood Blocks (Tap Joint)
Scrap wood blocks work as improvised cauls for doweled or mortise-and-tenon joints: apply glue, seat the joint as far as it will go by hand, then tap a scrap block held against the joint with a mallet to drive it the rest of the way home.
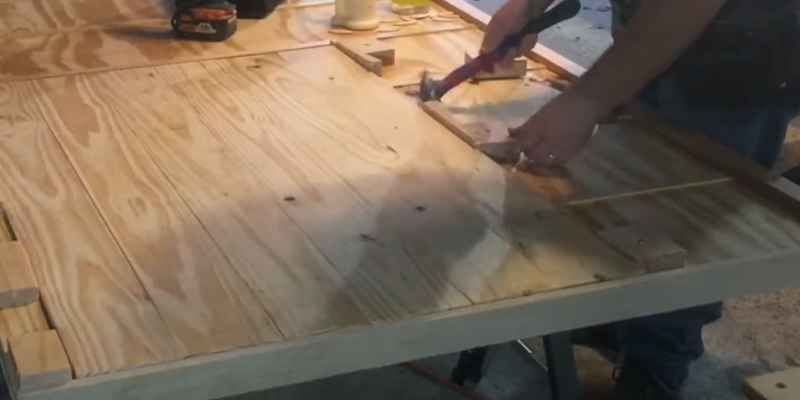
Always tap through a scrap block, never directly on the workpiece — the block spreads the hammer blow out and keeps the mallet from denting or splitting the actual joint.
Method: Strap Clamp
A strap clamp (also called a band clamp) is a long nylon strap with a ratcheting buckle, and it’s the closest clamp-free method actually gets to owning a real clamp — it wraps around frames, mitered boxes, and irregular shapes and tightens evenly from every side at once.
Apply glue, wrap the strap around the assembly with the corner pads at each joint, and ratchet it down until glue just barely squeezes out evenly along every seam. If you need to hold wood steady for tasks beyond gluing — drilling, routing, or sanding — see our full guide to clamping wood without a clamp for methods that go beyond glue-ups.
Method: Painter’s Tape for Delicate or Thin Stock
On veneer, balsa, or other thin material where a clamp’s pressure would crush or dent the wood, blue painter’s tape applies just enough light, even pressure to hold a glued seam flat while it sets, then peels off clean without lifting grain or leaving residue.
Run strips of tape across the joint every inch or two, pulling each one taut as you place it. This won’t generate enough force for anything thicker than a few millimeters — for solid stock, use one of the higher-pressure methods above instead.
Comparison Table: Which Clamp-Free Method Should You Use?
| Method | Pressure | Setup Time | Best For |
|---|---|---|---|
| Rub Joint | ~14 psi (light) | Under 1 min | Glue blocks, small edge joints |
| Super Glue + Wood Glue | Very high, near-instant | 15–30 sec | Any size, fastest full hold |
| Weighted Objects | Moderate, weight-dependent | 1–2 min | Flat panels, edge glue-ups |
| Rope or Cord | Moderate–high, adjustable | 2–5 min | Irregular or curved shapes |
| Wood Blocks (Tap Joint) | High, direct | 3–5 min | Doweled or mortise-and-tenon joints |
| Strap Clamp | High, even on all sides | 1–2 min | Frames, mitered boxes |
| Painter’s Tape | Light | Under 1 min | Veneer, balsa, thin stock |
How Long to Wait Before You Handle or Stress a Glued Joint
Most PVA wood glue needs 10 to 30 minutes of steady pressure to set, and at least 24 hours before the joint should carry any real load or weight. Titebond’s own glue FAQ recommends clamping an unstressed joint for 30 minutes to an hour and waiting a full 24 hours before stressing it — and notes the bond is only 10-20% of its final strength right at the moment you’d normally unclamp it.
For a deeper breakdown of clamp times by glue type and joint, see our guide on how long to clamp wood glue. Source: Titebond glue FAQ.
Mistakes to Avoid When Gluing Wood Without Clamps
- Using rubber bands or tape as the only pressure source on large panels — they don’t generate enough force, and the joint can open back up once the elastic relaxes.
- Wiping glue squeeze-out too late, once it’s already skinned over, which scars the surrounding wood instead of cleaning it.
- Dry-fitting after applying CA glue instead of before — it tacks in seconds, so any adjustment has to happen at the dry-fit stage.
- Handling or stacking a piece before the 24-hour cure window, even though the joint already feels solid at the 15-minute mark.
- Skipping the mallet-and-block tap step on doweled or mortise-and-tenon joints, which leaves a gap a real clamp would normally close.
Not sure whether you even need mechanical fasteners on top of the glue? Our guide on whether you need screws with wood glue covers when a glue-only joint is strong enough on its own.
Frequently Asked Questions
Can you glue wood together without any pressure at all?
No. PVA wood glue is not gap-filling, so joints need pressure while the glue sets. Skipping pressure lets the glue line stay too thick, and the bond ends up noticeably weaker and more likely to fail under stress.
How long do you need to hold wood together without clamps before it’s set?
Most wood glue needs 10 to 30 minutes of steady pressure to set, and at least 24 hours before the joint should be put under real stress. Titebond’s own glue specs note a joint is only 10-20% of full strength at the 15-minute mark, so treat any clamp-free method the same way you’d treat a clamp.
Does super glue actually work as a substitute for wood clamps?
Yes, when combined with wood glue. A few drops of thin CA glue in the gaps between lines of wood glue tack up in 15-30 seconds, holding the joint at full pressure while the slower-curing wood glue does the actual structural bonding.
What household items can I use instead of a clamp?
Heavy books, bricks, or full water jugs; rope or cord twisted for tension; painter’s tape on delicate or thin stock; and rubber bands or bungee cords for small, irregular shapes all apply usable clamping pressure in a pinch.
Is a rub joint strong enough for load-bearing furniture?
Not on its own. A rub joint’s roughly 14 lb. per square inch of atmospheric pressure is enough for small glue blocks and edge-jointed panels, but large or structural joints, like table legs or load-bearing frames, still need real clamping pressure or mechanical fasteners.
Conclusion
Clamps make gluing easier, but they’re not the only way to apply pressure. A rub joint or a couple of drops of super glue solves most small glue-ups instantly, while rope, weights, a strap clamp, or tape cover everything else — as long as you respect the same 24-hour cure window you would with a real clamp.
Sponsored / affiliate links. As an Amazon Associate I earn from qualifying purchases. I may earn additional commission from eligible campaigns.