How to Cut a Formica Countertop Without Chipping
A Formica countertop cuts cleanest with a 60- to 80-tooth carbide blade, a taped, scored cutting line, and the saw run face-down — skip any one and the laminate face chips. A chipped edge on visible laminate exposes the brown substrate underneath and usually cannot be sanded out, so the piece gets replaced. This guide covers circular saw and jigsaw setup, why face-down cutting matters, and how to cut a sink opening in an already-installed countertop.
Why Formica Countertops Chip When You Cut Them
Best Chip-Free Blade Pick

FOXBC 7-1/4″ Ultra Fine Finish 60-Tooth Blade – $16.99
Matches the 60-to-80-tooth range this guide recommends for straight cuts — a direct swap for the stock 24-tooth framing blade that ships with most circular saws.
- Best for: straight cuts on installed or unattached Formica countertops
- Why we picked it: 60-tooth carbide tip lines up with the manufacturer-recommended range above
- Main drawback: too fine for fast framing cuts — keep a separate wood blade for rough work
Compare more chip-free blade options
 Option 1 WEN BL0860 8.25″ 60-Tooth – $14.99
|
 Option 2 DEWALT DW3762H2 Down-Cut Jigsaw Blade – $7.95
|
 Option 3 CRALY 6-1/2″ 60-Tooth Thin Kerf (2-Pack) – $23.99
|
As an Amazon Associate we earn from qualifying purchases.
Chipping happens where the blade exits the laminate face, not where it enters. The thin decorative layer on top has almost no give, so anything that flexes it — a dull blade, too much feed pressure, or an unsupported edge — snaps small chips off the surface instead of shearing cleanly through it.
- Wrong or dull blade: a low tooth-count wood blade tears the resin layer instead of slicing it. A dull blade drags and chips even with a good tooth count.
- Unsupported material: older or poorly installed countertops flex under the saw, and an unbraced cutout (like a sink hole) sags and tears at the edges.
- Rushed technique: pushing the saw too fast doesn’t give the teeth time to shear the laminate — they catch and pop chips loose instead.
Blade Selection: Circular Saw vs. Jigsaw
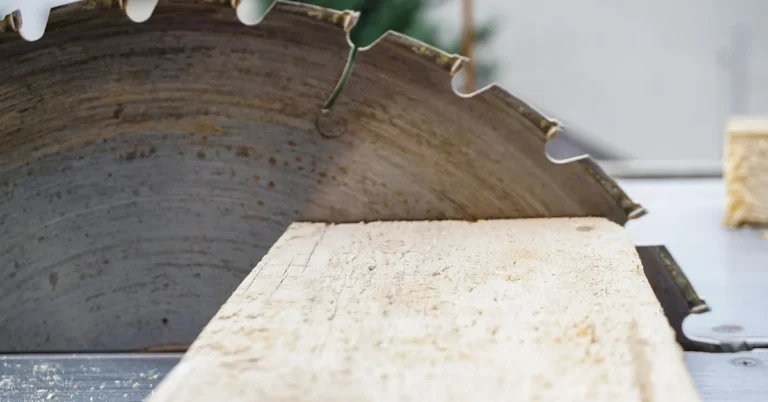
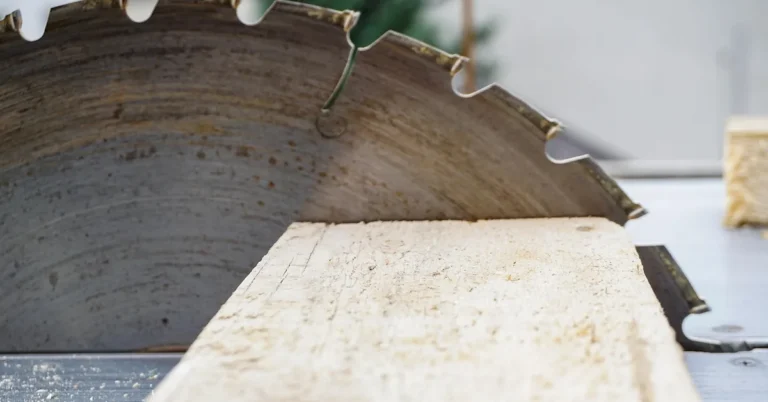
For straight cuts, use a carbide-tipped circular saw blade with 60 to 80 teeth. More teeth means a finer, slower-cutting blade — the extra tooth count is what keeps each individual tooth from taking a big enough bite to chip the surface. A standard 24- or 40-tooth framing blade will chip laminate almost every time, and a blade that’s gone dull will chip it too — if you’re not sure whether yours still has life left, see our guide on how long a circular saw blade should last.
For curves, corners, and sink cutouts, use a jigsaw fitted with a reverse-tooth (down-cut) laminate blade, not a standard wood blade. A normal jigsaw blade cuts on the upstroke, which lifts and splinters the laminate face as the teeth exit through the top. A reverse-tooth blade is ground to cut into the face from underneath instead, so the exit point never sees the teeth — it’s the single biggest fix for jigsaw chip-out and it’s not mentioned on most cutting guides for this material.
📊 A 60-to-80-tooth carbide-tipped blade is the range manufacturers recommend for cutting laminate/Formica without chipping the decorative face — Source: Formica Group, DIY Cutting Guide
Tools You’ll Need
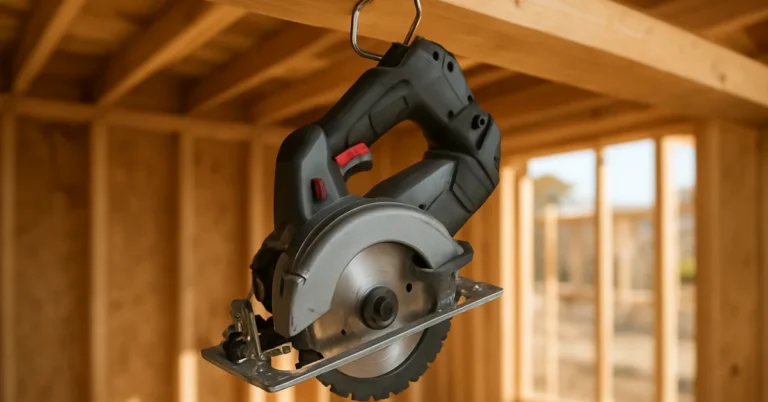
- Circular saw with a 60–80 tooth carbide blade: for straight cuts.
- Jigsaw with a reverse-tooth laminate blade: for curves, corners, and sink cutouts.
- Painter’s or masking tape: laid along the cutting line to reduce splintering.
- Sharp utility knife: to score the face before cutting.
- Clamps and a sacrificial support board: to keep the material from flexing mid-cut.
- Measuring tape and a straightedge: for accurate marking.
How to Cut a Formica Countertop Without Chipping (Step by Step)
These steps apply to both a bare countertop blank and a straight trim cut on an installed top.
- Mark and tape the line: Measure and mark your cut, then run a strip of masking or painter’s tape directly over the line on the finished (top) face. The tape holds the surface fibers together as the blade passes through.
- Score the face: Run a sharp utility knife along the taped line, pressing hard enough to cut through the tape and score the laminate’s top layer. This pre-cuts the fibers so the saw blade doesn’t have to tear them.
- Support the material: Clamp the countertop to a bench and slide a sacrificial board underneath the cut line so the laminate can’t flex or sag as the blade passes through.
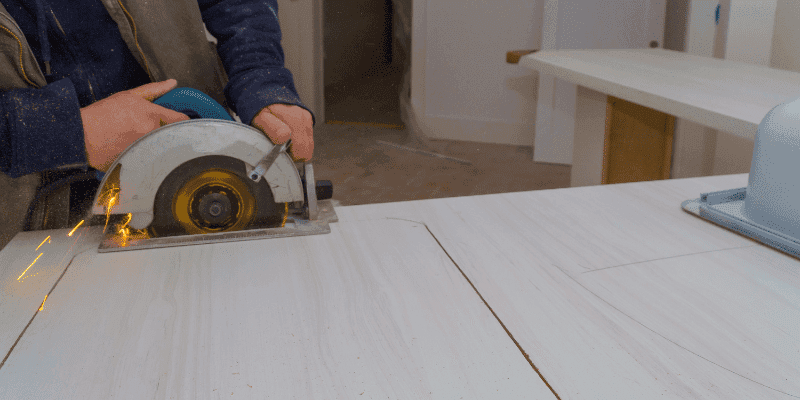
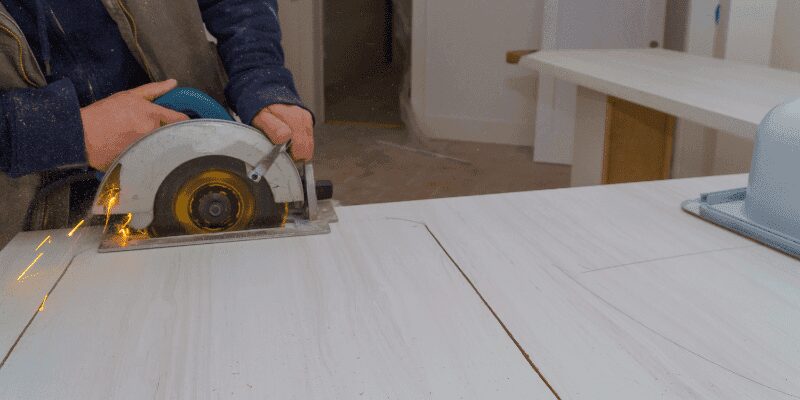
- Cut face-down with a circular saw: For straight cuts, flip the piece so the finished face is down against the saw table, then cut. Electric saws cut in a movement that goes from under the blade to the top, so cutting face-down keeps the exit chipping on the underside, not the visible surface.
- Switch to a jigsaw for curves and cutouts: For corners, curves, or a sink opening, use a jigsaw with a reverse-tooth laminate blade and keep the blade perpendicular to the surface. Cut slowly — let the blade do the work instead of forcing the pace.
- Cut oversized, then trim to fit: Leave the cut about 1/16 to 1/8 inch long on the first pass. A second light trim pass to the exact line is far easier to keep chip-free than trying to hit the final dimension in one cut.
- Sand and remove the tape: Once the cut is complete, peel off the masking tape and lightly sand the new edge with a fine-grit block to knock down any remaining rough spots.
“Electric saws cut in a movement that goes from under the saw to the top. We therefore recommend cutting with the face side down to avoid chipping the laminate.”
Cutting a Sink or Range Cutout in an Installed Countertop
Cutting into a countertop that’s already mounted works the same way, with one addition: brace the cutout area before you cut. Screw a scrap piece of plywood — at least twice as long as the sink or range opening — across the middle of the marked outline with a single screw. That brace stops the cutout section from sagging and tearing away from the surrounding laminate as the jigsaw finishes the cut — the same bracing principle applies to any countertop material around a sink cutout. For the full walkthrough on notching an installed Formica top, including how to trace a sink template and finish the cut edge, see our complete guide to cutting Formica countertops.
Finishing the Cut Edge
Vacuum or wipe away dust and debris before you handle the edge — loose grit trapped against the laminate can scratch the surface during sanding. Wear a dust mask and eye protection while you work.
Clean any adhesive residue with a mild dish soap before applying edge banding: measure the edge, apply a thin layer of adhesive to both surfaces, press the banding on with a laminate roller to remove air bubbles, then trim the excess with a utility knife and smooth it with a file. Sand with light, even pressure — pressing too hard or sanding in one direction only increases the odds of chipping the edge you just cut.

What’s the Best Way to Cut a Formica Countertop?
Use a circular saw with a 60- to 80-tooth carbide blade for straight cuts, cutting with the finished face down. Tape and score the line first, and support the material so it can’t flex while you cut.
What Kind of Saw Do You Use to Cut Formica Countertops?
A circular saw handles straight cuts; a jigsaw with a reverse-tooth laminate blade handles curves, corners, and cutouts. See our full guide to cutting Formica countertops for router and trim-bit options too.
Do You Cut Formica Face Up or Face Down?
Face down for circular saw cuts. Electric saws cut upward through the material, so running the finished face down keeps the exit chipping on the underside instead of the visible surface. For router trim work after the sheet is installed, the face stays up and the cut is made slowly.
How Do You Cut a Countertop Without Chipping It?
Mark and tape the cutting line, score it with a utility knife, then cut face-down with a fine-tooth carbide blade while the material is fully supported underneath. Cut slightly oversized and trim to the final line on a second pass rather than trying to hit the exact dimension in one cut.
Can You Cut a Sink Hole in an Already-Installed Formica Countertop?
Yes. Trace the sink or range template onto masking tape on the countertop, brace the cutout area with a screwed-down scrap board so it can’t sag, and cut the opening with a jigsaw and a reverse-tooth blade, cutting slowly through the corners.
How Do You Cut Formica Sheets Without Chipping Them?
The same tape, score, and blade rules apply to a bare sheet, plus a score-and-snap method for straight cuts on unsupported material. Our guide to cutting Formica without chipping covers sheet-specific techniques like colorcore edging and bending in more depth.
Conclusion
Chip-free Formica cutting comes down to three things: the right tooth count for the tool you’re using, a taped and scored line, and cutting the finished face in the right direction. Get those right and the rest — support, feed rate, a light trim pass — is what makes the edge look professional instead of just acceptable.
Sponsored / affiliate links. As an Amazon Associate I earn from qualifying purchases. I may earn additional commission from eligible campaigns.