How to Cut Plywood With a Table Saw (Without Splintering It)
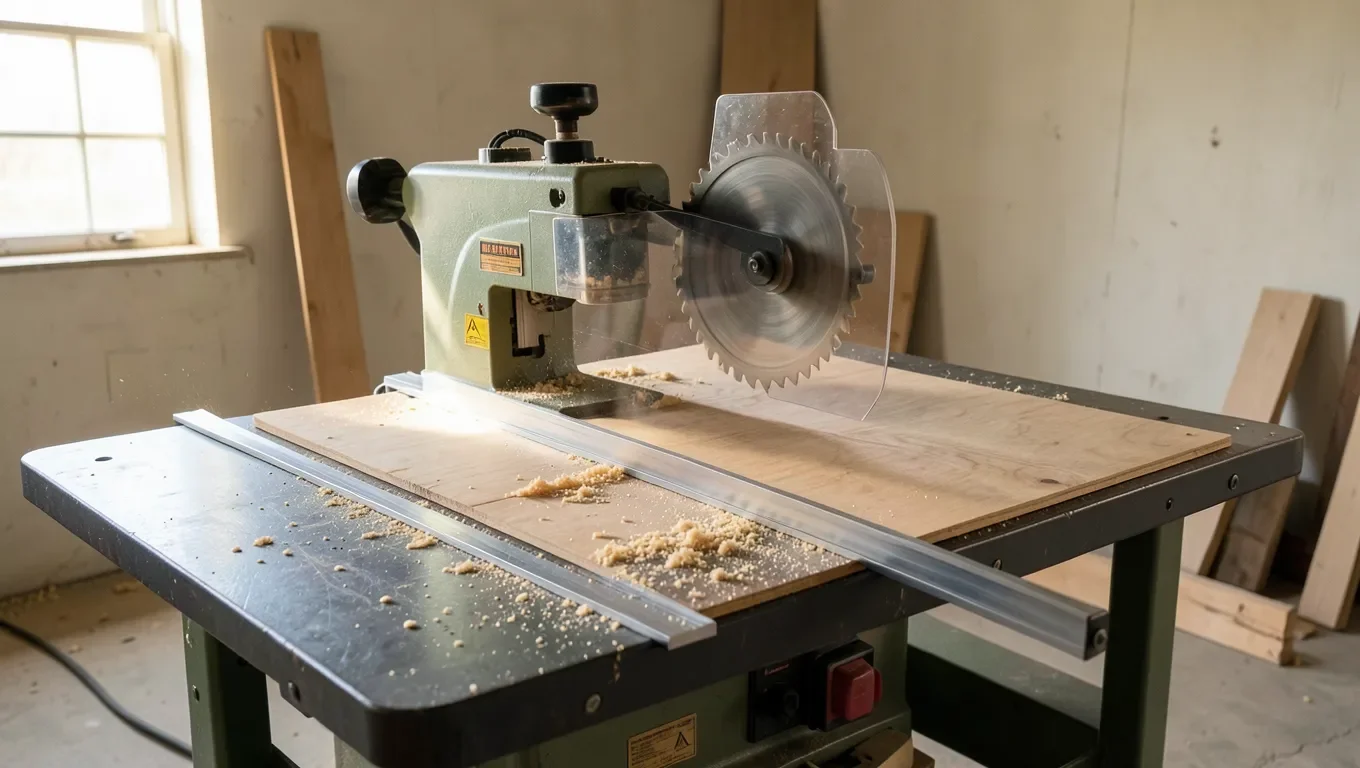
To cut plywood cleanly on a table saw, use a fine-tooth blade (60-80 teeth), set the blade so the teeth clear the plywood surface by about 1/4 to 1/2 inch at the gullet, and support the full sheet on both sides of the cut so it can’t sag into the blade. Get those three things right and most of the splintering, binding, and kickback problems that ruin plywood cuts go away on their own.
Plywood behaves differently than solid lumber under a blade. The thin, cross-grain veneer layers on the face and back are what tear out if the blade or the setup is wrong, and a full 4×8 sheet weighs and flexes enough that “just feed it through” is how kickback happens. This guide covers blade choice, exact blade-height and fence setup, how to break down a full sheet without it binding, and how to handle rip cuts, crosscuts, and bevel cuts specifically on plywood.
The Blade You Need Before You Start
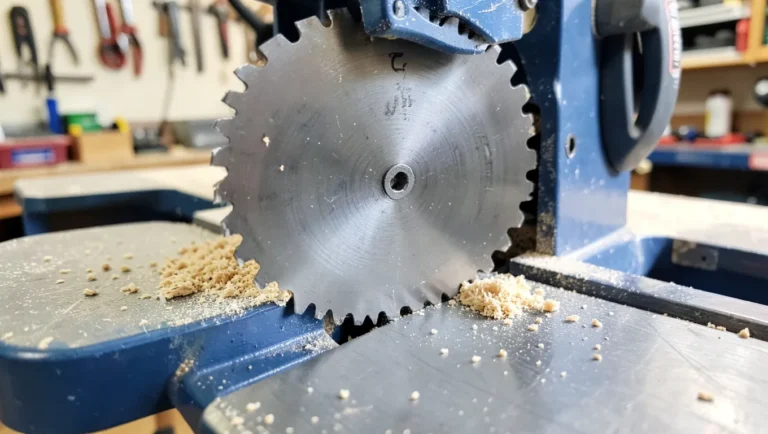
Blade choice matters more for plywood than for solid wood, because plywood tears out along the thin face veneer, not just at the cut line. A standard 24-tooth combination blade rips fast through solid lumber but will chip the top veneer on plywood almost every time. For plywood, you want a high tooth count and the right tooth geometry, and the blade below is the one we’d reach for first.
Best Blade for Clean Plywood Cuts
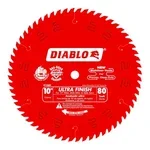 |
Diablo D1080X 10″ 80-Tooth ATB Blade – $65.99 An 80-tooth alternating-top-bevel blade built specifically for chip-free cuts on plywood and veneered panels — exactly the failure point of a standard combination blade.
|
Which blade to reach for actually depends on the cut you’re making, not just “plywood = fine tooth.” Here’s how to pick between the common options:
| Cut Type | Blade to Use | Why |
|---|---|---|
| Rough rip cuts breaking down a full sheet | 24-40 tooth thin-kerf rip or combination blade | Cuts faster and runs cooler; the edge gets trimmed clean later, so tearout here doesn’t matter as much |
| Final rip or crosscut on cabinet-grade plywood | 60-80 tooth alternating-top-bevel (ATB) blade | High tooth count shears the face veneer instead of tearing it |
| Melamine or veneered panels (both faces must stay clean) | 80-100 tooth triple-chip grind (TCG) blade | The flat-topped alternating teeth score both faces before the center of the tooth clears material, which a standard ATB blade can’t do |
Setting Blade Height and the Zero-Clearance Insert
Blade height is where most plywood cuts go wrong before the saw is ever turned on. Set the blade so the teeth clear the top of the plywood by roughly 1/4 to 1/2 inch, measured at the gullet (the gap between teeth), not the tooth tip. Buried too low and the blade struggles and burns; set too high and more tooth surface is exposed above the wood than needed, which increases kickback risk if the material lifts or binds even slightly. That range keeps enough tooth engaged in the cut for control without exposing more blade than the cut requires.
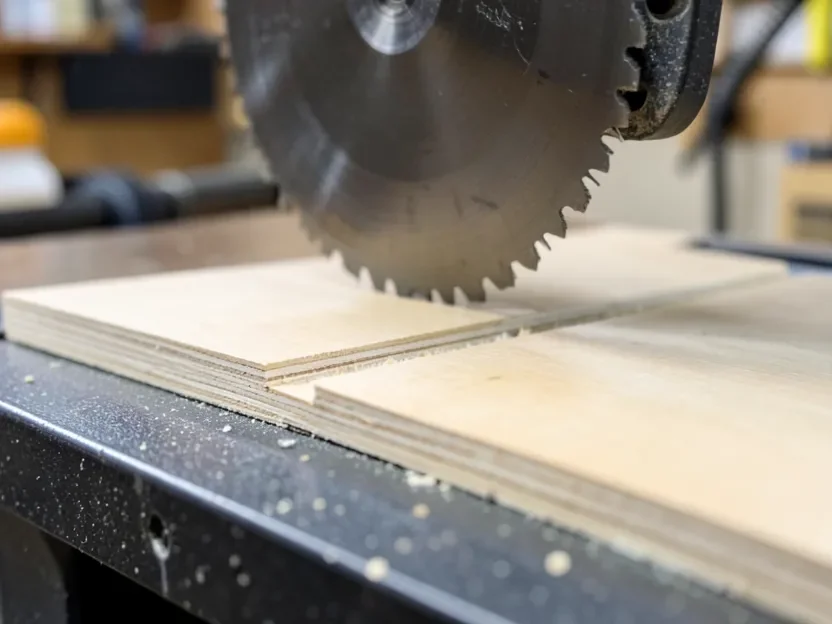
The other change that matters more than most guides mention: swap the stock throat plate for a zero-clearance insert before cutting plywood, or make one from a blank MDF or hardboard insert cut in place by the blade itself. The stock insert has a wide slot cut for angled bevel cuts, which leaves the underside veneer unsupported right at the blade and is a major source of bottom-face splintering that masking tape and scoring alone won’t fully fix. A zero-clearance insert supports the wood fibers on both sides of the kerf all the way to the blade, and it’s a bigger single improvement to cut quality than blade choice alone.
Also confirm the rip fence is parallel to the blade before cutting — even a slightly out-of-parallel fence pinches the offcut against the back of the blade partway through a long rip, which is one of the more common causes of a plywood sheet suddenly binding and kicking back mid-cut.
Ripping a Full 4×8 Sheet Without It Binding
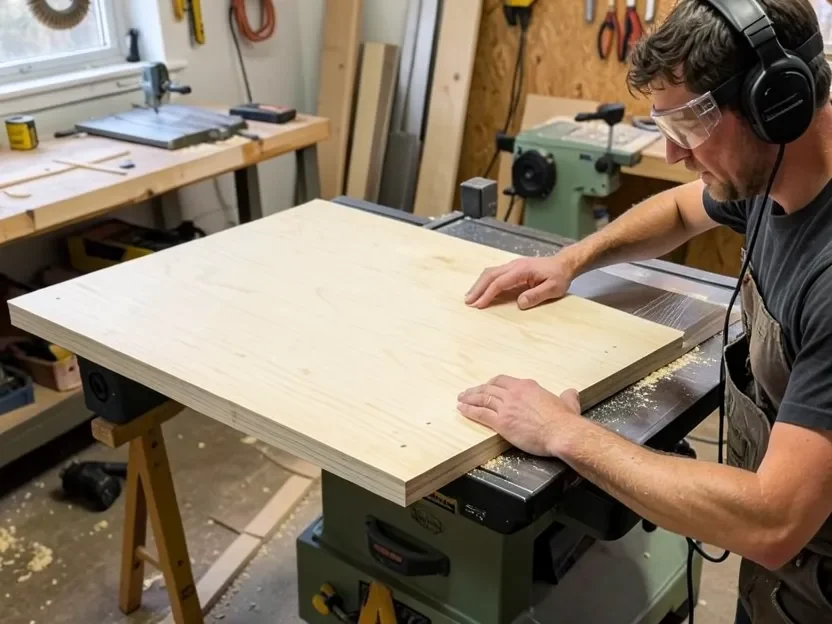
A full sheet of 3/4-inch plywood weighs 60-70 pounds and is roughly 4 feet wide, both of which work against you at a standard table saw with a 24-30 inch table. Trying to muscle a full sheet through alone is how sheets sag, bind against the blade, and kick back.
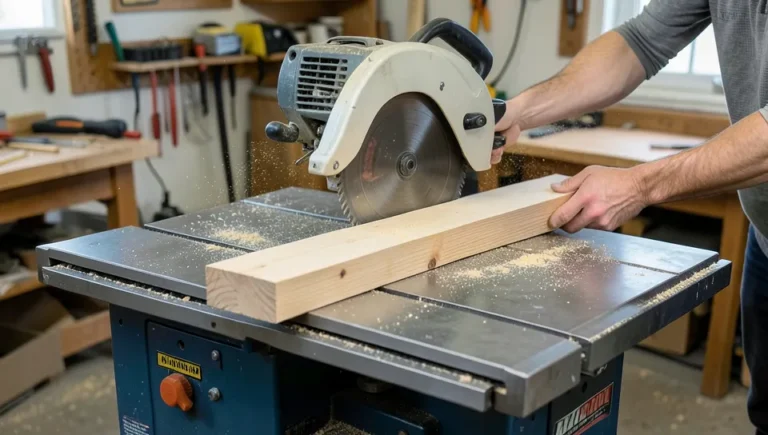
- Support both the infeed and outfeed side. Use roller stands or a second sawhorse set to the exact height of the table saw’s surface on the outfeed side, and a support table or stand on the infeed side. If the trailing edge of the sheet drops even an inch as it clears the table, it can twist and pinch the blade.
- Rough-cut oversized first, then rip to final width. Break a full sheet into rough panels a couple inches oversized with a circular saw or track saw on the floor or on foam supports, then take those smaller, lighter pieces to the table saw for a final, accurate rip. This is standard cabinet-shop practice specifically because full sheets are unwieldy and dangerous to rip straight off the stack.
- Keep the sheet flat against the fence the entire cut. Walking alongside the sheet rather than standing in one spot keeps consistent pressure against the fence instead of letting the trailing end drift.
- Use a push block on the last 12 inches of any rip, keeping hands clear of the blade path entirely once the cut gets close to finishing.
Crosscutting and Cutting a Sheet in Half
Crosscutting plywood (cutting across the shorter dimension, including cutting a sheet in half) uses the miter gauge or a crosscut sled instead of the rip fence, since guiding a wide panel through with only the miter gauge for a long crosscut gives it too much room to wander. For a full sheet cut in half at 4 feet, most shops still make that initial breakdown cut with a circular saw and a straightedge guide on the floor or on foam supports, simply because a 4-foot-wide crosscut is awkward and heavy to control safely on most home-shop table saws. Once the piece is down to a manageable size, finish it square on the table saw with a crosscut sled.
If you’re regularly crosscutting full sheets rather than just ripping them, our guide to crosscutting plywood on a table saw covers sled setup and blade choice for that cut specifically.
Making Angled and Bevel Cuts in Plywood
For an angled cut across the face of the sheet (not tilted through the thickness), set the miter gauge or crosscut sled to the desired angle rather than trying to freehand the plywood through at an angle against the fence — freehanding an angled cut without a fence or guide is one of the more common ways to get inconsistent kickback on a table saw. For a bevel cut, where the blade itself tilts to cut through the thickness at an angle, tilt the arbor to the specified angle, re-check that the blade height at the new angle still clears the material by the same 1/4 to 1/2 inch rule, and make a test cut in scrap first since a tilted blade changes both the exposed blade height and the kerf width. Bevel cuts on plywood are also where zero-clearance inserts matter most, since the stock insert’s slot is cut for 0 degrees and won’t support the material properly once the blade is tilted.
Fixing Tearout, Splintering, and Warped Sheets
- Tearout on the top face: Usually a dull blade or too few teeth. Switch to the 60-80 tooth ATB blade above, or score along the cut line with a utility knife before cutting to sever the surface veneer fibers ahead of the blade.
- Splintering on the bottom face: This is almost always a throat-plate problem, not a blade problem — install a zero-clearance insert as described earlier. Painter’s tape over the cut line helps on a stock insert but won’t fully fix it the way a zero-clearance insert does.
- Warped or bowed sheets: Never force a warped sheet flat with hand pressure while it’s feeding into the blade — that stored tension is a direct kickback risk if the sheet springs as it clears the blade. Support the full length with roller stands set to match the sheet’s bow, or let a helper support the far end so it stays flat under its own weight rather than under force.
Table Saw vs. Other Tools for This Job
A table saw gives the straightest, most repeatable cuts once a sheet is broken down to a manageable size, but a track saw is genuinely the better tool for the very first rip on a full, unbroken 4×8 sheet, since it cuts the sheet flat on the floor or on foam supports without needing to lift and feed 60+ pounds through a fence. Many shops use both: track saw for the initial breakdown, table saw for final, precise dimensioning. If your project needs plywood cut to a specific size and you’d rather skip the table saw setup entirely, our plywood cut-to-size guide compares in-store cutting costs against doing it yourself.
One more distinction worth knowing: a table saw’s carbide-tipped wood blades are not rated to cut metal, even thin sheet metal or fasteners buried in reclaimed lumber. If that’s ever a question on a project, see whether a table saw can cut metal for which blades actually handle that safely.
Frequently Asked Questions On How To Cut Plywood With A Table Saw
How high should the blade be above the plywood?
Set the blade so the teeth clear the top of the plywood by about 1/4 to 1/2 inch, measured at the gullet between the teeth. Buried too low, the blade struggles and burns; too high exposes more blade than the cut needs.
Can you cut plywood in half with a table saw?
Yes, but a 4-foot-wide crosscut on a full sheet is awkward to control safely on most home-shop table saws. Most shops make that initial cut with a circular saw and a straightedge guide first, then square up the halves on the table saw once they’re a more manageable size.
What blade gives the cleanest cut in plywood?
A 60-80 tooth alternating-top-bevel (ATB) blade for general plywood, or an 80-100 tooth triple-chip grind (TCG) blade if both faces are veneered or melamine-coated and need to stay clean. A standard 24-tooth combination blade will chip the face veneer.
How do I make an angled or beveled cut in plywood on a table saw?
For an angled cut across the face, use the miter gauge or a crosscut sled set to the angle rather than freehanding the sheet against the fence. For a bevel through the thickness, tilt the arbor, re-check blade height at the new angle, and test in scrap first since tilting changes both the exposed blade height and the kerf.
Why does my plywood splinter on the bottom face even with a good blade?
That’s almost always the stock throat plate, not the blade. Its wider slot leaves the underside veneer unsupported right at the cut. Installing a zero-clearance insert supports the fibers on both sides of the kerf and fixes most bottom-face splintering that tape alone won’t.
Conclusion
Clean plywood cuts come down to three repeatable things: the right tooth count for the cut you’re making, blade height held to 1/4-1/2 inch above the material at the gullet, and real support under the sheet so it can’t sag or bind. Add a zero-clearance insert and those cuts get noticeably cleaner on both faces, not just the top. Get the setup right once and it carries over to every sheet after it.
Sponsored / affiliate links. As an Amazon Associate I earn from qualifying purchases. I may earn additional commission from eligible campaigns.