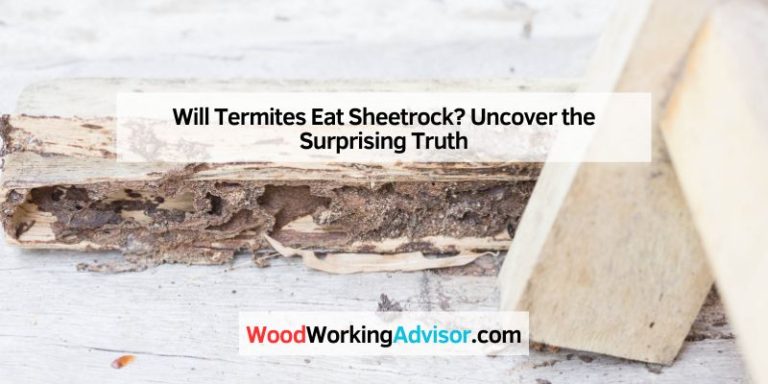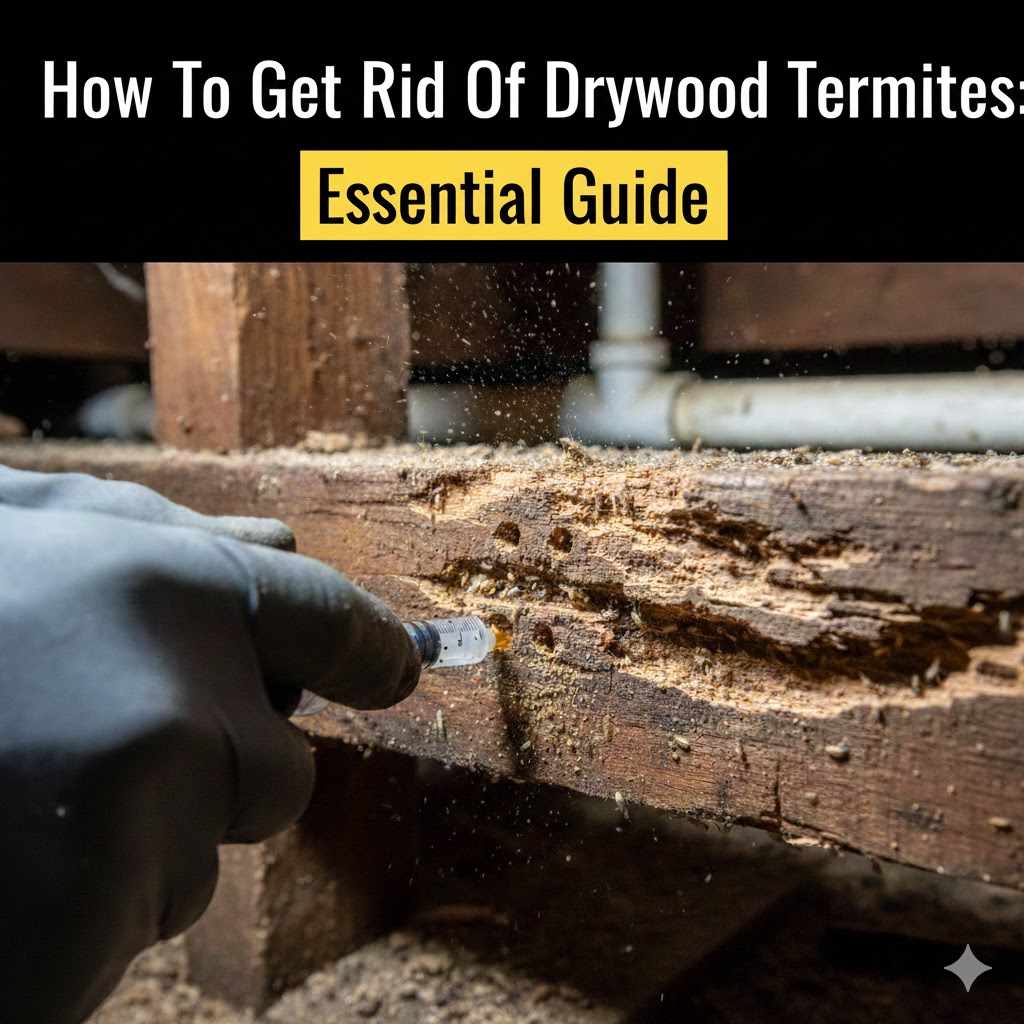
How To Get Rid Of Drywood Termites: Essential Guide
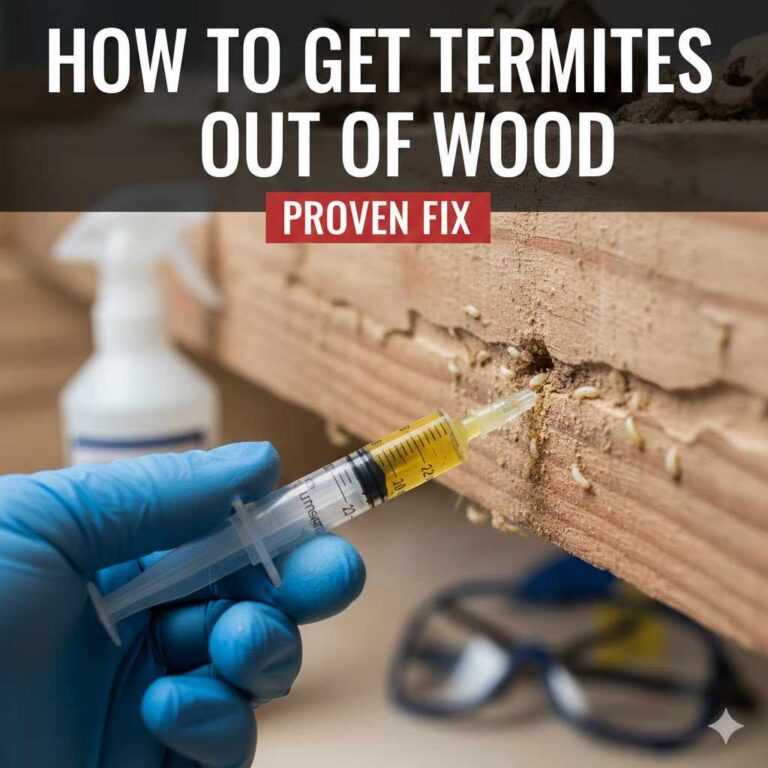
To effectively get rid of drywood termites, start with visual inspection to locate the infestation signs like “frass” (tiny pellets). For small areas, use direct injection insecticide treatments. For larger, established colonies, professional whole-structure heat treatment is the safest and most comprehensive DIY-alternative solution.
Finding unwelcome, wood-eating guests in your home’s structure can feel incredibly unsettling. If you suspect termites, the first step is staying calm. Unlike their subterranean cousins, drywood termites live entirely inside the wood they consume, making them harder to spot at first. You are not alone in this, and with a clear plan, you can manage this problem effectively. This guide, straight from my workshop experience, breaks down exactly what drywood termites are and the best, easiest ways to reclaim your woodwork safely.
We will walk through identifying the signs, exploring effective DIY treatments for small jobs, and understanding when it is time to call in the professionals. Let’s make sure your wood projects stay sturdy for years to come!
Understanding Drywood Termites: What Makes Them Different?
Before we tackle getting rid of them, we need to know our enemy. Drywood termites are different from subterranean termites, the kind that tunnels up from the soil. These critters don’t need contact with the ground. They can set up shop entirely within your furniture, wall studs, or beams, making identification tricky for beginners.
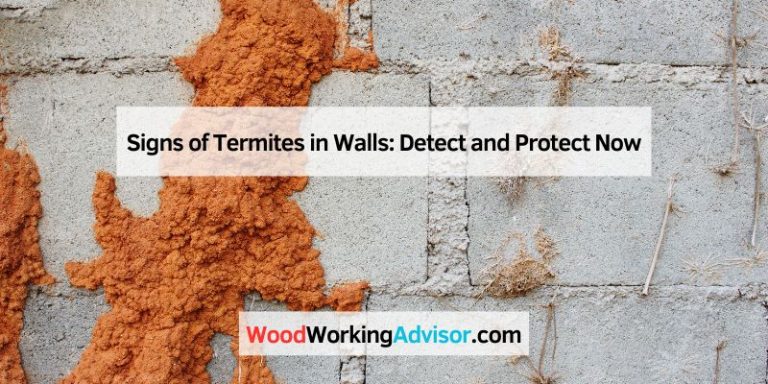
Signs of Drywood Termite Infestation
Since they stay hidden, you need to look for specific clues. Think of it like inspecting lumber for defects before you start a big build—look closely!
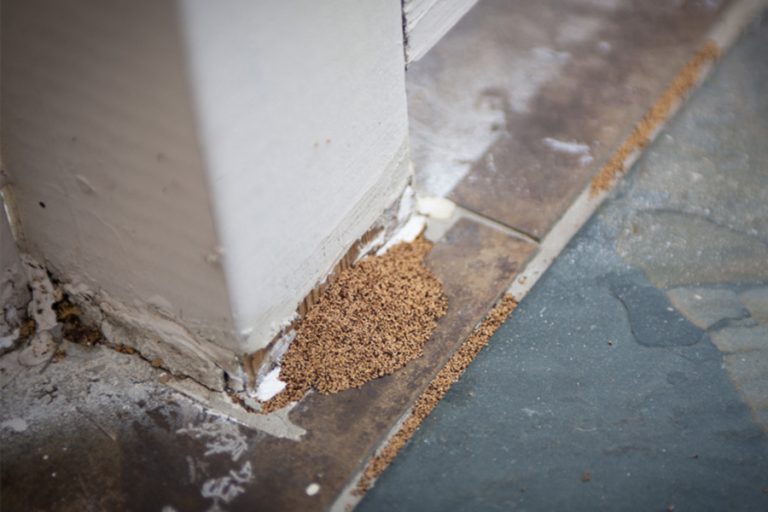
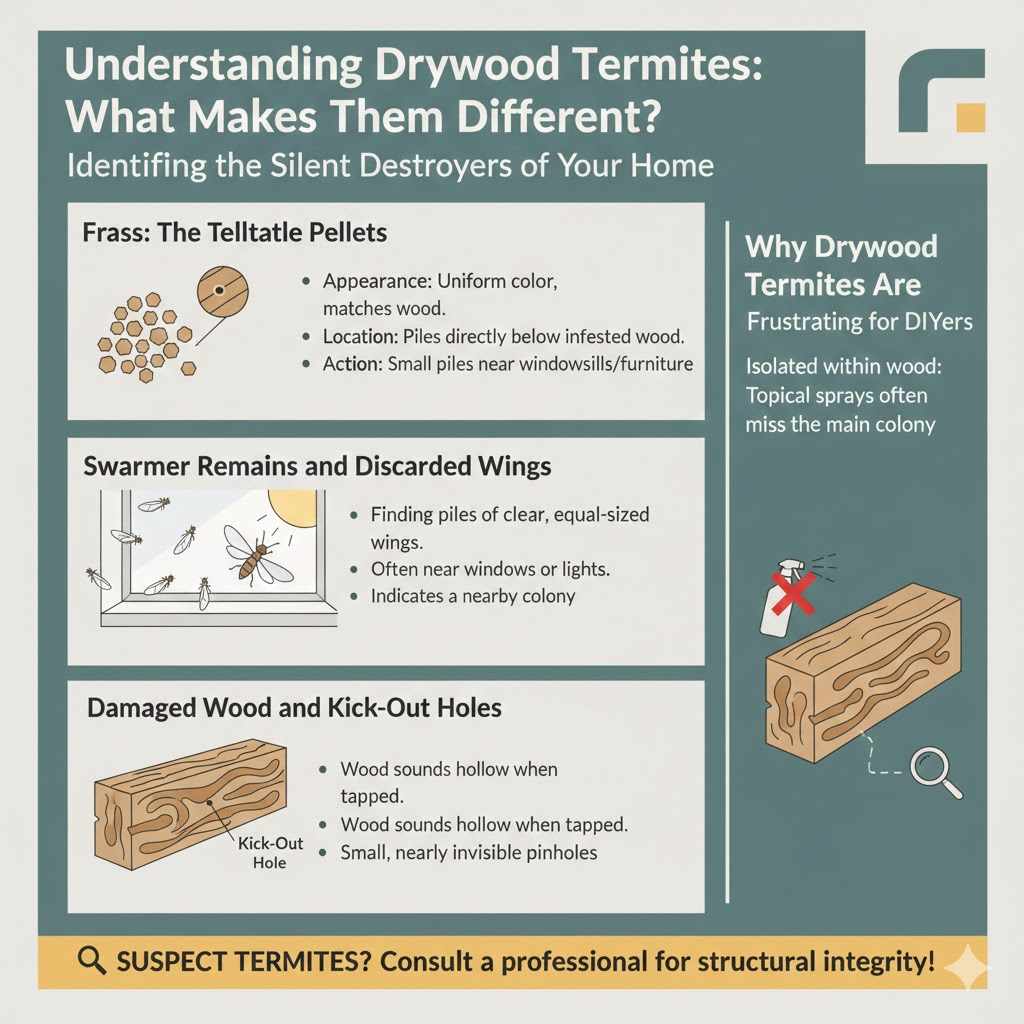
Frass: The Telltale Pellets
This is the number one sign. Drywood termites chew wood and push out tiny, hard fecal pellets, often called “frass.” These look like fine sand or sawdust but are hexagonal (six-sided) when viewed under magnification. They often kick the frass out of small “kick-out holes” in the wood, creating tiny piles underneath.
- Appearance: Usually uniform in color, matching the wood they are eating.
- Location: Piles will appear directly below the infested wood section.
- Action: If you see small piles of sand-like material near wooden structures (windowsills, baseboards, wooden furniture), investigate that area closely.
Swarmer Remains and Discarded Wings
Occasionally, the mature termites (alates) will swarm out to mate and start new colonies. After swarming, they shed their wings near windows or lights. Finding piles of discarded, translucent wings can mean a colony is present nearby.
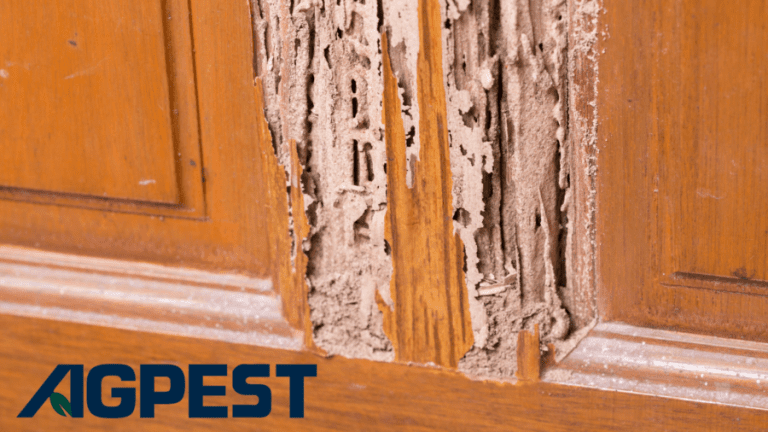
Damaged Wood and Kick-Out Holes
The wood itself might look solid from the outside, but often, there will be small, nearly invisible pinholes (kick-out holes) on the surface where the frass is ejected. Tapping on the wood might sound hollow or dull compared to unaffected areas.
Why Drywood Termites Are Frustrating for DIYers
Because they are isolated within the wood members, topical sprays often miss the main colony. It’s like treating a small chip on a board when the deep rot is in the core. This requires precise application methods or significant intervention.
Initial Steps: Identification and Safety
Before reaching for any chemical or tool, take a moment to confirm your suspicions and prepare safely. As a craftsman, I always stress preparation—it saves time and frustration later.
Confirming the Type of Termite
While this guide focuses on drywood termites, it is vital to distinguish them from subterranean termites, as treatment methods are vastly different. Subterranean termites rely on moisture and mud tubes; drywood termites do not need mud tubes.
If you find tubes running up your foundation walls, you likely have the subterranean variety. For definitive confirmation, especially in larger homes, consulting a pest control expert (often backed by university extension services) is wise. Resources like your local university extension office, such as those provided by UC IPM, offer excellent diagnostic help.
Essential Safety Precaution Before Treating
Whether you use natural or chemical solutions, safety gear is non-negotiable. You are working in your home, and protection is paramount.
- Gloves: Use chemical-resistant gloves (nitrile or heavy-duty rubber) appropriate for the product you apply.
- Eye Protection: Always wear safety goggles to protect against sprays, dusts, or accidental splashes.
- Ventilation: If treating indoors, open windows and use fans to ensure good airflow, even with low-odor treatments.
- Read the Label: This is the most critical step. Every pesticide product has a label with mandatory usage instructions, mixing ratios, and safety warnings. Never ignore the label.
DIY Treatment Options for Localized Infestations
If the evidence points to a small, manageable area—perhaps a piece of furniture, a single door frame, or a section of trim—direct treatment can be effective. The key here is precision; we need the treatment directly in the tunnels where the termites are living.
Option 1: Direct Injection with Insecticide Dusts
This is often the most successful DIY route for established, localized drywood colonies. The idea is to drill a tiny hole into the infested wood and puff insecticide dust directly into the galleries (tunnels).
Tools and Materials for Dusting
- Low-power drill with a small bit (1/16 inch to 1/8 inch).
- A specialized applicator duster (a bellows duster or bulb duster).
- Approved insecticide dust (e.g., boric acid dust or pyrethroid-based dusts formulated for termites).
Step-by-Step Dust Application
- Locate Galleries: Look for kick-out holes. If you find frass piles, these holes are usually nearby.
- Drill Injection Points: Drill small holes (about 1 to 1.5 inches apart) directly into the visible signs of damage or near the cluster of kick-out holes. Drill toward the center of the suspect area.
- Apply the Dust: Load your duster with the approved insecticide dust. Insert the tip of the duster into the drilled hole and apply one or two very light puffs. You want just enough dust to coat the interior surfaces of the tunnel; over-application can cause the termites to just move deeper.
- Seal the Holes (Optional but Recommended): Once treated, you can lightly plug the holes with wood putty or a small wooden dowel coated in glue. This prevents re-entry and hides the work.
- Monitor: Since this treatment is highly localized, watch the area for the next few months for any sign of new frass activity.
Option 2: Borate Treatments for Prevention and Surface Kill
Borate treatments, often sold as liquid sprays containing disodium octaborate tetrahydrate (DOT), are excellent wood preservatives and can kill termites on contact or if they ingest the treated wood fiber. These are often used on unfinished wood or after sanding away damaged surface layers.
Important Note: Borates typically work best on unfinished wood. If the wood is painted or heavily varnished, the liquid borate may not penetrate sufficiently to reach deep galleries. This works better for treating framing or bare lumber surfaces.
| Method | Best Use Case | Pros | Cons |
|---|---|---|---|
| Insecticide Dust Injection | Established, deep galleries in solid wood (e.g., window frames, beams). | High efficacy if applied correctly; targets active tunnels. | Requires drilling; only treats localized spots. |
| Borate Liquid Treatment | Bare/unfinished wood surfaces or preventative treatment on high-risk areas. | Low toxicity to humans/pets when dry; provides long-term fungal/insect resistance. | Requires surface access; poor penetration through paint/sealants. |
| Direct Contact Sprays | Termites spotted swarming or crawling externally. | Fast knockdown for visible insects. | Does not kill hidden colonies; purely surface treatment. |
Using Non-Chemical Approaches: Heat and Cold
For valuable items like furniture or books infested by drywood termites, non-chemical methods are ideal:
- Heat Treatment: Drywood termites die quickly when exposed to high heat. For movable items, you can place the infested object into a specialized drying kiln or heat chamber that brings the core temperature to at least 135°F (57°C) and holds it there for several hours. This is often done by professional restoration companies.
- Cold Treatment: If you live in a region that experiences sustained freezing temperatures, you can place smaller, movable items in a sealed, insulated area and allow the temperature to drop below 15°F (-9°C) for at least 72 hours. Ensure the item remains consistently cold throughout the process.
Remember, these cold/heat treatments only work if the entire object reaches the lethal temperature.
When DIY Stops: The Need for Professional Intervention
If you have large infestations spanning multiple rooms, are treating structural components like load-bearing beams, or if your DIY efforts fail to stop the return of frass, it is time to call the pros. Treating the entire house yourself can be ineffective and potentially hazardous if improper chemicals are used on a large scale.
Recognizing a Major Infestation
How do you know it’s beyond the scope of your toolbox? Look for these red flags:
- Widespread Activity: You find signs of frass or damage in three or more distinct areas or rooms.
- Structural Compromise: You hear squeaks, notice sagging floorboards, or see bowing door/window frames.
- Large Swarms: Numerous termite swarmers appear simultaneously in different parts of the house.
The Gold Standard: Whole-Structure Heat Treatment
For drywood termites, heat treatment is the preferred professional method because it eradicates the infestation everywhere at once without massive chemical use inside the structure.
In this process, professional applicators set up massive tarps around the entire structure. Powerful heaters raise the ambient air temperature slowly until the internal temperature of all wood members (including furniture and hidden beams) reaches and maintains a temperature lethal to termites for a set duration. It’s thorough, environmentally focused compared to large-scale fumigation, and highly effective.
Comparing Heat vs. Fumigation
Fumigation (using gasses like sulfuryl fluoride) is also highly effective for drywood termites, especially for deeply entrenched, inaccessible colonies. However, many homeowners prefer heat treatment:
| Factor | Heat Treatment | Fumigation (Tenting) |
|---|---|---|
| Chemical Exposure | Minimal to none inside the home. | The structure is sealed, and poisonous gas permeates everything. |
| Prep Work Required | Limited; remove heat-sensitive items (like certain plants or vinyl siding). | Extensive; must remove all food, plants, pets, and sensitive electronics. |
| Speed | Usually 1 day treatment and cooling period. | Requires setup, 2-3 day treatment period, plus aeration time. |
| Effectiveness on Drywood | Extremely high when target temperatures are reached. | Extremely high penetration power. |
When you call a professional, always ask for a written report detailing which method they recommend for your specific findings and why. This transparency helps you make an informed choice.
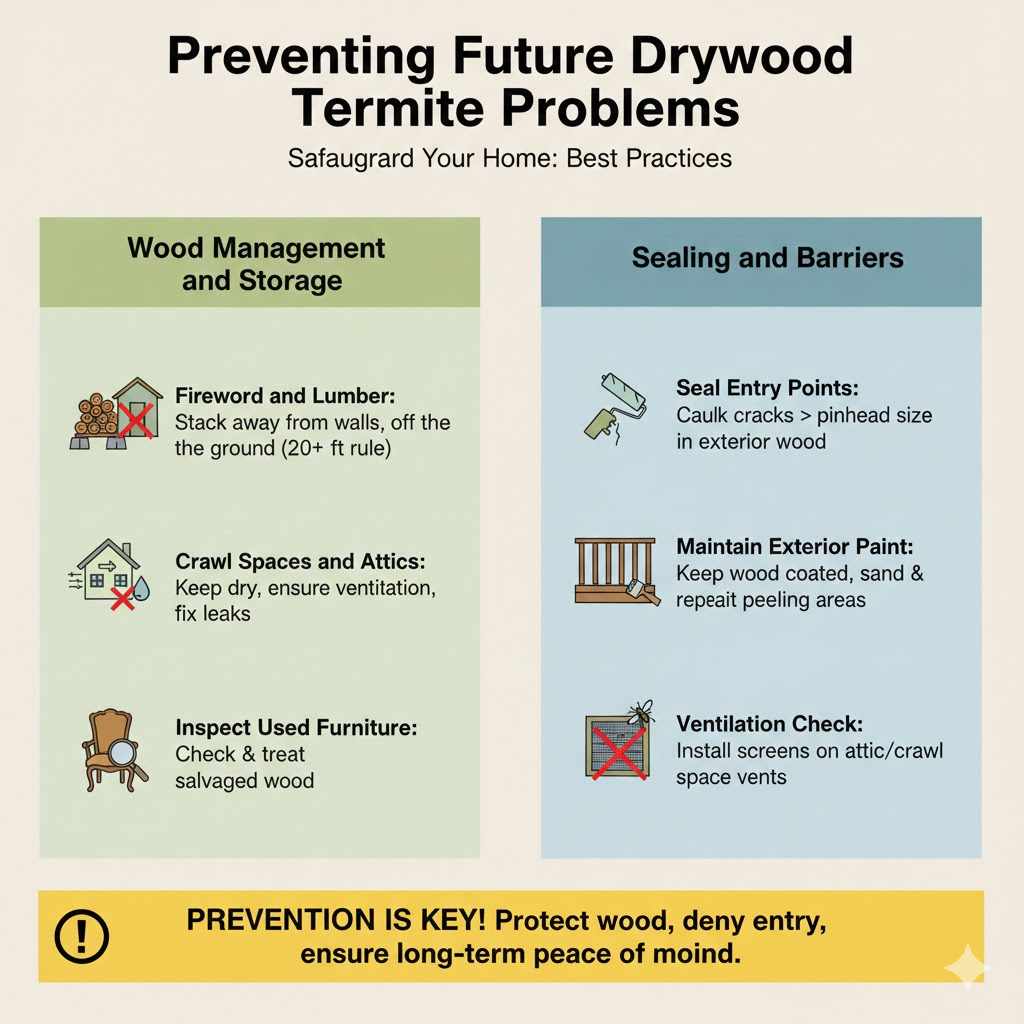
Preventing Future Drywood Termite Problems
Once the immediate threat is gone, think like a craftsman safeguarding their finest work. Prevention is much easier than remediation. Since drywood termites come from outside, often transported in infested wood or through swarmers looking for dry lumber, controlling moisture and wood contact is key.
Wood Management and Storage Best Practices
Keep potential food sources away from your foundation and inspect them carefully:
- Firewood and Lumber: Never stack firewood or spare lumber directly against the exterior walls of your home or garage. Keep it stacked neatly off the ground (using risers or concrete blocks) and away from the structure by at least 20 feet, if possible.
- Crawl Spaces and Attics: Ensure these areas are dry. Drywood termites do not require soil contact, but excess moisture from poor ventilation can lead to wood decay, making it more susceptible to future infestations. Check roofing and plumbing for leaks immediately.
- Inspect Used Furniture: If you bring antique wooden furniture or salvaged wood into your home, treat it as suspect until you have thoroughly inspected it or had it treated, especially if it came from a humid or known infested area.
Sealing and Barriers
Because these termites tunnel directly into wood, denying them entry points is crucial.
- Seal Entry Points: Inspect the exterior siding, window frames, and door casings. Use quality exterior caulk to seal any cracks or openings larger than a pinhead, paying special attention where dissimilar materials meet (wood to siding, wood to masonry).
- Maintain Exterior Paint: Ensure that all exterior wood—decks, railings, trim—is properly painted, stained, or sealed. A good coating acts as a physical barrier against direct contact and intrusion. Sand and repaint flaking or peeling surfaces immediately.
- Ventilation Check: Install proper screens on attic and crawl space vents to prevent flying swarmers from entering vulnerable, high-up wood areas.
By minimizing direct access to untreated wood and keeping exterior wood barriers intact, you make your home a less appealing target. Remember, maintaining wood is like finishing a good project—it protects the investment!
Frequently Asked Questions (FAQs) for Beginners
Q1: Can I use diesel fuel or kerosene to treat termites?
A: No, this is dangerous, ineffective long-term, and highly discouraged. Flammable liquids pose a serious fire risk inside your walls and are toxic to you and your family. Stick to EPA-approved products specifically labeled for termite treatment.
Q2: How long does it take for drywood termites to destroy a house?
A: Drywood termites work much slower than subterranean termites. A colony might take many years, sometimes decades, to cause significant structural damage, provided they are not spreading rapidly. However, early treatment is always best to avoid any risk.
Q3: I see small holes with dust piles. Is that definitely a drywood termite sign?
A: That’s a very strong indicator! While carpenter ants can sometimes leave debris, the hard, six-sided pellets (frass) are characteristic of drywood termites. Always confirm by inspecting the “dust” closely.
Q4: Will bleach or vinegar kill a drywood termite colony?
A: Household chemicals like bleach or vinegar might kill a few termites they directly contact, but they lack the necessary residual effect and penetration power to eliminate an entire hidden colony within the wood galleries. They evaporate too quickly or don’t soak deep enough.
Q5: Do I need to tent the house if I find a small infestation in one beam?
A: Not necessarily. If you are absolutely certain the infestation is localized to one accessible area (like a window sill or one non-load-bearing section), direct injection treatment (dusting) may suffice. If the beam is structural or if you cannot find all the kick-out holes, call an inspector to check for satellite colonies elsewhere.
Q6: How can I check new wood furniture for termites before bringing it inside?
A: When inspecting furniture, especially antiques or reclaimed wood, look for small pinholes, dark residue around seams, or faint piles of frass in crevices. If possible, look underneath or behind pieces, as the rear surfaces are less frequently examined.
Conclusion: Staying Vigilant and Confident
Tackling drywood termites can seem daunting when you first spot those tiny piles of frass. However, you now have the roadmap to manage this issue confidently. Remember the core difference: drywood termites are isolated within the wood they eat.
For small outbreaks, precision dusting provides a highly effective DIY solution. By aiming your treatment directly into the termite’s home using the proper tools and safety gear, you can often stop the infestation in its tracks. If the problem spans large sections of your home, calling in a specialist for thorough heat treatment is the wisest investment in protecting your property’s structure and longevity. Keep up your inspections, maintain your wood finishes, and enjoy the satisfaction of protecting your home the smart way!