How to Keep Paint From Peeling Off Cabinets: 5 Causes & Fixes
Paint peels off cabinets when grease and gloss aren’t fully removed before painting — skipping a degreaser or primer, not the paint brand, is the top cause. Skip deglossing on laminate or varnished doors and paint can lift within weeks, even with a quality quart. This guide covers the five real causes of peeling, a cause-to-fix table, and the degrease-sand-prime sequence that stops it for good.
Disclosure: This post contains Amazon affiliate links. As an Amazon Associate we earn from qualifying purchases, at no extra cost to you.
Preparation Steps For Painting Cabinets
Best Peeling-Prevention Primer Pick
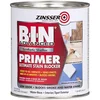
Zinsser B-I-N Shellac-Base Primer & Sealer, Quart
A shellac-based primer that bonds to slick, glossy, or laminate cabinet doors — the surface type that causes most peeling complaints.
- Best for: sealing glossy, laminate, or previously varnished cabinet doors so new paint actually bonds
- Why we picked it: shellac sticks to slick factory finishes without heavy sanding — the direct fix for adhesion-based peeling
- Main drawback: strong solvent odor and requires denatured alcohol for cleanup, so ventilate the workspace
Compare more cabinet paint-prep options
 Option 1 Krud Kutter Gloss-Off Deglosser, 32 oz
|
 Option 2 Heirloom Traditions Deglosser Prep Wipes, 40-Count
|
 Option 3 Minwax Polycrylic Protective Finish, Satin, Quart
|
As an Amazon Associate we earn from qualifying purchases.
Proper preparation stops peeling before it starts. The three non-negotiable steps are cleaning, sanding, and priming — skip any one of them and the paint sits on top of the old surface instead of bonding to it, which is exactly how peeling begins. Each step below feeds into the next, so follow them in order and let each one fully dry before moving on.
Cleaning the Cabinets
Grease, cooking residue, and dirt left on the surface is the single most common reason cabinet paint fails — paint and primer can’t grip a greasy surface no matter how good the product is. A degreasing cleaner or liquid deglosser (a no-sand product like Krud Kutter Gloss-Off or a TSP-substitute solution) cuts through kitchen grease and dulls factory sheen in one pass, which is more reliable than water alone near a stove or sink — see our full cabinet-cleaning walkthrough for the complete method.
- Remove all cabinet doors, drawers, and hardware and label them so they go back in the right spot.
- Wipe every surface with a degreaser or liquid deglosser, paying close attention to corners, hinges, and the areas around handles.
- Rinse with clean water and let the cabinets dry completely before sanding.
Sanding the Cabinets
Sanding creates the microscopic scratches primer needs to mechanically grip the surface — on a factory-glossy or laminate door, skipping this step is almost as bad as skipping primer entirely.
- Sand all surfaces with 150-220 grit sandpaper or a sanding sponge, applying light, even pressure.
- Get into grooves, panel edges, and corners — these are the spots paint peels from first.
- Wipe down with a tack cloth to remove all sanding dust before priming.
Priming the Cabinets
Primer is the bonding layer between the old finish and the new paint — without it, paint sits on a slick surface with nothing to hold onto. On laminate, melamine, or previously varnished doors, use a shellac-based or bonding primer specifically, not a general wall primer.
- Choose a shellac-based or bonding primer rated for slick, glossy, or laminate surfaces.
- Apply one thin, even coat with a brush or sprayer — thick coats are more likely to peel, not less.
- Let the primer dry fully per the label (most shellac-based primers are dry to the touch in 45 minutes but should cure overnight before painting).
- Lightly scuff-sand again and wipe with a tack cloth before the first coat of paint.
How Long Should Primer Dry Before Painting Cabinets?
Most shellac-based primers are dry to the touch within 45 minutes, but painting over them too soon is a common cause of poor adhesion. Wait at least 1 hour, and let it sit overnight if your shop is humid or below 65°F, before applying the first coat of paint.
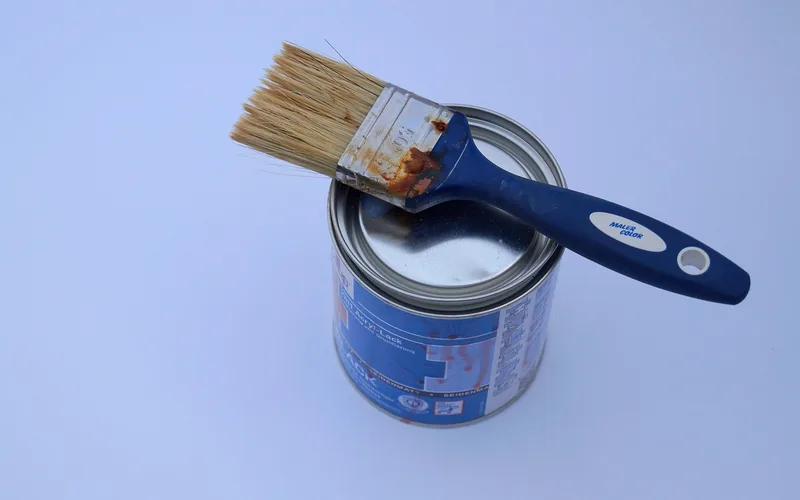
Choosing The Right Paint For Cabinets
Even with perfect prep, the wrong paint type or paint finish for cabinets will still peel prematurely. Cabinet-grade paint is formulated differently than wall paint — it’s built to resist the daily handling, grease, and moisture cabinets face.
Types of Paint Suitable for Cabinets
Oil-based paint is a durable, long-lasting choice for high-wear cabinet surfaces, but it emits strong fumes, takes longer to dry, and needs solvents for cleanup. Water-based paint dries faster and is lower-odor, but it can chip or peel if applied without a compatible primer. Acrylic-based paint is a newer water-based option that balances durability with easier cleanup — check the label to confirm it’s rated for cabinets or trim, not just walls.
Brands of Paint Recommended by Experts
Look for a paint line explicitly labeled for cabinets, doors, or trim — these formulas are built with harder resins that resist chipping and peeling better than standard wall paint. Whatever brand you choose, confirm the primer and paint are compatible (oil-based primer under either oil or latex paint; check the can if you’re using a water-based primer, since not all pair well with latex topcoats).
What Causes Paint to Peel on Cabinets (And How to Fix Each One)
Most peeling traces back to one of five root causes. The table below cross-references each cause with the fix for paint that’s already peeling and the prevention step for your next repaint — use it as a quick diagnostic before you start scraping.
| Peeling Cause | Fix (Already Peeling) | Prevention (Next Repaint) |
|---|---|---|
| Grease/grime not removed (inferior prep) | Scrape, degrease with a liquid deglosser, re-sand, re-prime | Degrease every surface before sanding, especially near the stove |
| Primer skipped entirely | Strip to bare surface, apply bonding or shellac-based primer | Never paint laminate or gloss surfaces without primer |
| Wrong paint for the substrate (e.g., wall paint on laminate) | Sand back, re-prime, switch to a cabinet-rated paint | Confirm the paint label says cabinet, door, or trim — not just wall |
| Humidity/moisture near sink or stove | Dry the substrate fully, re-prime with a moisture-resistant primer | Wipe standing water immediately; add a polycrylic topcoat in wet zones |
| Latex over oil-based paint without a bonding coat | Sand back to bare wood or apply a bonding primer over the oil layer | Always test compatibility or use a bonding primer between coat types |
📊 Latex paint typically feels dry within 2 hours, but takes up to 30 days to fully cure. Handling cabinets hard before full cure is a common cause of new peeling and chipping. — Source: N-Hance professional cabinet painters, 2024
“In the shop, skipping a liquid deglosser on factory-finish laminate cabinets is the single most common reason paint lifts within a few weeks — a quick wipe-down with a degreaser or deglosser before sanding fixes adhesion almost every time, even on old, worn factory finishes.”
Why Does Paint Peel Off Cabinets Near the Kitchen Sink or in a Bathroom?
Yes, humidity and standing water are a direct cause of peeling — moisture gets under the paint film at the edges and breaks the bond with the substrate underneath. Wipe up spills and condensation immediately, and consider a moisture-resistant primer plus a polycrylic topcoat on cabinets near a sink, dishwasher, or in a bathroom.
Fixing Peeling Paint On Cabinets
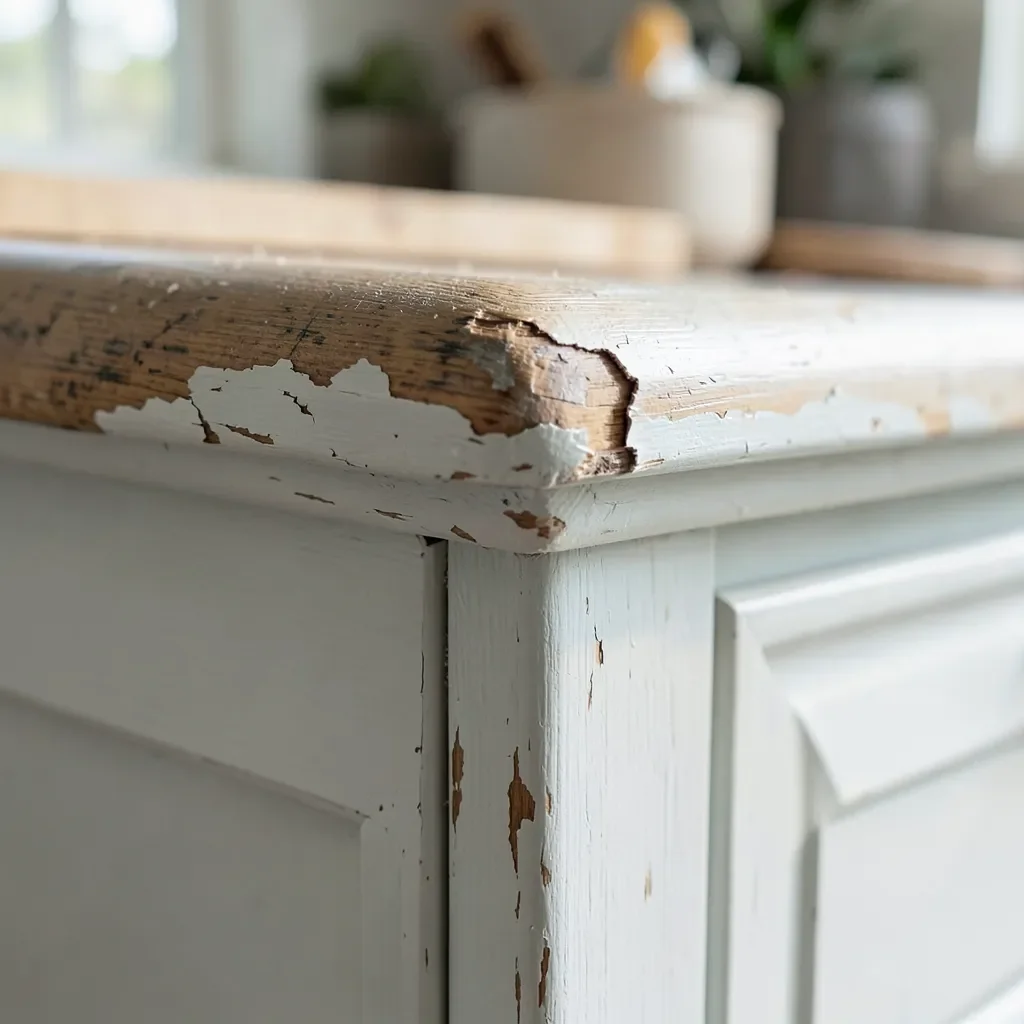
If paint is already peeling, patching over it will fail again in the same spot — the same is true for peeling clear wood finishes. The repair has to go back to a clean, primed surface.
Repairing Small Chips and Cracks
For small chips, lightly sand the edges of the chip so they blend into the surrounding surface, clean off dust, and spot-prime before spot-painting. Feathering the edges prevents a visible ridge where old and new paint meet.
Removing Peeling Paint from Cabinets
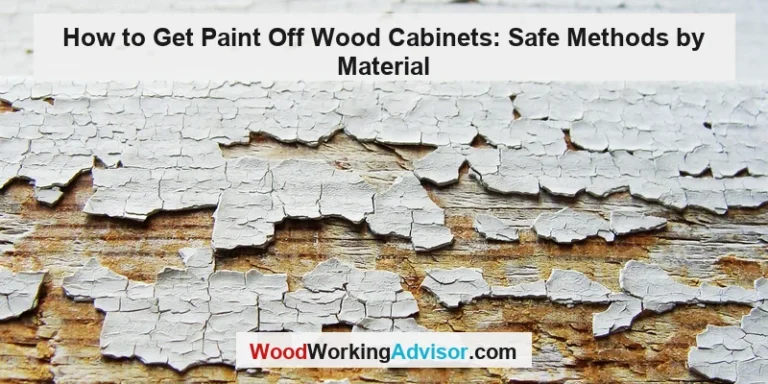
Use a paint scraper to remove all loose and peeling paint back to a firm edge — don’t just sand over flaking paint, since it will keep lifting underneath the new coat. Full paint-removal methods for wood surfaces apply here if the damage is extensive.
Applying Primer to Damaged Areas before Repainting
Once you’ve scraped and sanded back to a sound surface, prime the repaired area before repainting — painting bare, scraped wood without primer is how the same spot peels again within months.
Repainting Cabinets
Apply two to three thin coats rather than one or two thick ones, letting each coat dry fully first — thick coats are more prone to peeling because the surface skins over before the paint underneath has properly bonded and dried.
Can You Fix Peeling Paint Without Sanding Everything Down to Bare Wood?
Yes, if the rest of the finish is still sound — you only need to scrape and feather-sand the peeling section itself, not the whole cabinet. If more than roughly a third of a door’s surface is peeling, it’s faster and more durable to strip the whole door back to bare wood or laminate.
DIY Vs. Professional Painting For Cabinets
Pros And Cons Of DIY Painting
DIY painting costs far less in materials and lets you work on your own schedule, but it takes real time (a full weekend or more for a kitchen’s worth of doors) and the finish quality depends entirely on how carefully you follow the prep steps above. Rushing prep is the most common reason a DIY cabinet paint job peels within the first year.
Benefits Of Hiring A Professional
Professional cabinet painters bring spray equipment, cabinet-specific primers and paints, and controlled drying/curing conditions that are hard to replicate in a home garage. That typically means a harder, more peel-resistant finish, at a significantly higher cost than DIY materials alone.
Maintenance Tips To Keep Paint On Cabinets Intact
Keeping Cabinets Clean And Dry
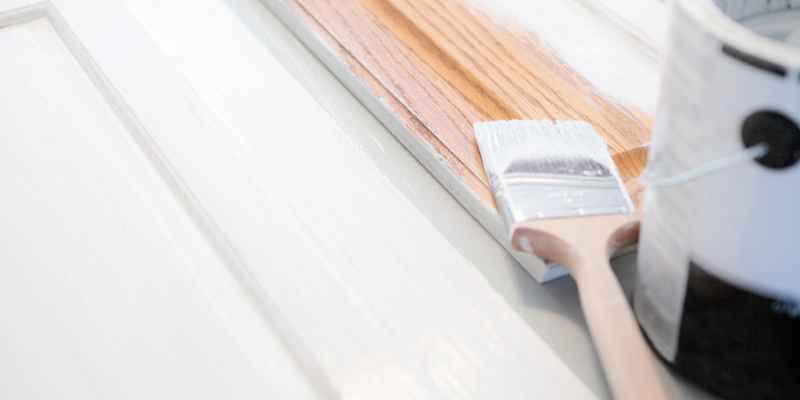
Wipe up spills, splatter, and condensation as soon as you notice them — don’t leave a wet rag or towel draped over a cabinet door. Standing moisture is one of the fastest ways to break a paint bond even after a perfect prep job.
Avoiding Harsh Chemical Cleaners
Skip ammonia-based or abrasive cleaners on painted cabinets — they can dull, soften, or lift the paint film over repeated use. A 50/50 vinegar-and-water solution or a cleaner labeled safe for painted surfaces is gentler on the finish.
Using Soft Cloths Or Sponges To Clean Cabinets
Scouring pads and stiff brushes scratch through the topcoat and expose the paint underneath to moisture and grease again. A soft cloth or sponge with a mild cleaner protects the finish without creating new entry points for peeling.
For extra chip and moisture protection on top of your paint job, see our guide to what to put over painted cabinets to prevent chipping, and browse our full wood paint and prep guide for related projects.
Frequently Asked Questions
Why Is The Paint Peeling Off My Kitchen Cabinets?
The paint on your kitchen cabinets is likely peeling due to grease or grime left on before painting, a skipped primer, or low-quality paint. To prevent peeling, clean, sand, and prime cabinets properly before painting, use a bonding or shellac-based primer on laminate or glossy surfaces, and seal painted cabinets with a polyurethane or polycrylic topcoat.
How Do You Paint Cabinets So They Don’t Peel?
Clean, sand, and prime the cabinets before painting, never apply latex paint directly over oil-based paint without a bonding primer, use a cabinet-rated paint, and apply two to three thin coats rather than one thick one. Seal the finished job with a polyurethane or polycrylic topcoat for extra durability.
How Do You Seal Painted Cabinets?
Seal painted cabinets with a polyurethane or polycrylic protective topcoat once the paint has fully cured (up to 30 days). This guards the paint job against moisture, scratches, and fading, extending the life of the finish — just confirm the product label says it’s safe over painted surfaces.
How Do You Keep Newly Painted Cabinets From Chipping?
Use a protective topcoat, avoid heavy use for the first 48 hours, and make sure cabinets were properly cleaned, sanded, and primed before painting. Avoid applying latex paint directly over oil-based paint without a bonding primer first.
Is It Normal For Paint To Peel In A Humid Kitchen Or Bathroom?
It’s common but not unavoidable — humidity and standing water break the paint bond faster near sinks, stoves, and in bathrooms. A moisture-resistant primer plus a polycrylic topcoat in these zones, along with wiping up spills immediately, significantly reduces humidity-related peeling.
Conclusion
Peeling cabinet paint almost always traces back to skipped degreasing, skipped primer, or the wrong paint for the substrate — not the paint brand itself. Degrease, sand, prime with a bonding or shellac-based product on glossy or laminate surfaces, apply thin coats, and let everything fully cure before heavy use. Follow that sequence and the cause-to-fix table above, and your cabinets should hold their finish for years.
Sponsored / affiliate links. As an Amazon Associate I earn from qualifying purchases. I may earn additional commission from eligible campaigns.