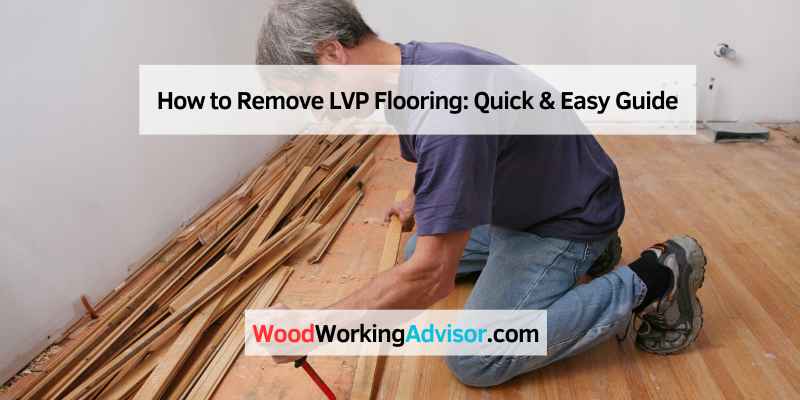
How to Remove LVP Flooring: Quick & Easy Guide
To remove LVP flooring, lift each plank starting at the edge using hands or a crowbar. The process is easy and fast as the pieces click together and float over the subfloor.
Luxury Vinyl Plank (LVP) flooring can be a great addition to your space, but there may come a time when you need to remove it. Whether you’re renovating or replacing damaged planks, knowing how to properly remove LVP flooring is essential.
By following the manufacturer’s instructions and using basic tools like a crowbar or chisel, you can efficiently remove the planks without causing significant damage to your subfloor. In this blog post, we will explore the step-by-step process of removing LVP flooring, providing you with the knowledge and confidence to tackle this task effectively.
Introduction To Lvp Flooring Removal
Luxury Vinyl Plank (LVP) flooring has gained popularity for its durability, easy maintenance, and aesthetic appeal. However, there are instances when homeowners may need to remove or replace their LVP flooring. Whether it’s due to damage, style preferences, or renovations, knowing the process of LVP flooring removal is essential for maintaining the integrity of your home’s flooring.
Benefits Of Choosing Lvp For Your Home
When considering flooring options for your home, LVP offers numerous benefits that make it an attractive choice. From its affordability and water-resistance to its easy installation and low maintenance, LVP flooring provides a versatile and practical solution for modern homeowners.
Reasons To Remove Or Replace Lvp Flooring
- Damage: Over time, LVP flooring may incur damage from heavy foot traffic, furniture, or accidental impacts, necessitating replacement.
- Style Change: Homeowners may want to update their interior design, and replacing the flooring is a significant aspect of this transformation.
- Renovations: During home renovations or remodeling projects, removing LVP flooring may be necessary to accommodate new layouts or designs.
- Wear and Tear: With prolonged use, LVP flooring can show signs of wear, prompting the need for replacement to maintain the aesthetics of the space.
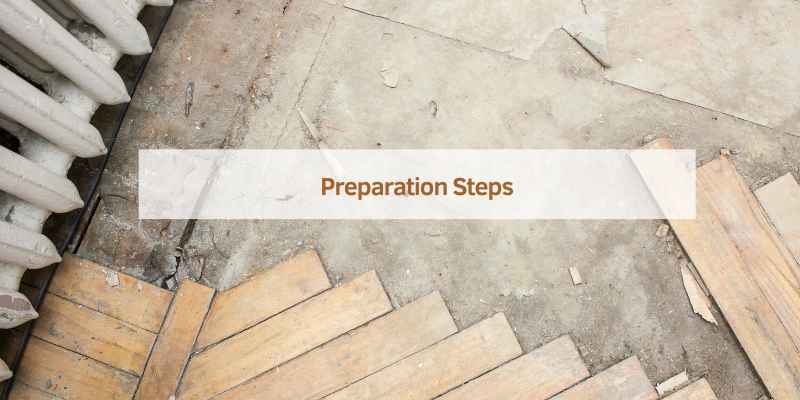
Preparation Steps
Before you begin the process of removing LVP flooring, it’s essential to properly prepare the area. Following these preparation steps will ensure a smooth and efficient removal process.
Gathering The Necessary Tools
First and foremost, gather all the tools you will need for the removal process. Having the right tools on hand will make the job easier and more efficient. Here are the tools you will need:
- Protective gloves
- Knee pads
- Utility knife
- Pry bar or crowbar
- Hammer
- Putty knife
- Plastic sheeting or drop cloths
Having these tools ready will save you time and ensure that you have everything you need to remove the LVP flooring effectively.
Clearing The Area And Furniture Removal
Before you start removing the LVP flooring, it’s crucial to clear the area and remove any furniture or obstacles in the way. This will provide you with a clean and open space to work in. Follow these steps:
- Remove all furniture, rugs, and other items from the room. This will prevent any damage to your belongings and allow you to work freely.
- Clear the area of any debris or loose items. Sweep or vacuum the floor to ensure it is clean and free from any obstacles.
- Protect any remaining furniture or items by covering them with plastic sheeting or drop cloths. This will prevent any dust or debris from settling on them during the removal process.
By clearing the area and removing furniture, you create a safe and unobstructed space to remove the LVP flooring without any hindrances.
Following these preparation steps will set you up for a successful LVP flooring removal process. With the necessary tools gathered and the area cleared, you’ll be ready to move on to the next steps of removing the flooring.
Identifying The Type Of Lvp Installation
Identifying the Type of LVP Installation is crucial before starting the removal process. The two primary types of LVP installation are floating and glue-down. Understanding the installation type is essential as it significantly impacts the removal method and effort required.
Floating Vs. Glue-down Lvp
Floating LVP refers to the installation method where the planks are not attached to the subfloor but rather interlock with each other. On the other hand, glue-down LVP involves adhering the planks directly to the subfloor using adhesive.
How Installation Type Affects Removal
The installation type directly influences the removal process. Floating LVP can be relatively easier to remove as the individual planks can be unclicked and lifted without the need for solvent or adhesive removal. However, glue-down LVP removal may require the use of solvents or heat to loosen the adhesive and pry the planks off the subfloor.
Starting The Removal Process
To start the removal process of LVP flooring, it is important to lift each plank carefully. If there is no adhesive used, you can easily lift the floor piece by piece using your hands or a crowbar. The manufacturer’s instructions should also be followed to ensure proper removal with minimal damage.
Finding The Best Starting Point
When removing LVP flooring, identify a corner or edge as the starting point. Choose an area that allows for easy access and minimizes disruptions to the surrounding space.
Techniques For Lifting The First Planks
To lift the initial planks, gently pry them apart using a crowbar or chisel. Ensure each plank is carefully detached to avoid damaging the subfloor.
Start by sliding the tool beneath the edge of the plank. Apply gradual pressure to lift it from the floor. Continue this process for each plank, working methodically across the room.
Avoid rushing the removal process to prevent unnecessary breakage or splintering. Take your time to ensure a smooth and efficient removal.
Once the first planks are lifted, proceed with caution to maintain the integrity of the flooring and subfloor. Carefully stack the removed planks for disposal or potential reuse.
Remember to follow any specific manufacturer guidelines for safe and effective removal of LVP flooring. Proper technique and attention to detail will result in a successful removal process.
Removing Floating Lvp Floors
To remove LVP flooring, start by lifting each plank without adhesive using your hands or a crowbar. As floating floors click together, it’s a quick and easy process. Follow the manufacturer’s instructions for minimal damage and ensure a smooth removal experience.
Un-clicking And Lifting Planks
To remove floating LVP floors, you’ll need to un-click and lift the individual planks. Since there is no glue involved in a floating floor installation, the pieces simply click together and hover over the subfloor. To begin the process, follow these steps:
- Start by identifying the first plank you want to remove. Look for the edge where the planks are connected.
- Using your hands, gently lift the plank at a 45-degree angle to disengage the click mechanism. If the planks are tightly locked together, you can use a crowbar or chisel for added leverage.
- Continue un-clicking and lifting the planks one by one, working your way towards the area you want to remove. Take care to avoid damaging the surrounding planks or the subfloor.
Minimizing Damage To Reusable Pieces
When removing floating LVP floors, it’s important to minimize damage to the planks so that they can be reused if desired. Here are some tips to help you achieve this:
- Handle the planks with care to avoid excessive bending or twisting, as this can cause them to break.
- Use a pry bar or putty knife to gently lift the planks, applying pressure close to the click mechanism rather than the edges.
- If you encounter stubborn planks that are difficult to remove, try using a tapping block and mallet to loosen them without causing damage.
- Place a protective material, such as a cloth or cardboard, between the tool and the plank to prevent scratches or indentations.
By following these steps and taking precautions, you can remove floating LVP floors without causing significant damage to the planks. This allows for potential reinstallation or reuse in the future, saving you time and money. Remember to consult the manufacturer’s instructions for specific guidance on removing and handling their particular product.
Note: The content provided is for informational purposes only and should not be considered as professional advice. Always consult a qualified expert for proper guidance and instructions related to your specific situation.
Handling Glue-down Lvp Flooring
To remove glue-down LVP flooring, start by using a heat gun or hairdryer to softeed. Clean any remaining adhesive with a solvent, and ensure the subfloor is smooth before installing new flooring.
LVP flooring has become increasingly popular over the years due to its durability and easy installation. However, when it comes to removing glued-down LVP flooring, it can be a daunting task. In this blog post, we will focus on handling glue-down LVP flooring and provide tips on how to remove it without damaging the subfloor.
Softening adhesive for easier removal
Before starting the removal process, it is important to soften the adhesive to make it easier to remove. You can do this by using a heat gun or a hairdryer. Hold the heat gun or hairdryer about 6 inches away from the surface and move it back and forth in a circular motion. This will soften the adhesive and make it easier to remove.
Tools and techniques for glued planks
Once the adhesive has been softened, it is time to remove the planks. Here are some tools and techniques you can use:
1. Pry bar or chisel: Use a pry bar or chisel to loosen the planks from the subfloor. Insert the pry bar or chisel under the edge of the plank and gently pry it up. Be careful not to damage the subfloor.
2. Floor scraper: A floor scraper can be used to remove any remaining adhesive on the subfloor. Hold the scraper at a 45-degree angle and scrape the adhesive off the floor.
3. Adhesive remover: If there is still adhesive remaining, you can use an adhesive remover. Follow the instructions on the product and apply it to the adhesive. Let it sit for the recommended amount of time and then scrape it off with a floor scraper.
Ensuring each H3 heading adheres to HTML syntax, here is a summary of the tools and techniques for glued planks:
| Tools and Techniques for Glued Planks |
|---|
| 1. Pry bar or chisel |
| 2. Floor scraper |
| 3. Adhesive remover |
Removing glued-down LVP flooring can be a time-consuming task, but with the right tools and techniques, it can be done without damaging the subfloor. By softening the adhesive and using tools such as a pry bar, floor scraper, and adhesive remover, you can remove the flooring safely and efficiently.
Dealing With Adhesive Residue
After removing LVP flooring, it’s common to encounter adhesive residue on the subfloor. Dealing with this residue is crucial to ensure a smooth and clean surface for any new flooring installation.
Cleaning The Subfloor Post-removal
Once the LVP flooring has been removed, it’s essential to thoroughly clean the subfloor to eliminate any adhesive residue. Here’s a step-by-step guide to effectively clean the subfloor:
- Start by scraping off any large chunks of adhesive using a putty knife or scraper.
- Apply a commercial adhesive remover to the remaining residue, following the manufacturer’s instructions.
- Scrub the subfloor using a stiff-bristled brush to loosen the adhesive.
- Wipe down the subfloor with a clean cloth dampened with mineral spirits to remove any remaining residue.
- Allow the subfloor to dry completely before proceeding with the new flooring installation.
Recommended Products And Methods
When it comes to removing adhesive residue from the subfloor, using the right products and methods is crucial. Here are some recommended products and methods for effectively dealing with adhesive residue:
| Product | Method |
|---|---|
| Adhesive Remover | Apply the remover as per the manufacturer’s instructions, allowing it to penetrate and dissolve the adhesive. |
| Mineral Spirits | Use mineral spirits to wipe down the subfloor and remove any remaining adhesive residue. |
| Stiff-Bristled Brush | Scrub the subfloor with a stiff-bristled brush to effectively loosen and remove adhesive residue. |
By following these recommended products and methods, you can ensure that the subfloor is thoroughly cleaned and free from any adhesive residue, providing a solid foundation for your new flooring.
Finishing Up
As you near the end of your LVP flooring removal project, it’s important to pay attention to the final details to ensure a successful finish. From inspecting the subfloor for damage to responsibly disposing of the old LVP flooring, these last steps are crucial in completing the process.
Inspecting The Subfloor For Damage
Before installing new flooring, thoroughly inspect the subfloor for any signs of damage. Look for moisture, mold, or uneven areas that may need to be addressed before proceeding. Repair any damage to ensure a smooth and stable surface for the new flooring.
Tips For Disposing Of Old Lvp Flooring
When disposing of old LVP flooring, it’s important to follow local regulations for waste disposal. Consider these tips for responsible disposal:
- Check with local recycling centers for options to recycle the old flooring.
- If recycling is not possible, properly bag the old LVP flooring and dispose of it at a designated waste management facility.
- Avoid illegal dumping and choose environmentally friendly disposal methods whenever possible.
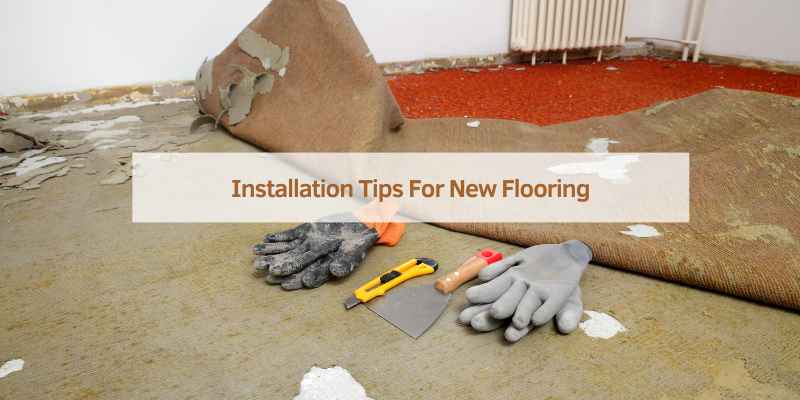
Installation Tips For New Flooring
In order to remove LVP flooring, you can easily lift each plank without the need for adhesive. Simply click the pieces out and lift them, making the process quick and easy. This allows for the surface to have more space and makes it convenient for reinstallation if desired.
Installation Tips for New Flooring
Replacing LVP flooring can be a daunting task, but with the right tools and preparation, it can be done efficiently. In this section, we will discuss some tips for installing new flooring after removing the old one.
Preparation For New Flooring Installation
Before installing new flooring, it is essential to prepare the subfloor. Ensure that the subfloor is clean, dry, and level. Any debris, dust, or moisture should be removed to avoid any issues with the new flooring.
If you are installing new flooring over an existing one, ensure that the old flooring is removed completely. Leaving any remnants of the old flooring can cause unevenness in the new floor.
Choosing The Right Replacement Flooring
When choosing the replacement flooring, consider the type of subfloor and the environment in which the flooring will be installed. Different types of flooring are suitable for different environments, so it is essential to choose the right one.
For example, if the flooring will be installed in a high traffic area, it is advisable to choose a durable and scratch-resistant flooring. If the flooring will be installed in a damp area such as a bathroom, it is advisable to choose a flooring that is waterproof.
Ensuring A Smooth New Flooring Installation
To ensure a smooth and successful new flooring installation, it is essential to follow the manufacturer’s instructions carefully. The installation process may vary depending on the type of flooring, so it is essential to read the instructions carefully.
It is also advisable to have all the necessary tools and materials before starting the installation process. This will save time and ensure that the installation process is not interrupted.
In conclusion, preparing the subfloor, choosing the right replacement flooring, and following the manufacturer’s instructions are crucial for a successful new flooring installation. With the right tools and preparation, the installation process can be done efficiently.
Frequently Asked Questions
Is Lvp Easy To Remove?
Removing LVP is easy as it doesn’t require glue. Simply click and lift the pieces. It’s a fast process and becomes easier as more planks are removed.
How Do You Remove Luxury Vinyl Plank Flooring?
To remove luxury vinyl plank flooring, you can use a putty knife to pry up each corner and lift each plank. If no adhesive has been used, you can easily lift the floor piece by piece using your hands or a crowbar.
It’s easy and fast, and becomes less demanding as planks are removed, giving the surface more space. Remember to check the manufacturer’s instructions for proper removal.
Can You Pull Up Luxury Vinyl Plank Flooring?
Yes, you can easily pull up luxury vinyl plank flooring by lifting each piece with your hands or a crowbar.
Can I Remove Vinyl Flooring Myself?
Yes, you can easily remove vinyl flooring yourself. No glue is used, making it simple to click and lift the planks.
Conclusion
To sum up, removing LVP flooring is a straightforward process that requires care and precision. By following the correct steps and using the right tools, you can successfully remove and reinstall luxury vinyl planks without damaging them. Remember to refer to manufacturer instructions for best results.