How to Repair Rotted Wooden Door Frame: Quick Fixes!
To repair a rotted wooden door frame, begin by cutting away the damaged wood using a utility knife. Apply wood hardener to the affected area, then fill it with polyester filler.
Wooden door frames are susceptible to rot due to moisture exposure. Over time, this can lead to structural issues and diminished curb appeal. Addressing rotted frames promptly can prevent further damage and costly repairs. This DIY project is manageable with the right tools and materials.
Proper techniques ensure a long-lasting fix, restoring both function and aesthetics. Whether dealing with minor surface rot or deeper structural issues, understanding how to repair a rotted door frame is essential for maintaining your home’s integrity. Follow these steps for a successful restoration.
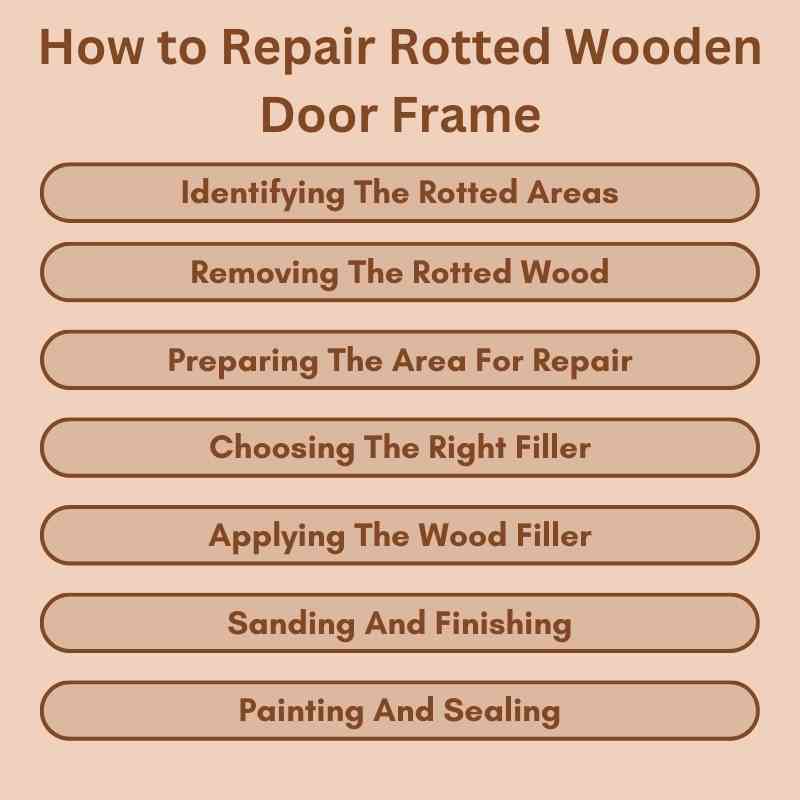
Identifying The Rotted Areas
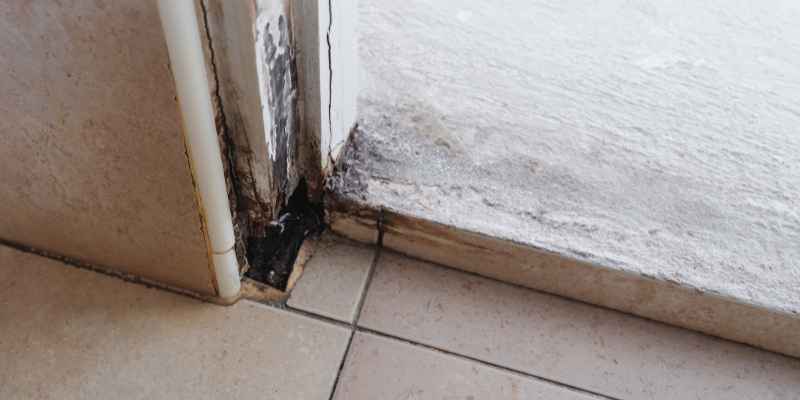
Identifying rotted areas in a wooden door frame is crucial. Start by spotting early signs of rot. Look for discoloration, soft spots, or crumbling wood. These indicators often mean rot is present.
Using the right tools can help detect rot effectively. A moisture meter measures wood moisture content. Higher readings indicate potential rot. A flashlight helps illuminate hidden areas. Lastly, a utility knife is perfect for testing wood firmness.
| Tool | Purpose |
|---|---|
| Moisture Meter | Checks moisture levels in wood |
| Flashlight | Illuminates dark areas for inspection |
| Utility Knife | Tests wood firmness and removes rot |
Removing The Rotted Wood
Safety precautions are crucial before starting any repair work. Always wear gloves to protect your hands. Use a mask to avoid inhaling dust and debris. Ensure proper ventilation in the area to prevent harmful fumes from accumulating.
When removing rotted sections, use a utility knife for precision. Cut away the damaged wood slowly. Make sure to check for any hidden rot underneath the surface. A chisel can help remove stubborn areas.
After the rotted wood is removed, treat the area with wood hardener. This helps strengthen the remaining wood. Fill in any gaps with polyester filler for a smooth finish.
Preparing The Area For Repair
Start by thoroughly cleaning the affected area. Remove any dirt, dust, or debris using a brush or cloth. This step ensures that the wood hardener adheres properly.
Next, use a utility knife to cut away the rotted wood. Make sure to remove all damaged sections. Afterward, apply a generous coat of wood hardener to the exposed wood. Use a paintbrush for even coverage.
Allow the hardener to soak in. This will help restore the strength of the wood. Once dry, mix polyester filler as instructed. Use a putty knife to fill any gaps or voids left by the rot.
Choosing The Right Filler
Choosing the right wood filler is crucial for effective door frame repair. The best fillers provide strength and durability. Here are some common types of wood fillers:
| Type | Best Use |
|---|---|
| Epoxy Filler | Excellent for large repairs and outdoor use. |
| Latex Filler | Great for small gaps, easy to sand and paint. |
| Polyester Filler | Ideal for deep holes, very strong and hardens quickly. |
| Wood Putty | Best for indoor use, smooth finish and easy to stain. |
Each type has its unique benefits. Always choose based on the specific needs of your door frame. Selecting the right filler will ensure a long-lasting repair.
Applying The Wood Filler
Start by mixing the wood filler according to package instructions. Use a clean container for mixing. Add the hardener to ensure the filler sets properly. Apply the filler to the rotten areas with a putty knife. Press it firmly into the gaps. Smooth the surface to match the original frame.
After applying, allow the filler to dry completely. Once dry, shape the filler to match the door frame. Sand the area gently to create a smooth finish. Ensure it blends seamlessly with the surrounding wood. For a perfect match, consider staining the filled area.
Sanding And Finishing
Start by sanding the repaired area to ensure a smooth finish. Use a medium-grit sandpaper first. This removes rough edges and creates a level surface. After that, switch to fine-grit sandpaper for a polished look.
Once sanding is complete, apply a wood sealant to protect the frame. This will guard against moisture and prevent future rot. Choose a sealant that matches the color of your wood. Apply it evenly with a brush for best results.
Consider adding a topcoat for extra protection. This gives a more durable finish. Make sure to let each layer dry completely before applying the next.
Painting And Sealing
Choosing the right paint is essential for a long-lasting finish. Use high-quality exterior paint to protect your door frame. Look for paint that resists moisture and UV rays. This helps in preventing future rot.
Applying paint and sealant correctly is crucial. First, sand the surface to ensure proper adhesion. Clean the area to remove any dust or debris. Use a brush or spray for even application. Apply one coat of paint and let it dry completely. A second coat enhances protection.
After painting, apply a sealant. This adds an extra layer of defense against moisture. Choose a sealant that works well with your paint type. Regularly inspect and maintain your door frame to keep it in top condition.
Preventing Future Rot
To prevent future rot, regular maintenance is essential. Start by inspecting the door frame regularly. Look for any signs of moisture or damage. Address these issues promptly to avoid further problems.
Keep the frame clean and dry. Remove any debris that can hold moisture. Ensure proper drainage around the door area. This helps to keep water away from the frame.
Consider applying a weatherproof sealant. This provides an extra layer of protection against rain and humidity. Repaint the frame every few years to maintain its integrity and appearance.
Lastly, ensure that the door closes tightly. Gaps can allow water to seep in and cause rot. Regular checks will help maintain the frame’s durability.
Frequently Asked Questions
How To Fix Wood Rot In Door Frame?
To fix wood rot in a door frame, first remove the damaged wood with a utility knife. Apply wood hardener to the affected area. Mix polyester filler according to instructions, then use a putty knife to fill in the gaps.
Sand the surface once dry for a smooth finish.
How Do You Fix Rotted Wood Without Replacing It?
To fix rotted wood without replacing it, remove the damaged sections with a utility knife. Apply a wood hardener to the area, allowing it to soak in. Once dry, fill the void with a wood filler. Sand the surface for a smooth finish, and repaint if necessary.
What Is The Best Filler For A Rotted Door Frame?
The best filler for a rotted door frame is a high-quality wood filler. It penetrates the wood fibers, bonds effectively, and hardens for durability. Choose a product with wood particles for better staining results. Always follow manufacturer instructions for optimal application and finishing.
How To Repair A Rotted Door Bottom Without Replacing?
To repair a rotted door bottom, first cut away the damaged wood. Apply a wood hardener to strengthen the remaining wood. Fill any gaps with a suitable wood filler, ensuring a smooth surface. Once dry, sand the area and repaint for a finished look.
This method saves time and money.
Conclusion
Repairing a rotted wooden door frame is a manageable task with the right approach. By following the steps outlined in this guide, you can restore your door frame’s integrity and appearance. Remember to prioritize proper maintenance to prevent future rot.
Your efforts will extend the life of your door and enhance your home’s beauty.