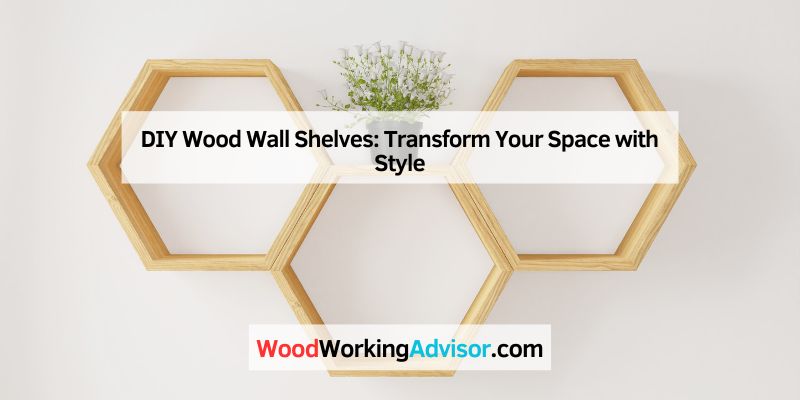
DIY Wood Wall Shelves: Transform Your Space with Style
DIY wood wall shelves are one of the most beginner-friendly projects in woodworking — a single board, a set of brackets, and an afternoon get you a display shelf that costs a fraction of a store-bought one. The part that actually determines whether it looks good and stays on the wall isn’t the cutting or the finish — it’s the wood span, the bracket depth, and what’s inside the wall you’re screwing into.
Below is a build guide focused on the details that actually cause floating shelves to sag, wobble, or pull out of the wall — along with the design and mounting choices that decide whether they look intentional or like an afterthought.
Choosing The Right Wood
Best Hidden Bracket For This Build
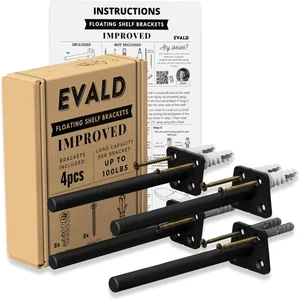 |
EVALD 8-Inch Floating Shelf Brackets (4-Pack) – $34.99 8-inch steel rods hide inside the board for a true floating look, deep enough to support most 10–12 inch shelves per the two-thirds depth rule above.
|
Wood choice affects looks, cost, and how much weight the shelf can carry without sagging. For most wall shelves, you’re choosing between an affordable softwood and a pricier hardwood, and the right call depends on what’s going on the shelf.
| Wood | Cost | Best For |
|---|---|---|
| Pine | Low | Light decor, beginner projects, painted finishes |
| Oak | Higher | Books and heavier decor, visible grain finishes |
| Maple | Higher | Smooth modern look, painted or clear-coated |
| Plywood (3/4″) | Low–Mid | Best strength-to-cost ratio for longer shelves |
Whatever you choose, check the board for straightness before you buy it — sight down the edge and reject anything visibly bowed or twisted, since that warp only gets worse once the shelf is loaded and fixed to the wall. A tight, even grain with no cracks or large knots along the span is a better predictor of a shelf that won’t sag than the species itself.
Tools And Materials
- Measuring tape, pencil, and a level
- Electric drill with a bit sized for your anchors or screws
- Circular saw or hand saw for cutting to length
- Sandpaper (80-grit through 220-grit)
- Stud finder — not optional; see the mounting section below
- Wood planks, brackets, screws, and wall anchors if you’re not hitting a stud
- Wood stain, paint, or clear topcoat
Cutting And Assembly
Measure twice before every cut, and use a circular or table saw for straight cuts, a jigsaw for anything curved. Clamp the board down rather than trying to hold it steady by hand — a board that shifts mid-cut is the most common cause of a crooked edge. If you’re joining multiple pieces (a corner shelf or a built-up thicker edge), pre-drill screw holes to prevent splitting, and use wood glue alongside screws for a joint that won’t work loose over time.
Sand with progressively finer grits — start around 80-grit to knock down rough spots, then move to 120 and finish at 220 for a smooth surface that takes stain or paint evenly. Always sand with the grain, not across it, to avoid visible scratch marks under a clear finish.
Finishing: Stain, Paint, Or Clear Coat
For a natural look, apply wood stain with a brush or cloth along the grain, wipe off the excess after a few minutes, and let it dry fully before a second coat if you want more depth. For a painted finish, prime first so the paint adheres evenly, then apply two to three thin coats rather than one thick one — thin coats dry faster and avoid drips on a vertical piece. Either way, a clear topcoat (polyurethane or a water-based equivalent) afterward protects the finish from dust, moisture, and daily wear.
Mounting: The Step That Actually Matters
This is where most floating shelves fail, and it has nothing to do with the wood. What’s holding the bracket matters more than the bracket itself:
| What You’re Screwing Into | Realistic Weight Capacity |
|---|---|
| Wood stud, 2+ screws | 100+ lbs, limited by the shelf/bracket, not the wall |
| Drywall toggle bolt | Roughly 50–100 lbs per bolt, check the packaging rating |
| Plastic self-drilling drywall anchor | Roughly 25–50 lbs per anchor — fine for light decor, not books |
Run a stud finder across the mounting area before you drill anything. Hitting even one stud and using a toggle bolt on the other bracket point is a meaningfully stronger hold than relying on drywall anchors alone. For a heavier load like a stack of books, plan the shelf’s width around actually landing on two studs (studs are typically spaced 16 inches on-center, so a shelf in the 32–36 inch range often lines up with two).
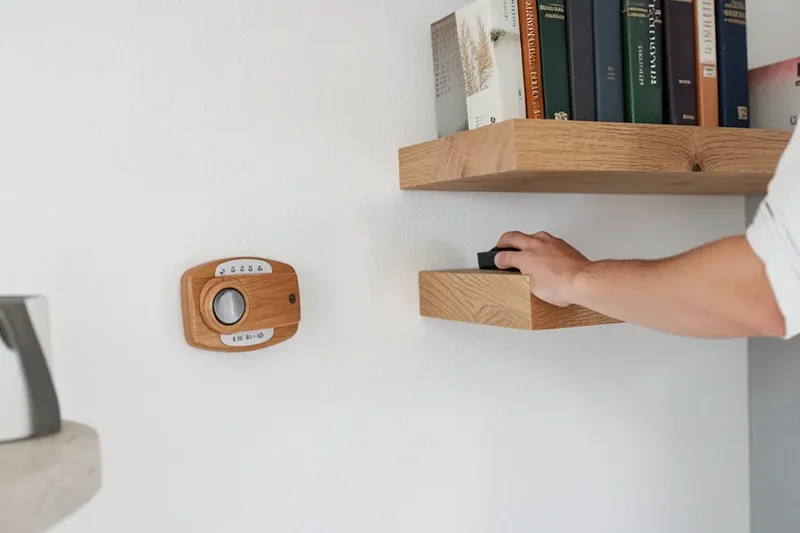
Bracket depth matters just as much: a floating shelf bracket should extend at least two-thirds of the shelf’s total depth. A short bracket under a deep shelf creates a lever-arm effect where the front edge droops under weight, even if the wall anchor itself is solid.
Installing By Wall Type
| Wall Type | Installation Note |
|---|---|
| Drywall | Hit a stud when possible; use rated toggle bolts, not plastic anchors, for anything holding real weight |
| Concrete | Drill pilot holes with a masonry bit and use concrete anchors rated for the load |
| Brick | Drill into the mortar joints, not the brick itself, which can crack |
Design Ideas That Hold Up In Practice
Floating (bracket-hidden) shelves read as modern and minimal, but they’re the style most sensitive to the span and bracket-depth rules above — the whole look depends on nothing visibly sagging. Geometric shapes like hexagons add visual interest but shrink your usable flat surface, so plan storage accordingly. For a rustic look, reclaimed wood with visible saw marks paired with exposed farmhouse-style metal brackets leans into imperfection rather than fighting it, which is more forgiving if your cuts aren’t perfectly clean.
Styling The Finished Shelf
Weight items visually from the bottom up: larger pieces at the base, medium items next, small accents on top, which reads as stable even before anyone touches the shelf. Group like with like (candles with candles, books with books) rather than scattering styles randomly, and mix textures — a smooth ceramic vase next to a woven basket keeps the eye moving. Leave roughly 30% of the surface empty; a fully packed shelf reads as cluttered no matter how nice the individual pieces are.
Frequently Asked Questions
Is It Cheaper To Build Your Own Shelves?
Yes, usually. You skip labor costs entirely and can choose budget materials like pine or plywood, often bringing the total well under a comparable store-bought shelf.
What Is The Best Wood For DIY Shelves?
Pine and plywood are the most beginner-friendly for cost and workability. For anything spanning more than about 30 inches or holding books, upgrade to 1-inch-thick stock or a hardwood like oak to avoid visible sag.
How Do You Make A Simple Wall Shelf?
Cut a board to length, sand and finish it, locate studs with a stud finder, mount brackets sized to at least two-thirds of the shelf’s depth, and set the board on top, checking level before final tightening.
Are Floating Shelves Still In Style?
Yes, floating shelves remain a popular, sleek storage option. Their main limitation isn’t style, it’s weight capacity — the hidden-bracket look only holds up if the mounting and span guidelines above are followed.
Bottom Line
The wood, the cut, and the finish are the easy parts of a DIY wall shelf. What actually determines whether it stays level and holds weight for years is the unsupported span of the board and what’s inside the wall behind the bracket — get the stud placement and bracket depth right, and everything else is just style.
Sponsored / affiliate links. As an Amazon Associate I earn from qualifying purchases. I may earn additional commission from eligible campaigns.