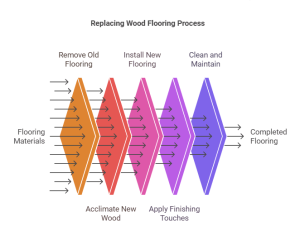
How to Replace Wood Flooring: Step-by-Step Guide
To replace wood flooring, start by removing the existing flooring and assessing the subfloor condition. Choose new wood flooring and install it properly to complete the replacement process.
Updating your home with new wood flooring can enhance the aesthetics and value of your space. Whether you’re looking to upgrade worn-out floors or simply desire a fresh look, replacing wood flooring is a rewarding project. By following the steps outlined in this guide, you can easily tackle the task and enjoy a beautiful new floor in no time.
Read on to learn how to efficiently replace wood flooring in your home.
Gathering Materials And Supplies
To replace wood flooring, start by gathering materials and supplies such as new wood planks, underlayment, adhesive, and tools like a saw, hammer, and nails or flooring nailer. Having all necessary items ready ensures a smooth and efficient flooring replacement process.
When you’re ready to replace your wood flooring, it’s crucial to gather the necessary materials and supplies before starting the project.
Measuring and Purchasing the Right Wood
Measuring the area accurately is essential before purchasing the new wood flooring.
Preparing the Workspace
Preparing the workspace involves clearing the room, ensuring proper ventilation, and having all tools within reach for a smooth process.
Removing The Existing Flooring
Start by removing all furniture and fittings from the room to create a clear space for the flooring removal process.
Equip yourself with essential tools such as a pry bar, hammer, and utility knife to facilitate the flooring removal.
Consult the manufacturer’s guidelines for specific instructions on removing the particular type of wood flooring.
Installing The New Wood Flooring
When it comes to replacing wood flooring, installing the new wood flooring is a crucial step in the process. Proper installation is essential for the longevity and durability of your new flooring. Below, we’ll guide you through the important steps to successfully install your new wood flooring.
Acclimating The Wood
Before installation, it’s important to allow the new wood flooring to acclimate to the environment in which it will be installed. Acclimating the wood flooring helps it adjust to the temperature and moisture levels of the room, reducing the risk of warping or swelling after installation. Store the wood planks in the room for at least 48 hours before installation, ensuring the room temperature and humidity levels are consistent with the normal living conditions.
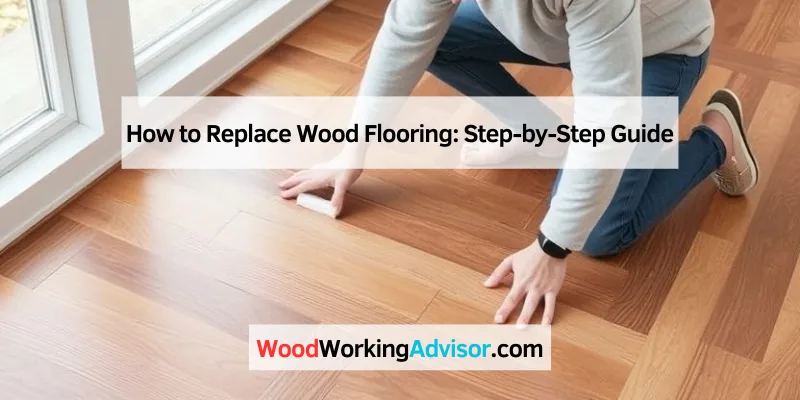
Laying And Securing The New Flooring
Once the wood has acclimated, it’s time to lay and secure the new flooring. First, ensure the subfloor is clean, dry, and level. Lay the wood planks parallel to the longest wall in the room, leaving a 1/2-inch expansion gap between the flooring and the walls. Use a flooring nailer or stapler to secure the planks to the subfloor, ensuring a snug fit without overcrowding the joints. Trim the last row of planks to fit as needed, maintaining the expansion gap. Finally, install the baseboards or quarter-round molding to cover the expansion gap and provide a seamless finish.

Finishing Touches
Once you have successfully replaced your wood flooring, it’s time to add the finishing touches to your project. These final steps will not only enhance the overall appearance of your new floor but also protect it from wear and tear over time. In this section, we will discuss two crucial aspects of completing your wood flooring replacement: trimming and molding, and applying finish or sealant.
Trimming And Molding
Trimming and molding play a vital role in achieving a polished and professional look for your newly installed wood flooring. These finishing touches seamlessly blend the edges of your flooring with the surrounding walls, creating a seamless transition that adds to the overall aesthetic appeal. Here are the steps to follow:
- Measure and cut the baseboard molding to fit the perimeter of your room using a miter saw or a coping saw.
- Position the molding against the wall, ensuring it aligns perfectly with the edge of your wood flooring.
- Secure the molding in place using finishing nails or adhesive, depending on the type of material you are working with.
- Repeat the process for any door frames or other areas where you need to install molding.
- Fill any nail holes or gaps between the molding and the wall with wood filler, sanding it down for a smooth finish.
Applying Finish Or Sealant
Protecting your wood flooring from moisture, scratches, and stains is crucial to prolonging its lifespan. Applying a finish or sealant not only shields the wood but also enhances its natural beauty. Consider the following steps when applying finish or sealant:
- Clean your wood flooring thoroughly, removing any dust or debris that could affect the finish’s application.
- Choose a suitable finish or sealant based on your preferences and the type of wood flooring you have.
- Using a clean and dry cloth, apply a thin and even coat of finish or sealant following the manufacturer’s instructions.
- Allow the first coat to dry completely before applying subsequent coats, ensuring proper ventilation in the room.
- Lightly sand the surface between each coat to create a smooth and seamless finish.
By paying attention to these finishing touches, your wood flooring replacement project will result in a stunning and long-lasting floor that adds value and beauty to your space. Don’t rush through these final steps, as they significantly contribute to the overall quality and appearance of your new wood flooring.
Cleaning Up And Maintenance
Revamp your space by effortlessly replacing wood flooring with these simple maintenance tips. Upgrade your home with a fresh look and enhance its appeal. Enjoy a hassle-free and rewarding DIY project that transforms your living environment.
Once you have successfully replaced your wood flooring, it is essential to clean up the area and establish a solid maintenance routine. This will not only keep your new flooring in pristine condition but also extend its lifespan. In this section, we will discuss the necessary steps to remove debris and provide you with valuable maintenance tips.
Removing Debris
Before you can fully enjoy your newly installed wood flooring, it is crucial to remove any debris left behind during the replacement process. Here’s a simple step-by-step guide to help you achieve a clean and clutter-free floor:
1. Begin by thoroughly sweeping the area with a broom to remove any loose dirt, dust, or small wood chips.
2. Next, use a vacuum cleaner with a soft brush attachment to capture any remaining dust or debris. Make sure to cover every nook and crevice of the floor, ensuring a comprehensive cleaning.
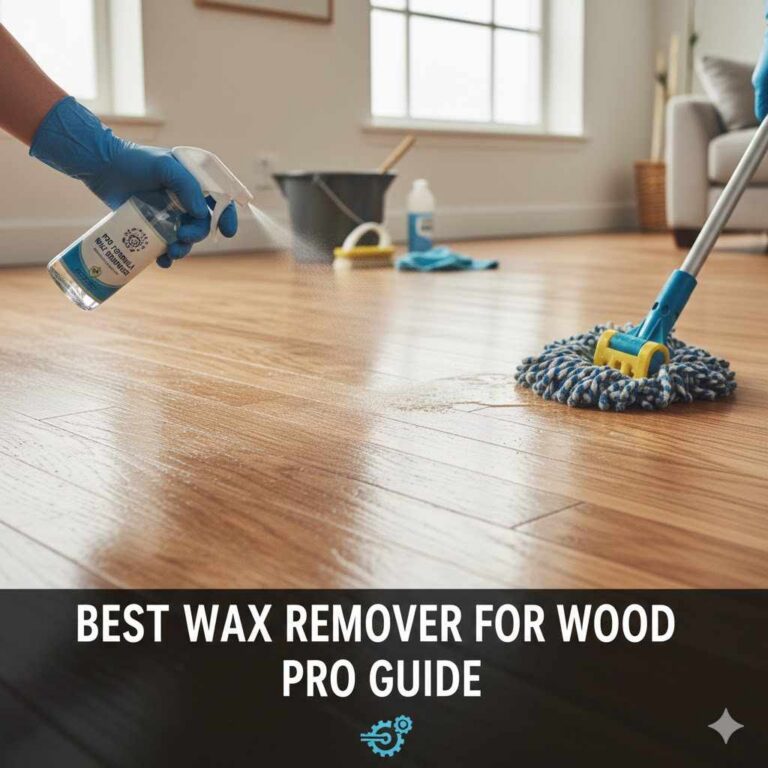
3. For stubborn stains or sticky residue, create a solution of warm water and mild wood floor cleaner. Use a mop or soft cloth to gently scrub away the marks, taking extra care not to saturate the floor with excess liquid.
4. Once you have successfully eliminated all debris, allow the wood floor to air dry completely before moving any furniture or walking on it. This will prevent any damage or unwanted imprints from occurring.
Maintenance Tips
Maintaining the quality and appearance of your wood flooring starts with implementing effective care practices. Follow these maintenance tips to ensure longevity and preserve the beauty of your floors:
1. Regular Cleaning
Dust and debris can accumulate on your wood flooring, causing scratches and dulling its shine. To prevent this, sweep or vacuum the floor on a regular basis. Avoid using hard-bristle brushes or abrasive cleaners, as they can damage the surface.
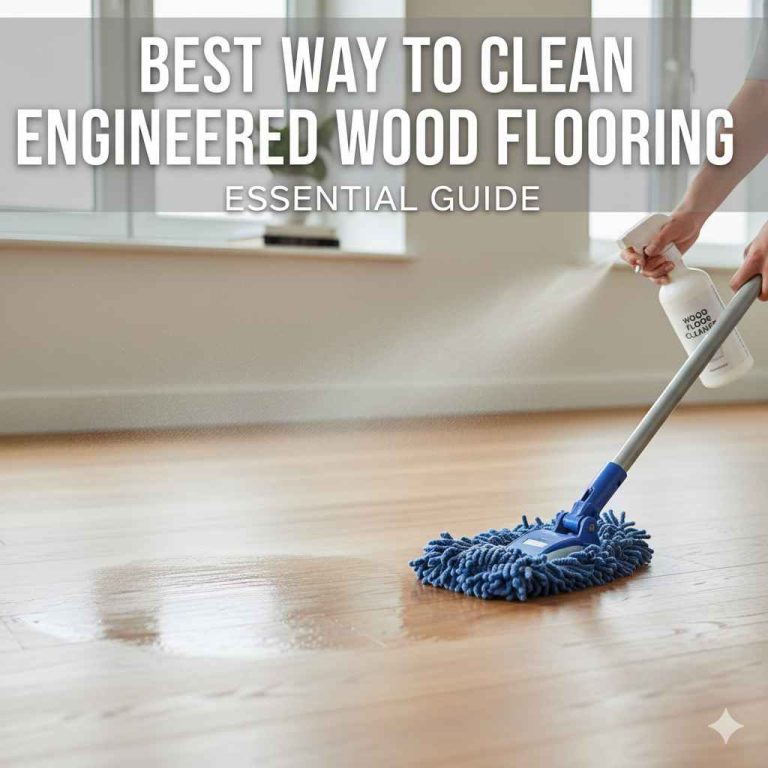
2. Mop Carefully
When it comes to mopping, ensure that your mop or cloth is only slightly damp. Excess water or moisture can seep into the wood, causing warping or cupping. Always use a hardwood floor cleaner that is recommended by the manufacturer, as other cleaning products could strip away the protective finish.
3. Place Doormats
Prevent dirt and grit from being tracked onto your wood floors by placing doormats at all entryways. This will help reduce the wear and tear caused by particles that can act like sandpaper when walked on.
4. Avoid Direct Sunlight
Prolonged exposure to direct sunlight can fade the color of your wood floors. To protect them, use curtains or blinds to block out UV rays or consider applying a protective film on your windows.
5. Use Felt Pads
To prevent scratches and dents caused by furniture legs, attach felt pads to the bottom of chairs, tables, and other heavy items. These pads will provide a buffer and reduce the impact on your wood flooring.
6. Wipe Spills Immediately
Accidental spills happen, but it’s vital to wipe them up immediately to prevent moisture from seeping into the wood and causing damage. Use a soft cloth or paper towel and blot the spill rather than rubbing it, as rubbing can spread the liquid and damage the floor further.
By following these cleaning and maintenance tips, you can keep your newly replaced wood flooring looking as good as new for years to come. Remember, taking care of your floors not only enhances their appearance but also protects your investment in the long run.
Frequently Asked Questions On How To Replace Wood Flooring
Can I Replace Wood Flooring Myself?
Yes, you can replace wood flooring yourself with proper tools and knowledge. Be sure to research, plan, and take necessary precautions.
Can You Replace Individual Pieces Of Wood Flooring?
Yes, individual pieces of wood flooring can be replaced to restore or repair specific damaged areas.
How Do You Replace A Hardwood Floor Section?
To replace a hardwood floor section, follow these steps:
1. Identify the damaged section by carefully inspecting the floor.
2. Use a circular saw to cut along the damaged section’s edges.
3. Remove the damaged flooring by prying it up with a chisel.
4. Cut a new section to fit the opening and install it.
5. Sand and finish the new section to match the rest of the floor.
How Hard Is It To Replace Floors?
Replacing floors can be a challenging task, but it depends on various factors such as the type of flooring, the size of the area, and your level of experience. Generally, it involves removing the old flooring, preparing the subfloor, and installing the new flooring.
It is recommended to consult professionals for proper installation.
Conclusion
Replacing wood flooring can be a challenging but rewarding DIY project. By carefully preparing the subfloor, choosing quality materials, and following expert tips, you can achieve a professional-looking result. With proper maintenance, your new wood flooring will add timeless beauty and value to your home for years to come.