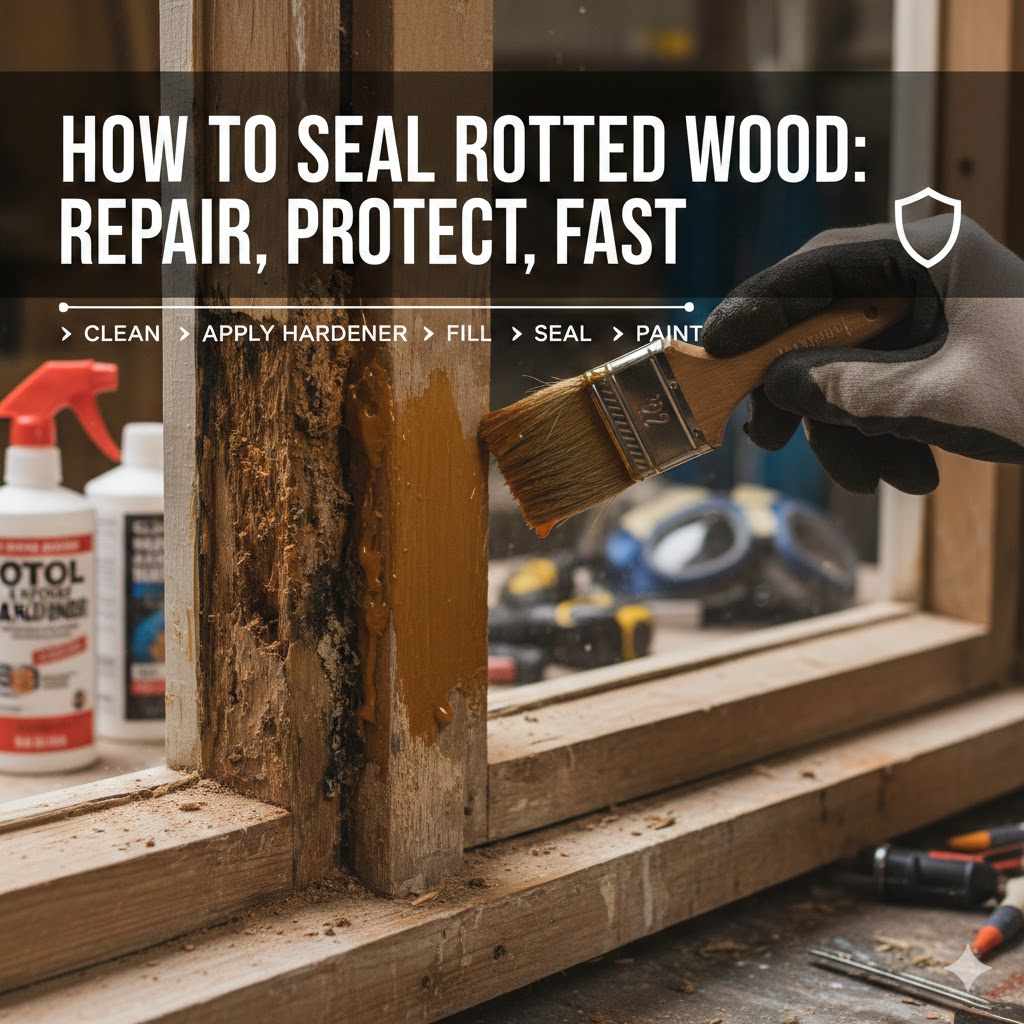
How to Seal Rotted Wood Repair Protect Fast
Repairing rotted wood can seem tricky, especially when you’re just starting out. Many people worry about making mistakes or not getting the job done right. But don’t worry, fixing rotted wood is easier than you think!
This guide will show you exactly how to seal rotted wood repair and protect fast with simple steps. We’ll go through everything you need to know to get your wood looking great and staying strong for years to come.
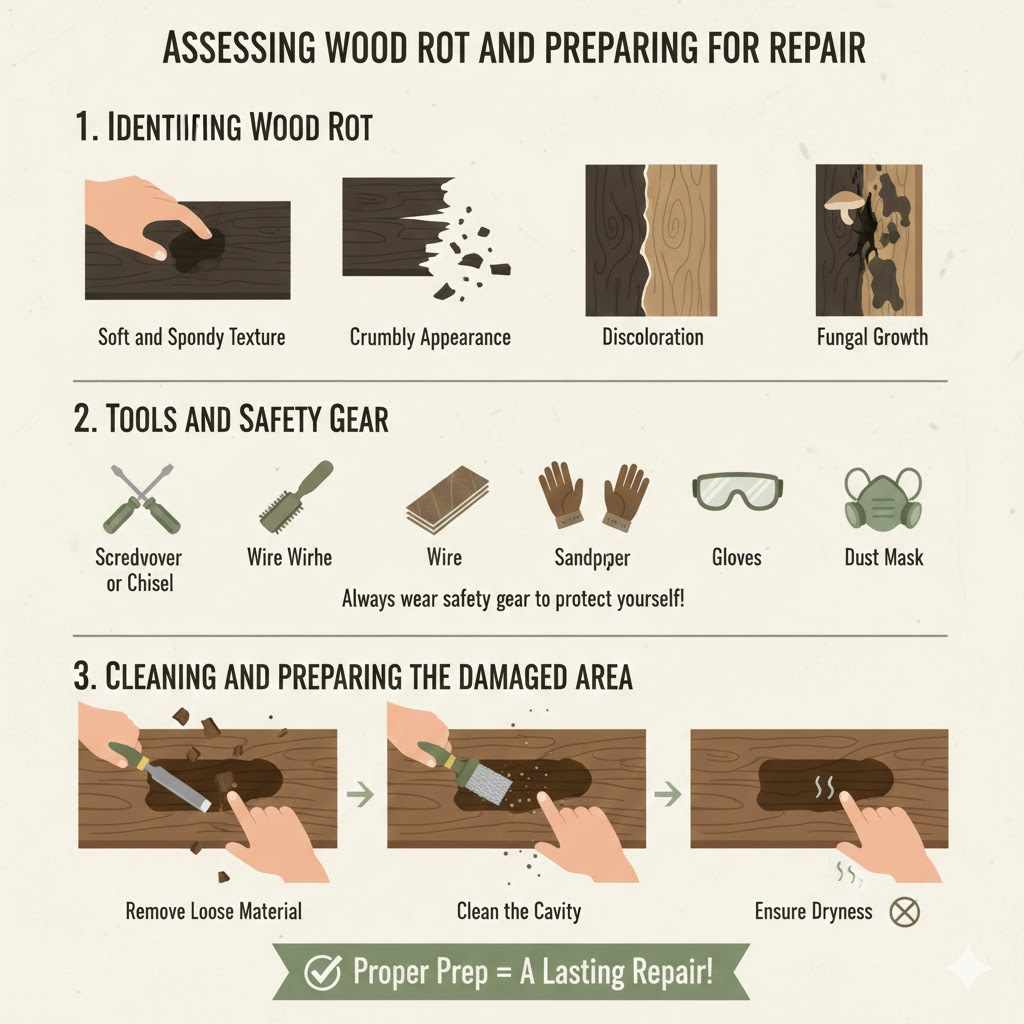
Assessing Wood Rot and Preparing for Repair
Before you can fix any wood, you need to know how bad the rot is. This section helps you check for rot and get the area ready for repairs. Knowing what you’re dealing with makes the whole process smoother.
We’ll cover the tools you’ll need and how to clean up the damaged spot so your repair materials stick well.
Identifying Wood Rot
Wood rot is a type of decay caused by fungi. It happens when wood is exposed to moisture for a long time. You might see soft spots, crumbly texture, or even black marks on the wood.
Sometimes, you can poke it with a screwdriver, and it will go right through.
- Soft and Spongy Texture
When wood begins to rot, the structure inside breaks down. This makes the wood feel soft, like a sponge. You can often press into it with your finger or a tool.This is a clear sign that the rot has started to take hold.
- Crumbly Appearance
As rot progresses, the wood loses its strength. It can start to break apart into small pieces or dust. If the wood looks like it’s turning to powder, it’s definitely rotted and needs attention right away.
- Discoloration
Rotten wood often changes color. It might turn dark brown, black, or even a grayish color. This is different from the natural color of the wood and indicates decay.
- Fungal Growth
Sometimes, you might see mushrooms or other fungal growths on or near the rotted wood. These are clear signs of the fungi that cause rot.
Tools and Safety Gear
To fix rotted wood safely and effectively, having the right tools is key. You’ll need things to remove the bad wood and clean the area. Safety is also super important.
Always protect yourself when working with tools and chemicals.
- Screwdriver or Chisel
A sturdy screwdriver or a sharp chisel is great for scraping away soft, rotted wood. You want to get all the mushy bits out so you can reach the solid wood underneath. This ensures your repair will last.
- Wire Brush
A wire brush is useful for cleaning the surface after you’ve removed the bulk of the rot. It helps remove loose particles and dust. It also preps the surface for better adhesion of fillers.
- Sandpaper
Sandpaper, in different grits, helps smooth the area. You’ll use coarser grits to remove more material and finer grits for a smooth finish. This makes the final repair look neat.
- Safety Glasses
Always wear safety glasses. Dust and debris can fly into your eyes when you’re scraping and sanding. Protecting your eyes is a top priority.
- Gloves
Gloves protect your hands from splinters, dirt, and any chemicals you might use. Work gloves are a good choice for general protection.
- Dust Mask
When you’re scraping and sanding, you create a lot of dust. Wearing a dust mask prevents you from breathing this in.
Cleaning and Preparing the Damaged Area
Once you’ve found the rot and gathered your gear, it’s time to clean up. You need to remove all the decayed wood. This is a critical step for a lasting repair.
- Remove Loose Material
Use your screwdriver or chisel to dig out all the soft, crumbly wood. You want to get down to solid, firm wood. If you leave any rot behind, it will likely spread.
- Clean the Cavity
After removing the loose bits, use a wire brush to scrub the inside of the hole. This removes more debris and slightly roughens the surface. A rough surface helps new materials bond better.
- Remove Dust
Use a brush or vacuum to get all the dust out of the cleaned area. A clean surface is essential for the filler or sealant to stick properly.
- Ensure Dryness
Make sure the area is completely dry before you apply any repair products. Moisture can prevent fillers from curing and can encourage rot to return.
Choosing the Right Wood Repair Products
Picking the correct products is vital for a good repair. There are different types of fillers and sealants, each best suited for certain situations. This part explains what to look for and how to select the best options for your project to achieve the best results for how to seal rotted wood repair and protect fast.
Wood Fillers Explained
Wood fillers are like putty for wood. They fill in holes and gaps. Some are flexible, while others harden like wood.
It’s important to choose one that fits the size of the damage and where the wood is located.
- Two-Part Epoxy Fillers
These are very strong and durable. They come in two parts that you mix together. Once mixed, they harden quickly and can be sanded, drilled, and painted.They are excellent for deep rot and structural repairs.
- Water-Based Wood Fillers
These are easy to use and clean up with water. They are good for small repairs and areas that don’t need a lot of strength. They shrink a bit as they dry, so you might need to apply them in layers for larger holes.
- Latex Wood Fillers
Similar to water-based fillers, these are also easy to work with. They are flexible, which can be good for areas that might move slightly. They are best for minor cosmetic repairs.
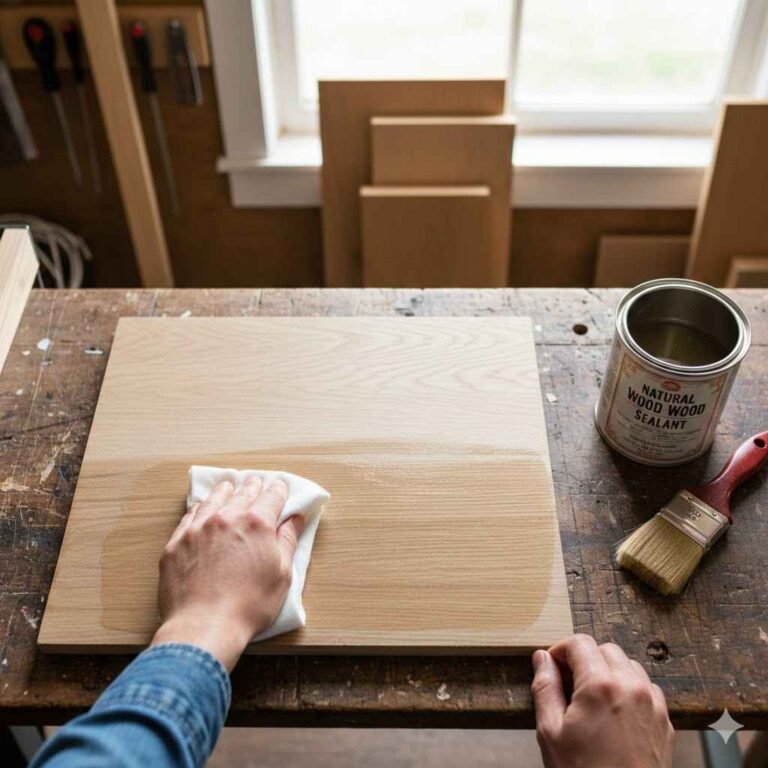
Wood Sealants and Primers
Sealants and primers protect the wood and the repair. A good primer helps paint stick better. Sealants create a barrier against water, which is the main cause of rot.
- Wood Sealers
These products soak into the wood and create a protective layer. They help prevent moisture from getting in, which stops rot from forming again. They are great for outdoor wood that faces the elements.
- Wood Primers
A good primer is essential before painting. It seals the wood, makes the surface even, and ensures your paint job looks smooth and lasts longer. Some primers also offer mildew resistance.
- Exterior vs. Interior Products
Always choose products meant for exterior use if the wood is outside. Exterior products are designed to withstand weather like rain, sun, and temperature changes. Interior products are not as durable.
Choosing Based on Project Needs
Think about what you’re fixing. Is it a small crack on a fence post, or a larger section of a deck railing? For large or structural damage, a two-part epoxy filler is often the best choice because it’s very strong.
For minor cosmetic issues, a water-based filler might be enough.
- Depth of Damage
If the rot goes deep, you need a filler that can be built up in layers or a strong epoxy that won’t shrink. Shallow rot might only need a quick fill with a standard wood filler.
- Location of Wood
Wood exposed to the weather needs robust protection. Sealants are especially important here. Indoor wood might not need as much heavy-duty protection.
- Desired Finish
Consider if you plan to paint or stain the wood. Some fillers can be painted over easily, while others might show through. Check the product label for compatibility.
Steps for How to Seal Rotted Wood Repair and Protect Fast
Now that you know about the products, let’s get to the actual steps. Following these instructions will help you successfully repair and protect your rotted wood. We will make sure you can achieve the goal of how to seal rotted wood repair and protect fast.
Applying Wood Filler
This is where you fill the hole left by the rotten wood. It’s like giving the wood a new solid part. It’s important to apply it correctly so it sticks well and looks good.
- Mix the Filler
If you are using a two-part epoxy, mix the two components according to the package directions. Mix thoroughly but try not to whip too much air into it. For single-part fillers, you might need to stir them well.
- Apply the Filler
Use a putty knife or a small trowel to press the filler into the hole. Make sure to push it in firmly so there are no air pockets. Overfill the hole slightly, as most fillers will shrink a little when they dry.
- Smooth the Surface
Wipe away any excess filler from the surrounding wood with a damp cloth. Try to shape the filler to match the original surface as closely as possible. If you’re using an epoxy, you can sometimes sculpt it before it hardens.
- Allow to Cure
Let the filler dry completely. The drying time will vary depending on the type of filler and the thickness you applied. Check the product packaging for specific drying times.
- Sanding and Shaping
Once the filler is hard, you need to make it smooth and blend with the rest of the wood. This step makes the repair look natural.
- Start Sanding
Begin with a medium-grit sandpaper. Gently sand the filled area to bring it down to the level of the surrounding wood. Be careful not to sand away too much material.
- Refine with Fine Grit
After you’ve got the shape right with medium grit, switch to a fine-grit sandpaper. This will smooth the surface and prepare it for primer or paint. You want the repaired area to feel as smooth as the untouched wood.
- Clean Again
Wipe away all the sanding dust with a clean cloth or a brush. Dust can prevent paint from adhering properly, so a clean surface is important.
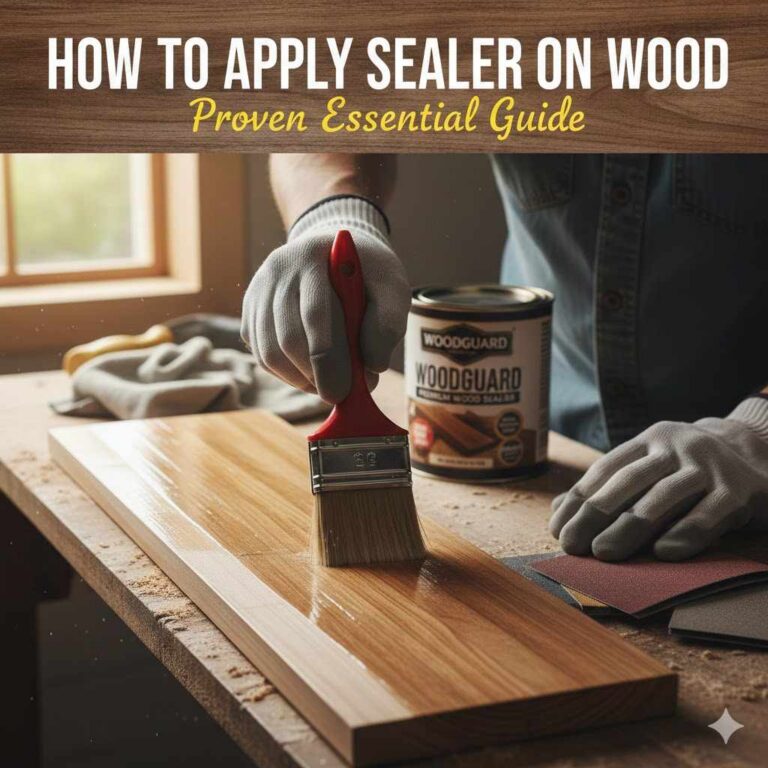
Priming and Sealing
This is the final protective layer. It seals the repair and the wood against moisture and prepares it for paint or stain.
- Apply Primer
Apply a coat of high-quality wood primer to the repaired area and the surrounding wood. This helps to seal the wood and ensures an even finish for your topcoat. Make sure to cover the entire repair.
- Allow Primer to Dry
Let the primer dry completely according to the manufacturer’s instructions. Some primers might require a light sanding after drying for an ultra-smooth finish.
- Apply Topcoat
Once the primer is dry, you can apply your paint or stain. Use exterior-grade paint or stain for outdoor projects. Apply at least two coats for good coverage and protection.
- Seal Joints and Edges
Pay special attention to sealing any joints or edges where water can easily get in. Use a good exterior caulk or sealant to fill small gaps after the paint has dried. This adds an extra layer of defense.
Preventing Future Wood Rot
Fixing rot is important, but stopping it from coming back is even better. This section gives you tips on how to keep your wood in good shape. Taking steps to prevent rot will save you time and effort later.
Moisture Management
Water is the biggest enemy of wood. Keeping wood dry is the best way to stop rot. This means looking at how water flows around your house and where wood is exposed.
- Gutters and Drainage
Make sure your gutters are clean and working properly. They should direct water away from your house and the wood structures. Clogged gutters can cause water to spill over and soak the wood.
- Ventilation
Good airflow around wooden structures helps them dry out faster. Ensure that crawl spaces, attics, and areas around wooden decks are well-ventilated. This prevents moisture from lingering.
- Fix Leaks Promptly
Any leaks from pipes, roofs, or windows near wood should be fixed right away. Small leaks can quickly lead to big rot problems if ignored.
Protective Treatments
Using the right finishes and treatments can add a strong shield to your wood. These products are designed to repel water and resist decay.
- Regular Sealing and Painting
Reapply sealants and paint every few years, especially on exterior wood. This keeps the protective barrier strong and prevents water from reaching the wood. Check for signs of wear and tear on existing finishes.
- Wood Preservatives
For new wood or areas prone to rot, consider using a wood preservative. These are chemicals that are absorbed by the wood to make it resistant to fungi and insects.
- Proper Wood Choice
When building or replacing, choose wood types that are naturally more resistant to rot, like cedar or redwood, especially for ground contact or very wet areas.
Maintenance Schedule
A little bit of regular care goes a long way. Setting up a schedule for checking and maintaining your wood can catch problems early.
- Annual Inspections
Walk around your home and property once a year, looking for any signs of rot, damage, or wear on wooden elements. Pay close attention to areas that stay damp.
- Seasonal Checks
After heavy rains or during different seasons, it’s a good idea to do quick checks. Look at decks, fences, window frames, and door frames for any new damage.
- Prompt Repairs
If you find a small issue, fix it immediately. A small crack or a tiny soft spot can become a major problem if left unattended. Early repairs are always easier and cheaper.
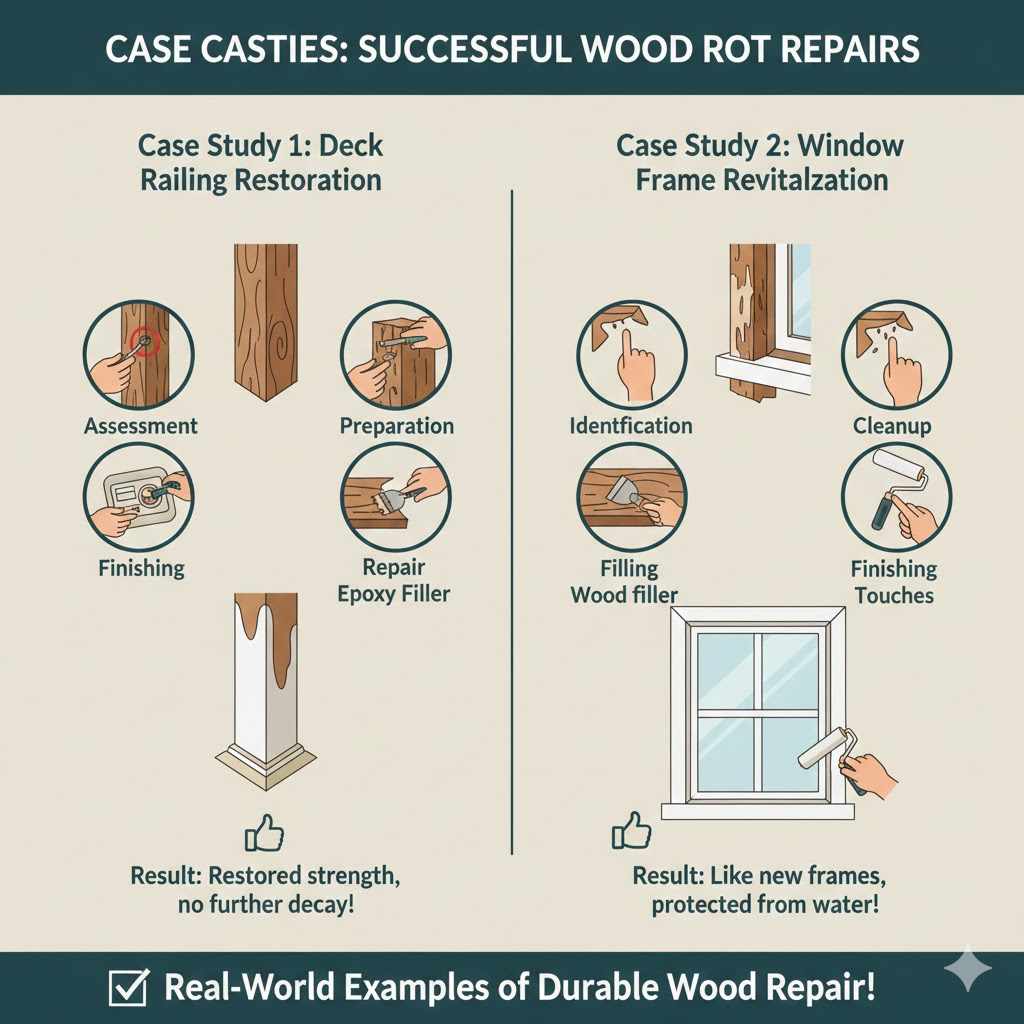
Case Studies: Successful Wood Rot Repairs
Seeing how others have successfully repaired wood rot can be inspiring and educational. These examples show real-world applications of the methods discussed. They offer practical insights into how these steps work.
Case Study 1: Deck Railing Restoration
A homeowner noticed that the bottom posts of their wooden deck railing had started to soften and crumble. This was due to constant exposure to rain and sprinkler systems. The rot was about an inch deep in some areas.
- Assessment: The homeowner identified the rotted areas using a screwdriver.
- Preparation: They used a chisel to scrape away all the soft, decayed wood until they reached solid wood. A wire brush cleaned the cavity, and all dust was removed.
- Repair: A two-part epoxy wood filler was chosen for its strength and durability. It was mixed and pressed firmly into the holes.
- Finishing: Once cured, the epoxy was sanded smooth to match the railing’s profile. A high-quality exterior primer and then a matching exterior paint were applied.
Result: The railing posts were restored to their original strength and appearance. The homeowner reported that the repair held up well through the next rainy season, with no signs of further decay. This repair also demonstrated how to seal rotted wood repair and protect fast from future issues.
Case Study 2: Window Frame Revitalization
An old house had wooden window frames that were showing signs of rot, especially around the lower sills. Water had been seeping in from poorly sealed window panes. The wood was soft and starting to flake.
- Identification: The rot was visible as peeling paint and soft wood that could be poked with a finger.
- Cleanup: A putty knife was used to remove the rotted wood. The area was then cleaned with a stiff brush and wiped down to ensure it was dry.
- Filling: A water-based wood filler was used for the shallower areas. For a slightly deeper section, a wood patching compound was applied in layers.
- Finishing Touches: After the filler cured and was sanded smooth, a good exterior primer was applied, followed by two coats of exterior paint. The window seals were also replaced to prevent future water intrusion.
Result: The window frames looked like new, and the rot was completely sealed. The homeowner felt confident that the frames were protected from further water damage and decay. The new paint and seals improved the home’s curb appeal.
Frequently Asked Questions
Question: What is the fastest way to seal rotted wood?
Answer: For a fast repair, use a two-part epoxy wood filler. It cures quickly and can be sanded and painted within a few hours, depending on the product and conditions.
Question: Can I use regular putty to fix rotted wood?
Answer: Regular household putty is not suitable for structural wood repair. Wood fillers and epoxies are specifically designed to bond with wood, harden, and withstand weather.
Question: How do I know if wood is too rotten to repair?
Answer: If the rot has spread extensively, compromised the structural integrity of the piece, or is found in multiple critical areas, replacement might be a better option than repair.
Question: Does sealing rotted wood stop it from spreading?
Answer: Yes, sealing rotted wood after removing all decayed material and preparing the surface effectively stops the rot from spreading. It seals out moisture and provides a stable surface.
Question: What is the best sealant for exterior rotted wood?
Answer: For exterior repairs, a two-part epoxy filler followed by an exterior-grade primer and paint offers the best protection against moisture and the elements.
Summary
Repairing rotted wood is a manageable task when you know the steps. You can effectively seal rotted wood, repair damage, and protect it from future decay. By assessing the rot, choosing the right products, and following a careful repair process, you restore wood’s strength and beauty.
Regular maintenance is key to preventing rot from returning.