How to Seal Outdoor Wood Furniture: The Right Sealant for Every Wood Type
The fastest way to waste a can of sealant on outdoor wood furniture is to treat every piece the same way. A dense, oily wood like teak fights penetrating oils because its own natural oils block absorption. A porous wood like pine soaks up almost anything but offers little natural protection on its own. Cedar and redwood already resist rot but still turn silver-gray without a UV-blocking topcoat. Get the sealant-to-wood match wrong and you’ll be redoing the job in one season instead of three.
This guide walks through choosing the right sealant for your specific wood, prepping the surface so it actually bonds, and applying it so it lasts. It also covers the part most guides skip: what actually happens when a sealant fails, and why “just add another coat” doesn’t work for every finish type.

Match the Sealant to the Wood, Not the Other Way Around
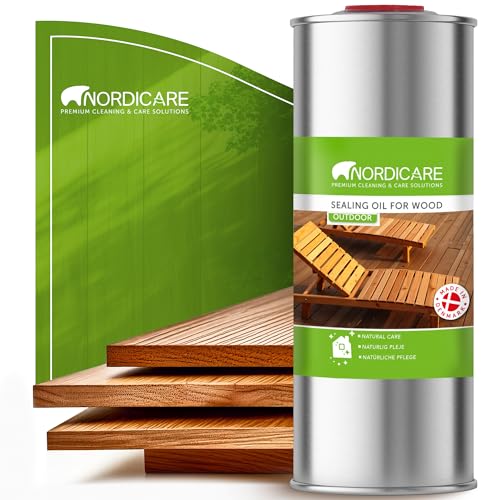
Best Sealant for Outdoor Furniture
 |
Minwax Helmsman Spar Urethane (Satin, Quart) – $23.49 A flexible, UV-blocking film finish that moves with outdoor wood instead of cracking, ideal for painted or stained softwood furniture.
|
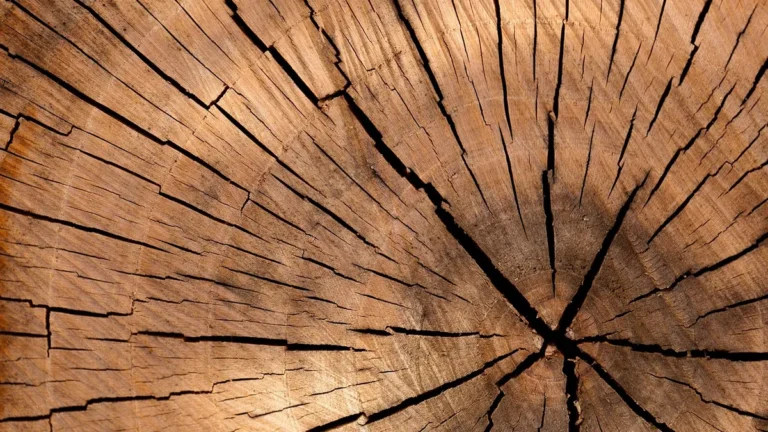
Outdoor furniture fails for one of two reasons: UV breakdown of the wood’s lignin (the glue that holds wood fibers together, which is what actually causes graying) or moisture cycling that swells and shrinks the fibers until they crack. The right sealant addresses both, but the “right” one depends on the wood.
- Teak, ipe, and other oily hardwoods: these woods have natural oils that resist penetration. A teak-specific oil (formulated with solvents that carry pigment and UV blockers past the wood’s own oils) works better than a generic exterior oil. Film-forming finishes like spar urethane tend to peel on teak because the natural oils prevent a strong bond.
- Cedar and redwood: naturally rot- and insect-resistant, but the color fades to gray from UV exposure alone, with no rot involved. A clear finish with UV inhibitors (not just a water-repellent) is what actually preserves the color; a plain water sealer only slows the graying, it doesn’t stop it.
- Pine, fir, and other softwoods: these are the woods most furniture kits and DIY builds use. They’re porous and take a stain or sealant readily, but they also rot fastest once moisture gets past the finish. A penetrating oil-based sealant with UV blockers, reapplied on a strict schedule, outperforms a thick film finish here because it won’t trap moisture under a cracked surface.
- Any painted or previously stained piece: a compatible clear topcoat matters more than the sealant type. Oil-based topcoats over water-based paint (or the reverse) can lift or cloud. Test a hidden spot first.
A spar urethane (like the one below) is a solid general-purpose choice for painted or stained softwood furniture because it flexes with seasonal wood movement instead of cracking the way a rigid interior varnish would.
Why a Sealant Actually Fails (It’s Not Always “Time for a New Coat”)
Most articles tell you to reapply sealant “every year or two” without explaining that oil finishes and film finishes fail in completely different ways, which changes what you should actually do when you spot damage.
Penetrating oil finishes (teak oil, tung oil, most “outdoor wood oil” products) don’t crack or peel — they just wear thin and the wood starts absorbing water again. You’ll notice the wood stops beading water and starts looking dry or chalky. The fix is simple: clean, let it dry fully, and recoat directly over the old finish. No sanding or stripping needed in most cases.
Film-forming finishes (spar urethane, varnish, polyurethane) form an actual plastic-like layer on top of the wood. When these fail, they crack, bubble, or peel — and recoating over failed film finish traps moisture underneath and makes it worse. If you see any cracking or peeling, you have to sand or strip back to bare wood before adding a new coat. Painting a new coat of urethane over a peeling one is the single most common mistake in outdoor refinishing, and it guarantees the new coat fails within months.

Preparing the Surface Before You Seal
Skipping prep is the second most common reason a sealant fails early. The finish needs a clean, dry, slightly open wood surface to actually bond to — not a layer of dirt, mildew, or old flaking finish.
- Clean first. A mild dish soap and water scrub handles dirt and pollen. For mildew, a solution of one part bleach to three parts water kills the spores (an oxygen bleach deck cleaner works too and is gentler on nearby plants). Rinse thoroughly and let the wood dry for at least 24-48 hours — sealing over damp wood traps moisture in and causes the finish to bubble almost immediately.
- Sand only if needed. If the old finish is intact and just worn thin, a light scuff with 220-grit is enough to help the new coat bond. If it’s peeling or the wood is raw and weathered gray, sand with 80-120 grit first to remove the damaged surface layer, then finish with 180-220 grit. Always sand with the grain.
- Wipe away all dust. A tack cloth or a barely damp microfiber cloth gets sanding dust out of the grain. Dust trapped under a sealant creates a rough, cloudy finish and gives moisture a path in.
- Check for damage. Fill any cracks or gouges with an exterior-rated wood filler before sealing, and let it cure fully — sealing over unfilled damage just locks moisture into that spot.
Applying the Sealant
Apply in mild, dry weather — ideally 50-85°F with low humidity and no rain in the forecast for at least 24 hours. Direct sun while applying can cause the finish to skin over too fast and trap brush marks, so early morning or shade is better than midday sun.
- Apply a thin, even coat with a natural-bristle brush (for oil-based products) or a foam brush (for water-based products). Thin coats dry more evenly and are less likely to run or pool in joints.
- Let the first coat dry fully per the label — usually 4-24 hours depending on humidity and product type.
- Lightly scuff-sand with 220-grit between coats if using a film-forming finish; this isn’t needed between coats of most penetrating oils.
- Apply 2-3 coats total for most film finishes, or follow the manufacturer’s recoat window for oils (many oils need a second coat within a specific window while the first is still slightly tacky).
- Let the final coat cure for the full time listed on the label (often 24-72 hours) before using the furniture hard or stacking cushions on it.
How Often to Reseal
There’s no single universal number, because exposure matters more than a calendar date. A chair on a covered porch might go 3+ years between coats. The same chair sitting uncovered in direct sun and rain may need attention every 6-12 months. Rather than going by a fixed schedule, check twice a year (spring and fall): does water still bead on the surface, or does it soak in? Soaking in is the sign it’s time to clean and recoat — waiting until you see gray, cracked wood means the wood itself has already started degrading.
Frequently Asked Questions
Do I need to strip old finish before resealing outdoor furniture?
Only if the existing finish is peeling, cracking, or flaking. If it’s intact and just worn thin (water no longer beads on the surface), a light sanding and a fresh coat over the existing finish is enough. Stripping is only necessary when the old film-forming finish has failed structurally.
Can I use an indoor polyurethane on outdoor furniture?
No. Standard interior polyurethane lacks UV inhibitors and the flexible additives that let a finish expand and contract with outdoor temperature swings. It will yellow, crack, and peel much faster outside. Look for a product labeled for exterior or marine use, such as spar urethane or spar varnish.
How long should sealed outdoor furniture dry before it rains?
At minimum 24 hours for most oil-based sealants, and check the product label since some water-based products need less. If rain is forecast within that window, wait for a longer dry stretch — rain on an uncured finish can cloud it or wash it off entirely.
Sponsored / affiliate links. As an Amazon Associate I earn from qualifying purchases. I may earn additional commission from eligible campaigns.