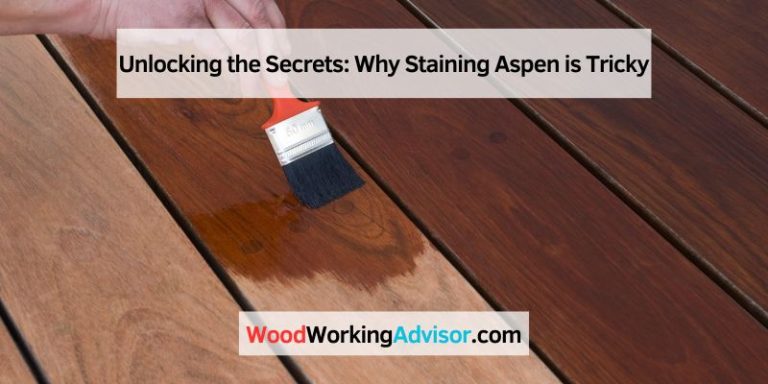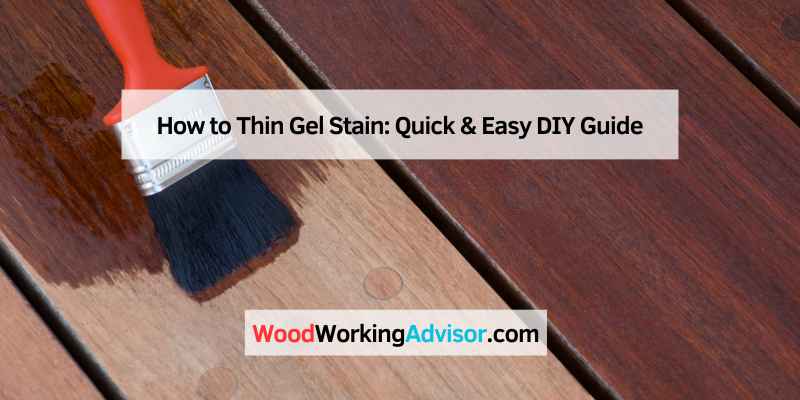
How to Thin Gel Stain: Quick & Easy DIY Guide
To thin gel stain, mix it with a solvent like mineral spirits or paint thinner. Start with a small amount and gradually add more until you achieve the desired consistency.
Gel stain offers a rich, vibrant color, perfect for enhancing wood surfaces. Thinning gel stain can improve application, allowing for smoother coverage and better penetration into the wood grain. Proper thinning techniques can help achieve a more even finish, making your project look professional.
Whether you’re working on furniture, cabinets, or crafts, knowing how to thin gel stain effectively is crucial. This process not only enhances the stain’s performance but also allows for greater control over the final appearance. Understanding how to thin gel stain properly can elevate your woodworking projects and ensure stunning results.
Introduction To Gel Stain
Gel stain is popular for its ease of use and beautiful finish. It offers rich color without the mess of traditional stains.
Choosing gel stain allows for better control during application. It stays on the surface instead of soaking in. This makes it ideal for vertical surfaces and intricate designs.
Gel stains are available in many colors. This variety helps match different wood types and styles. They are perfect for cabinets, furniture, and crafts.
| Benefits of Gel Stain | Description |
|---|---|
| Easy Application | Applies smoothly with a brush or cloth. |
| Control | Stays on the surface for even color. |
| Durability | Resistant to scratches and fading. |
| Variety | Available in many shades and finishes. |
Materials Needed For Thinning Gel Stain
To thin gel stain, gather the right materials. Key items include a gel stain, a thinner, and mixing tools. Common thinners are mineral spirits, paint thinner, or water. Choose a thinner based on the stain type.
For effective mixing, use tools like a stir stick or a small container. A clean jar works well for blending. Always mix in a well-ventilated area. Proper ventilation ensures safety and helps with fumes.
| Material | Use |
|---|---|
| Gel Stain | Main product to be thinned |
| Thinner | To reduce viscosity of the stain |
| Mixing Tools | To combine stain and thinner evenly |
Preparation Steps Before Thinning
Safety is very important when working with gel stains. Always wear gloves to protect your hands. A mask can help avoid inhaling harmful fumes. Use safety goggles to protect your eyes from splashes.
Set up your workspace in a well-ventilated area. Open windows and use fans for good airflow. Cover surfaces with drop cloths to catch any spills. Keep all tools and materials organized and within reach.
Store flammable materials away from heat sources. Have a fire extinguisher nearby just in case. Follow all label instructions on the products you use for safety.
Thinning Gel Stain: Step-by-step
To thin gel stain, start by measuring the gel stain and thinner. Use a clean cup for accurate measurements. A good ratio is 1 part thinner to 3 parts gel stain. This helps to maintain the stain’s color.
Next, pour the measured gel stain into a mixing container. Then, add the thinner slowly while stirring. Mixing well ensures the stain is uniform. A paint stirrer or a clean stick works best for this.
After mixing, check the consistency. It should flow easily but still coat the surface well. If it seems too thick, add a little more thinner. Always test the mixture on a scrap piece first.
Testing The Thinned Gel Stain
Before starting, gather your materials. Use a small container for mixing. Add a small amount of gel stain to the container. Gradually mix in a solvent like mineral spirits or paint thinner. This helps achieve the desired consistency.
Create test samples on a scrap piece of wood. Apply the thinned gel stain with a brush. Observe how it spreads and dries. Adjust the mixture if necessary. Make sure the color matches your project needs.
Evaluating the consistency is crucial. It should not be too thick or too runny. A good rule is to aim for a creamy texture. Check how the color looks after drying. This helps ensure a perfect finish for your project.
Application Tips For Thinned Gel Stain
To apply thinned gel stain on different surfaces, preparation is key. Clean the surface well. This removes dust and grease. Use a brush or rag for application. Always test on a small area first.
For wood surfaces, use long strokes. This helps avoid streaks. On metal surfaces, use a foam brush. It gives a smooth finish. For vertical surfaces, work from top to bottom.
Use a light hand to spread the stain evenly. Avoid overloading the applicator. For best results, apply in thin layers. Wait for the first layer to dry before adding more.
Troubleshooting Common Issues
Dealing with bubbles in gel stain can be frustrating. To fix this issue, gently stir the stain. Avoid shaking the container, as it introduces air. A foam brush can help apply the stain smoothly. Always use even strokes to prevent bubbles.
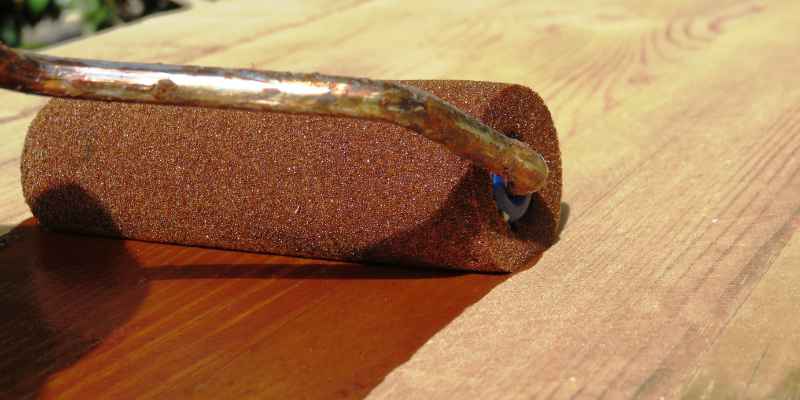
Fixing uneven stain areas requires a few steps. First, let the stain dry completely. Then, lightly sand the uneven spots. Use fine-grit sandpaper for best results. After sanding, wipe away dust with a clean cloth. Apply a new layer of stain to even the color.
Maintaining Your Gel Stain Finish
To maintain your gel stain finish, use protective top coats. These coats help shield the surface from scratches and fading. Choose a high-quality polyurethane for the best results. Apply it with a soft brush for an even layer.
Cleaning your gel stain finish is easy. Use a damp cloth and mild soap. Avoid harsh chemicals that can damage the surface. Rinse with clean water and dry immediately.
| Cleaning Tips | Protective Coats |
|---|---|
| Use a damp cloth | Choose high-quality polyurethane |
| Avoid harsh chemicals | Apply with a soft brush |
| Rinse with clean water | Allow to dry completely |
Frequently Asked Questions
How Do You Thin Gel Stain Effectively?
To thin gel stain effectively, use a compatible solvent. Mineral spirits or paint thinner work well. Start by adding a small amount, mixing thoroughly. Test the consistency on a sample surface before applying to your project. Adjust the thickness to achieve your desired transparency and flow.
What Is The Best Solvent For Thinning Gel Stain?
The best solvents for thinning gel stain are mineral spirits and paint thinner. These options help maintain the stain’s properties. Always check the manufacturer’s recommendations for specific products. Using the right solvent ensures optimal application and a smooth finish on your stained surfaces.
Can You Use Water To Thin Gel Stain?
Water should not be used to thin gel stain. Gel stains are oil-based, and water can ruin their consistency. Instead, stick to recommended solvents like mineral spirits. This will ensure a proper application and prevent any adverse reactions during the staining process.
How Much Should You Thin Gel Stain?
Thin gel stain according to your project’s requirements. Generally, a 10-20% solvent ratio is recommended. Start with a small amount and adjust as necessary. The goal is to achieve a consistency that flows easily while still providing adequate color coverage on the surface.
Conclusion
Thinning gel stain can enhance its application and finish. Remember to choose the right solvent for your project. Always test the mixture on a small area first. This ensures the desired effect before committing to larger surfaces. With these tips, you’ll achieve a beautiful, even stain every time.
Happy staining!