How to Restain Kitchen Cabinets Without Stripping: Easy Guide
Yes, you can restain kitchen cabinets without stripping — a liquid deglosser or light scuff-sanding is usually enough surface prep for a new stain to bond, without removing the old finish down to bare wood.
Full stripping is messy, slow, and often unnecessary if the existing finish is sound. This guide walks through the deglosser-and-gel-stain method professionals use to refresh cabinets fast, how to choose the right stain for the look you want, and the mistakes that cause an uneven or blotchy result.
Preparation Steps
First, gather your materials: fine-grit sandpaper or liquid deglosser, a wood-safe cleaner, your chosen stain, a brush or lint-free rags, and painter’s tape. Having everything on hand before you start saves a mid-project trip to the store.
Clean the cabinets thoroughly with a degreasing cleaner — kitchen cabinets pick up cooking grease that plain water won’t cut, and any grease left behind will keep the new stain from bonding evenly. Wipe every corner and let the surface dry completely before moving on.
Remove all cabinet hardware — handles, knobs, and hinges if you’re doing doors separately. Keep screws organized (a labeled zip bag per door works well) so reassembly is easy later. Removing hardware first makes staining faster and prevents drips pooling around fittings.
Deglossing vs. Sanding: Which Prep Method Should You Use?
Both methods do the same job — breaking the glossy top layer of the old finish so a new stain has something to grip — but they suit slightly different situations.
| Method | Best for | Time | Mess level |
|---|---|---|---|
| Liquid deglosser (chemical) | Cabinets with an intact, non-damaged finish | Fast — wipe on, wipe off | Low, but needs ventilation |
| Light scuff-sanding (220-320 grit) | Finishes with minor scratches or dull spots | Slower than deglosser | Moderate — dust cleanup needed |
| Full chemical stripping | Peeling, thick, or heavily damaged finish | Slowest | Highest — the method this guide avoids |
If the existing finish is in reasonably good shape — no peeling, no thick buildup, no water damage — a deglosser or a light scuff-sand is almost always enough, which is exactly why full stripping isn’t necessary for most restaining jobs.
Choosing The Right Stain
Different stain types behave differently, especially over an existing finish rather than bare wood:
- Gel stain: The best choice for restaining without stripping. It’s thick, sits on the surface rather than soaking in, and doesn’t require bare, open wood grain to bond — which is exactly the situation you have after deglossing instead of stripping.
- Oil-based stain: Penetrates deeper and needs more open wood grain to look even, which makes it a better fit for bare wood than for a lightly-prepped existing finish.
- Water-based stain: Dries fast and has lower odor, but can raise the wood grain and shows lap marks more easily if you’re not working in small, consistent sections.
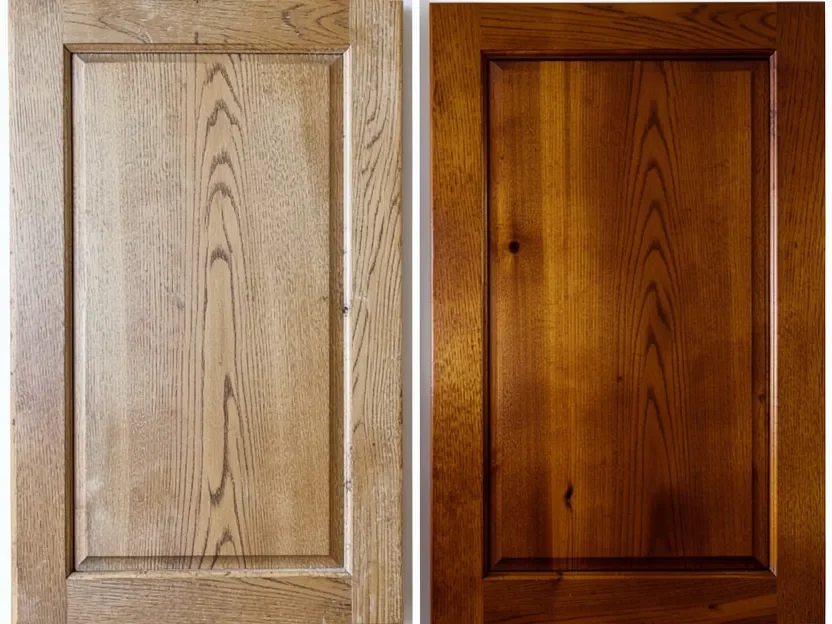
Color affects the whole room’s mood, not just the cabinets — lighter stains open up a small kitchen, while darker stains add warmth and make a large kitchen feel more grounded. Always test your chosen stain on a hidden spot (inside a cabinet, or the back of a door) first: stain color continues to shift slightly as it dries and cures, so what you see wet on the brush isn’t the final color.
Applying The Stain
Cover countertops and floors with plastic or old sheets, and tape edges with painter’s tape to protect walls and nearby appliances. Keep stain away from anything you’re not working on.
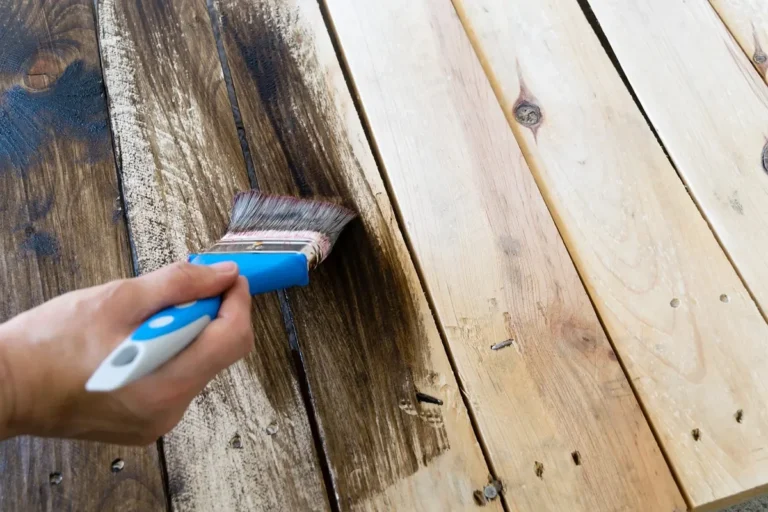
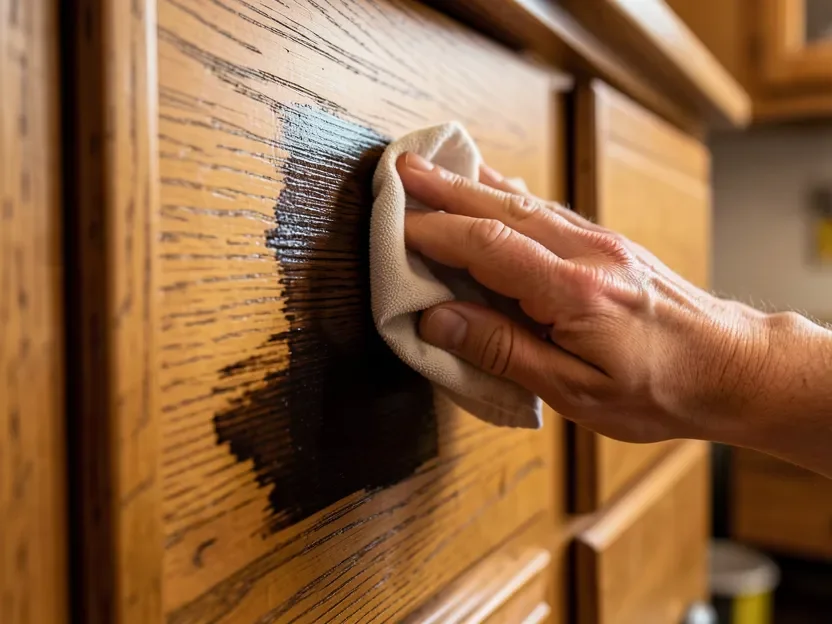
Use a soft cloth or foam brush and work from the top of the cabinet down, in small sections, following the direction of the wood grain. Working in sections rather than the whole door at once keeps the stain from drying unevenly before you can wipe off the excess. Check for drips as you go and wipe them immediately — a missed drip dries as a dark, hard-to-fix blotch.
Let the first coat dry fully before judging the color — gel stain especially can look different once cured than it does wet. Apply a second thin coat if you want a darker result; each additional coat deepens the color. Always let coats dry completely between applications for the most durable, even finish.
How To Restain Cabinets Without Stripping: Step By Step
- Clean and degrease: Wipe every surface with a degreasing cleaner and let it dry fully.
- Remove hardware: Take off handles, knobs, and hinges, and keep screws organized by door.
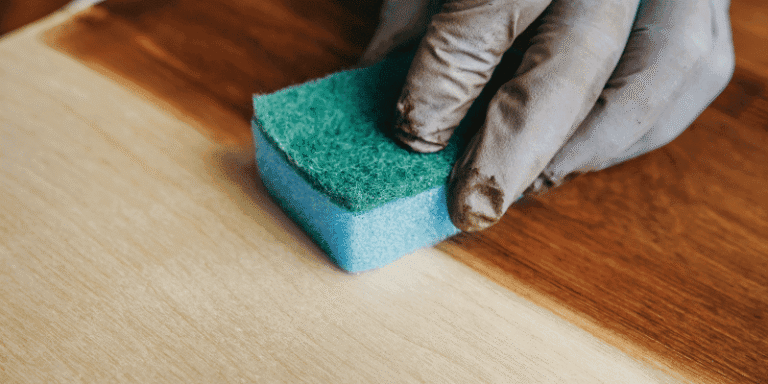
- Deglose or scuff-sand: Wipe on a liquid deglosser, or lightly scuff-sand with 220-320 grit, to break the old finish’s sheen.
- Wipe away residue: Remove all dust or deglosser residue with a tack cloth before staining.
- Apply gel stain in thin coats: Work top-to-bottom, in sections, wiping off excess as you go.
- Let each coat cure fully: Don’t rush drying time between coats — a rushed second coat is the most common cause of a tacky, uneven finish.
- Seal: Apply a clear protective topcoat once the stain has fully cured.
- Reattach hardware: Reinstall handles and knobs once the topcoat is fully dry.
Common Mistakes
- Skipping the degreasing step: Kitchen grease left on the surface causes new stain to bead up or peel later.
- Applying stain too thick: Thick coats dry unevenly and can stay tacky. Thin coats, built up gradually, always look better.
- Not testing color first: Stain over an existing finish often reads darker or more muted than the same stain on bare wood — always test on a hidden area.
- Rushing dry time: Sealing or reassembling before the stain has fully cured traps softness under the topcoat and can cause it to peel later.
- Skipping the topcoat: Stain alone has little water or wear resistance — kitchen cabinets need a sealer to hold up to daily use.
Finishing Touches
Restaining cabinets without stripping comes down to thorough cleaning, proper deglossing, and an even gel stain application. Get those three right and the result looks just as intentional as a full strip-and-refinish.
Seal The Cabinets
Sealing protects the new stain from water and daily wear. Choose a clear polyurethane or polycrylic topcoat and apply it evenly with a brush or foam applicator. Let the first coat dry completely, then add a second coat for extra durability, covering all surfaces — including edges, which take the most handling wear.
Reattach Hardware
Once the sealer is fully dry, reattach knobs and handles, making sure everything is tight and secure. Check that doors and drawers open smoothly and align evenly, so the finished cabinets look neat and function properly.
Polish And Clean
A final wipe-down with a soft cloth removes dust and any leftover residue, leaving the new finish looking bright and even. Avoid harsh cleaners on the fresh finish for at least a few weeks while it fully cures.
Maintenance Tips
Clean cabinets regularly with mild soap and water rather than harsh chemicals, which can dull or strip the new finish over time. Dry surfaces with a clean towel rather than letting water sit.
Water is the biggest long-term threat to a stained finish — fix leaks quickly, use mats under sinks, and wipe up spills right away, since standing moisture causes wood to swell and finish to lift at the edges.
If a small area gets scratched or worn down the road, a matching stain touch-up applied and blended carefully can refresh just that spot without redoing the whole cabinet.
Frequently Asked Questions
Can You Restain Cabinets That Are Already Stained?
Yes. Deglose or lightly sand the surface to break the old sheen, apply a new gel stain evenly, and finish with a protective topcoat once it’s fully cured. Choose a stain color that complements your kitchen’s overall look.
Can You Stain Over Stained Cabinets Without Sanding?
Yes — clean the surface thoroughly, apply a liquid deglosser instead of sanding, then apply a gel stain for the best adhesion without bare wood. Let it dry completely before sealing.
Do You Have To Strip Cabinets Before Restaining?
No, not if the existing finish is intact. A liquid deglosser or light scuff-sanding is usually enough for proper adhesion, as long as surfaces are clean and free of grease or loose finish.
Can You Refinish Cabinets Without Removing Them?
Yes, cabinets can be refinished in place. Clean thoroughly, deglose or sand, apply stain or paint, and finish with a topcoat, using proper ventilation and protecting surrounding surfaces throughout.
How Long Does Restained Cabinet Finish Take To Fully Cure?
Most gel stains are dry to the touch within a few hours, but full cure — the point where the finish reaches its full hardness and water resistance — typically takes several days to about two weeks depending on the product and humidity. Avoid heavy use or harsh cleaning during that window.
Conclusion
Refinishing kitchen cabinets without stripping is simple: clean thoroughly, deglose or lightly sand, apply gel stain in thin coats, and seal. It’s faster and less messy than a full strip, and it holds up just as well when done carefully.
Use quality materials, don’t rush the dry times between steps, and you’ll get a refreshed kitchen without the time or mess of a full refinish.
Sponsored / affiliate links. As an Amazon Associate I earn from qualifying purchases. I may earn additional commission from eligible campaigns.