How to Cover Wood Putty With Stain So It Doesn’t Look Blotchy
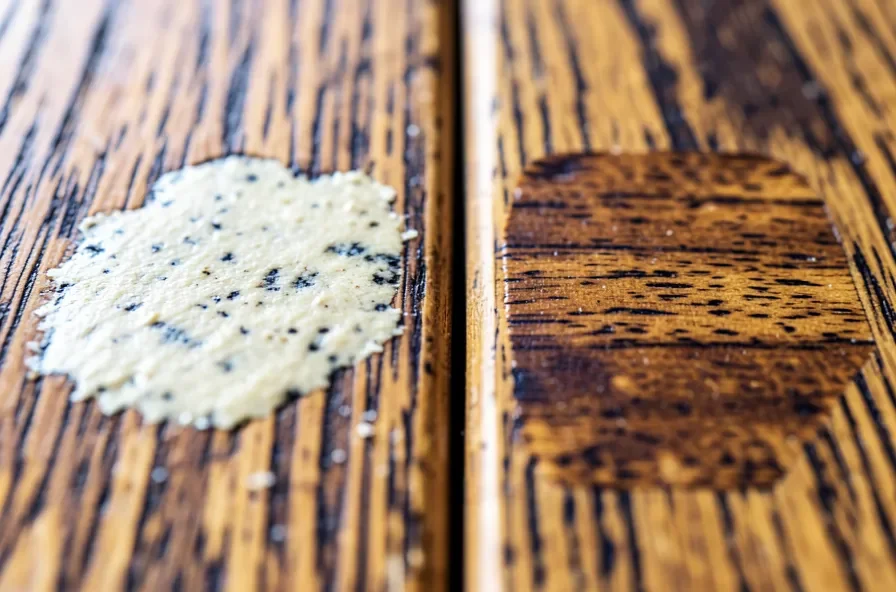
Regular wood putty usually will not take stain evenly. Most putty is a non-porous, pre-mixed compound, not open wood grain, so oil- or water-based stain sits on top of it instead of soaking in — that’s why patched spots often dry chalky, pale, or blotchy while the surrounding wood darkens normally.
To actually get a wood putty patch to disappear under stain, two things have to line up: you need a filler that’s formulated to be stainable in the first place, and you need to match its chemistry (water-based or oil-based) to the stain you’re using. Get either one wrong and you’ll see the patch from across the room. Below is why this happens, how to tell which type of putty you’re holding, and the application order that gets the closest match.
Why Regular Wood Putty Resists Stain (The Real Reason Patches Look Blotchy)
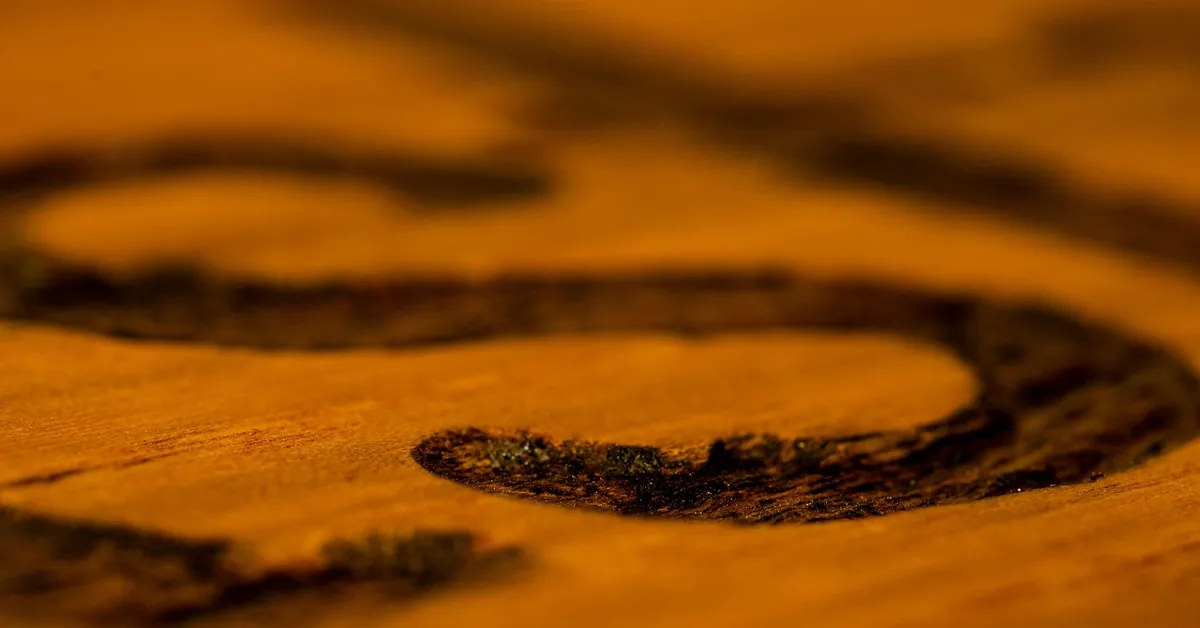
Wood absorbs stain unevenly on purpose — that’s what makes real grain look like grain. Stain soaks into open, porous cell structure along the grain lines and pools less in denser areas, creating natural light-and-dark variation. Standard wood putty doesn’t have that structure. Most tub and stick putties are a sealed, clay-like or resin-based paste with almost no open pores for stain to penetrate. When you brush stain over it, the liquid mostly beads or sits on the surface rather than absorbing, so it dries lighter, chalkier, or patchier than the wood around it — sometimes it barely changes color at all. This isn’t a technique failure; it’s a material mismatch, and no amount of extra coats fixes it if the underlying putty was never designed to accept stain.
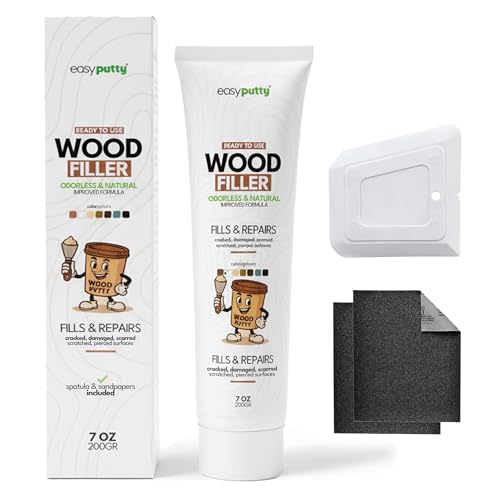
Best Stainable Wood Filler Pick
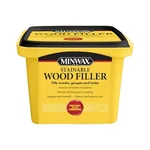 |
Minwax Stainable Wood Filler, 16 oz – $10.88 A latex formula built specifically to accept both oil- and water-based Minwax stains, so a filled patch takes color instead of drying chalky.
|
Wood Putty vs. Wood Filler vs. Stainable Wood Filler: Know Which One You Have
The terms get used interchangeably, but the product in your hand matters more than the label. Traditional wood putty is typically oil- or solvent-based, stays slightly flexible, and is meant to be applied after a piece is already finished — it’s colored to match, not stained in place, which is exactly why staining over it goes wrong. Standard wood filler (water-based, latex, or plaster-based) hardens fully and sands flush, but plenty of everyday tubs, including basic big-box fillers, are still not formulated to take stain evenly — they’re built to hold a hole shut and take paint, not to absorb color. Stainable wood filler is a specific sub-category, purpose-built with a more porous, absorbent formula so it accepts oil- or water-based stain closer to how real wood does. If the container doesn’t say “stainable” on the label, assume it isn’t.
Match Your Stain Type to Your Filler’s Chemistry
Even a stainable filler can still look off if you pair it with the wrong stain. Water-based fillers generally need a water-based dye or stain to color evenly — an oil-based stain can bead on the surface instead of soaking in. Oil-based putties, by the same logic, do better with an oil-based gel stain, which sits on top of dense, low-porosity material rather than trying to penetrate it the way a thin liquid stain would. Mixing the pair backward — oil-based stain on a water-based filler, or a thin liquid stain on an oil-based putty — is one of the most common reasons a “stainable” product still comes out patchy. When in doubt, check the filler’s label or the manufacturer’s compatible-stain list before you buy the stain.
Step-by-Step: Prepping, Filling, and Staining for the Closest Match
1. Clean and Sand First
Wipe away dust and debris, then sand the area with 120-grit sandpaper in the direction of the grain. A clean, slightly roughed-up surface gives the filler something to grip instead of sitting on a dust layer.
2. Choose (or Tint) the Right Filler
Pick a filler labeled stainable, and match its chemistry to the stain you plan to use, as above. For an extra-close match on a specific wood, some woodworkers mix a small amount of the stain itself into the wet filler before application so it’s pre-tinted, rather than relying entirely on the topcoat stain to do the coloring.
3. Fill Slightly Proud, Then Sand Flush
Press the filler in with a putty knife, slightly above the surrounding surface to allow for shrinkage and sanding. Let it cure fully — most stainable fillers need 2-6 hours depending on how deep the fill is, and 24 hours is a safer margin before staining a deeper repair. Sand flush starting around 120-150 grit, then finish with 180-220 grit so the patch is level and won’t trap extra stain in scratch marks.
4. Test the Stain on Scrap First
Before touching the actual piece, apply the stain to a scrap of the same filler on an offcut or hidden area. Filler almost always reads lighter once dry than it looks wet, and there’s no undoing a first coat that goes on too dark.
5. Apply the Stain
Stir the stain thoroughly, then brush it on in the direction of the grain, covering the patch and the surrounding wood together in the same pass rather than isolating the repair. Wipe off excess with a clean, lint-free rag after a few minutes to prevent blotching, and let each coat cure fully before deciding whether it needs another.
If the Patch Already Looks Blotchy or Off-Color: How to Fix It
If a patch dried too light, another coat of the same stain (or a slightly darker one) applied with a small artist’s brush, feathered into the surrounding wood, usually deepens it without having to sand back to bare filler. If it dried too dark or blotchy, sanding it back and trying a compatible gel stain — which sits on the surface instead of soaking in unevenly — often evens things out better than a thin liquid stain would. As a last resort on a small, isolated patch, a matching wood-tone touch-up marker or stain pen can disguise the remaining color difference without redoing the whole repair.
If color-matching a filler patch is the main problem you’re solving rather than the full putty-and-stain process, our guide to staining wood filler to match wood color walks through pre-tinting, fixing an already-stained patch, and faking natural grain variation in more depth.
Frequently Asked Questions
How Do You Cover Wood Putty With Stain?
Sand the cured putty flush with the surrounding wood, then test the stain on a scrap of the same filler first. Brush the stain over the patch and the surrounding wood in the same pass, wipe off excess with a clean cloth, and let it dry fully. This only produces an even color if the putty itself is labeled stainable and its chemistry (water- or oil-based) matches the stain — plain, non-stainable putty will still look patchy no matter how carefully you apply the stain.
Can You Stain Over Wood Filler?
Only if it’s a stainable filler. Standard wood filler is largely non-porous and doesn’t absorb stain the way open wood grain does, so it tends to dry chalky, pale, or blotchy under stain. Products labeled “stainable wood filler” (such as Minwax Stainable Wood Filler) are formulated with a more absorbent structure specifically so they take stain closer to how the surrounding wood does — check the label before assuming any filler will work.
What Is The Difference Between Wood Putty And Wood Filler?
Traditional wood putty is usually oil- or solvent-based, stays somewhat flexible, and is meant to be applied after a piece is already finished, so it’s colored to match rather than stained in place. Wood filler is typically water-based or latex, hardens fully, and sands flush — some filler formulas are specifically labeled stainable, but plenty of ordinary fillers are only meant to be painted over, not stained.
How Long Does Wood Putty Take To Dry?
Most shallow repairs with a stainable filler dry within 2-6 hours depending on the depth of the fill, but a deeper repair filled in layers can take longer to cure all the way through. As a safer margin before staining, wait at least 24 hours, and always check that it’s fully hard (not just dry on the surface) before sanding.
Conclusion
A blotchy patch after staining almost always traces back to one of two things: the putty or filler wasn’t stainable in the first place, or its chemistry didn’t match the stain used over it. Confirm you’re working with a stainable filler, match water-based to water-based and oil-based to oil-based, test on scrap before committing to the actual piece, and sand the patch flush before the first coat goes on. Get those in the right order and the repair blends into the surrounding wood instead of standing out under a coat of stain.
Sponsored / affiliate links. As an Amazon Associate I earn from qualifying purchases. I may earn additional commission from eligible campaigns.