How to Thin Varnish: Simple Steps for Perfect Finish
To thin varnish, mix it with a suitable solvent like mineral spirits or paint thinner. Use a 1:4 ratio of varnish to solvent for optimal consistency.
Thinning varnish is essential for achieving a smooth application and enhancing its flow. Many woodworkers and DIY enthusiasts prefer a thinner varnish for intricate projects or detailed work. Proper thinning can prevent brush marks and help the varnish settle evenly.
It also improves penetration into the wood, enhancing the finish’s durability. Knowing how to thin varnish correctly can make a significant difference in your final result. Whether you are refinishing furniture or applying a protective coat, understanding the right techniques will ensure professional-looking outcomes. This guide will walk you through the steps to thin varnish effectively.
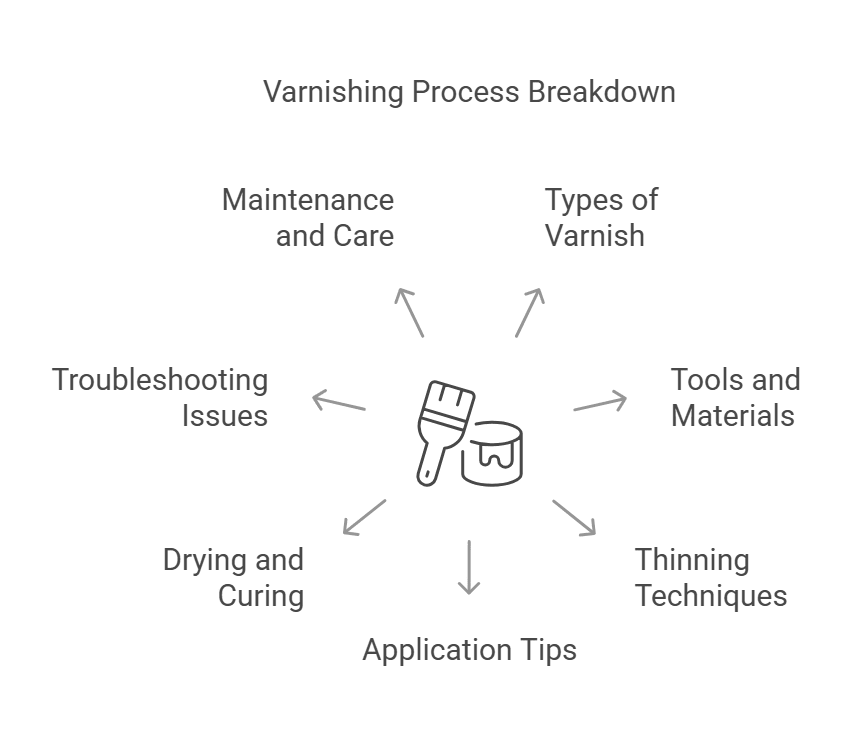
Introduction To Varnishing
Varnish is a clear finish that protects wood surfaces. It enhances the natural beauty of the wood. Thinning varnish helps it spread evenly and dry faster. This process makes it easier to apply.
Thinned varnish penetrates better into the wood. It creates a stronger bond and a smooth finish. Users often find it less likely to leave brush marks. Thinning also reduces the risk of bubbles.
Benefits of thinning varnish include:
- Improved flow: Easier to apply without streaks.
- Faster drying: Reduces wait times between coats.
- Enhanced durability: Better adhesion to the surface.
- Less waste: More efficient use of product.
Types Of Varnish
Oil-based varnishes are durable and water-resistant. They dry slowly but offer a rich finish. These varnishes are ideal for outdoor projects.
Water-based varnishes dry quickly and have low odor. They are easy to clean up with soap and water. Perfect for indoor use, they provide a clear finish.
Choosing the right varnish depends on your project. Consider the location, type of wood, and desired finish. For high-traffic areas, oil-based varnish may be better. For quick jobs, water-based varnish is a great choice.
Tools And Materials Needed
Gather essential tools and materials before thinning varnish. A clean container, solvent (like mineral spirits), and a stirring stick are necessary for effective mixing. Ensure proper ventilation for safety during the process.
List Of Essential Supplies
- Varnish – Choose the right type for your project.
- Thinner – Use products like mineral spirits or turpentine.
- Measuring cups – Accurate measurements are important.
- Stir sticks – Mix varnish and thinner well.
- Brushes – Use high-quality brushes for smooth application.
Safety Equipment For Varnishing
- Gloves – Protect your hands from chemicals.
- Mask – Wear a mask to avoid inhaling fumes.
- Goggles – Protect your eyes from splashes.
- Ventilation – Work in a well-ventilated area.
Preparation For Thinning
Creating a clean workspace is vital for thinning varnish. Start by removing any dust and debris. Use a damp cloth to wipe surfaces. Ensure good lighting for better visibility.
Organize your tools and materials. Keep brushes, containers, and thinner within reach. Avoid clutter to prevent accidents.
Wear proper safety gear. Gloves protect your hands from chemicals. A mask helps avoid inhaling fumes. Safety glasses shield your eyes.
Ensure proper ventilation in the area. Open windows or use fans to improve airflow. This reduces harmful vapors in the air.
Thinning Techniques
Thinning varnish is essential for a smooth finish. Follow these steps for effective thinning:
- Gather materials: You need varnish, thinner, and a mixing container.
- Measure: Start with a small amount of varnish.
- Add thinner: Mix in thinner gradually, about 10% at first.
- Stir well: Ensure the mixture is uniform and smooth.
- Test: Try the mixture on a small area before full application.
Common mistakes include:
- Using too much thinner, which can weaken the varnish.
- Not stirring well, leading to uneven application.
- Skipping the test, risking a poor finish.
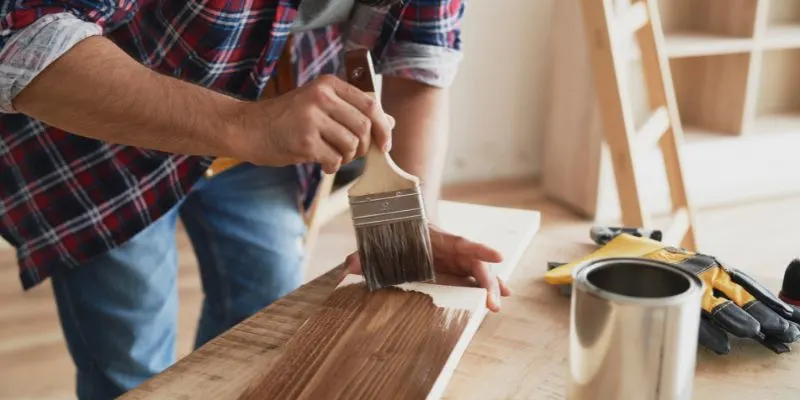
Application Tips
Choosing between brush and spray application is important for varnish thinning. A brush gives you more control over the amount applied. It is great for small areas and detailed work. On the other hand, a spray offers a smoother finish over larger surfaces.
For a smooth coat, ensure the varnish is well-thinned. This prevents drips and uneven layers. Always test on a small area first. This helps to find the right thinning ratio for your project. Make sure to use a high-quality brush or sprayer for the best results.
Drying And Curing
The ideal drying conditions for varnish are essential. Keep the room well-ventilated. A temperature between 70°F to 85°F is best. Humidity levels should remain low, around 30% to 50%. Avoid direct sunlight on the varnish. This helps prevent uneven drying and bubbles.
The timeframe for curing varies. Most varnishes cure within 24 to 48 hours. However, full hardness may take up to two weeks. Wait patiently before sanding or applying a second coat. This ensures a smoother finish and better durability.
Troubleshooting Common Issues
Bubbles can appear on the varnish surface. This happens due to applying too much product at once. To fix this, sand the surface lightly after drying. Use a fine-grit sandpaper to smooth out the area. Then, reapply the varnish in thin layers.
Runs and sags happen when varnish is applied too thickly. To solve this, let the varnish dry completely. Once dry, gently sand the affected area. After sanding, clean the surface to remove dust. Finally, apply a new coat of varnish, ensuring it’s thin and even.
Maintenance And Care
Protect your varnished surface from scratches and stains. Use coasters under drinks and placemats for dishes. Always clean spills quickly to prevent damage.
Regularly dust the surface with a soft cloth. Avoid using harsh chemicals or abrasive materials. Gentle soap and water work well for cleaning.
Consider using a clear wax for extra protection. Apply it lightly and buff to shine. This will help maintain the beauty of your varnish.
Inspect the surface regularly for wear and tear. Touch up any damaged areas promptly. Keeping a close eye will extend the varnish’s life.
Frequently Asked Questions
How Do You Thin Varnish Effectively?
Thinning varnish is essential for a smooth application. Use mineral spirits or paint thinner for oil-based varnishes. For water-based varnishes, add water gradually. Always mix thoroughly to achieve the desired consistency. Test the mixture on a small area to ensure it meets your needs before full application.
What Is The Best Thinner For Varnish?
The best thinner depends on the varnish type. For oil-based varnish, mineral spirits or turpentine work well. For water-based varnish, distilled water is ideal. Always refer to the manufacturer’s guidelines for specific recommendations. Using the right thinner ensures optimal performance and finish quality.
Can You Thin Varnish With Water?
You can thin water-based varnish with water. Add small amounts gradually until you reach the desired consistency. Avoid excessive thinning, which may compromise the finish. Always stir the mixture thoroughly. Testing on a sample surface can help determine the right dilution for your project.
How Much Thinner Should I Add To Varnish?
Generally, adding 10-20% thinner is recommended. However, this depends on the varnish type and desired application method. Start with a smaller amount and gradually increase if necessary. Always mix thoroughly to ensure uniform consistency. Testing the mixture can help you achieve the best results.
Conclusion
Thinning varnish is essential for achieving a smooth finish. By using the right solvent, you can enhance the application process. Remember to follow safety guidelines and test your mixture first. With practice, you’ll master the art of thinning varnish and elevate your woodworking projects to a professional level.
Happy crafting!