How to Finish a Doorway Without a Door: Casing, Jambs and Arches
To finish a doorway without a door, decide how the opening will look on the wall side first: keep the existing jamb and add casing, build a jamb extension to match the wall depth, wrap the drywall into the opening, or turn it into an arch. Then trim it like any other cased opening.
Most guides on this topic hand you curtains and beaded strings. That is fine for a rental, but if you are a woodworker or a DIYer with a nailer, the better answer is trim carpentry: a properly cased opening looks intentional, it is permanent, and it costs a fraction of a new door. The trick is that the opening is rarely ready for trim. Hinge mortises, a leftover door stop, and a wall that is thicker or thinner than the jamb all show up the moment the door is gone.
This guide walks through the actual sequence: measure wall depth, pick a finish style, patch the door hardware leftovers, build jamb extensions, install casing with a consistent reveal, and, if you want one, lay out an arch with real radius numbers.
The One Tool Worth Buying For A Cased Opening
Best Brad Nailer For Door Casing
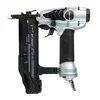 |
Metabo HPT NT50AE2 18-Gauge Brad Nailer A pneumatic 18-gauge nailer that drives 5/8 to 2-inch brads, which covers both the jamb edge and the framing behind a 3/4-inch casing.
|
Casing goes on with nails, not screws, and an 18-gauge brad nailer is the standard trim tool because the brad head is small enough to fill and hide. Hand nailing casing works, but it is slow and the hammer blows tend to shift a mitered corner. A nailer also sets both sides of a miter in seconds, so the joint does not open while the glue grabs. If you already own a compressor, this is the tool to add. If you only trim one opening, a rental or a smaller cordless brad nailer will do the same job.
You will also need a saw that cuts a clean 45-degree miter. A miter saw is easiest, and our explainer on how a miter saw works covers the setup. A hand miter box and a fine-tooth saw also work for a single opening.
Step 1: Measure Wall Depth Before Anything Else
The single biggest surprise on a doorless opening is the mismatch between the jamb and the wall. Casing sits flat on the wall, and its inside edge lands on the jamb edge. If the jamb sits proud of the drywall or sits back inside it, casing will not lie flat. Measure the wall thickness at the opening with a tape measure, at the top and on both legs.
These are the typical numbers. Your house may differ, so measure rather than assume.
| Wall type | Approximate finished wall depth | Common jamb width |
|---|---|---|
| 2×4 stud wall with 1/2-inch drywall both sides | 4-1/2 inches | 4-9/16 inches |
| 2×6 stud wall with 1/2-inch drywall both sides | 6-1/2 inches | 6-9/16 inches |
| Plaster and lath (older homes) | Varies, often over 5 inches | Often needs an extension or a custom jamb |
A 2×4 is actually 3-1/2 inches deep, so add two 1/2-inch drywall layers and you land at 4-1/2 inches, which is why 4-9/16 inch jamb stock is the common size. The 1/16-inch difference is intentional so the jamb sits slightly proud for a clean casing edge. If the jamb is already there and flush, you only need casing. If the jamb is short or the opening is bare framing, go to Step 4.
Step 2: Pick The Finish Style
There are four workable ways to finish a doorway without a door. The right one depends on what is in the opening now and what look you want.
| Style | Best when | Skill level | Watch out for |
|---|---|---|---|
| Casing on the existing jamb | The jamb is intact and flush with the wall | Beginner | Hinge mortises and door stop must be filled first |
| Jamb extension plus casing | Bare framing, or a jamb that is too narrow | Intermediate | Extension must be flat and flush on both faces |
| Drywall wrap (bullnose or square) | Modern, minimal look with no casing | Intermediate | Corner bead and joint compound take several coats |
| Arch | You want a softer, decorative opening | Advanced | Needs a template and a flexible bead or bending plywood |
Still comparing materials? Our guide to the best wood for door casing compares pine, poplar, MDF and oak. Poplar and MDF take paint well, and pine is cheapest.
Step 3: Remove Door Leftovers And Patch The Jamb
If you took a door out of an existing frame, the jamb is full of evidence: two or three hinge mortises on the hinge side, a strike plate mortise on the latch side, and a door stop strip running around three sides. Casing will not hide these, because the jamb face stays visible from the room.
- Door stop: pry it off gently or score the paint line first so the paint does not tear, then fill nail holes.
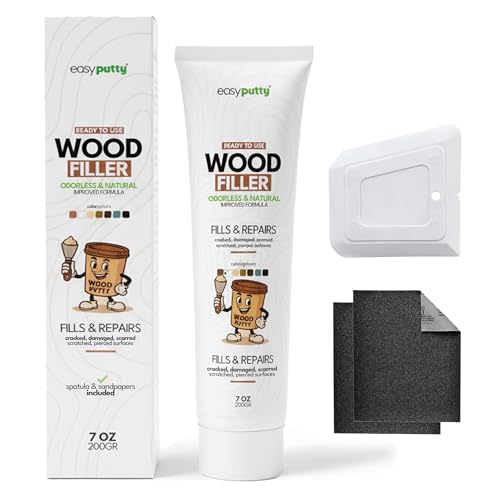
- Hinge mortises: glue in a thin wood shim or a scrap cut to the mortise depth (a hinge leaf mortise is commonly about 1/8 inch deep), then plane flush. Wood filler alone will crack in a deep pocket.
- Strike plate hole: drill it out slightly, glue in a dowel or shim, then sand.
- Sanding and priming: spot prime every repair. Bare filler absorbs paint differently and shows through as a dull patch. See our guide to wood primer and undercoat for what to use.
Step 4: Build Jamb Extensions If The Opening Is Bare
A jamb extension is just a strip of 3/4-inch board ripped to the wall depth and fastened around the inside of the opening. Rip it 1/16 inch wider than your measured wall depth if you plan to plane or sand it flush, or exactly to depth if you need a tight fit.
- Cut two side pieces and one head piece. The head piece sits between the sides, not on top of them.
- Check the opening with a level and a straightedge. A crooked opening needs tapered shims behind the extension, not a wedge-shaped board.
- Nail the extension to the framing through shims every 16 inches. Set the nails just below the surface and fill later.
- Sand the joint flush where two extension boards meet at a corner. A slight difference in height is very visible under paint.
Step 5: Install The Casing With A Consistent Reveal
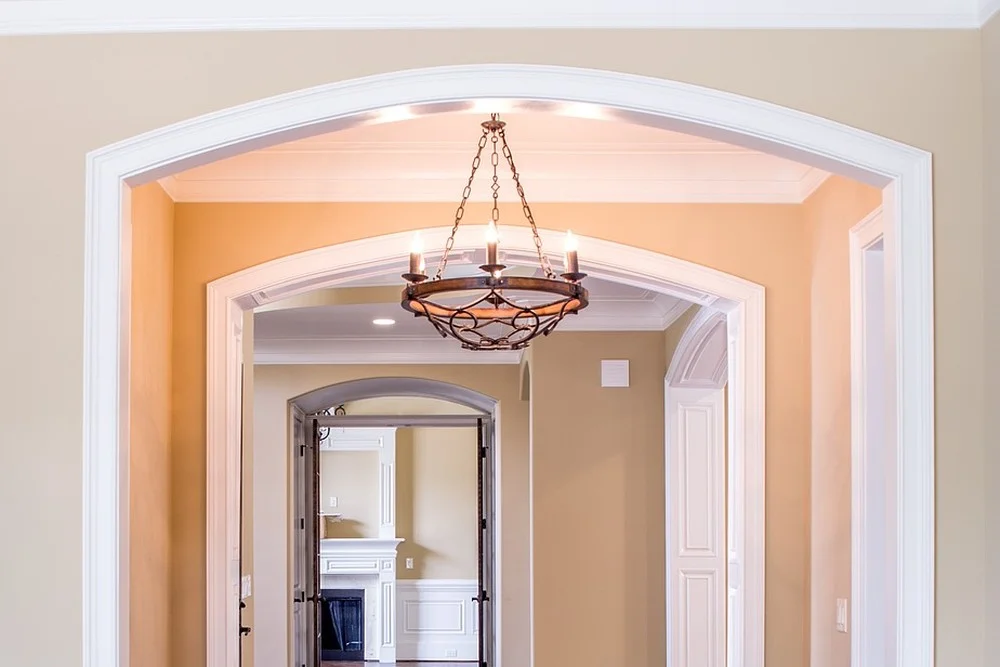
Casing is the trim that frames the opening on the wall. The reveal is the small step back from the jamb edge to the casing edge, and it is the detail that makes a trimmed opening look professional. A reveal of about 1/4 inch (3/16 inch is also common) is the usual choice. Pick one number and hold it on all three sides.
- Mark the reveal line on the jamb with a combination square set to your reveal. Pencil the mark on both legs and the head.
- Cut the head casing first with 45-degree miters, using the marks as your corner points, and leave it slightly long.
- Cut the leg casings to the same 45-degree angle, and dry-fit each corner before you nail anything.
- Run a bead of wood glue in each miter, then nail the casing to the jamb edge with 1-1/4 inch brads and to the framing with 2-inch brads. Nail into solid framing, not just drywall.
- Pin the miter from the top and side with a small brad so the two pieces cannot slide apart as the glue sets.
If the wall surface is not perfectly flat, a miter will open on one side. Do not force it. Shave the leg or head with a block plane, or back the low spot with a paper shim. A hairline gap in a painted miter is normal, and a thin bead of paintable caulk closes it. A visible wide gap means the cut angle needs to be fine tuned.
The Drywall Wrap Option Without Casing
If you prefer a plain look, skip the casing entirely and wrap the drywall into the opening. Install metal or paper-faced corner bead at the outside corners, then apply joint compound in thin coats and sand between coats. A bullnose bead gives a soft rounded edge that suits modern rooms, and a square bead gives a crisp edge. This is not a woodworking job, so plan on extra time for drying, and remember the raw framing must be straight before the bead goes on because the compound will not hide a bow.
Arch Layout: Real Radius Numbers
An arch needs a radius, and most articles skip the math. For a segmental arch, where the curve is shallower than a half circle, use this formula: radius equals (span squared divided by 4, plus rise squared) divided by twice the rise. Span is the opening width and rise is how far the arch top rises above the spring line, which is the level where the curve begins.
| Opening width (span) | Arch rise | Radius to use |
|---|---|---|
| 32 inches | 3 inches | 44.2 inches |
| 32 inches | 4 inches | 34.0 inches |
| 32 inches | 6 inches | 24.3 inches |
| 36 inches | 3 inches | 55.5 inches |
| 36 inches | 4 inches | 42.5 inches |
| 36 inches | 6 inches | 30.0 inches |
A full half-circle arch on a 36-inch opening has a rise of 18 inches and a radius of 18 inches. Mark the arc on a piece of 1/2-inch plywood with a trammel made from a stick and a nail, cut it with a jigsaw, and test the template in the opening. Shallower arches, such as a 3-inch rise, look more restrained and are easier to trim with flexible casing or 1/4-inch bending plywood.
Before You Remove A Door: What To Check
- Garage entry door: in most US codes the door between an attached garage and the house has to be fire-rated or solid, so do not take it out without confirming with your local building department.
- Bathrooms and bedrooms: privacy is the obvious issue, and some local codes also touch egress and ventilation. Check before you remove the door.
- Load-bearing walls: trimming an existing opening is fine. Widening one needs a proper header, and that is a structural job.
- Soft alternatives: if you want privacy without a door, a rod and curtain, a sliding barn-style door, or a pocket door frame can be added later without redoing the casing.
Common Problems And Fixes
- Casing rocks or has a gap behind it: the wall is bowed. Add a thin shim behind the low spot before you nail.
- Miters open on the top: the head casing is too long or the legs are not plumb. Recut the head and check the legs with a level.
- Caulk cracks after a season: wood movement on the wall side. Use a paintable, flexible caulk and keep the bead thin.
- Paint shows a patch where a hinge was: the filler was not primed. Spot prime, then repaint the whole jamb face.
Frequently Asked Questions
Do I need a jamb to trim a doorway without a door?
Not always. If the existing jamb is still in the opening, you keep it and trim around it. If the opening is bare framing, you either build jamb extensions (thin boards ripped to your wall depth) or wrap the drywall into the opening, then add casing over the edge.
Should I leave the door hinge marks in the jamb?
No. Fill the hinge mortises with wood shims glued in flush or with wood filler, fill the strike plate hole, and remove or plane off the door stop if you want a clean look. Prime the repairs before painting so they do not flash through.
What reveal should I use on door casing?
A reveal of about 1/4 inch between the jamb edge and the casing is the most common choice, and 3/16 inch is also used. The exact number matters less than keeping it identical on both legs and the head.
Can I remove the door from any doorway?
No. The door between an attached garage and the house is normally required to be fire-rated or solid, and bathrooms and bedrooms may need privacy or egress considerations. Check your local building department before you take a door out.
How do I make a curved arch opening?
Cut a plywood template with a radius taken from the span and rise, then either frame it with drywall corner bead made for arches or build the curve from thin bending plywood. The radius table in this guide gives the numbers for common opening widths.
Conclusion
A doorway without a door looks unfinished until three things are right: the jamb matches the wall depth, the leftover hinge and stop marks are patched, and the casing has an even reveal. Measure first, build the extension only if you need it, and nail the casing with a consistent reveal. An arch is optional but easy to plan once you have the radius numbers above.
Sponsored / affiliate links. As an Amazon Associate I earn from qualifying purchases. I may earn additional commission from eligible campaigns.