How to Use Quick Shine Floor Finish: Coats, Dry Time & Fixes
Quick Shine Floor Finish is a polymer floor polish, not a sealer — spread it in two thin, S-shaped coats with a damp microfiber mop over already-sealed hardwood, laminate, tile, or vinyl. Each coat dries in 10-12 minutes, but the finish needs 4-5 days to fully cure, and cleaning with oil soap or ammonia first leaves residue that causes streaking. This guide covers exact steps, coat count, and how to fix a cloudy or sticky finish.
Quick Shine Cleaner vs. Quick Shine Finish: Which One Are You Using?
Best Quick Shine Floor Finish Pick
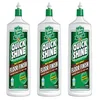
Quick Shine Multi-Surface Floor Finish, 27 fl oz (Pack of 3)
The exact multi-surface formula this guide walks through, with backup bottles for reapplication every 2-3 months.
- Best for: households treating multiple rooms or reapplying without reordering
- Why we picked it: it’s the same multi-surface formula covered step-by-step above, and the 3-pack covers touch-ups
- Main drawback: 27 oz doesn’t stretch far in one large room if coats go on too thick
Compare more floor finish options
 Option 1 O-Cedar EasyWring Microfiber Spin Mop
|
 Option 2 Bona Hardwood Floor Polish, Low Gloss, 32 oz
|
 Option 3 Rejuvenate Professional Wood Floor Restorer, 32 oz
|
As an Amazon Associate we earn from qualifying purchases.
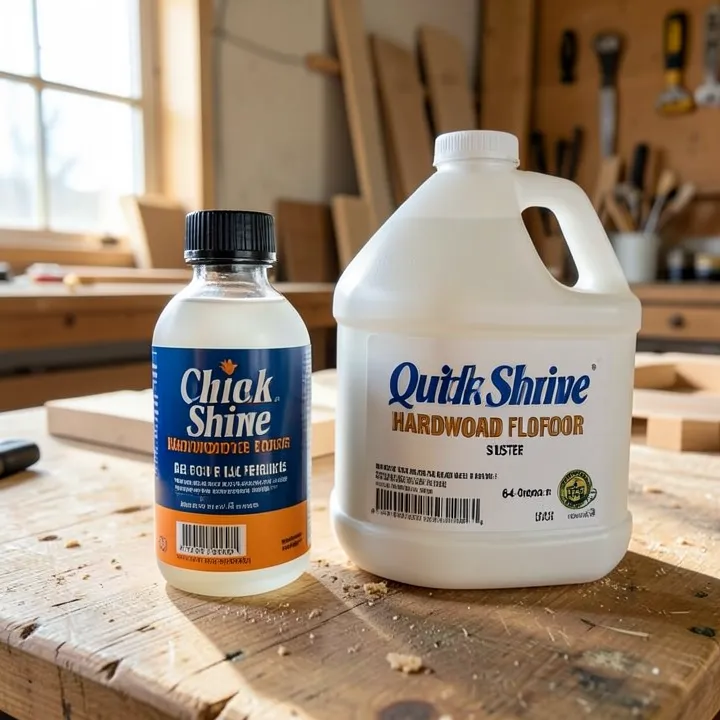
Quick Shine Floor Finish is a liquid polymer polish that you spread over the entire floor and leave on — it builds a glossy, protective layer that dries to a shine. It is a different product from Quick Shine Multi-Surface Floor Cleaner, a spray-and-wipe cleaner meant for routine dirt and grime removal that leaves no finish behind. Mixing the two up is the single most common reason people apply the wrong product and end up disappointed with the result.
| Product | What It Does | Best For |
|---|---|---|
| Quick Shine Floor Finish | Leaves a glossy polymer layer that builds shine and protection | Dull, worn floors that need shine restored |
| Quick Shine Multi-Surface Cleaner | Spray-and-wipe cleaner, rinses away, leaves no film | Weekly dirt, dust, and light grime removal |
| Quick Shine Deep Cleaner + Wax Remover | Strips old polymer/wax buildup without damaging the floor underneath | Removing old finish before a fresh application |
If you haven’t settled on a finish type yet — polymer topical finish versus a penetrating oil or a full refinish — our wood finishing guide compares all the options by durability and application difficulty before you commit to one.
Before You Begin
Choosing the Right Quick Shine Product
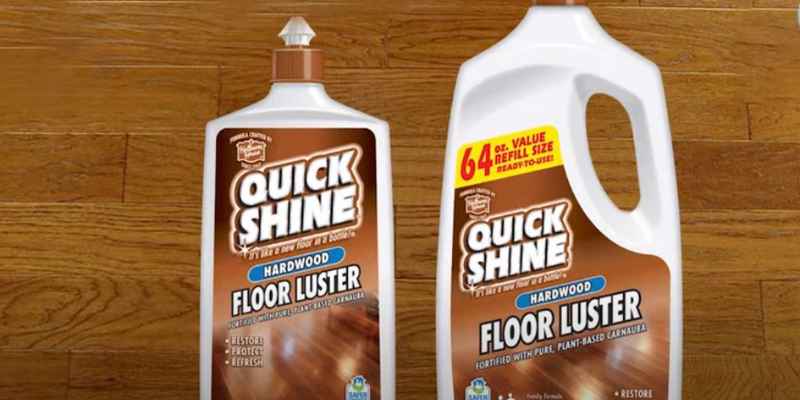
Quick Shine sells three finish formulas for different floor types. Picking the wrong one is the second most common application mistake, right behind confusing the cleaner with the finish. If your floor needs more than a topical polish — deep scratches, worn-through spots, or a full color change — our guide to choosing a hardwood floor finish covers when a polish like this is enough versus when you need a real refinish.
| Floor Type | Quick Shine Product |
|---|---|
| Hardwood or laminate | Multi-Surface Floor Finish |
| Natural/unfinished-look wood | Hardwood Floor Luster |
| High-traffic wood (entryways, kitchens) | High Traffic Hardwood Floor Luster |
| Tile, stone, vinyl, and other hard surfaces | Multi-Surface Floor Finish |
Preparing Your Floors for Application
Quick Shine bonds to the floor surface, so what you clean it with beforehand matters more than most people expect.
- Dry dust mop or vacuum first. Remove loose dirt and grit — anything left on the floor gets sealed under the finish.
- Never use oil soap, pine oil, orange oil, ammonia, or vinegar to clean before applying. These leave an oily or detergent residue that stops Quick Shine from bonding, which is the #1 cause of a hazy or streaky result.
- Remove old wax or a different brand’s polish first. Quick Shine’s own Deep Cleaner + Wax Remover is formulated for this — a generic stripper can damage sealed wood finishes.
- Test a small, inconspicuous area before doing the whole floor, especially on an unfamiliar or older finish.
- Open a window or run a fan. Ventilation speeds drying and clears fumes while you work.
How to Apply Quick Shine Floor Finish
Work in small sections so the finish doesn’t start setting before you’ve spread it evenly.
- Dust mop or vacuum the floor: Clear all dirt, dust, and debris from the surface before starting.
- Shake the bottle well: This mixes the polymer formula evenly before pouring.
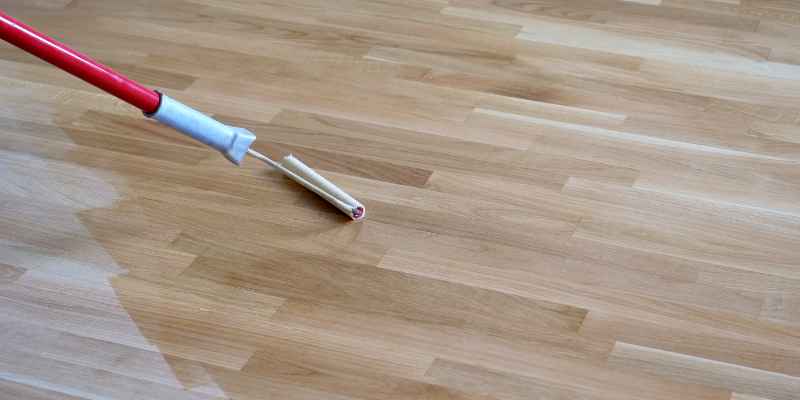
- Work in 5×5-foot sections: Squirt Quick Shine onto the floor in an S-shape pattern rather than covering the whole floor at once.
- Spread with a damp microfiber mop: Use broad, overlapping strokes, applying in circles and then smoothing with the wood grain to avoid uneven streaks.
- Apply one thin coat — not a thick one: A heavy coat dries cloudy and takes far longer to cure. Thin is the entire trick.
- Let the first coat dry 10-12 minutes: Don’t walk on it or start a second coat until it’s fully set.
- Add a second thin coat if you want more shine: Two coats is the practical maximum per application — more than that raises the risk of a tacky, over-built finish rather than a glossier one.
- Stay off the floor for 30-45 minutes minimum: That’s dry-to-the-touch time, not cure time (see below).
📊 Dry time and cure time are not the same number. Quick Shine is dry to the touch in 30-45 minutes, but the polymer film needs 4-5 days to fully cure and reach its full hardness — Source: Quick Shine Floors, manufacturer application guide.
Drying Time vs. Full Cure: Why They’re Not the Same
Dry time is how long until the surface stops feeling wet or tacky — for Quick Shine, that’s 30-45 minutes. Cure time is how long the polymer film needs to reach its full hardness and scuff resistance — for Quick Shine, that’s 4-5 days. Walking on the floor in socks after an hour is fine; dragging furniture, dropping a rug back down, or letting a dog’s claws dig in during those first few days is what actually causes damage, because the film hasn’t hardened yet even though it looks and feels finished.
“Work in small, roughly 5-by-5-foot sections with a lightly dampened mop — the finish begins forming its protective layer the moment it touches the floor, so spreading it too slowly over a large area is what causes pooling and cloudy streaks.”
Practical takeaway: plan your furniture and rugs to stay off the floor for the full 4-5 day cure window, not just the first hour after it feels dry.
Common Mistakes and How to Fix Them
Streaks and Bubbles
Streaks and bubbles almost always come from applying too much product at once or from residue left by an incompatible cleaner. Let the floor dry completely, then lightly sand the streaked area with fine-grit sandpaper, wipe away the dust, and reapply a single thin coat over just that spot.
Sticky, Tacky, or Cloudy Finish
A sticky or hazy result has one of three causes: a coat applied too thick, a new coat added before the last one fully dried, or soap residue left behind by a cleaner that wasn’t compatible with Quick Shine. For a mild case, damp-mop the area with clean water only to lift the residue, then run a fan to speed drying. For stubborn buildup from repeated over-thick coats, use Quick Shine Deep Cleaner + Wax Remover diluted per the label, let it sit 3-5 minutes, then lift it with a non-abrasive pad and rinse with clean water.
Small Scratches and Damaged Spots
Clean the damaged area with a mild cleaner and a soft cloth, apply a small amount of Quick Shine directly to the spot, and blend it into the surrounding floor with a clean applicator pad. Let it dry fully before walking on the repaired area.
How to Remove Quick Shine Floor Finish
Don’t reach for a generic floor stripper — most are formulated for wax, not polymer finish, and can damage sealed hardwood, laminate, or vinyl underneath. Quick Shine Deep Cleaner + Wax Remover is built specifically to lift polymer and wax finishes without harming the surface below.
- Dilute the Deep Cleaner + Wax Remover according to the label instructions.
- Apply it to the finished area and let it sit for 3-5 minutes so it can break down the polymer layer.
- Lift the softened finish with a non-abrasive scrub pad or cloth — avoid steel wool or anything abrasive on laminate or vinyl.
- Rinse thoroughly with clean water and dry the floor completely before applying a fresh coat.
If you’re removing finish because you want a different gloss level rather than a full strip-and-reapply, it’s worth checking our breakdown of satin vs. semi-gloss finish before you commit to Quick Shine’s high-gloss look again.
Maintaining Your Shine
Quick Shine works on sealed hardwood, engineered wood, laminate, luxury vinyl, and tile — see our full wood flooring guide if you’re not sure how your floor is finished underneath before applying anything to it.
- Sweep or vacuum regularly to keep grit from scratching the finish.
- Clean with a damp microfiber mop and plain water, or Quick Shine’s own Multi-Surface Cleaner — never oil soap, vinegar, ammonia, or an all-purpose cleaner.
- Reapply a fresh thin coat every 2-3 months in high-traffic rooms, or whenever water stops beading on the surface.
- Wipe up spills promptly so they don’t sit on the finish.
Frequently Asked Questions
How often should I use Quick Shine Floor Finish?
Every 2-3 months in high-traffic rooms like entryways and kitchens, or less often in low-traffic rooms. A good sign it’s time: water no longer beads on the surface, or the floor looks dull under direct light.
Can I apply Quick Shine Floor Finish on all types of floors?
It’s safe on sealed hardwood, engineered wood, laminate, luxury vinyl, and tile. It is not safe on unsealed, waxed, or oil-finished wood — always test a small, inconspicuous area first.
Do I need to strip the old finish before applying Quick Shine Floor Finish?
No — Quick Shine is designed to go directly over an existing sealed finish. The exception is old wax or a different brand’s polish, which should be removed first with Quick Shine Deep Cleaner + Wax Remover so the new coat can bond properly.
How long does Quick Shine floor finish take to dry, and how long until it’s fully cured?
It’s dry to the touch in 30-45 minutes and safe to walk on in socks after about an hour. Full cure — when the polymer film reaches its final hardness — takes 4-5 days, so hold off on rugs and furniture until then.
What’s the difference between Quick Shine Cleaner and Quick Shine Floor Finish?
The Cleaner is a spray-and-wipe product for routine dirt removal that leaves no film behind. The Finish is a liquid polymer polish you spread over the whole floor and leave on to build a glossy, protective layer.
Why does my Quick Shine floor finish look cloudy, hazy, or sticky?
The three usual causes are a coat applied too thick, a new coat added before the last one fully dried, or leftover soap residue from an incompatible cleaner blocking the bond. Thin coats and a plain-water damp mop beforehand prevent all three.
How do you remove Quick Shine floor finish from a hardwood floor?
Use Quick Shine Deep Cleaner + Wax Remover diluted per the label, let it sit 3-5 minutes, lift the softened finish with a non-abrasive pad, then rinse with clean water. Avoid generic strippers, which can damage the sealed finish underneath.
Quick Shine works by adding a glossy topcoat rather than changing the wood itself — see what actually makes hardwood floors shine if you want the fuller picture of sheen, light reflection, and finish type. Quick Shine Floor Finish delivers a durable, glossy result when it’s applied thin, in small sections, over a properly prepped floor — and most of the complaints people have about it (streaks, haze, stickiness) trace back to a thick coat or the wrong cleaner beforehand, not a flaw in the product itself. Keep coats thin, respect the 4-5 day cure window, and reapply every 2-3 months to keep the shine consistent.
Sponsored / affiliate links. As an Amazon Associate I earn from qualifying purchases. I may earn additional commission from eligible campaigns.