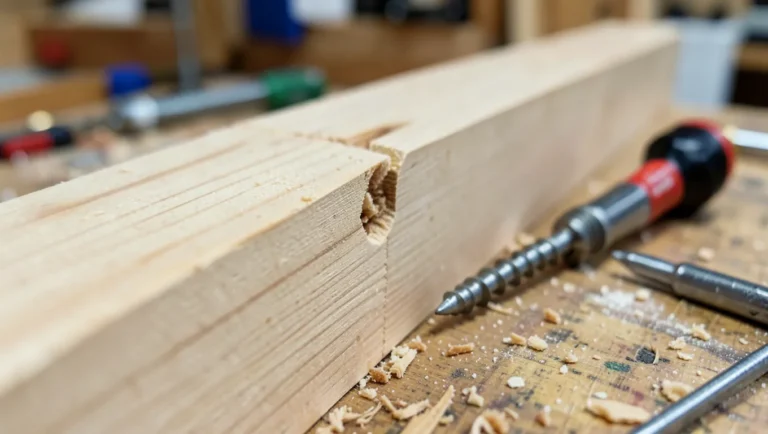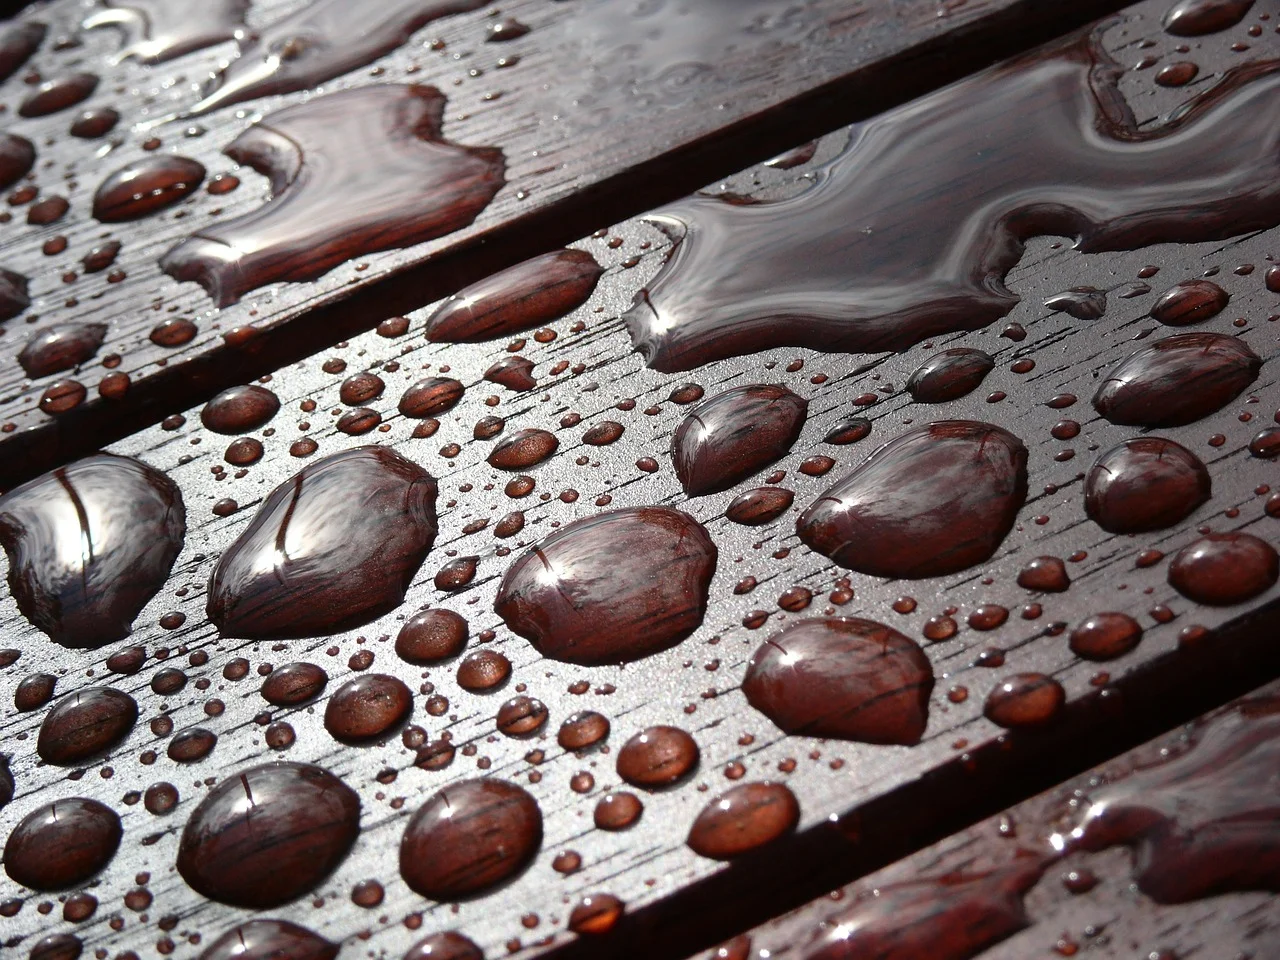
How to Waterproof a Wood Table: Polyurethane, Epoxy, or Oil
The fastest way to waterproof a wood table is 3-4 thin coats of water-based polyurethane, sanded lightly between coats – it forms a hard film that blocks both water rings and heat marks from daily use. For a thicker, glass-like seal (bar tops, live-edge slabs), a poured epoxy coat works better; for a natural feel you can spot-repair by hand, tung or Danish oil is the better trade-off.
All three finishes below actually stop water from reaching the wood grain – the real difference is what happens after years of coffee mugs, sweating glasses, and hot dishes land on the surface. That’s the part most “how to waterproof wood” guides skip, and it’s the part that decides whether you’re happy with the finish in year three or refinishing the whole table.
Polyurethane vs. Epoxy vs. Oil: Which One Actually Fits Your Table
Best Everyday Polyurethane Pick
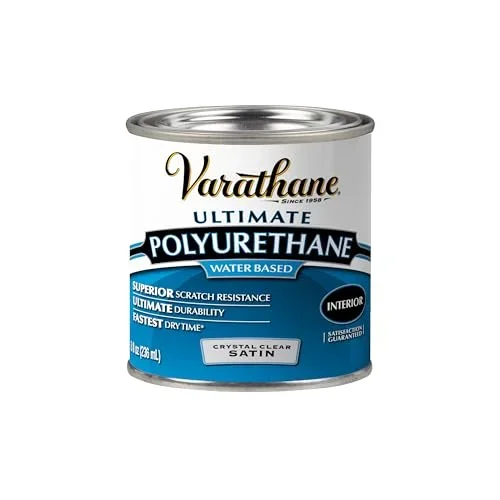 |
Varathane Ultimate Polyurethane, Water-Based Satin – $13.49 The most practical way to waterproof a table you actually eat and set drinks on daily – a hard film layer that stops water rings without the all-or-nothing commitment of a poured epoxy coat.
|
Picking a finish by “which one is most waterproof” is the wrong question – poured epoxy, a cured polyurethane film, and even a well-maintained oil finish will all shed a spilled glass of water if you wipe it up within a few minutes. The question that actually matters is how each one behaves under the specific abuse your table sees: a hot casserole dish set down without a trivet, a sweating iced-tea glass left overnight, or a scratch from a dragged plate.
- Polyurethane (film finish): Builds a hard plastic-like layer on top of the wood. Resists heat rings and water rings well once cured, and a worn spot can be lightly sanded and recoated without stripping the whole top. Water-based dries clear and fast; oil-based ambers slightly and takes longer to cure but resists heat a bit better.
- Poured epoxy resin: The thickest, most waterproof option – a 1/8″ to 1/4″ glass-like layer that will not show water rings at all. The trade-off: epoxy is brittle under sudden heat (a hot pan set directly on it can leave a permanent cloudy scorch mark) and a scratch or chip usually means re-pouring a section rather than a quick touch-up.
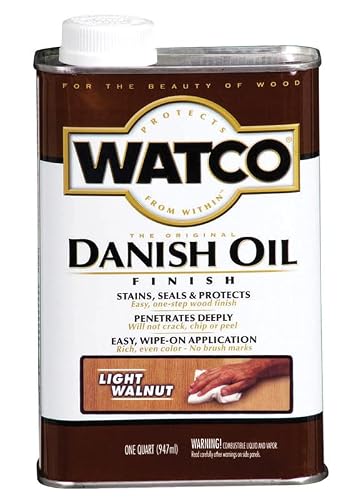
- Tung or Danish oil: Soaks into the wood instead of sitting on top, so it never chips or peels – but it does not create the same hard water barrier. A ring from a wet glass left too long can still show, though a light reapplication of oil usually blends it right back in, which isn’t true of the other two finishes.
How to Waterproof a Wood Table With Polyurethane
Polyurethane is the right default for a table that gets used every day – it’s the finish behind the product box above, and the steps below are the same whether you’re using a water-based or oil-based can.
- Clean and degrease the surface. Wipe down with a mild detergent or wood cleaner and let it dry fully – any leftover wax or oil will make the poly fish-eye instead of laying flat.
- Sand to 220 grit. Sand with the grain, not across it, to avoid visible scratch marks under a clear finish. Vacuum and wipe with a tack cloth before coating.
- Apply the first coat thin. Use a natural-bristle brush (oil-based) or synthetic brush (water-based), working in long strokes with the grain. A thick first coat is the most common cause of drips and bubbles.
- Sand lightly between coats. Once dry to the touch, scuff with 320-400 grit sandpaper to knock down raised grain and help the next coat bond. Wipe away dust before recoating.
- Apply 3-4 coats total. A table that sees daily plates and glasses needs the full coat count – one or two coats will still let water rings show through.
- Let it cure fully before hard use. Dry-to-touch (30-60 minutes) isn’t the same as cured. Give it 24-72 hours before setting anything down, and 1-2 weeks before using coasters aren’t strictly necessary.
How to Waterproof a Wood Table With a Poured Epoxy Coat
Epoxy makes sense for a live-edge table, a bar top, or any surface where you want a completely flat, glass-like waterproof layer – not for a table you plan to refinish or repair piece by piece later.
- Seal the wood first with a coat of epoxy “seal coat” or thinned finish to trap air bubbles and tannins that would otherwise rise into the final pour.
- Dam the edges. Use painter’s tape and a level base so the epoxy doesn’t run off the sides while it’s still liquid.
- Mix small batches exactly to ratio. Epoxy is unforgiving of eyeballed ratios – an off mix stays tacky or never fully cures.
- Pour and torch out bubbles. A butane torch or heat gun passed quickly over the surface pops trapped air bubbles before the epoxy skins over.
- Let it cure 48-72 hours before light use, and a full 30 days before it reaches full hardness – avoid setting anything hot on it during that window.
Using Tung or Danish Oil for a Natural, Repairable Finish
Tung oil and Danish oil don’t build the same hard shell as polyurethane or epoxy, but they penetrate the wood fibers and give real, if lighter, water resistance – and they’re the easiest of the three to touch up. Tung oil versus teak oil comes down mostly to cure time and sheen; both are wiped on, left to soak in, then buffed off.
- Sand to 220 grit and wipe away dust before the first coat.
- Apply oil generously with a lint-free cloth, let it soak in 15-30 minutes, then wipe off all excess – leftover oil on the surface stays tacky.
- Apply 3-5 coats over several days, letting each one cure before the next.
- Look for an exterior-rated oil with UV absorbers if the table sits somewhere it gets direct sun.
- Plan to reapply a light coat every 6-12 months on a table that sees daily use – this is the maintenance trade-off for how easy the finish is to repair.
Matching the Sealer to the Wood (and Where the Table Lives)
The finish that’s right for an indoor dining table isn’t automatically right for the same species used outdoors. If your table lives on a patio or deck full-time, see our dedicated guide on how to seal a wood table for outdoor use – exterior wood needs a UV-resistant marine varnish or spar urethane instead of an interior poly, since sun exposure breaks down an interior-rated finish within a season.
| Wood Type | Recommended Sealer |
|---|---|
| Pine or other soft indoor woods | Water-based polyurethane (won’t amber the light color) |
| Oak, walnut, or other dense hardwoods | Oil-based polyurethane or a poured epoxy coat |
| Cedar or redwood (outdoor) | Semi-transparent oil-based exterior sealer |
| Teak (outdoor) | Marine-grade spar urethane or teak oil |
Whatever finish you use, protecting the table from daily wear doesn’t stop at the topcoat – pairing it with scratch-prevention habits like felt pads and placemats will keep a sealed surface looking new for years longer.
Frequently Asked Questions
What’s the easiest way to waterproof a wood table?
Water-based polyurethane is the easiest option for most people: it brushes on, dries in about an hour, cleans up with soap and water, and needs no special mixing. Three to four thin coats, lightly sanded between coats, give a dining or coffee table real resistance to water rings and everyday spills.
Is epoxy or polyurethane more waterproof for a table?
A poured epoxy coat is more waterproof – its thick, glass-like layer won’t show water rings at all. Polyurethane is thinner and needs several coats to match that level of protection, but it’s easier to repair later, since a worn spot can be sanded and recoated instead of re-poured.
Can you waterproof a wood table without polyurethane or epoxy?
Yes – tung oil and Danish oil both soak into the wood and provide real, if lighter, water resistance without building a hard film. They won’t chip or peel like a film finish can, but a wet glass left too long can still leave a mark, and the table needs a light reapplication every 6-12 months to keep that protection up.
How long does a waterproof finish on a wood table actually last?
A properly applied polyurethane or epoxy finish on an indoor table can protect the wood for 5-10 years before it needs recoating, depending on daily use. Oil finishes protect for less time per application – typically 6-12 months – but take minutes to refresh instead of requiring a full strip and recoat.
Sponsored / affiliate links. As an Amazon Associate I earn from qualifying purchases. I may earn additional commission from eligible campaigns.