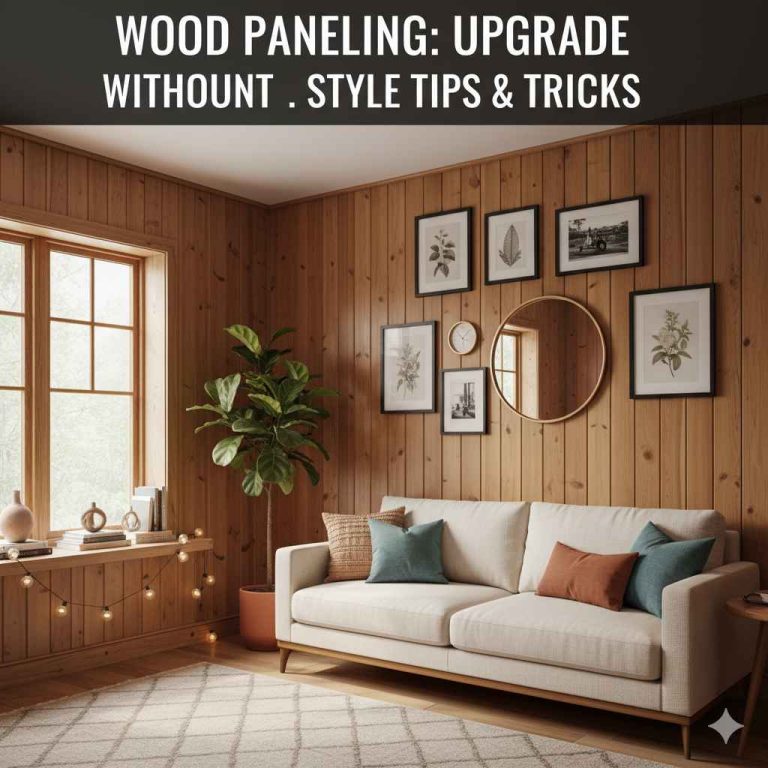
Mastering the Art: Painting Knotty Pine Paneling Like a Pro
To paint knotty pine paneling, begin by thoroughly cleaning the surface and applying a coat of primer before painting with your desired color. Knotty pine paneling can be transformed into a fresh, modern look with a few simple steps.
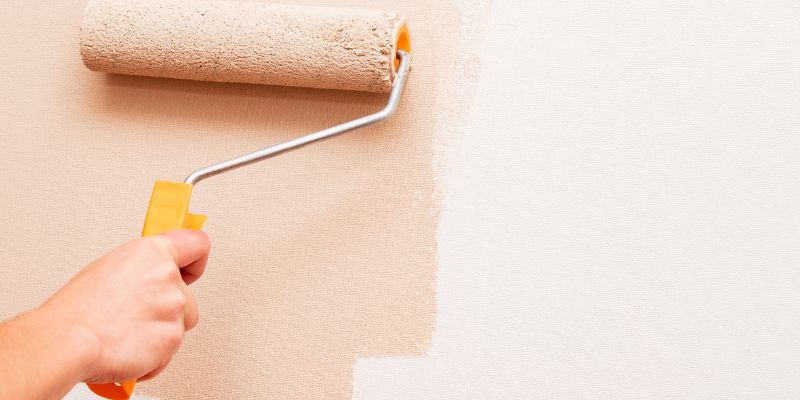
Removing any dust or dirt from the paneling and applying a primer will ensure optimal adhesion of the paint. Once the primer is dry, you can paint the paneling with a roller or brush, using smooth and even strokes. By following these steps, you can easily achieve a beautiful painted finish on your knotty pine paneling.
Choosing The Right Paint
When it comes to painting knotty pine paneling, selecting the right paint is crucial. The type of paint you choose can determine the overall durability and appearance of your finished project. Here are some key considerations to keep in mind when matching the paint to the paneling.
Matching The Paint To The Paneling
In order to achieve a seamless and professional look, it is essential to match the paint color to the knotty pine paneling. While you can opt for contrasting colors for a more eclectic or modern look, many homeowners prefer to keep the paint color closely aligned with the natural hue of the paneling. This helps to preserve the rustic charm and character of the knotty pine.
When matching the paint to the paneling, it is recommended to bring home color swatches or paint samples to test against the wood. This will allow you to see how different shades and finishes interact with the knots and grains of the pine. Keep in mind that lighting conditions can also affect the appearance of the paint, so it is best to view the samples in the room where the paneling will be painted.
Considerations For Preparation
Before applying the paint, proper preparation is essential to ensure a smooth and long-lasting finish. Here are some key considerations:
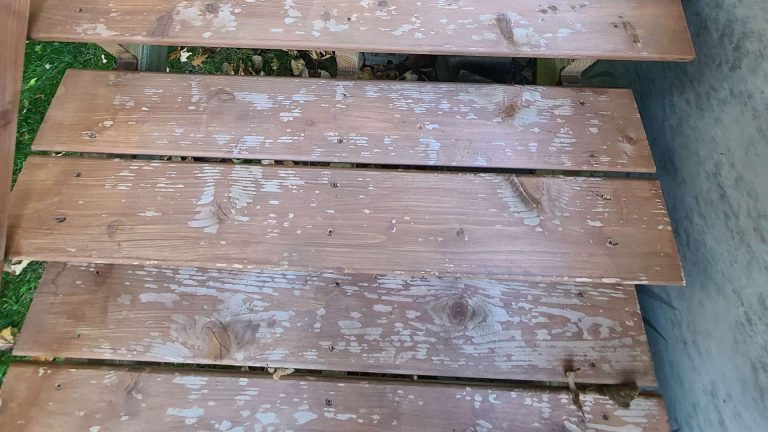
- Cleaning: Remove dust, dirt, and any existing finish from the paneling surface. Use a mild detergent or wood cleaner to gently scrub the wood, and make sure to rinse thoroughly and allow it to dry completely before painting.
- Sanding: If the surface of the paneling is rough or has imperfections, a light sanding can help create a smoother canvas for the paint. Use fine-grit sandpaper and gently sand in the direction of the grain.
- Priming: Applying a primer before the paint helps to improve adhesion and ensures a more even coverage. Choose a primer specifically formulated for use on wood surfaces, and follow the manufacturer’s instructions for application.
- Filling knots: Knotty pine paneling often has visible knots that can create unevenness in the paint finish. To achieve a more uniform look, consider using a wood filler to fill the knots before priming and painting.
By taking the time to properly match the paint color to the paneling and prepare the surface, you can ensure a beautiful and professional result when painting knotty pine. Following these tips will help transform your space while preserving the natural charm of the wood.
Preparing The Paneling For Painting
If you’re considering painting your knotty pine paneling, it’s essential to properly prepare the surface beforehand. This preparation will ensure a smooth and durable finish that will last for years to come. In this section, we’ll outline the necessary steps to take before painting your knotty pine paneling, including how to clean the surface, sand the paneling, and fill any knot holes and cracks.
Cleaning The Surface
The first step in preparing your knotty pine paneling for painting is to thoroughly clean the surface. Over time, dirt, grease, and other contaminants can accumulate on the paneling, preventing the paint from adhering properly. To clean the surface effectively, follow these simple steps:
- Begin by wiping down the paneling with a damp cloth to remove any loose dirt or dust.
- Mix a mild detergent or dish soap with warm water in a bucket.
- Dip a clean sponge or cloth into the soapy water and gently scrub the paneling in a circular motion. Be sure to cover the entire surface.
- Rinse the paneling thoroughly with clean water to remove any soap residue.
- Allow the paneling to dry completely before proceeding to the next step.
Sanding The Paneling
Once the paneling is clean and dry, the next step is to sand the surface. Sanding will roughen up the smooth finish of the paneling, creating a better surface for the paint to adhere to. Follow these guidelines when sanding your knotty pine paneling:
- Start by lightly sanding the entire surface of the paneling using medium-grit sandpaper. Sanding by hand or using a palm sander can both yield excellent results.
- Work in a circular or back-and-forth motion, applying light pressure. Be careful not to overspend and remove too much of the wood’s texture.
- After sanding, wipe away any dust with a clean, dry cloth.
- If there are any rough or uneven areas, you may need to use finer-grit sandpaper to smooth them out.
Filling Knot Holes And Cracks
Knotty pine paneling often contains natural knots and cracks that can be unsightly when painted. To create a smooth and seamless finish, it’s important to fill these imperfections before applying paint. Follow these steps to fill knot holes and cracks:
- Start by inspecting the paneling for any visible knots or cracks.
- Use a wood filler or putty that matches the color of the paneling to fill the holes. Apply the filler using a putty knife, pressing it firmly into the holes.
- Smooth out the filled areas with the putty knife, ensuring they are flush with the surrounding paneling.
- Allow the filler to dry completely according to the manufacturer’s instructions.
- After the filler is dry, sand the filled areas lightly to create an even surface.
- Remove any dust with a clean, dry cloth before moving on to the painting process.
Priming The Paneling
Learn how to paint knotty pine paneling with ease by following our step-by-step guide to priming the paneling. Achieve a smooth and flawless finish on your walls, enhancing the beauty of your space.
Selecting The Right Primer
Choosing the correct primer is crucial when it comes to painting knotty pine paneling. Due to the natural resin in the knots, it is essential to select a primer that will block the tannins and prevent them from bleeding through the paint. Look for a high-quality stain-blocking primer that is specifically designed for knots and resinous wood, such as a shellac-based or oil-based primer.
Applying Primer To The Paneling
Now that you have the right primer, it’s time to put it to work on your knotty pine paneling. Applying the primer properly ensures better adhesion and a smoother painted finish. Here’s a step-by-step guide on how to apply primer to the paneling:
- Prepare the paneling by cleaning it thoroughly. Remove any dust, dirt, or grease using a mild detergent and water solution. Rinse well and let it dry completely.
- Use painter’s tape to protect any adjacent surfaces, such as trim or windows.
- Stir the primer thoroughly, making sure it is well-mixed and ready to use.
- If you’re using a brush, start by cutting in around the edges and corners of the paneling. Apply the primer with long, smooth strokes, following the wood grain.
- If you’re using a roller, pour the primer into a paint tray. Roll the roller in the primer, ensuring it is evenly coated, then apply it to the paneling using long, overlapping strokes.
- Work in small sections at a time, ensuring complete coverage. Spread the primer evenly and avoid excessive build-up.
- Allow the primer to dry according to the manufacturer’s instructions. Usually, it takes around 2-4 hours.
- Inspect the primed paneling for any missed spots or areas that might need touch-ups. If needed, apply a second coat of primer and let it dry.
- Once the primer is fully dry, you are ready to move on to the next step, which is painting the knotty pine paneling.
Painting Techniques For Knotty Pine Paneling
Knotty pine paneling gives a warm and rustic vibe to any room, but it may not always match your desired aesthetic. If you’re looking to update the look of your knotty pine paneling, painting is a great option. With the right techniques, you can transform your space into something fresh and modern. In this article, we will discuss the different painting techniques for knotty pine paneling, including choosing the brush or roller, applying the first coat, and applying subsequent coats.
Choosing The Brush Or Roller
Choosing the right brush or roller is crucial for achieving a smooth and even finish on your knotty pine paneling. A brush with synthetic bristles works best for water-based paint, while a natural bristle brush is ideal for oil-based paint. If you prefer using a roller, opt for a medium nap roller cover, which will allow the paint to adhere evenly to the paneling.
Applying The First Coat
Before you start painting, it’s important to properly prepare the knotty pine paneling. Clean the surface with a mild detergent and water to remove any dirt or grease. Once the paneling is dry, apply a coat of primer, using a brush or roller in long, even strokes. A high-quality stain-blocking primer is recommended to prevent any knots or blemishes from bleeding through the paint. Allow the primer to dry completely before moving on to the next step.
Applying Subsequent Coats
After the primer has dried, it’s time to apply the first coat of paint. Using the same brush or roller, apply the paint in thin, even coats. Start from the top and work your way down, ensuring that each stroke overlaps the previous one slightly to avoid streaks or uneven coverage. Allow the first coat to dry according to the manufacturer’s instructions.
Once the first coat is completely dry, inspect the paneling for any missed spots or uneven areas. Use a fine-grit sandpaper to lightly sand any imperfections, and then clean the surface with a damp cloth to remove dust. Apply subsequent coats of paint in the same manner as the first, ensuring that each coat dries completely before applying the next one. Most likely, two or three coats will be sufficient to achieve the desired look.
Congratulations! By following these painting techniques, you can successfully paint knotty pine paneling and transform your space into something fresh and vibrant. Remember to choose the right brush or roller, apply a coat of primer, and apply subsequent coats evenly. With patience and attention to detail, you can achieve a beautiful and updated look for your knotty pine paneling.
Finishing Touches And Maintenance
Learn how to give your knotty pine paneling a fresh look with these simple finishing touches and maintenance tips. Our expert guide will help you paint your pine paneling like a pro, transforming your space with a beautiful, updated finish.
Applying A Protective Finish
When it comes to painting knotty pine paneling, applying a protective finish is an essential step to ensure the longevity and durability of your newly painted surface. A protective finish not only adds a layer of shield against regular wear and tear but also enhances the overall aesthetic appeal of the paneling. Here are a few options to consider and steps to follow while applying a protective finish to your painted knotty pine paneling:
-
Clear Polyurethane Finish
A clear polyurethane finish is a popular choice for protecting painted knotty pine paneling due to its durability and resistance to scratches, stains, and moisture. After painting your paneling, allow it to dry completely. Then, using a high-quality brush or roller, evenly coat the entire surface with a clear polyurethane finish. Apply multiple coats if necessary, following the manufacturer’s instructions for drying time between coats. This will ensure a strong protective layer that can withstand daily wear and tear.
-
Tung Oil Finish
If you prefer a more natural and eco-friendly option, you can consider using tung oil as a protective finish. Tung oil not only enhances the appearance of the wood but also provides excellent protection against moisture and UV radiation. Make sure to select a pure tung oil rather than a tung oil finish that contains additives. Apply the tung oil with a brush or cloth, following the manufacturer’s recommendations. Allow the oil to penetrate the wood, and then wipe off any excess. Repeat this process until you achieve the desired level of protection and sheen on your painted paneling.
Maintaining And Touching Up Painted Paneling
Once you have painted and protected your knotty pine paneling, proper maintenance and occasional touch-ups will ensure that it continues to look fresh and vibrant for years to come. Here are some tips to help you maintain and touch up your painted paneling.
-
Regular Cleaning
To keep your painted paneling looking its best, it’s important to regularly remove dust and dirt. Gently dust your paneling using a soft cloth or a duster. You can also use a mild cleaning solution specifically formulated for painted surfaces. Avoid using abrasive cleaners or rough scrubbing brushes, as these can damage the paint.
-
Preventing Scratches and Dings
To prevent scratches and dings on your painted paneling, consider placing furniture pads or coasters under heavy objects and using caution when moving furniture or other items along the wall. By taking these simple precautions, you can avoid unnecessary damage and the need for frequent touch-ups.
-
Touching Up Paint
Over time, your painted paneling may experience minor chips, scratches, or fading. To touch up these imperfections, start by cleaning the affected area with a mild detergent and water. Allow it to dry completely. Then, using a small brush or a foam brush, carefully apply a thin layer of matching paint to the damaged area. Feather the edges of the touch-up paint to blend it seamlessly with the surrounding surface. Allow the touch-up paint to dry, and assess if additional coats are required to achieve a uniform appearance.
Remember, proper maintenance and periodic touch-ups are essential to extending the life and preserving the beauty of your painted knotty pine paneling. By following these guidelines and paying attention to the condition of your paneling, you can enjoy a stunning and long-lasting transformation in your space.
Conclusion
Painting knotty pine paneling is an effective way to update the look of your home. By following the steps mentioned in this blog post, you can achieve a smooth and professionally finished result. Remember to properly prepare the surface, select the right primer and paint, and use the appropriate techniques.
With a little patience and attention to detail, you can transform your knotty pine paneling into a stunning focal point in any room. Happy painting!