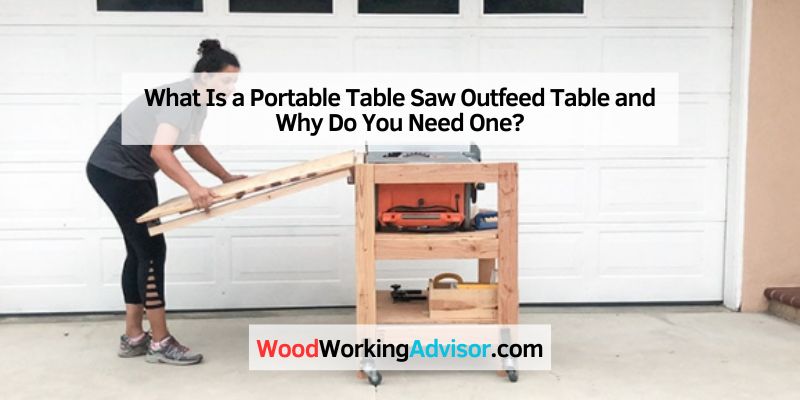
What Is a Portable Table Saw Outfeed Table and Why Do You Need One?
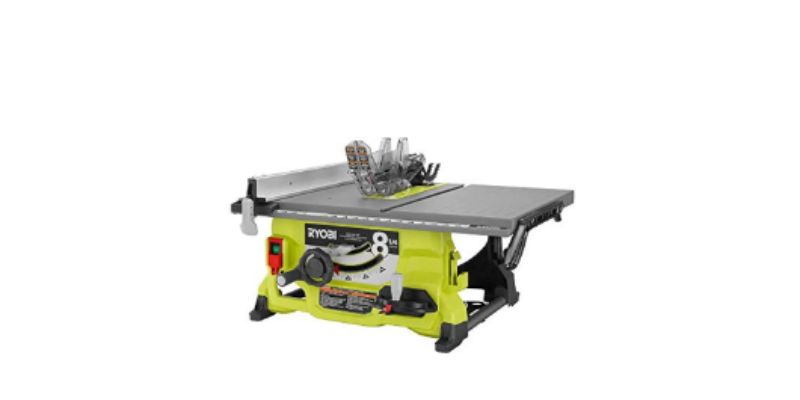
Picture this: you’re ripping a long piece of hardwood on your table saw, and as it slides off the back, it starts to tip. You’re stuck trying to balance the board while keeping your cut straight—not fun, right? A portable table saw outfeed table is a surface that attaches to or sits behind your table saw to catch and support the material as it exits the blade. Unlike a permanent outfeed table, a portable one is lightweight, foldable, or easy to store, making it perfect for small shops or mobile woodworkers like me who sometimes work in the driveway.
I remember the first time I used one. It was a revelation. No more awkward juggling of boards or worrying about them falling. Plus, it made my cuts more accurate because I could focus on guiding the material instead of catching it. Safety is another big reason to get one. Without proper support, long pieces can bind or kick back, which is dangerous. A portable outfeed table keeps everything stable, giving you peace of mind. If you’re working in a tight space or need to pack up after every project, the portability factor is a lifesaver.
Benefits of Using a Portable Outfeed Table
Let me tell you, once I started using a portable outfeed table, I couldn’t imagine going back. Here are some of the biggest perks that make it worth every penny (or every hour if you build one yourself):
- Space-Saving Design: In my small garage shop, space is gold. A portable outfeed table folds up or disassembles, so I can tuck it away when I’m done. Some even double as workbenches, which is a huge bonus.
- Improved Safety: Supporting long boards or sheet goods prevents them from tipping or binding, reducing the risk of kickback. I’ve had a few close calls before I got mine, and trust me, you don’t want to take that chance.
- Better Cut Accuracy: With a stable outfeed surface, I can focus on keeping my material against the fence, leading to cleaner, straighter cuts. It’s like having an extra set of hands.
- Portability for Jobsites: If you’re like me and occasionally take your table saw to a friend’s house or a job site, a portable outfeed table is easy to transport. Many models weigh under 30 pounds and collapse flat.
- Versatility: Some outfeed tables have miter slots or T-tracks for jigs, making them useful for crosscuts or even as assembly tables. I’ve used mine for gluing up panels, and it’s been a game-changer.
Here’s a quick table to sum up the benefits:
| Benefit | Why It Matters |
|---|---|
| Space-Saving | Folds or disassembles for easy storage in small shops or garages. |
| Safety | Prevents material from tipping or binding, reducing kickback risks. |
| Cut Accuracy | Stable support leads to straighter, cleaner cuts. |
| Portability | Lightweight and compact for transport to job sites or outdoor workspaces. |
| Versatility | Doubles as a workbench or supports jigs for various tasks. |
Types of Portable Outfeed Tables
When I started shopping for an outfeed table, I was surprised by how many options there were. Each type has its pros and cons, so let’s break them down to help you find the right fit.
- Folding Outfeed Tables: These attach directly to your table saw’s rear rail or stand and flip up when needed. I love how they stay connected to the saw, so setup is quick. They’re sturdy but can sag under heavy loads if not designed well. My friend uses one with a telescoping leg, and it’s super stable.
- Roller Stands: These aren’t tables but portable stands with rollers or balls to support material. I tried one early on, but they’re tricky with wide plywood because they can tip or misalign. They’re best for long, narrow boards and super compact storage.
- Collapsible Table Stands: Think of these as standalone tables that fold flat. They’re not attached to the saw, so you can move them around or use them elsewhere. I built one with casters, and it’s great for my driveway projects, but it takes a bit more setup time.
- DIY Custom Builds: If you’re handy like me, you can build a custom outfeed table tailored to your saw and space. I made one that doubles as a router table, and it’s my pride and joy. Plans are all over the internet, from simple to fancy.
Each type suits different needs. If you have a jobsite saw like a DeWalt or Bosch, a folding model might be best. For a hybrid shop like mine, a collapsible or DIY table offers more flexibility.

Key Features to Look for in a Portable Outfeed Table
Not all outfeed tables are created equal. I learned this the hard way after buying a cheap one that wobbled like a newborn deer. Here’s what to check before you buy or build one:
- Sturdiness: A flimsy table is worse than none at all. Look for solid materials like plywood or metal frames. My current table has a melamine top, which is smooth and durable.
- Adjustable Height: Your table needs to align perfectly with your saw’s surface. I prefer models with leveling feet or adjustable legs, especially since my garage floor isn’t exactly flat.
- Miter Slot Compatibility: If you use a miter gauge or crosscut sled, make sure the table has slots aligned with your saw’s. I cut wider slots in mine (1 inch instead of 3/4 inch) for easier alignment.
- Portability: Check the weight and how it folds or disassembles. My folding table weighs 25 pounds and fits in a corner, which is perfect for my small shop.
- Surface Smoothness: A slick surface like melamine or Formica lets material glide easily. I added paste wax to mine, and it’s like butter now.
- Storage Options: Some tables have shelves or drawers for tools. My DIY table has a lower shelf for my push sticks and safety gear, keeping them handy but out of the way.
Pro tip: Measure your saw’s height and the space behind it before buying. You don’t want a table that’s too tall or blocks your dust port.
How to Build Your Own Portable Outfeed Table
Building my own outfeed table was one of the most rewarding projects I’ve tackled. It’s not as hard as it sounds, and you can customize it to fit your needs. Here’s a step-by-step guide based on my experience:
- Plan Your Design: Decide on size and features. Mine is 48 inches wide by 30 inches deep to match my saw’s width and give enough support for plywood. I used a folding design with hinges and a single adjustable leg.
- Gather Materials: I used 3/4-inch plywood for the top, 2x4s for the frame, and Baltic birch for the leg. You’ll also need hinges, bolts, leveling feet, and a smooth top like melamine or Formica. Total cost was about $60.
- Cut the Top: Cut your plywood to size. I made mine slightly oversized, then trimmed it flush with a router after gluing on the melamine.
- Build the Frame: Assemble a simple frame with 2x4s using pocket holes or dowels. I added cross-braces for extra strength.
- Attach the Top: Glue and screw the top to the frame. If using melamine, scuff-sand the glue areas for better adhesion.
- Add Miter Slots: Use a router with a straight bit to cut slots aligned with your saw’s miter tracks. I made mine 1 inch wide for wiggle room.
- Install the Leg: I used a telescoping leg with a sliding dovetail for adjustability. Attach it with hinges so it folds flat.
- Mount to the Saw: I bolted mine to the saw’s rear rail using L-brackets. Make sure it’s level with the saw table, using shims if needed.
- Finish It: Sand the edges, apply a chamfer with a router, and wax the top for smoothness. I added T-molding to protect the edges.
It took me a weekend, and the result was a sturdy, foldable table that’s served me for years. If you’re not ready to build, check out plans from sites like FineWoodworking or Woodshop Mike for inspiration.
Tips for Using Your Outfeed Table Effectively
Now that you’ve got your outfeed table, let me share some tips to get the most out of it. These come from my trial-and-error moments:
- Level It Perfectly: Even a 1/16-inch difference can cause material to catch. I use a straightedge and shims to ensure my table is flush with the saw.
- Keep It Clean: Sawdust and glue can make the surface sticky. I wipe mine down after every session and reapply wax monthly.
- Use It for More Than Sawing: My table doubles as an assembly surface for gluing panels or sanding. Just cover it with a thin sheet of Masonite to protect it.
- Store Smart: If it’s foldable, practice setting it up and taking it down a few times. I keep mine leaning against a wall with bungee cords to save space.
- Check Alignment Regularly: Moving the saw can throw off alignment. I check mine every few months to avoid surprises mid-cut.
Common Mistakes to Avoid
I’ve made my share of blunders with outfeed tables, so let me save you some headaches:
- Making It Too High: If the table is higher than your saw, material will bump as it exits. Mine was off by 1/8 inch at first, and it drove me nuts until I fixed it.
- Skimping on Materials: Thin plywood or weak hinges will sag under heavy loads. I tried saving a few bucks on my first build, and it wobbled like crazy.
- Ignoring Miter Slots: Forgetting to add slots means your sled or gauge won’t work smoothly. I skipped this once and regretted it.
- Overcomplicating the Design: A simple table does the job. My first DIY attempt had too many bells and whistles, and it was a pain to store.
- Not Testing Portability: If it’s hard to move or store, you’ll dread using it. Test your setup in your space before finalizing.
Conclusion: Transform Your Woodworking with a Portable Outfeed Table
As I sit here in my workshop, looking at my trusty portable outfeed table, I can’t help but smile. It’s saved me time, improved my cuts, and made woodworking safer and more fun. Whether you buy a folding model, use a roller stand, or build your own like I did, an outfeed table is a must for anyone with a table saw. It’s not just about catching boards—it’s about giving you the confidence to tackle bigger projects without the stress. So, grab your tools, measure your space, and get ready to take your woodworking to the next level. Trust me, you’ll wonder how you ever worked without one!
FAQs About Portable Table Saw Outfeed Tables
What’s the ideal size for a portable outfeed table?
The size depends on your saw and projects. I made mine 48 inches wide to match my saw and 30 inches deep for plywood support. For small shops, 24 to 36 inches deep is enough. Measure your space and saw to decide.
Can I use a roller stand instead of an outfeed table?
Roller stands work for long, narrow boards but struggle with wide sheets. I tried one, and it tipped easily. A table offers better stability and versatility, especially for plywood or heavy stock.
How do I make sure my outfeed table is level with my saw?
Use a straightedge across the saw and table to check alignment. Adjust with leveling feet or shims. I set mine 1/16 inch lower than the saw to avoid catching material.
Is it worth building my own outfeed table?
Absolutely! I built mine for $60, and it’s custom-fit to my saw and space. It’s a fun project, and you can add features like storage or miter slots. Plans online make it easy.
How do I store a portable outfeed table in a small shop?
Folding or collapsible tables are best. Mine folds flat and leans against a wall. Some fit under the saw or on a shelf. Check the folded dimensions before buying or building.
What materials are best for a DIY outfeed table?
I used 3/4-inch plywood with a melamine top for smoothness. Baltic birch or MDF works too. For the frame, 2x4s or metal are sturdy. Avoid thin plywood—it’ll sag.