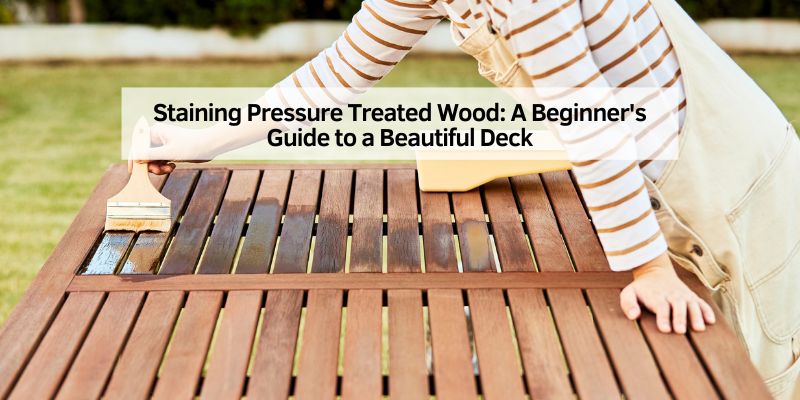
Staining Pressure Treated Wood: A Beginner’s Guide to a Beautiful Deck
Last summer, I built a deck in my backyard using pressure treated wood, dreaming of barbecues and sunny afternoons. But when I tried staining it too soon, the finish peeled off like a bad sunburn! I learned the hard way that staining pressure treated wood takes patience and know-how. This guide shares my tips to help you stain your deck or fence like a pro, whether you’re a beginner or a seasoned DIYer. We’ll cover what staining pressure treated wood is, why it matters, and a simple step-by-step process to make your project shine. Plus, I’ll throw in some tricks to save time and money, and answer common questions to keep your project smooth.
What Is Staining Pressure Treated Wood?
Pressure treated wood is lumber soaked with chemicals to fight rot and bugs. It’s great for outdoor projects like decks and fences, but it’s often wet when you buy it, which makes staining tricky. Staining pressure treated wood means adding a colored finish to protect it from sun, rain, and wear while making it look awesome. A good stain soaks into the wood, adding a layer of defense and beauty. Without it, your deck might crack or turn gray, which nobody wants!
Why Stain Pressure Treated Wood?
Staining does more than make your wood pretty. It shields it from UV rays, water, and mildew. Here’s why it’s a must:
- Keeps wood strong: Stain stops cracks and splits from weather changes.
- Looks great: Choose colors to match your style, from light cedar to dark mahogany.
- Saves money: A stained deck lasts longer, so you replace boards less often.
Step-by-Step Guide to Staining Pressure Treated Wood
Staining pressure treated wood is like baking a cake—you need the right ingredients and timing. Follow these easy steps to get a smooth, long-lasting finish.
Step 1: Check If the Wood Is Ready
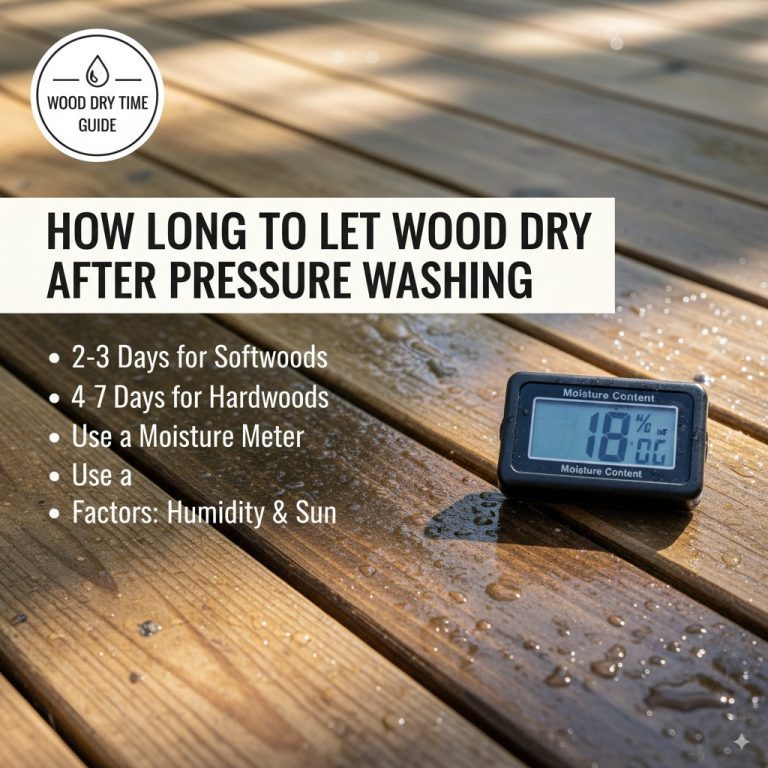
Pressure treated wood is often wet from the chemical treatment, so you can’t stain it right away. I made this mistake and ended up with a patchy deck! To test if it’s dry, sprinkle water on the wood. If it soaks in within 10 minutes, you’re good to go. If it beads up, wait a few weeks and test again. A moisture meter is even better—aim for 15% moisture or less.
Step 2: Clean the Wood
Dirt and mildew can ruin your stain job. Use a deck cleaner or mix one gallon of water with one quart of rubbing alcohol and one quart of oxygen bleach (like OxiClean). Scrub with a stiff brush, rinse with a hose, and let it dry for 24 hours. For tough stains, a pressure washer on a low setting works wonders, but don’t blast too hard—it can damage the wood!
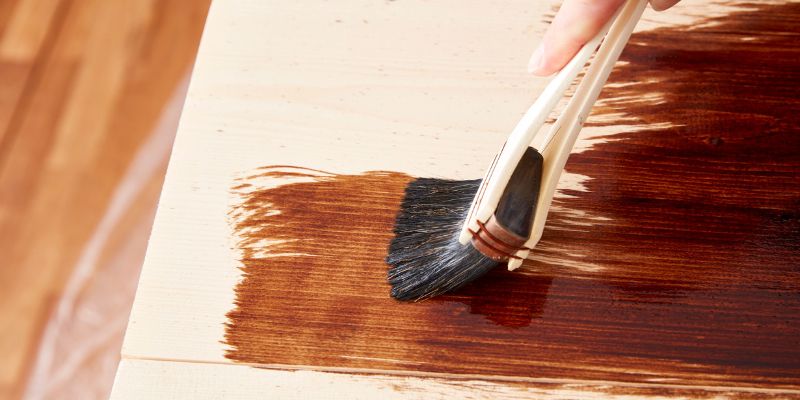
Step 3: Pick the Right Stain
Choosing a stain can feel overwhelming, but it’s simple when you know your options. Oil-based stains soak deep and last longer, while water-based ones are easier to clean up. I prefer oil-based for my deck because it resists peeling. Here’s a quick comparison:
| Stain Type | Pros | Cons |
|---|---|---|
| Oil-Based | Deep penetration, durable, resists peeling | Longer dry time, strong smell |
| Water-Based | Easy cleanup, eco-friendly | Less durable, may need reapplication |
| Hybrid | Combines durability and easy cleanup | Can be pricier |
Caption: This table compares stain types to help you choose the best one for your project.
Step 4: Gather Your Tools
You don’t need fancy gear to stain. Here’s what I use:
- Paint pad applicator: Covers large areas fast and evenly.
- Paintbrush: For cracks and edges.
- Tarps or painter’s tape: Protects plants or siding nearby.
- Gloves and old clothes: Staining gets messy!
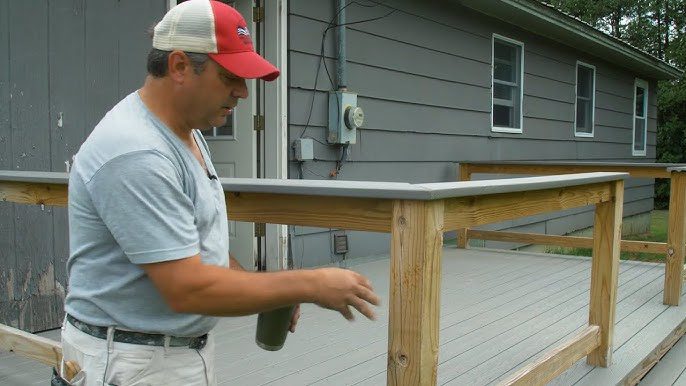
Step 5: Apply the Stain
Start early in the morning to avoid direct sunlight, which can dry the stain too fast. Stir the stain well and pour it into a tray. Use a paint pad for big areas like deck boards, and a brush for gaps or rails. Work from one end to the other to avoid lap marks. One coat is usually enough, but check the can for instructions. If you’re staining a fence, start at the top and work down to catch drips.
Step 6: Let It Dry
Most stains need 24 to 48 hours to dry. Keep kids and pets off the deck, and check the weather—rain can ruin your hard work! I once stained right before a surprise storm, and let’s just say it wasn’t pretty.
Benefits and Drawbacks of Staining Pressure Treated Wood
Staining has big perks, but it’s not perfect. Here’s the scoop:
Benefits
- Longer life: Stain protects against sun and water damage.
- Custom look: Pick colors to match your home or yard.
- Easy upkeep: A quick clean and restain every few years keeps it fresh.
Drawbacks
- Waiting time: Wet wood needs weeks or months to dry.
- Upfront work: Cleaning and prepping take effort.
- Reapplication: You’ll need to restain every 2-4 years.
My Top Tips for Staining Success
After my deck disaster, I picked up some tricks to make staining pressure treated wood a breeze:
- Test on scrap wood: Try the stain on a leftover piece to check the color.
- Use a pre-stain conditioner: It helps dark stains go on evenly, especially on pine.
- Backbrush for perfection: After applying stain, brush it into seams and edges for full coverage.
Here’s a cost-saving idea: Buy stain in bulk for big projects like a deck or fence. A 5-gallon bucket is often cheaper per ounce than smaller cans. Check sites like Home Depot for deals.
Common Mistakes to Avoid
Don’t repeat my flops! Here are pitfalls to dodge:
- Staining wet wood: It leads to peeling and uneven color.
- Skipping cleaning: Dirt traps imperfections under the stain.
- Using the wrong stain: Indoor stains won’t hold up outside.
| Mistake | Why It’s Bad | How to Fix It |
|---|---|---|
| Staining Wet Wood | Peeling, uneven finish | Test with water or a moisture meter |
| Skipping Cleaning | Traps dirt and mildew | Scrub with deck cleaner before staining |
| Wrong Stain Type | Poor adhesion, short lifespan | Use exterior oil-based stain |
Caption: Avoid these common mistakes to ensure a smooth staining project.
Visual Ideas sugestions for Staining
To make this guide even clearer, here are some visual ideas (not included, but worth imagining):
- Diagram of the sprinkle test: Show water drops on wet vs. dry wood.
- Step-by-step staining chart: Illustrate cleaning, applying, and drying stages.
- Color swatch guide: Display popular stain colors like cedar or mahogany on pressure treated wood.
Alternative Approaches to Staining
If staining feels like too much work, you can try other options. Sealing with a clear waterproofer, like Thompson’s WaterSeal, protects without changing the wood’s color. Painting is another choice, but it’s harder to apply and may peel faster. I prefer staining because it shows off the wood’s grain and feels more natural. For eco-friendly folks, water-based stains are a green option with less odor.
Frequently Asked Questions
Can You Stain Pressure Treated Wood Right Away?
No, you usually can’t stain it right away. Pressure treated wood is often wet from treatment and needs 4-6 weeks to dry. Use the sprinkle test: if water soaks in, it’s ready. Kiln-dried (KDAT) wood can be stained immediately.
How Long Does Stain Last on Pressure Treated Wood?
It lasts 2-4 years, depending on weather and stain type. Oil-based stains tend to last longer than water-based ones. Reapply when the color fades or water stops beading on the surface.
What’s the Best Stain for Pressure Treated Wood?
Oil-based stains are best for durability. Brands like Cabot or Olympic offer great options. Semi-transparent stains show the wood’s grain while adding color and protection.
Can You Paint Instead of Stain?
Yes, but stain is better for pressure treated wood. Paint may peel because of the wood’s preservatives. If painting, use a latex primer and exterior latex paint after the wood is dry.
How Do I Clean Pressure Treated Wood Before Staining?
Use a deck cleaner or a mix of water, rubbing alcohol, and oxygen bleach. Scrub with a stiff brush, rinse well, and let it dry for 24 hours. A pressure washer on a low setting works for tough stains.
Is Staining Pressure Treated Wood Safe?
Yes, it’s safe with proper care. Wear gloves when handling treated wood and stain, and use tarps to protect plants. Avoid staining in direct sunlight to prevent uneven drying.
What Colors Work Best for Pressure Treated Wood?
Light colors like cedar or gray are great for new wood. Darker shades like mahogany hide imperfections on older decks. Test colors on scrap wood to find your favorite.
Conclusion
Staining pressure treated wood is a fun way to protect your deck or fence and make it look amazing. By waiting for the wood to dry, cleaning it well, and picking the right stain, you’ll get a finish that lasts for years. My deck now looks like a pro did it, and I bet yours will too! Try staining a small project, like a planter box, to get the hang of it. Share your results or ask questions in the comments—I’d love to hear how it goes! For more tips, check out YellaWood’s staining guide.