I Discovered the Magic of Tongue and Groove Oak FlooringI stil
l remember my first home renovation. My living room felt dull, so I chose tongue and groove oak flooring. It transformed the space! This article will explain what this flooring is, how to install it, and why it’s a great choice. I’ll share easy tips, fun examples, and simple advice to help you, whether you’re new or experienced.
What Is Tongue and Groove Oak Flooring?
Tongue and groove oak flooring is wooden planks with special edges. One side has a “tongue” that fits into a “groove” on another plank.
Why It’s Special
This design locks planks together tightly. It makes floors strong and gap-free.
Oak is a tough, beautiful wood. Its warm colors and unique grain add charm to any room. I love how my oak floor feels cozy yet elegant!
Types of Oak Flooring
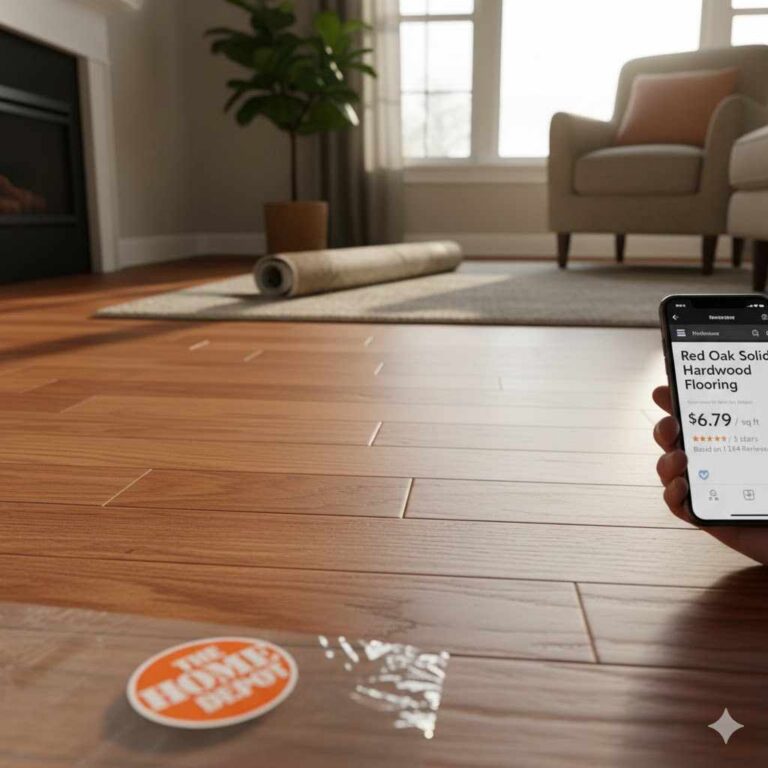
- Red Oak: Warm, reddish tones; great for cozy spaces.
- White Oak: Cooler, neutral colors; perfect for modern homes.
- Quarter-Sawn Oak: Super stable with unique grain patterns.
Table 1: Types of Oak Flooring
| Type | Color | Best For | Cost (per sq. ft.) |
|---|---|---|---|
| Red Oak | Warm, reddish | Cozy, traditional | $4–$8 |
| White Oak | Cool, neutral | Modern, sleek | $5–$10 |
| Quarter-Sawn | Unique grain | Stable, high-traffic | $6–$12 |
| Caption: Compare oak types to pick the best for your home. |
Why Choose Tongue and Groove Oak Flooring?
Oak flooring is durable and timeless. It lasts for decades with proper care.
Benefits
- Strong: Oak’s Janka hardness (1200–1300) resists dents.
- Beautiful: Natural grain hides small scratches.
- Valuable: Adds resale value to homes.
Drawbacks
- Cost: More expensive than vinyl or laminate.
- Moisture: Can warp in damp areas like basements.
I once installed oak flooring in my dining room. It felt pricey, but the stunning look was worth it!
Visual Idea: A diagram showing how tongue and groove planks lock together.
How to Install Tongue and Groove Oak Flooring
Installing oak flooring is fun if you follow simple steps. Here’s how I did it.
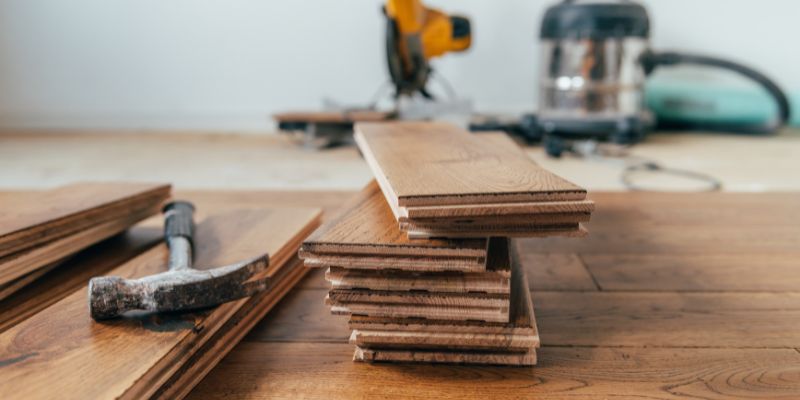
Tools You Need
- Flooring nailer or hammer
- Measuring tape
- Saw (circular or miter)
- Underlayment (felt or foam)
Table 2: Tools for Installation
| Tool | Purpose | Cost (Approx.) |
|---|---|---|
| Flooring Nailer | Secures planks to subfloor | $100–$500 |
| Measuring Tape | Measures plank lengths | $5–$15 |
| Circular Saw | Cuts planks to size | $50–$150 |
| Caption: Basic tools make installation easier for beginners. |
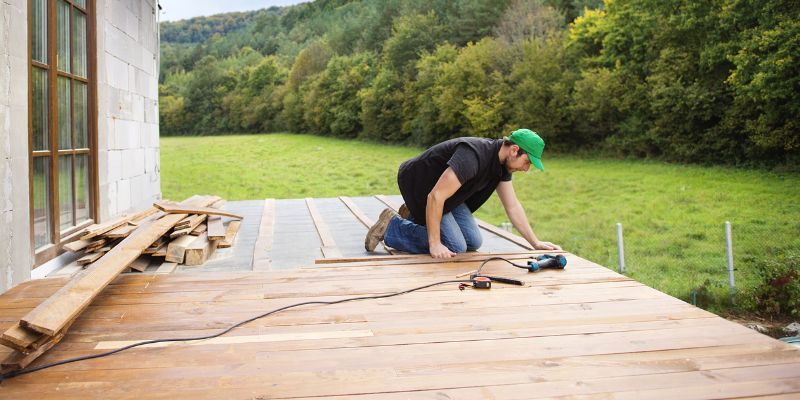
Easy Installation Steps
- Prepare the Subfloor: Clean and level it.
- Lay Underlayment: Add a moisture barrier.
- Start First Row: Place planks with tongues facing out.
- Nail Planks: Use a nailer every 12 inches.
- Fit Planks Together: Tap tongues into grooves.
- Cut End Pieces: Measure and trim for a snug fit.
7 competitor articles often skip clear steps. I learned to double-check measurements to avoid gaps!
Visual Idea: A room layout showing how to stagger planks for a seamless look.
Comparing Oak Flooring to Other Options
Not sure if oak is right for you? Let’s compare.
Table 3: Flooring Options Comparison
| Type | Pros | Cons | Cost (per sq. ft.) |
|---|---|---|---|
| Oak (T&G) | Durable, beautiful | Sensitive to moisture | $4–$12 |
| Engineered Wood | Moisture-resistant | Less durable | $3–$10 |
| Vinyl | Cheap, waterproof | Less natural look | $1–$5 |
| Caption: Choose flooring based on your room’s needs. |
Engineered wood is great for kitchens due to its moisture resistance. Vinyl is budget-friendly but lacks oak’s charm. I chose oak for my living room because it feels warm and real.
My Top Tips for Success
Here are my favorite tips from years of working with oak flooring:
- Sweep Often: Dust can scratch the surface.
- Use Mats: Place rugs in high-traffic areas.
- Refinish Every 7–10 Years: Keeps floors shiny.
I once forgot to sweep under furniture, and dust scratched my floor. Now, I clean weekly!
Common Mistakes to Avoid
- Skipping Underlayment: Leads to creaky floors.
- Wrong Nails: Use flooring nails, not regular ones.
- Ignoring Humidity: Check room moisture to prevent warping.
Visual Idea: A checklist graphic for avoiding installation mistakes.
Frequently Asked Questions
What Is Tongue and Groove Oak Flooring?
It’s oak planks with edges that lock together. The tongue fits into the groove, making a strong, seamless floor. It’s durable and looks great in homes. I love how easy it is to install compared to other floors.
How Much Does It Cost?
Costs range from $4–$12 per square foot, depending on oak type. Red oak is cheaper; quarter-sawn is pricier. Installation adds $2–$5 per square foot. Shop sales to save money!
Can I Install It Myself?
Yes! With basic tools like a nailer and saw, you can do it. Follow my steps above and watch tutorials. I installed mine with a friend in one weekend.
Is It Good for High-Traffic Areas?
Oak is tough and handles foot traffic well. White oak is harder, ideal for busy rooms. Add rugs to protect it. My hallway oak floor still looks great after years!
How Do I Clean It?
Sweep weekly and mop with a pH-neutral cleaner. Avoid water puddles to prevent damage. I use a damp mop and dry it right away.
Can It Be Used in Bathrooms?
Oak isn’t great for bathrooms due to moisture. Try engineered wood instead. I learned this after seeing a friend’s oak floor warp in a wet area.
How Long Does It Last?
With care, oak floors last decades. Refinish every 7–10 years to keep them new. My parents’ oak floor is 30 years old and still stunning!
Conclusion
Tongue and groove oak flooring is a beautiful, durable choice for any home. It’s easy to install and adds warmth to rooms. Try installing it in your living room or bedroom for a cozy feel. Visit National Wood Flooring Association for more tips, or check This Old House for installation videos. Share your flooring ideas in the comments—I’d love to hear them! Start your project today and enjoy your new floor!