What Does a Miter Saw Look Like? Parts & Visual ID Guide
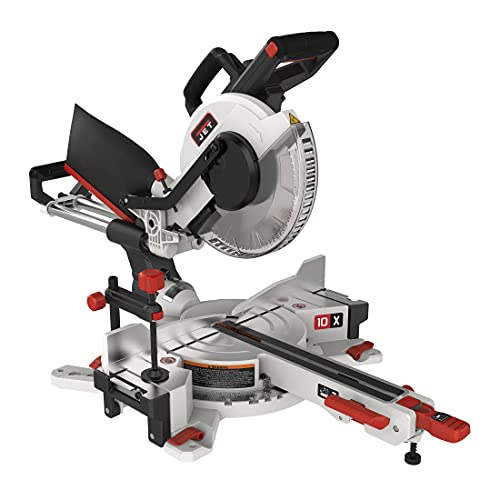
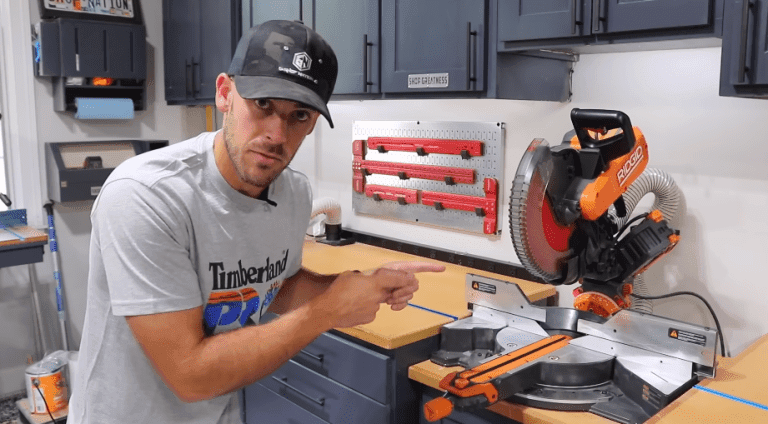
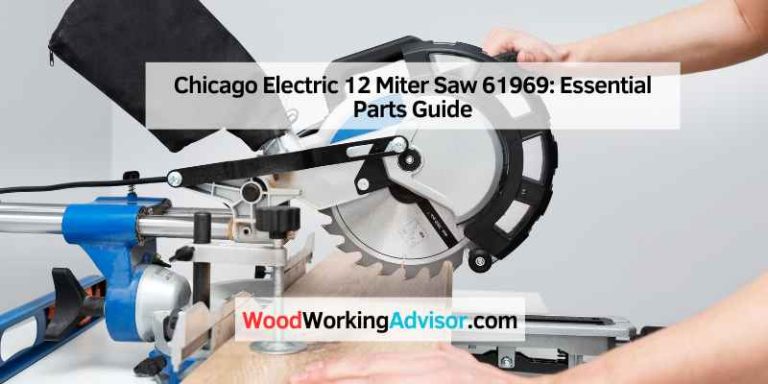
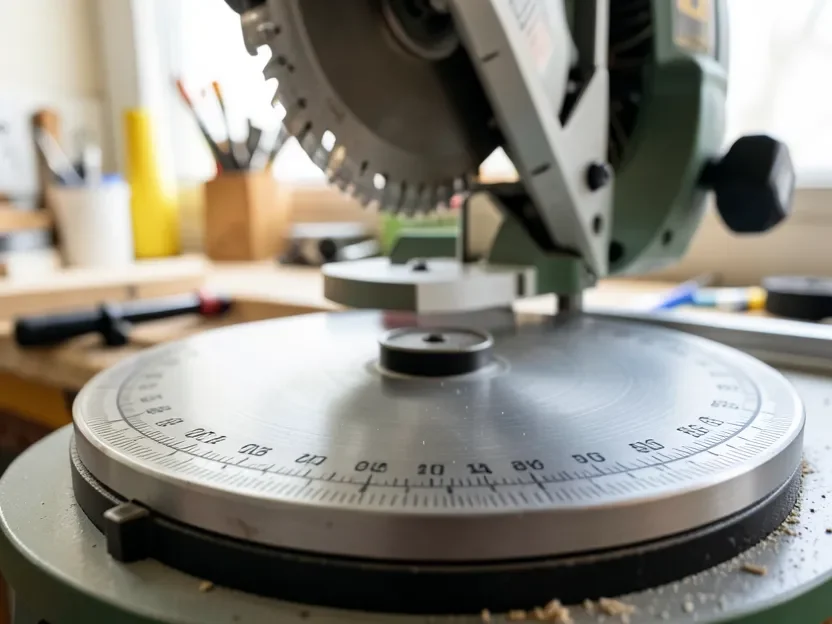
A miter saw looks like a small circular blade mounted on a hinged arm that swings down over a round, flat base. The whole cutting head — blade, motor, and handle — sits above the base on a pivot, so instead of pushing the wood through a fixed blade the way you would on a table saw, you lower a spinning blade straight down through a board that stays still. That pivoting head over a round base is the single feature that identifies a miter saw before you ever check the brand name. This guide breaks down the parts you’ll actually see, how compound and sliding versions look different from a basic model, and how to tell a miter saw apart from the table saws, circular saws, and chop saws it gets confused with most often.
What a Miter Saw Looks Like: 5 Parts You Can Spot in Seconds
Best Beginner-Friendly Miter Saw
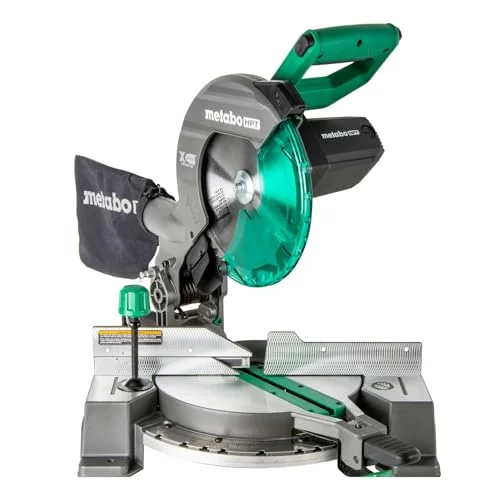 |
Metabo HPT C10FCG2 10″ Compound Miter Saw – $139.00 If you’re still learning to identify miter saw parts by sight, this lightweight single-bevel model puts every part covered below right at eye level, without the extra cost or bulk of a sliding rail system.
|
Every miter saw, regardless of brand or price, is built around the same five visible parts. Learn to spot these and you can identify a miter saw in a garage-sale photo or a job-site pile of tools without reading a single label:
- Blade — a flat circular blade, most commonly 8-1/2, 10, or 12 inches across, sitting inside a curved metal or clear polycarbonate guard that covers the top half of the teeth at all times.
- Pivoting head (arm) — the motor, handle, and blade assembly sit on a hinge above the base. Pull the handle down and the whole head drops in an arc; let go and a spring pulls it back up.
- Turntable base — the round, flat platform the head pivots from. It’s stamped with a degree scale, usually running from 0° to somewhere between 45° and 60° in each direction, so you can rotate it to an angle and lock it there.
- Fence — a raised bar running behind the blade, perpendicular to the base, that the workpiece rests against so the cut stays square to whatever angle you’ve set.
- Trigger and blade guard — the on/off switch is built into the handle, and a spring-loaded guard automatically retracts as the head lowers, then snaps back over the blade the instant you release it.
None of those five parts change on a $140 benchtop model versus an $800 pro-grade saw — see how a miter saw actually cuts through a workpiece using this same arm-and-blade setup in our miter saw mechanism guide. What does change between models is how much the head can move, which is what actually separates a basic saw from a compound or sliding one.
Compound, Sliding, and Dual-Bevel: How Each Type Looks Different
The five core parts above stay the same across every miter saw. What changes visually is how far the head can travel:
- Standard (non-compound) saw — the head only pivots straight down and rotates left/right on the base. No tilt at all, and no second lock lever on the back of the arm.
- Compound saw — the head also tilts sideways, usually up to 45° to one side. Look for a second lock lever and a bevel degree scale on the back of the arm, separate from the miter scale on the base.
- Dual-bevel saw — the head tilts both left and right instead of just one direction, so you’ll see a bevel scale marked on both sides of the pivot instead of one.
- Sliding saw — two exposed horizontal steel rails run front-to-back behind the head, with a locking knob that fixes the head’s travel along them. That’s the giveaway: no rails behind the motor housing means the saw can only chop straight down, not slide through the board.
A 10-inch sliding saw with rails can often match or beat the cutting width of a fixed-head 12-inch saw, because the blade travels through the board front-to-back instead of only dropping straight down. That’s a real capability difference, but from across a garage the rails are the fastest visual tell — if you see exposed steel bars behind the motor, it’s a slider.
Miter Saw vs. Table Saw vs. Circular Saw: Telling Them Apart at a Glance
These three tools get confused constantly because they all spin a circular blade, but each one moves the blade and the workpiece differently, and that difference is visible before you ever plug one in:
- Miter saw — the blade moves, the wood stays still. It always sits on its own round, pivoting base, and the blade drops down into the workpiece rather than cutting through it horizontally. See our full table saw vs. miter saw comparison for when each one is actually the right call.
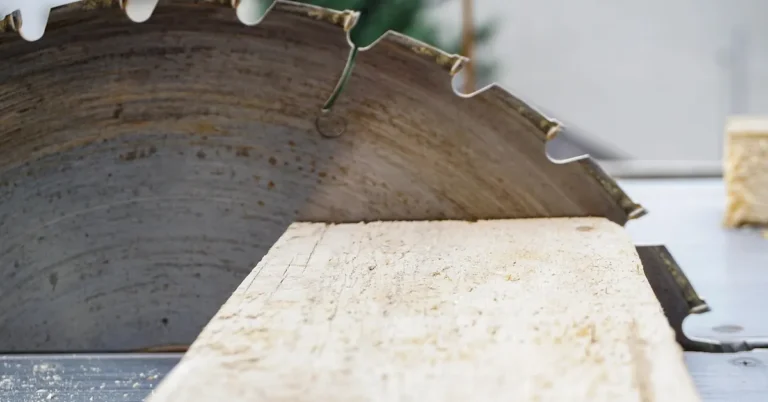
- Table saw — the exact opposite setup: the blade is fixed in a slot in the middle of a large, flat table and barely moves. You push the workpiece across the table and through the spinning blade instead of lowering the blade onto the wood.
- Circular saw — handheld, with no base, stand, or turntable of any kind. You grip it and move the whole tool across the workpiece, riding on a flat metal shoe underneath the blade. If there’s no stand under it at all, it’s a circular saw, not a miter saw — our circular saw vs. miter saw guide covers when a handheld saw is actually the better tool for the cut.
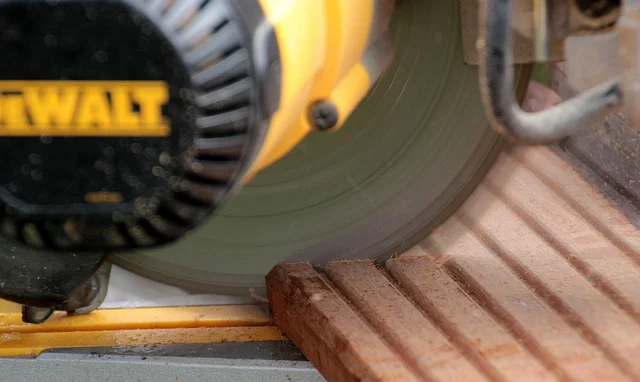
- Chop saw (metal cut-off saw) — this is the one that trips people up, because it uses the exact same pivoting-arm-over-a-round-base design as a miter saw. The real tell is the blade itself: a chop saw spins a thin abrasive metal-cutting disc instead of a toothed carbide blade, and most have a spark guard or shield around the disc that a miter saw doesn’t need. Our cut-off saw vs. miter saw breakdown goes through the rest of the differences.
Corded vs. Cordless: What Changes Visually
A corded miter saw has a power cord running out of the back of the motor housing to a plug. A cordless model swaps that cord for a battery pack — usually an 18V or 20V pack, and sometimes two batteries stacked to reach 36V to 40V of combined power — that clips into a slot on the back of the head, right where the cord would otherwise exit. The rest of the saw looks identical: same blade, same base, same fence. The easiest way to tell at a glance is to check whether the back of the motor housing has a battery slot or a cord strain-relief fitting; a cordless saw’s head also tends to sit a little heavier and thicker at the back because of the battery weight.
Safety Features You Should Be Able to See Before You Buy
A few safety features are visible if you know where to look, and they’re worth checking before you buy a saw in person or from a listing photo:
- Retractable blade guard — should fully cover the blade’s teeth when the head is at rest, and retract smoothly (not stick) as the head lowers. Most guards are clear polycarbonate so you can see the teeth through them mid-cut.
- Blade lock button — a small button near the arbor (the center bolt) that lets you hold the blade still to swap it with one wrench instead of two. It’s usually a separate small button from the trigger, close to the blade housing.
- Dust port — a round port or attached bag at the back of the blade guard that catches sawdust; if it’s missing entirely, expect a lot more mess and you’ll want a shop-vac adapter.
- Electric brake — you can’t see this one by looking, but it’s a real spec worth checking: a braked saw stops spinning within about 2 seconds of releasing the trigger instead of coasting for 10 to 15 seconds.
What to Look for When Choosing One
If you’re buying your first miter saw, start with a fixed-head compound model like the pick above rather than a sliding saw. It has every part covered in this guide, it’s light enough to inspect and adjust from any angle while you’re learning what each lever and scale actually does, and it costs less than a slider with rails you may not need yet for typical trim, molding, and framing cuts under about 6 inches wide. Once you’re cutting wider stock regularly, that’s the point where the extra rails and cost of a sliding saw start paying for themselves.
Frequently Asked Questions
What are the main parts of a miter saw?
A miter saw is built from five parts you can see on every model: a circular blade under a retractable guard, a pivoting head that holds the motor and handle, a round turntable base marked with a degree scale, a fence behind the blade, and a trigger built into the handle.
How can you tell a miter saw apart from a table saw?
On a miter saw, the blade moves and the workpiece stays still — the blade sits on a pivoting arm above a round base and drops down into the wood. On a table saw, it’s reversed: the blade is fixed in a slot in a large flat table, and you push the workpiece across the table through the blade instead.
What does a sliding miter saw look like compared to a standard one?
A sliding miter saw has two exposed horizontal steel rails running front-to-back behind the motor head, plus a lock knob that fixes the head’s position along those rails. A standard (fixed-head) saw has no rails at all behind the head — it can only pivot straight down.
Does a miter saw look different from a chop saw?
Barely — a metal-cutting chop saw uses the same pivoting-arm-over-a-round-base design as a miter saw. The real difference is the blade: a chop saw spins a thin abrasive disc instead of a toothed carbide blade, and most chop saws add a spark guard or shield around the disc that a miter saw doesn’t have.
Sponsored / affiliate links. As an Amazon Associate I earn from qualifying purchases. I may earn additional commission from eligible campaigns.