How to Make a Bevel Cut With a Table Saw
A bevel cut angles the blade itself, not the workpiece, so the cut edge leans off 90° instead of staying square — unlike a miter cut, which keeps the blade vertical. Tilt the blade past 45° without support and the stock can tip into the blade, a common cause of kickback on a bevel rip. This guide covers setting the bevel angle correctly, cutting angles steeper than 45°, and which way to tilt the blade for the safest cut.
Quick Answer
Tilt the blade to your target angle (0–45° direct) leaning away from the fence, then feed the board steadily with a push block. For angles steeper than 45°, subtract your angle from 90° for the blade tilt, stand the workpiece on edge, and back it with a support panel so it can’t tip into the blade.
Table Saw Bevel Cut: Step-by-Step Setup
Best Featherboard Pick
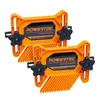
POWERTEC Universal Tandem Featherboards (2-Pack) – $28.99
Two featherboards mount to the miter slot or T-track on either side of the blade, holding a bevel-rip workpiece flat and tight to the fence the whole way through — hands-free backup for the tilt-away-from-fence setup covered above.
- Best for: rip bevels where you want constant fence pressure without a second set of hands
- Why we picked it: tandem mounting covers both vertical and horizontal pressure points
- Main drawback: takes a few minutes to set up correctly the first time
Compare more featherboard options
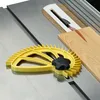 Option 1 The Hedgehog Featherboard – $34.99
|
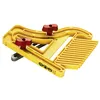 Option 2 Milescraft 1406 FeatherBoard – $13.79
|
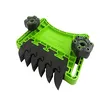 Option 3 BOW Products EVA Featherboard – $37.99
|
As an Amazon Associate we earn from qualifying purchases.
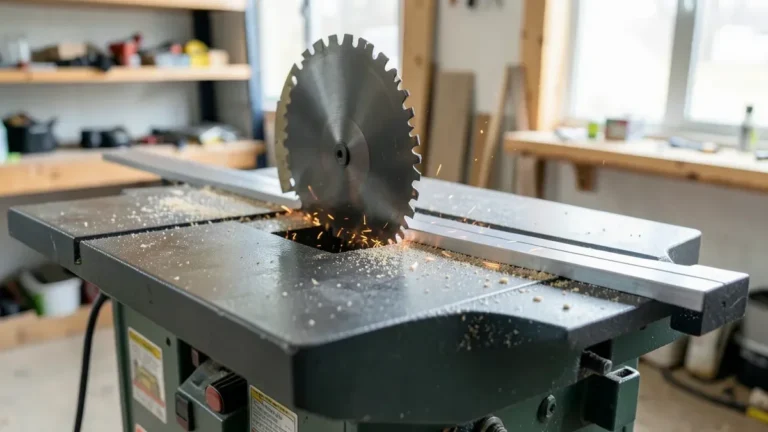
A table saw bevel cut uses the saw’s blade-tilt mechanism, not the miter gauge, to angle the cut. Here’s the setup sequence for a standard 0–45° bevel:
- Set the bevel angle: loosen the tilt lock and rotate the handwheel until the bevel gauge indicator lines up with your target angle, then relock it.
- Check the angle with a protractor or digital angle gauge: the factory bevel scale can drift a degree or two, and that’s enough to leave a visible gap on a mitered corner.
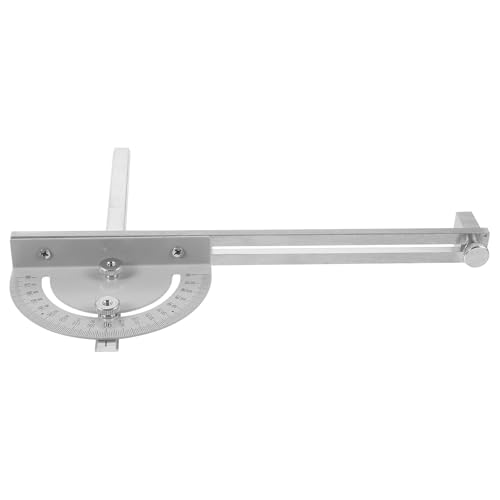
- Set the fence or miter gauge: for a rip bevel, position the rip fence on the side the blade tilts away from; for a crosscut bevel, square the miter gauge at 90° unless you’re also cutting a compound angle.
- Confirm the riving knife or splitter still clears the blade at the new angle — most modern splitters tilt with the blade, but it’s worth a visual check before the wood ever touches the blade.
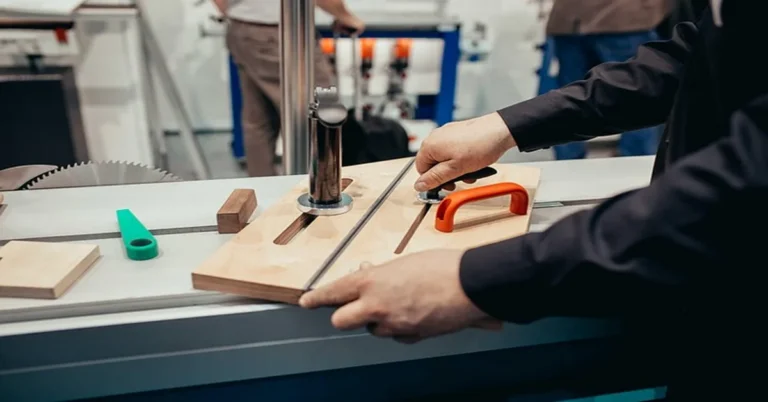
- Feed the workpiece slowly and steadily with a push block or push stick, keeping it flat against the table and tight to the fence until the cut is complete.
Bevel Cut vs. Miter Cut: What’s the Difference?
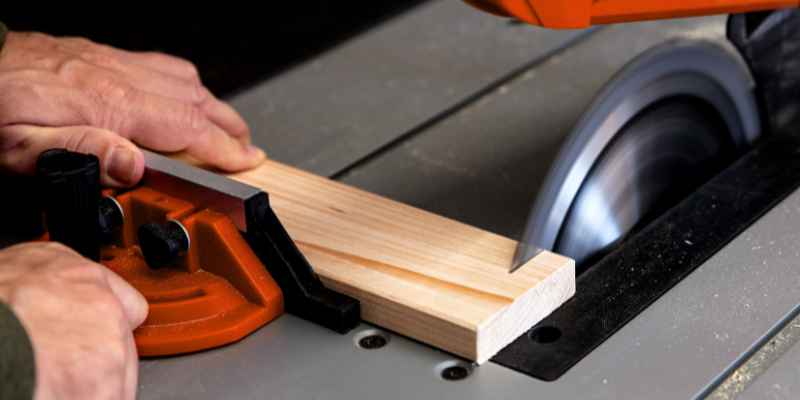
A bevel cut is an angled cut made by tilting the saw blade off 90°, so the cut edge leans instead of staying square to the face of the board. It runs along the length or edge of the workpiece. A miter cut keeps the blade vertical and instead angles the workpiece against the miter gauge, cutting across the board’s width. Combine both on the same piece and you get a compound cut — the standard for crown molding installed at a spring angle.
| Cut Type | Blade Position | Cut Runs | Best For |
|---|---|---|---|
| Miter cut | Vertical (90°), angle set on miter gauge | Across the board’s width | Picture frames, molding corners |
| Bevel cut | Tilted off 90°, gauge/fence stay square | Along the board’s length or edge | Chamfered edges, angled panel joints |
| Compound cut | Blade tilted AND miter angle set together | Both directions at once | Crown molding at a spring angle |
How to Cut Bevel Angles Greater Than 45 Degrees
Most table saws only tilt to 45°, so a steeper bevel — say 60° — needs a workaround, not a bigger tilt wheel. Subtract your target angle from 90° to find the blade tilt, then stand the workpiece on edge instead of feeding it flat:
| Desired Bevel Angle | Blade Tilt Setting | Workpiece Orientation |
|---|---|---|
| 30° | 60° (90°−30°) | Standing on edge, backed by a support panel |
| 45° | 45° | Standard — flat on the table |
| 60° | 30° (90°−60°) | Standing on edge, backed by a support panel |
| 75° | 15° (90°−75°) | Standing on edge, backed panel plus extra clamping |
Standing the workpiece on edge removes the table’s support from most of the cut, so a simple backing jig matters here: tape or clamp a second piece of scrap to the back face of the workpiece before cutting. The outer piece takes the bevel while the inner piece rides flat on the saw table, keeping the whole assembly from tipping into the blade mid-cut.
“Never sacrifice support during a cut.”
Which Way Should You Tilt the Blade? (Kickback Safety)
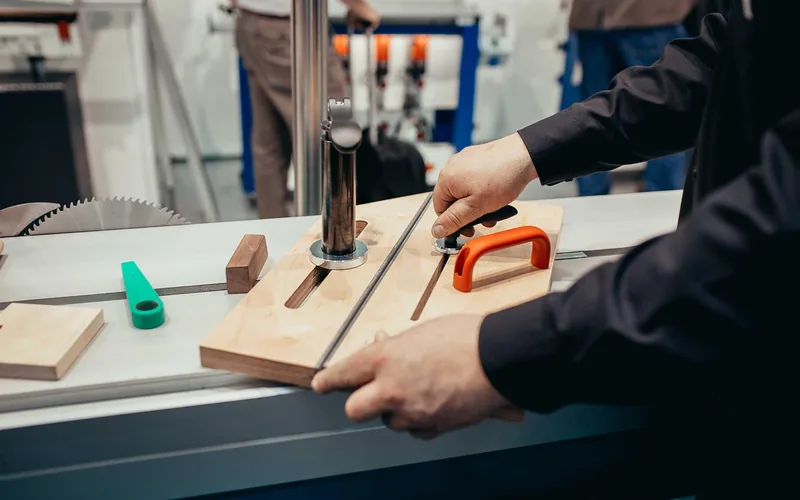
Whenever the setup allows a choice, tilt the blade away from the fence, not toward it. If the blade leans toward the fence and the stock lifts even slightly during the cut, the wood gets pinched between the tilted blade and the fence — a direct kickback setup. Tilt away from the fence instead, and the same slip just leaves an undercut that needs one more pass to clean up.
📊 Tilting the blade away from the fence reduces kickback risk on a bevel rip, because any error only requires an extra pass instead of trapping the stock — Source: Woodcraft, Expert Answers: Ripping Bevels on the Table Saw
A featherboard clamped to the table or fence adds continuous, hands-off pressure holding the stock against the fence, which does the same job as a steady hand but doesn’t tire or slip — useful backup on a bevel rip where one hand is already busy with a push stick.
How to Make a Bevel Cut by Hand
Without a table saw, a coping saw is the most common tool for a hand-cut bevel; a hand saw or jigsaw also works but takes more practice to keep the angle consistent. Mark the cut line, clamp the workpiece so it can’t shift, then align the blade with the line before starting the cut. Go slow, keep the blade steady, and adjust your grip as you near the end of the cut for more control — the last few inches are where the angle is easiest to lose.
Cutting a 45-Degree Bevel on a Table Saw
A 45° bevel is the most common angle for chamfered edges and angled joints, and it’s the simplest setting on most saws since it sits at the end of the tilt range. Here’s the setup:
- Tilt the blade to 45°, using the handwheel until the bevel indicator lines up with the mark.
- If you’re combining it with an angled cut across the board, set the miter gauge to your target angle the same way — tilt the handwheel until its indicator matches.
- Place the workpiece against the fence and feed it through steadily, keeping fingers well clear of the blade path.
How to Make a 45-Degree Bevel Cut With a Circular Saw
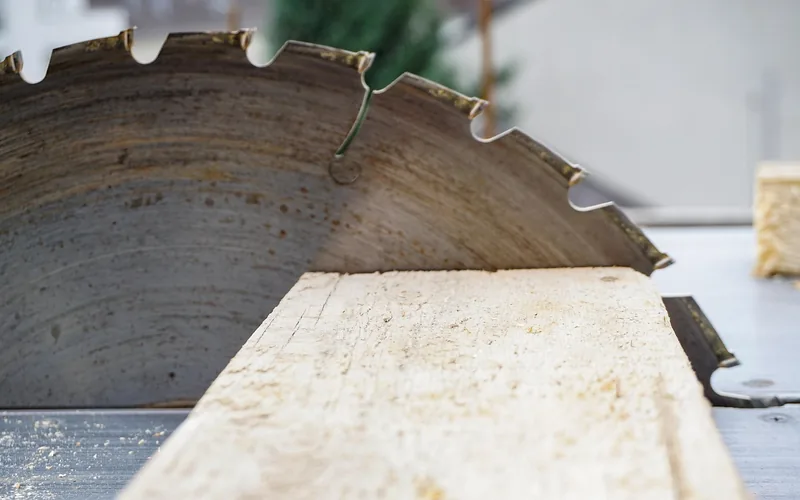
Set the circular saw’s own bevel adjustment to 45° using its built-in angle scale, then guide the saw with a straightedge guide clamped along the cut line for a straight result freehand cuts can’t reliably match. A speed square works the same way for shorter cuts — register it against the board’s edge and run the saw’s base plate along it. Make minor, controlled passes rather than forcing the blade through in one push, especially on thicker stock.
How to Make a Bevel Cut With a Miter Saw
Loosen the miter saw’s bevel lock and tilt the blade to the desired angle, then retighten before making any cut. If the sliding compound miter saw also needs a miter angle set (for a compound cut), adjust the turntable and lock it before touching the bevel. Clamp the workpiece securely against the fence, then lower the spinning blade through the cut in one smooth motion — don’t pause partway through, which is what leaves burn marks on the cut face.
FAQ: Bevel Cuts on a Table Saw
What Is the Best Tool for Cutting Bevels?
A table saw is the best tool for repeatable, precise bevel cuts on straight stock, since the angle is locked in on the blade itself. A circular saw handles bevels on large sheet goods too big for a table saw. A router produces the cleanest edge on a shallow decorative bevel but is harder to control on a deep cut — save it for detail work, not structural angles.
Can You Cut a Bevel Angle Greater Than 45 Degrees on a Table Saw?
Yes, but not by tilting the blade past 45° — most saws stop there. Subtract the angle you want from 90° to get the blade tilt instead (a 60° bevel needs a 30° tilt), then stand the workpiece on edge and back it with a support panel so it doesn’t tip into the blade mid-cut.
Which Way Should the Table Saw Blade Tilt for a Bevel Cut?
Away from the fence, whenever the cut allows a choice. If the blade tilts toward the fence, an accidental lift during the cut pinches the stock between the blade and the fence — a kickback risk. Tilting away from the fence means the same slip only leaves an undercut, fixed with one more pass.
What’s the Difference Between a Bevel Cut and a Miter Cut?
A bevel cut tilts the blade off 90° and runs along the board’s length or edge. A miter cut keeps the blade vertical and instead angles the workpiece against the miter gauge, cutting across the board’s width. Combining both on the same piece produces a compound cut.
Conclusion
Most table saws bevel from 0° to 45° using the blade-tilt handwheel; steeper angles need the 90-minus-angle trick and a backing panel instead of a bigger tilt range. Whichever angle you’re cutting, tilt the blade away from the fence when the setup allows it, keep the riving knife or splitter engaged, and feed the workpiece with a push block or push stick rather than bare hands near the blade.
Sponsored / affiliate links. As an Amazon Associate I earn from qualifying purchases. I may earn additional commission from eligible campaigns.