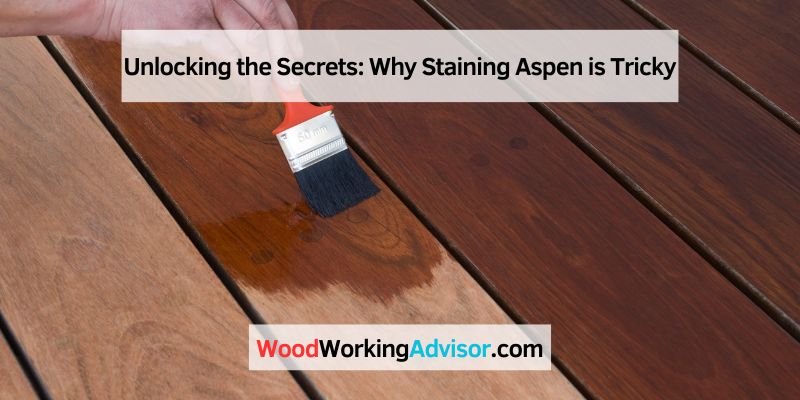
Why Staining Aspen Is Tricky (and How to Do It)
Staining Aspen is tricky because it has a porous surface that absorbs stain unevenly, resulting in an inconsistent finish. Aspen, a popular choice for furniture and cabinetry, presents a unique challenge when it comes to staining.
The porous nature of Aspen wood causes it to absorb stains unevenly, leading to an inconsistent and blotchy finish. This uneven absorption can result in noticeable variations in color and tone across the stained surface. Achieving a uniform and desirable finish often requires careful preparation, such as using a wood conditioner or pre-stain sealer, to minimize uneven absorption.
Furthermore, the soft and delicate nature of Aspen makes it susceptible to damage during the staining process, requiring delicate handling and attention to detail. Despite these challenges, with proper techniques and patience, it is possible to achieve a beautiful stained finish on Aspen wood.
Interpretation Aspen Staining
When it comes to staining aspen, things can get a little tricky. Understanding why staining aspen presents challenges can help you navigate the process more effectively. In this article, we will delve into the causes of staining, the effects it has on aspen, and some common staining issues you may encounter.
Causes Of Staining
Staining aspen can be a bit of a puzzle due to a few key factors:
- Porosity: Aspen wood is known for its high porosity, which means it absorbs liquids and stains rapidly. This fast absorption can lead to uneven distribution and blotching, making it essential to use proper techniques and preparation to achieve a uniform finish.
- Sap Content: Aspen contains high amounts of sap, which can interfere with the staining process. Sap bleed can occur, creating blotches or discoloration on the surface.
- Density Variation: Aspen wood can exhibit variations in density throughout the grain. This non-uniformity can result in uneven stain absorption, affecting the final appearance.
Effects On Aspen
Staining aspen can have several effects on the wood:
- Color Variation: Due to its porous nature and density variations, aspen tends to absorb stain differently, leading to inconsistent coloration across the wood surface.
- Blotching: The high sap content in aspen can cause blotching, creating darker or lighter areas in the stained finish. This can be particularly noticeable when using darker stains.
- Uneven Finish: Without proper preparation and application techniques, staining aspen can result in an irregular or streaky finish, minimizing the desired aesthetic appeal.
Common Staining Issues
When staining aspen, you may encounter these common issues:
- Uneven Absorption: Due to the wood’s porosity and density variation, aspen can absorb stains unevenly, leading to uneven coloration.
- Sap Bleed: The high sap content in aspen can cause bleeding, resulting in unsightly discoloration on the wood’s surface.
- Blotching: Aspen’s susceptibility to blotching can be challenging to overcome when staining, requiring special treatment to achieve a smooth and consistent finish.
Understanding the causes, effects, and common staining issues associated with aspen can help you approach the staining process with greater confidence and achieve the desired results. By employing appropriate techniques and taking necessary precautions, you can overcome the challenges posed by staining aspen and create a beautifully finished wood surface.
Factors Affecting Staining
Staining aspen wood can be a tricky task that requires careful consideration of various factors. Understanding these factors can help you navigate the challenges and achieve the desired results. In this section, we will explore the key factors affecting staining, including wood moisture content, age and maturity of aspen, and pre-existing conditions.
Wood Moisture Content
The moisture content of aspen wood plays a vital role in the staining process. Wood that is too moist or too dry can lead to unsatisfactory staining results. Before applying any stain, it is crucial to ensure that the moisture content of the wood falls within the recommended range, typically between 8% and 12%. If the wood is too moist, it can prevent the stain from properly penetrating the surface, resulting in uneven coloration. Conversely, if the wood is too dry, it can absorb the stain excessively, leading to a dark and blotchy appearance. To determine the moisture content of the wood, you can use a moisture meter specifically designed for wood.
Age And Maturity Of Aspen
The age and maturity of aspen wood also impact the staining process. Younger aspen wood tends to have a more porous structure, making it more prone to absorbing stains unevenly. This can result in a blotchy appearance, especially when using darker stains. On the other hand, older and more mature aspen wood tends to have a tighter and less porous structure, which can make it challenging for the stain to penetrate uniformly. The age and maturity of the wood can influence the final color and overall appearance of the stained surface. It is important to consider these factors when choosing the right staining technique and products for your aspen wood.
Pre-existing Conditions
Before staining aspen wood, it is essential to assess any pre-existing conditions that may affect the staining process. These conditions include previous coatings, finishes, or treatments applied to the wood. If the wood has been previously treated with paints, varnishes, or sealants, these substances can create a barrier that hinders the absorption of stains. In such cases, it may be necessary to remove existing coatings through sanding or other methods to ensure proper adhesion of the stain. Additionally, any dirt, oils, or residues on the wood surface should be thoroughly cleaned before staining to achieve optimal results. A clean and well-prepared surface allows the stain to penetrate evenly and enhances the final appearance of the stained wood.
Methods For Stain Removal
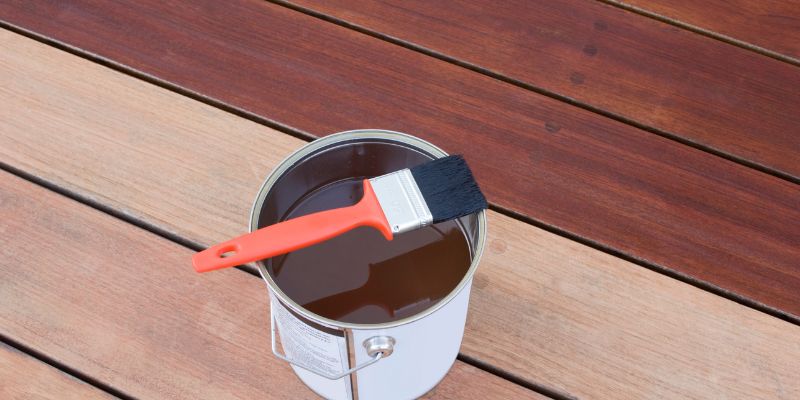
Staining aspen can be a tricky task, but with the right methods, it is possible to achieve beautiful results. In this section, we will explore three effective methods for stain removal: surface preparation, chemical treatments, and sanding and refinishing.
Surface Preparation
Prior to staining aspen, proper surface preparation is essential for successful stain application. This involves cleaning the wood surface to remove dirt, dust, and any previous coatings. Here are the steps to follow:
- Start by wiping down the aspen with a damp cloth to remove any loose debris.
- Next, use a mild detergent mixed with water to scrub the surface gently. Avoid using harsh chemicals or abrasive cleaning agents that might damage the wood.
- Rinse the aspen thoroughly with clean water and allow it to dry completely. This step ensures that the stain adheres evenly to the wood surface.
Chemical Treatments
In some cases, aspen may have stubborn stains or discoloration that are difficult to remove through surface preparation alone. In such situations, chemical treatments can be used to effectively remove the stains. Here are a few commonly used chemical treatments:
- Bleaching: Bleaching agents can lighten the wood’s color and remove stains like watermarks or dark spots. However, it’s important to use a wood-safe bleaching agent and follow the instructions carefully to avoid damaging the wood.
- Oxalic Acid: Oxalic acid is another effective treatment for removing tough stains, such as rust or water stains. It works by breaking down the stain particles and bringing back the wood’s natural color. Always wear protective gloves and ensure proper ventilation when using oxalic acid.
Sanding And Refinishing
If surface preparation and chemical treatments fail to remove the stain, sanding and refinishing can be a viable option. Sanding aspen helps to remove the top layer of wood, along with any stains or imperfections. Here’s how you can proceed:
- Start by choosing the appropriate sandpaper grit, such as 120 or 150, depending on the severity of the stain.
- Using a sanding block or an orbital sander, sand the aspen in the direction of the wood grain. Make sure to apply even pressure to avoid uneven sanding.
- Once the stain is removed and the wood surface is smooth, wipe away the dust using a microfiber cloth.
- Finally, apply a wood sealer or primer before staining to ensure even color absorption and long-lasting results.
By following these methods of stain removal, you can overcome the challenges that come with staining aspen and achieve a beautiful and consistent finish.
Preventing Aspen Staining
Staining aspen wood is a tricky task due to its porous nature and uneven absorption. Achieving an even stain can be challenging, requiring careful preparation and application techniques to prevent unsightly blotches and streaks.
Aspen wood is known for its stunning natural beauty and unique grain patterns. However, staining aspen can be a tricky task due to its porous nature and tendency to absorb liquids unevenly. To ensure that your aspen wood retains its natural beauty without any unsightly stains, it is important to follow proper sealing and coating techniques, store and handle the wood correctly, and implement regular cleaning and maintenance routines.
Sealing And Coating
To prevent staining on aspen wood surfaces, proper sealing and coating are essential. Applying a high-quality wood sealer helps create a barrier that prevents liquids from penetrating the wood and causing stains. A sealant also enhances the durability of the wood and protects it from moisture and UV damage. When choosing a sealant, opt for a product specifically designed for aspen wood to ensure optimal protection and long-lasting results.
Once the sealant has dried, applying a suitable wood coating can further enhance the wood’s appearance and protect it from stains. A transparent coating, such as a clear varnish or lacquer, allows the natural beauty of the aspen wood to shine through while providing an additional layer of protection against liquid spills and stains. Remember to follow the manufacturer’s instructions for application and ensure proper ventilation during the coating process.
Proper Storage And Handling
Proper storage and handling of aspen wood are crucial for preventing staining. When storing aspen boards or furniture, ensure they are kept in a dry, well-ventilated area away from direct sunlight. Exposure to moisture and sunlight can cause the wood to swell, warp, or change color, increasing the risk of staining.
Additionally, it is important to handle aspen wood with clean hands or wear gloves to avoid transferring oils and dirt onto the surface. These substances can lead to discoloration and staining over time. When moving or transporting aspen wood, use caution to prevent any bumps or scratches that can expose the wood to potential staining agents.
Cleaning And Maintenance
Regular cleaning and maintenance help maintain the natural beauty of aspen wood and prevent staining. When cleaning aspen surfaces, avoid using harsh chemicals or abrasive cleaners that can damage the wood or strip away the protective sealant and coating.
Instead, use a mild solution of warm water and a gentle dish soap to remove any dirt or stains. Gently wipe the surface with a soft cloth or sponge, following the direction of the wood grain. After cleaning, make sure to thoroughly dry the wood to prevent moisture from seeping into the pores and causing discoloration.
In addition to regular cleaning, it is advisable to inspect the sealant and coating periodically. If any signs of wear or damage are present, consider reapplying the sealant or coating to ensure continued protection against staining.
Proper sealing and coating, along with careful storage, handling, and regular maintenance, can help you prevent staining on your aspen wood surfaces. By following these essential steps, you can enjoy the natural beauty of aspen without the worry of unsightly stains detracting from its aesthetic appeal.
Professional Vs DIY Stain Removal
When it comes to staining aspen, it can be quite tricky, especially if you are attempting to do it yourself. There are many factors to consider, such as the nature of the wood and the type of stain you plan to use. In this article, we will explore the topic of professional vs DIY stain removal, and delve into the benefits of hiring professionals, cost considerations, and tips for DIY stain removal.
Benefits Of Hiring Professionals
If you want your aspen furniture or flooring to look flawless, hiring professionals is the way to go. Here are some benefits:
- Expertise: Professionals have the knowledge and experience to handle aspen staining effectively. They understand the intricacies of the wood, ensuring a smooth and even finish.
- Quality Results: By hiring professionals, you can expect high-quality and long-lasting results. They use top-notch equipment and techniques that are not easily accessible to DIY enthusiasts.
- Time-Saving: Staining aspen can be a time-consuming process. Professionals have the necessary tools and skills to complete the job efficiently, saving you valuable time.
- Peace of Mind: Hiring professionals gives you peace of mind, knowing that your Aspen is in capable hands. You can sit back and relax, knowing that your furniture or flooring will be stained to perfection.
Cost Considerations
Now, let’s talk about the cost considerations when it comes to staining aspen. Hiring professionals may seem expensive at first glance, but it can actually be cost-effective in the long run. Here’s why:
- Durable Finish: Professionals use high-quality stains that provide a durable finish. This means you won’t have to worry about frequent touch-ups or costly repairs.
- Reduced Waste: DIY stain removal often leads to the wastage of materials. Professionals, on the other hand, have the expertise to minimize waste, reducing the overall cost of the project.
- Time Saved: Time is money. By hiring professionals, you can save yourself the hassle and time associated with DIY stain removal. This can be particularly advantageous if you have a busy schedule.
- Potential Discounts: Many professional staining services offer discounts or package deals, making their services more affordable than you might initially think. It’s worth exploring these options before making a decision.
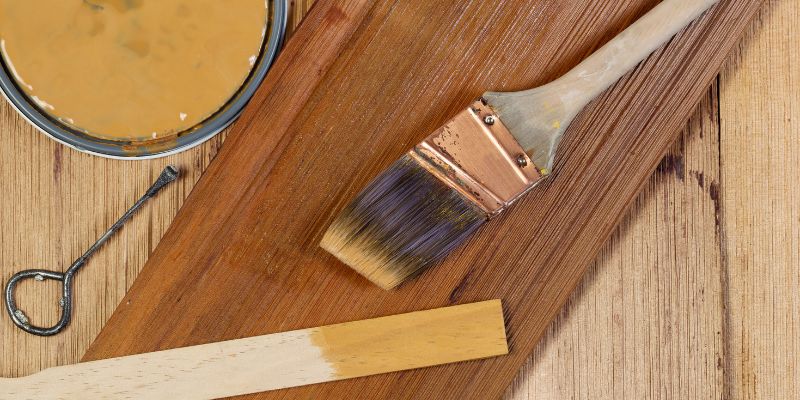
Tips For DIY Stain Removal
If you’ve decided to tackle staining aspen on your own, here are some tips to help you along the way:
- Proper Preparation: Ensure that the aspen is well-sanded and clean before applying the stain. This will help the stain adhere properly and give you a smoother finish.
- Practice on Scrap Wood: Before diving into staining your valuable aspen furniture or flooring, practice on a scrap piece of wood. This will give you a chance to perfect your technique and ensure the desired result.
- Apply Thin Coats: In order to achieve an even and natural-looking finish, apply thin coats of stain. Avoid saturating the wood, as this can lead to blotching and irregularities.
- Seal the Stain: Once the stain has dried, seal it with a clear protective coat to enhance durability and protect against wear and tear.
Conclusion
Staining aspen can be a challenging task due to its unique characteristics. The porous nature of the wood and its tendency to blotch can result in uneven, splotchy stains. However, by prepping the surface properly, using the right products, and taking the necessary precautions, it is possible to achieve a beautiful and uniform stain on aspen wood.
Remember to test the stain on a small sample piece before applying it to the entire project to ensure the desired outcome.