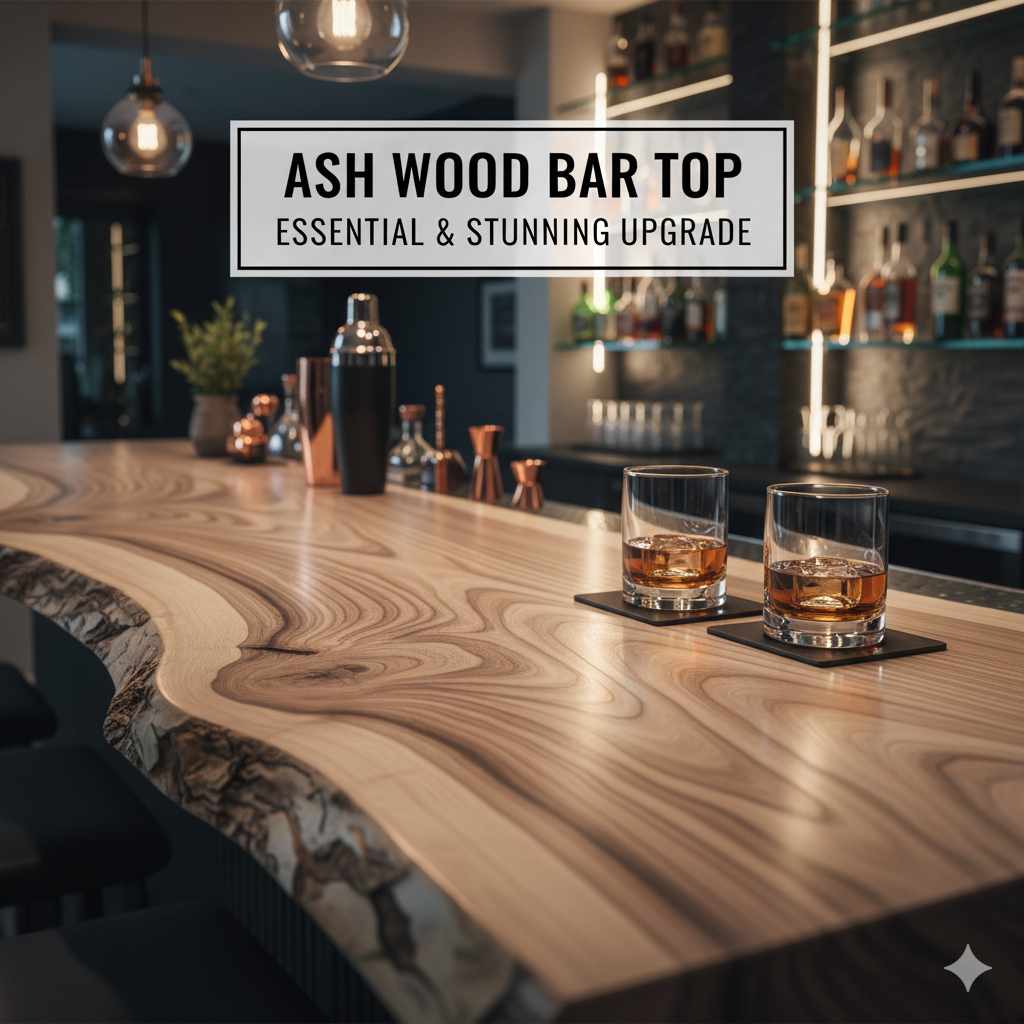
Ash Wood Bar Top: Essential & Stunning Upgrade
Transform your space with an ash wood bar top! It’s a durable, beautiful, and surprisingly achievable upgrade that adds natural charm and lasting value to your home. Perfect for DIYers looking for a stunning focal point.
Adding a beautiful and functional bar top to your home doesn’t have to be a daunting project. If you’ve ever dreamed of a cozy home bar, a breakfast nook, or just a conversation starter for your kitchen, an ash wood bar top is a fantastic choice. It’s strong, looks great, and with a little guidance, it’s a project you can absolutely tackle. We’ll walk through everything you need to know to select, prepare, and install your own stunning ash wood bar top, making your home feel a little more special. Get ready to create a centerpiece you’ll be proud of!
Why Choose Ash Wood for Your Bar Top?
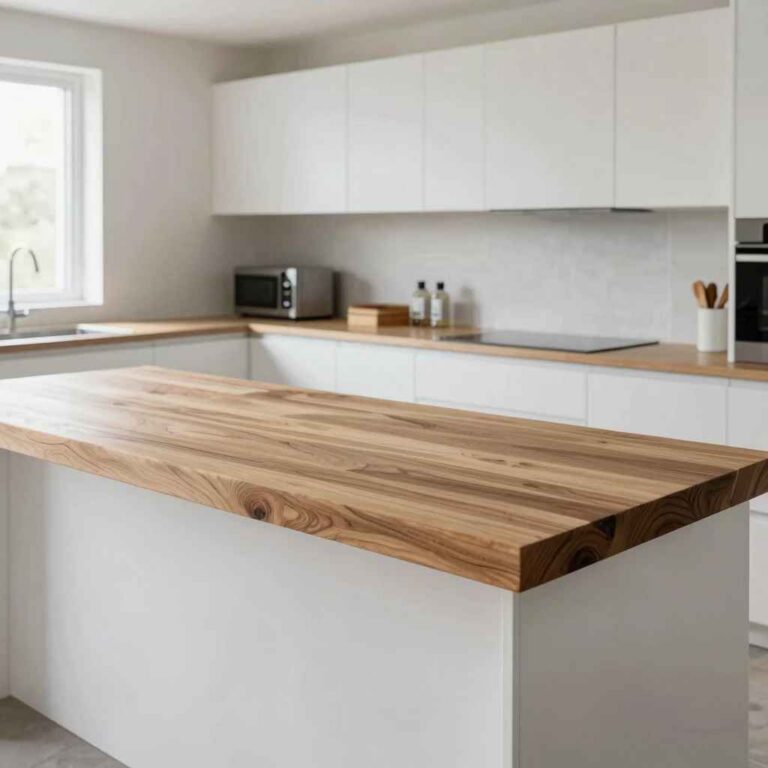
Ash wood is a wonderful material for a bar top, and for good reason. It’s known for its strength and durability, which are essential qualities for a surface that will see a lot of action. Whether it’s for serving drinks, preparing snacks, or just leaning on, your bar top needs to hold up. Ash offers a beautiful, light-colored grain pattern that can really brighten up a space. It takes finishes well, meaning you can customize it to match your home’s decor perfectly. Plus, compared to some other hardwoods, ash can often be a more budget-friendly option without sacrificing quality.
Here’s a quick look at why ash stands out:
Durability: Ash is a strong hardwood, making it resistant to wear and tear. This is crucial for a frequently used surface like a bar top.
Aesthetic Appeal: It usually has a light, creamy to medium brown color with a distinctive straight, somewhat coarse grain. This look is versatile and can be modern or rustic depending on how it’s finished.
Workability: Ash is relatively easy to work with using common woodworking tools. It cuts, sands, and finishes nicely.
Cost-Effectiveness: Often, ash provides excellent value, offering hardwood beauty and durability at a more accessible price point than woods like walnut or cherry.
Understanding Ash Wood: Properties and Varieties
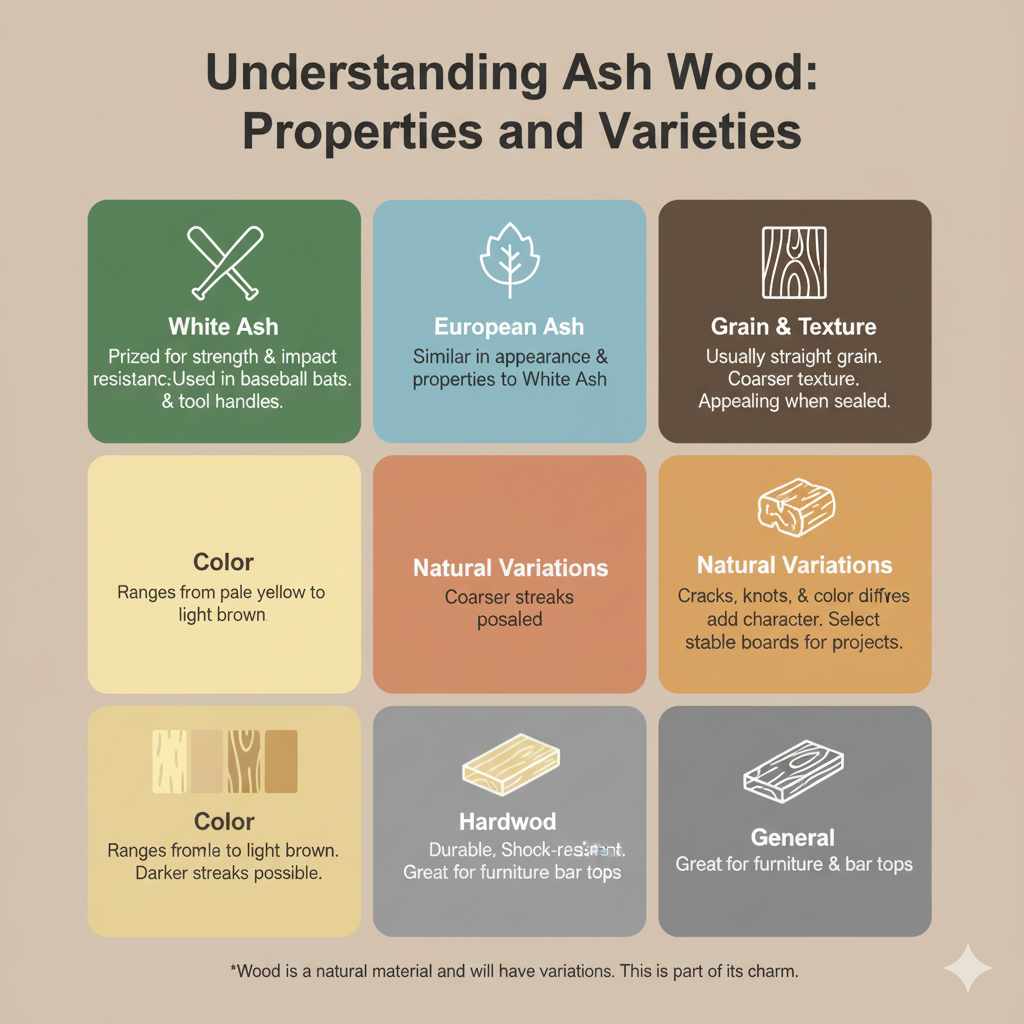
Before diving into your project, it’s helpful to know a little more about ash wood. There are several species of ash, but for furniture and bar tops, you’ll most commonly encounter White Ash or European Ash. White Ash is particularly prized for its strength and impact resistance, borrowed from its use in making baseball bats and tool handles. European Ash is similar in appearance and properties.
The grain of ash is usually straight and has a coarser texture than some other hardwoods. This texture can be quite appealing, especially when sealed and finished. The color ranges from pale yellow to light brown, sometimes with darker streaks. The natural variations in ash make each piece unique.
It’s important to understand that wood is a natural material and will have variations. This is part of its charm! Cracks, knots, and color differences can all add character. For a bar top, you’ll want to select boards that are stable and free from significant defects that could affect its function or longevity.
Planning Your Ash Wood Bar Top Project
A well-planned project is a successful project. Before you even think about buying wood, grab a notebook and sketch out your ideas. Measure your space carefully twice, then measure again!
Measuring Your Space
This is the most critical step. Measure the length and depth of the area where your bar top will go. Don’t forget to account for any overhang you might want, either on the front edge or at the sides where people might sit or stand. Consider the thickness of the wood you’ll be using. A typical bar top thickness ranges from 1.5 inches to 2 inches, but you can go thicker for a more substantial look.
Design Considerations
Think about the shape: a simple rectangle, a rounded corner, or something more complex? How will it attach to your base cabinets or support structure? Will it have a waterfall edge (where the wood extends down to the floor on one or both sides)? For a beginner-friendly project, sticking to a simple rectangular shape with a clean edge is often best.
Material Selection
Once you know your dimensions and design, you can start thinking about the wood itself. You can buy ash lumber in various forms:
Edge-Glued Panels: These are pre-assembled planks of ash that are glued together. They come in standard sizes and are a great shortcut for beginners, as you skip the milling and gluing process of individual boards.
Individual Boards: If you want more control over the look and grain pattern, you can buy individual ash boards and glue them together yourself. This requires more tools and skill but allows for a truly custom look.
Budgeting
Don’t forget to factor in the cost of wood, adhesives, sandpaper, finishes, and any hardware you might need. It’s always a good idea to add a little extra for mistakes or unexpected needs.
Choosing Your Ash Wood: What to Look For
When you’re at the lumber yard or browsing online, keep an eye out for specific qualities that will make your bar top durable and beautiful.
Kiln-Dried vs. Air-Dried
For a stable bar top that won’t crack or warp, kiln-dried lumber is generally preferred. Kilns remove moisture in a controlled way, resulting in more dimensionally stable wood. Air-dried wood is dried by exposure to the air, which is slower and can be less predictable.
Grain Pattern and Color
Ash has a beautiful, visible grain. Look for boards with a straight grain pattern for a consistent look. If you’re using individual boards, try to select ones that have similar color and grain patterns to create a cohesive surface. However, some variation is natural and part of the wood’s beauty.
Moisture Content
Ideally, your wood should have a moisture content of around 6-8% for interior furniture. Lumberyards that specialize in hardwood will typically have their wood acclimated to these levels. If you’re unsure, a moisture meter is an affordable tool that can give you peace of mind.
Avoiding Defects
For a bar top, focus on boards that are free from large, open knots, splits, or significant warping. Minor “character” is fine, but you don’t want structural issues that could lead to problems down the line. For edge-glued panels, check that the glue joints are tight and that the panel is flat.
Tools and Materials You’ll Need
Gathering your tools and materials before you start will make the process smoother and safer.
Essential Tools
Measuring Tape: For accurate measurements.
Pencil: For marking.
Circular Saw or Table Saw: For cutting the wood to size. A circular saw with a straight edge guide can work well for beginners.
Sander: An orbital sander is essential for flattening and smoothing. You’ll also want sandpaper in various grits (e.g., 80, 120, 180, 220).
Clamps: If you’re gluing boards together, you’ll need plenty of good quality clamps (bar clamps or pipe clamps are ideal).
Wood Glue: A strong, waterproof wood glue like Titebond III is recommended for bar tops.
Safety Gear: Safety glasses or a face shield, hearing protection, and a dust mask are non-negotiable.
Level: To ensure your bar top is installed perfectly.
Drill/Driver: For attaching any mounting hardware.
Optional (but helpful) Tools
Router: For creating a finished edge profile (e.g., rounding over the edges).
Random Orbital Sander: Provides a smoother finish than a regular orbital sander.
Jointer and Planer: If you’re milling your own boards from rough lumber, these tools are essential for creating flat, square edges for gluing.
Materials
Ash Wood: Your pre-cut edge-glued panel or individual boards.
Wood Finish: Polyurethane (oil-based or water-based), epoxy resin, or a hardwax oil finish.
Rags or Brushes: For applying the finish.
Wood Filler (optional): To fill any small gaps or imperfections.
Mounting Hardware: Depending on how you’ll secure the bar top.
For a comprehensive guide on woodworking safety, the Occupational Safety and Health Administration (OSHA) provides valuable resources: OSHA Personal Protective Equipment Guidelines.
Step-by-Step Guide: Creating Your Ash Wood Bar Top
Let’s get to work! This guide assumes you’ve chosen an edge-glued ash panel or have already successfully glued your individual boards together.
Step 1: Prepare Your Wood Surface
If you bought an edge-glued panel, it might already be smooth enough, but it’s always good to give it a once-over. If you glued your own boards, the first step is to ensure the surface is as flat and smooth as possible.
Flattening: If there are any high spots or uneven joints, you might need to carefully sand them down with a coarser grit sandpaper (like 80 or 100) using a belt sander or even a hand plane if you’re comfortable. The goal is to create a uniform surface.
Filling Gaps: Inspect the glued joints. If there are any small gaps, you can fill them with a high-quality wood filler matched to the ash color. Let it dry completely according to the product instructions.
Step 2: Sanding for Smoothness
This is where you transform rough wood into a smooth, touchable surface. Start with a coarser grit (80 or 100) to remove any imperfections. Work your way up through progressively finer grits. Between each grit, be sure to remove all the dust before moving to the next.
Grits Progression: 80/100 -> 120 -> 150 -> 180 -> 220.
Sanding Technique: Always sand with the grain of the wood. On an orbital sander, this means making broad, overlapping strokes. For the edges, sand them smooth as well.
Dust Removal: After sanding with each grit, thoroughly clean the surface. A shop vacuum followed by a tack cloth is ideal. Dust left behind will ruin your finish.
Step 3: Shaping the Edges (Optional)
If you want to soften the sharp corners or add a decorative edge profile, now is the time.
Rounding Over: A router with a rounding-over bit is perfect for this. Set the bit to the desired radius (e.g., 1/4″ or 1/2″). Make sure to practice on a scrap piece of wood first! Run the router slowly and steadily around the edges of the bar top.
Beveling: You can also use a router with a bevel bit for a cleaner, angled edge.
After routing, you’ll need to lightly sand the routed edges again, starting with a medium grit (like 120) to knock down any roughness and then moving up to finer grits, just like you did with the main surface.
Step 4: Applying the Finish
This is a crucial step for both the look and the protection of your ash wood bar top. The best finish will depend on your preference for durability and appearance.
Polyurethane: A very common and durable choice. Oil-based poly is generally more durable and imparts a slightly warmer tone, but it has strong fumes and longer dry times. Water-based poly dries faster, has less odor, and stays clear, but might not be as tough. Apply thin, even coats, allowing adequate drying time between coats (check the product, usually 4-24 hours). Lightly sand with 220 grit sandpaper between coats for a super smooth finish.
Epoxy Resin: For a super glossy, plastic-like, and highly durable surface, a tabletop epoxy is an option. It’s typically a two-part system that you mix and pour over the wood. This is a bit more advanced and requires careful application to avoid bubbles and drips. It creates a very modern, robust finish. Safety is paramount when working with epoxy; ventilation and gloves are a must.
Hardwax Oil: Finishes like Osmo Polyx-Oil offer a more natural look and feel. They penetrate the wood rather than forming a thick film on top, which can be easier to repair if damaged. They do require reapplication over time.
Application Tips:
Work in a clean, dust-free environment. Even a tiny speck can be visible in the finish.
Apply thin, even coats. This is better than one thick coat which can lead to drips and uneven drying.
Follow the manufacturer’s instructions precisely for drying times and inter-coat preparation.
Allow adequate curing time. While a finish might feel dry to the touch, it can take days or even weeks to fully harden and reach its maximum durability.
For a detailed look at finish types and application, check out this comprehensive resource: Woodworking Network – Wood Finishes Guide.
Step 5: Installation
Now it’s time to put your beautiful new bar top in place! The method will depend on your base structure.
Attaching to Cabinets: If your bar top sits on kitchen cabinets, you’ll likely attach it from underneath through the cabinet tops. Pre-drill holes in the cabinet tops, then drive screws up into the bar top. Ensure the screws aren’t too long, or they’ll poke through! Use fender washers or a larger washer to distribute the force of the screw and prevent it from crushing the wood around the hole, especially if the cabinet top is thin.
Attaching to a Base Frame: If your bar top is supported by a custom frame, you might use L-brackets or figure-eight fasteners. These fasteners allow the wood to expand and contract naturally with changes in humidity, which is important for preventing cracks.
Figure-eight fasteners: These metal fasteners look like a figure eight. One loop screws into the underside of the bar top, and the other loop screws into the supporting frame. The shape allows for wood movement.
Using Pocket Holes: For some designs, you can drill pocket holes on the underside of the bar top and then screw up into your supporting structure. This is a clean look but doesn’t offer much allowance for wood movement.
Important: Wood expands and contracts. Ensure your attachment method allows for this movement, especially if your bar top is wider than 6 inches. This is where figure-eight fasteners or slightly oversized holes for screws are beneficial.
Always ensure the bar top is level before securing it permanently.
To learn more about wood movement and fasteners, explore resources on joinery: This Old House – Woodworking Joinery.
Maintenance and Care for Your Ash Wood Bar Top
Once your stunning ash wood bar top is installed, a little care will keep it looking beautiful for years to come.
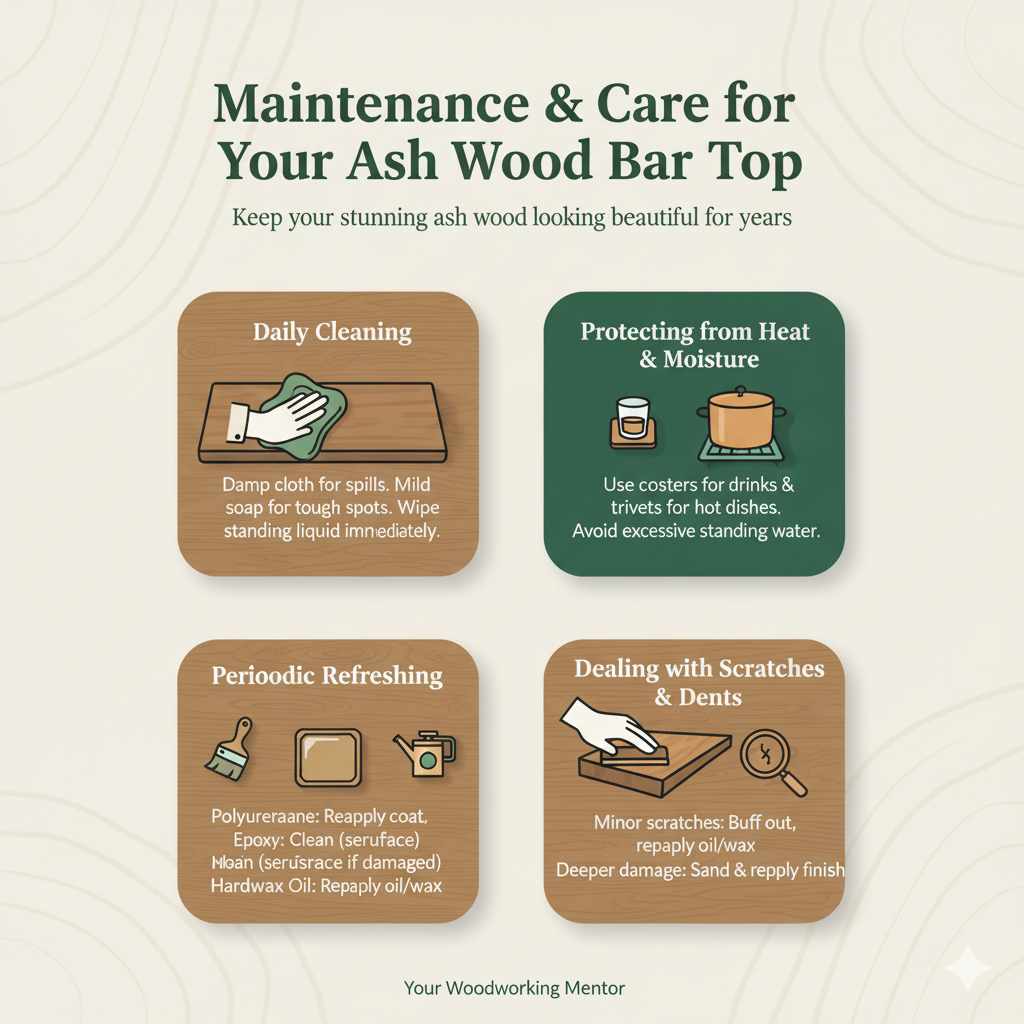
Daily Cleaning
For everyday spills and crumbs, a damp cloth is usually all you need. For tougher spots, a mild dish soap and water solution works well. Immediately wipe up any standing liquid, especially on unfinished or lightly oiled surfaces.
Protecting from Heat and Moisture
While finishes offer protection, it’s always wise to use coasters for drinks and trivets for hot dishes. Prolonged exposure to moisture or heat can damage the finish or even the wood itself. Avoid excessive standing water.
Periodic Refreshing
Depending on the finish you chose:
Polyurethane: If the finish gets scratched or worn over time, you can often lightly sand it and reapply a coat.
Epoxy: Very durable, usually just needs cleaning. Damage might require resurfacing.
Hardwax Oil: These finishes benefit from periodic reapplication of the oil or wax maintenance product as recommended by the manufacturer. This keeps the wood looking its best and protected.
Dealing with Scratches and Dents
Minor scratches can often be buffed out or concealed, especially with oil-based finishes or waxes. Deeper scratches or dents might be repairable if you’re proactive. For finished surfaces, you might be able to carefully sand the affected area and reapply the finish. For unfinished or oiled wood, often a light sanding and reapplication of oil is all that’s needed.
Frequently Asked Questions About Ash Wood Bar Tops
Q1: Is ash wood good for a bar top?
A1: Absolutely! Ash is a hard, durable wood that can withstand heavy use, making it an excellent choice for a bar top. It’s also beautiful, with a distinctive grain that adds character to any space.
Q2: How thick should an ash wood bar top be?
A2: Most bar tops are between 1.5 inches and 2 inches thick. Thicker tops offer a more substantial, premium feel. You can also achieve a thicker look by layering thinner boards.
Q3: What’s the best finish for an ash wood bar top?
A3: For durability and moisture resistance, a high-quality polyurethane (oil or water-based) or a tabletop epoxy resin are excellent choices. For a more natural look, a hardwax oil finish is also popular. The best choice depends on your preference for appearance, durability, and maintenance.
Q4: How do I clean and maintain an ash wood bar top?
A4: For daily cleaning, use a soft, damp cloth. Wipe up spills immediately. For tougher grime, use a mild soap and water solution. Avoid abrasive cleaners. Periodically, you may need to reapply a hardwax oil finish or touch up polyurethane as it wears.