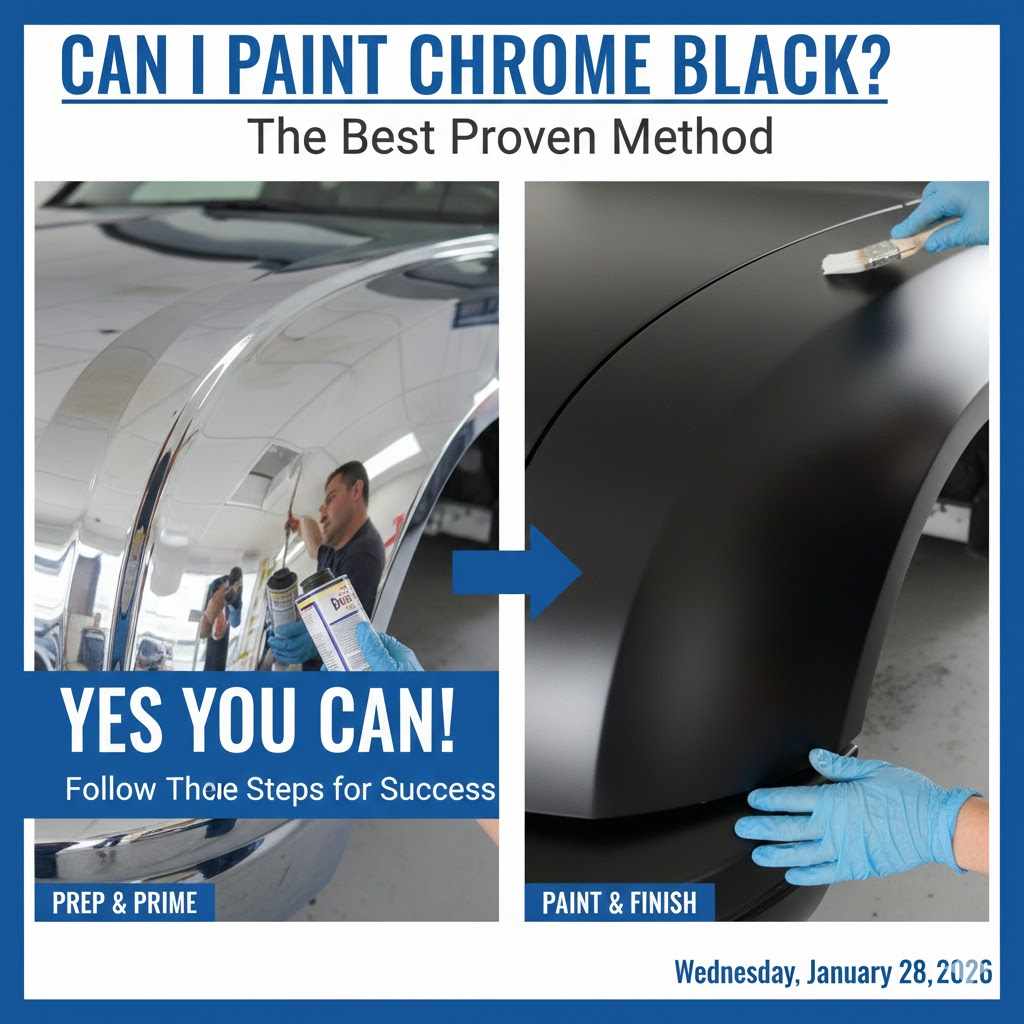
can i paint chrome black: The Best Proven Method
Yes, you can absolutely paint chrome black and get a beautiful, lasting finish. The key is proper preparation. You must first scuff the shiny chrome surface with sandpaper so the paint can grip it. Then, apply a special self-etching primer before spraying on your black paint and a protective clear coat.
Hello, friends! Md Meraj here, your guide in the workshop. Have you ever looked at a shiny chrome fixture or car trim and thought, “That would look so much better in black”? You’re not alone! A sleek, black finish can completely change the look of an item, making it modern and bold. But painting chrome can feel intimidating. It’s so slick and smooth, it seems like paint would just peel right off.
I’m here to tell you that with the right steps, anyone can do it. Forget the peeling and chipping you might worry about. We are going to walk through a simple, proven method that ensures your paint sticks for good. Let’s turn that shiny chrome into a durable, stunning black finish together!
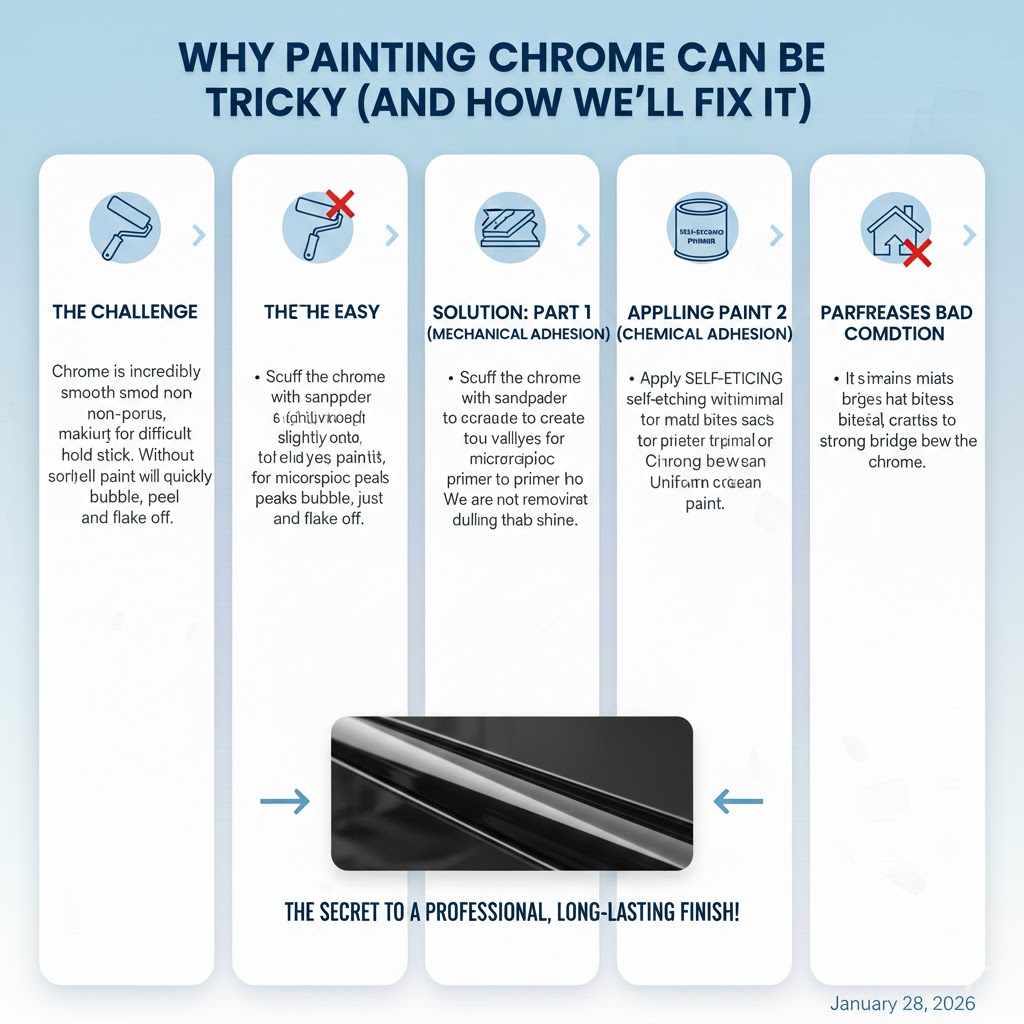
Why Painting Chrome Can Be Tricky (And How We’ll Fix It)
Chrome is a beautiful finish, but its biggest strength is also its biggest challenge for painters: it’s incredibly smooth and non-porous. Think of it like trying to write on glass with a regular pencil. The pencil just slides right over the surface without leaving a mark.
Paint behaves the same way on chrome. Without something to hold onto, it can’t form a strong bond. This is why paint applied directly to shiny chrome will quickly bubble, peel, and flake off. It looks messy and feels like a waste of time and effort.
But don’t worry, the solution is simple and has two key parts:
- Mechanical Adhesion: We need to create a slightly rough surface for the paint to grab. We do this by scuffing the chrome with sandpaper. We aren’t trying to remove the chrome, just dulling the shine to create microscopic peaks and valleys for our primer to lock into.
- Chemical Adhesion: After scuffing, we use a special type of primer called a “self-etching primer.” This primer contains a mild acid that ever-so-slightly bites into the metal surface, creating an unbreakable chemical bond. It acts as the perfect bridge between the tricky chrome and our new black paint.
By combining these two steps, we turn that slick surface into a perfect canvas for paint. It’s the secret to a professional-looking, long-lasting finish that you can be proud of.
Gathering Your Tools and Materials: A Simple Checklist
Getting your supplies ready before you start makes the whole process smooth and enjoyable. You don’t need a professional workshop for this—most of these items are easily found at your local hardware or auto parts store. Here’s exactly what you’ll need:
- Safety Gear: This is always number one! Get yourself a pair of safety glasses, nitrile gloves, and a respirator or painter’s mask. You’ll be working with paint fumes and fine dust.
- Cleaning Supplies: A good degreasing cleaner or just warm, soapy water will work. You’ll also want some clean, lint-free rags or microfiber cloths.
- Painter’s Tape: To mask off any areas you don’t want to get paint on.
- Sandpaper or Scuff Pads: I recommend a medium grit, somewhere between 180 and 320-grit. A red Scotch-Brite pad also works great for this.
- Tack Cloth: This is a special sticky cloth that’s fantastic for picking up every last bit of sanding dust before you prime.
- Self-Etching Primer: This is a must-have, non-negotiable item. Look for it in a spray can. It’s specifically designed for bare metals like chrome.
- Black Spray Paint: Choose a high-quality enamel or urethane-based paint designed for metal or automotive use for the best durability.
- Clear Coat Spray: This is optional but highly recommended. It adds a layer of protection against scratches and UV rays, and it lets you choose your final finish (matte, satin, or gloss).
- Drop Cloths or Cardboard: To protect your work area from overspray.
Choosing the Right Paint: Your Best Options for a Lasting Black Finish
Not all spray paints are created equal, especially when you’re painting a tough surface like chrome. Choosing the right one is crucial for a finish that doesn’t just look good on day one, but lasts for years. For most DIY projects, a high-quality spray can is the perfect tool—it’s affordable, easy to use, and gives a very smooth finish when applied correctly.
Here’s a table breaking down the best types of spray paint for your project.
| Paint Type | Best For | Durability | Pros | Cons |
|---|---|---|---|---|
| Acrylic Enamel | General DIY projects, furniture accents, bathroom fixtures | Good | Easy for beginners to use, dries quickly, wide range of colors. | Less resistant to harsh chemicals and heavy wear than other options. |
| Epoxy Enamel | High-traffic items, wheels, toolboxes, areas exposed to moisture | Excellent | Creates a very hard, durable, non-porous shell. Great chemical resistance. | Can be less flexible and may yellow over time with direct UV exposure if not top-coated. |
| Urethane | Automotive parts, outdoor trim, anything needing flexibility and UV resistance | Superior | Extremely durable, flexible, and has excellent UV protection. The top choice for pros. | Often more expensive and can require more specific application conditions. |
My recommendation for beginners? A high-quality acrylic enamel spray paint from a trusted brand like Rust-Oleum or Krylon is a fantastic choice. Their “Automotive Enamel” or “Stops Rust” lines are perfect for this job. They are forgiving to apply and offer great durability for most home and auto projects.
The Step-by-Step Guide to Painting Chrome Black
Alright, you’ve got your gear and you’re ready to go. We’re going to break this down into simple, easy-to-follow steps. Remember, patience is your best tool here. Rushing is the enemy of a good paint job!
Step 1: Safety First! Protect Yourself and Your Workspace
Before you even open a can of paint, let’s get your space ready. Paint fumes are no joke, and overspray can travel farther than you think.
- Ventilation is Key: Work outdoors if possible, like in a driveway or on a calm, non-windy day. If you must work indoors (like in a garage), open all the doors and windows and use a fan to keep the air circulating. The U.S. Environmental Protection Agency provides great tips on proper ventilation.
- Protect Yourself: Put on your safety glasses, gloves, and respirator mask now. Don’t wait until you start spraying.
- Cover Everything: Lay down your drop cloths or cardboard to protect the floor and any nearby objects from paint overspray.
Step 2: Clean the Chrome Thoroughly
Paint can’t stick to dirt, grease, or fingerprints. The surface needs to be perfectly clean. This step is quick but so important.
- Use your degreasing cleaner or warm, soapy water and a clean rag to scrub the entire chrome surface.
- Pay special attention to any nooks and crannies where grime can hide.
- Rinse the surface completely with clean water to remove any soap residue.
- Dry the piece completely with a clean, lint-free microfiber cloth. Let it air dry for another 15-20 minutes just to be sure no moisture is trapped anywhere.
Step 3: The Most Important Step – Scuffing the Surface
This is where the magic happens! We need to give that slick chrome a “tooth” for the primer to bite into. Your goal is to get rid of the mirror-like shine and create a uniform, dull, hazy finish.
- Take your 180 to 320-grit sandpaper or a red scuff pad.
- Lightly rub the entire surface of the chrome. Use gentle, circular motions or go back-and-forth in one direction.
- Ensure you scuff every single spot that you plan to paint. Any shiny spots you miss are areas where the paint might fail later.
- When you’re done, the entire surface should look dull and brushed, with no glossy reflections. Don’t press too hard—you’re just scuffing, not trying to sand through the chrome.
Step 4: Clean Again and Mask Off
Sanding creates a lot of fine dust. We need to get rid of every speck of it before we can prime.
- First, wipe the surface with a clean, damp cloth to pick up the majority of the dust. Let it dry completely.
- Next, go over the entire piece one last time with your tack cloth. This cloth is slightly sticky and will pull off any remaining fine particles that your rag missed.
- Using your painter’s tape, carefully mask off any adjacent areas you don’t want to get painted. Press the edges of the tape down firmly to prevent paint from bleeding underneath.
Step 5: Apply a Self-Etching Primer
Now it’s time for the primer. This special primer creates the super-strong bond we need for a lasting job.
- Shake the spray can of self-etching primer vigorously for at least one full minute, as instructed on the can. You should hear the little ball rattling inside.
- Hold the can about 8-10 inches away from the surface.
- Start spraying just off to the side of the object, move across it in a steady motion, and stop spraying after you’ve passed the other side. This technique prevents thick blotches at the start and end of each pass.
- Apply a very light, thin coat. It’s better to apply two light coats than one heavy one. The first coat might look semi-transparent—that’s perfect!
- Let the first coat dry for the time recommended on the can (usually 5-15 minutes).
- Apply a second light coat to ensure full coverage. Let the primer dry completely according to the instructions before moving on to the paint.
Step 6: Apply the Black Paint
Finally, the fun part—adding the color! We will use the same spraying technique we used for the primer.
- Shake your can of black spray paint for at least a minute.
- Hold the can 8-12 inches from the surface.
- Apply a light first coat using that same smooth, sweeping motion. Your goal is coverage, not a thick, wet coat. A heavy coat will cause drips and runs.
- Let this coat “tack up” for 5-10 minutes, or as directed on the can.
- Apply another 2-3 light coats, waiting the recommended time between each one, until you have a solid, even black color. Take your time! For more tips on spray painting, check out a manufacturer’s guide like this one from Rust-Oleum on proper technique.
Step 7: Add a Protective Clear Coat (Optional but Recommended)
If your painted item will be handled a lot or exposed to the elements, a clear coat is your best friend. It provides a tough, protective layer over your new black paint.
- Choose a clear coat that matches your desired finish: matte for a flat look, satin for a slight sheen, or gloss for high shine.
- Make sure your black paint is dry to the touch but still within the “recoat” window specified on the can. If you wait too long, you may need to wait 24-48 hours before applying the clear coat.
- Apply the clear coat using the exact same technique: 2-3 light, even coats.
Step 8: Let It Cure Completely
This might be the hardest step because it requires patience! There is a big difference between paint that is “dry to the touch” and paint that is “fully cured.”
- Dry to the touch: This can happen in as little as an hour. It means you won’t get paint on your finger if you touch it lightly.
- Fully cured: This is when the paint has hardened all the way through and reached its maximum durability. This can take anywhere from 24 hours to a full 7 days, depending on the paint, temperature, and humidity.
Avoid handling, cleaning, or re-installing the part until it is fully cured. Check the back of your paint can for specific cure times. Resisting the urge to touch it will pay off with a rock-hard, durable finish.
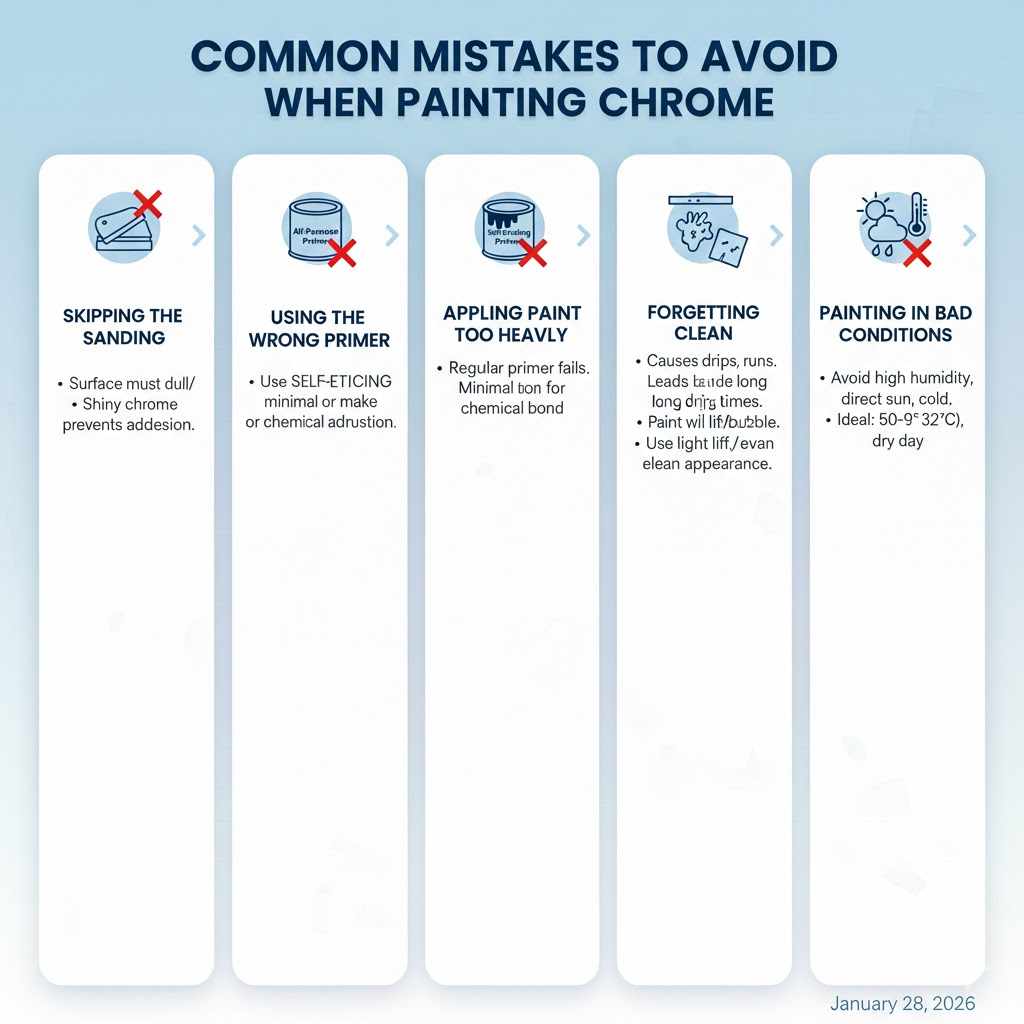
Common Mistakes to Avoid When Painting Chrome
Even seasoned DIYers can make mistakes. Knowing what to watch out for can save you a lot of headaches. Here are the most common slip-ups:
- Skipping the Sanding: This is the number one reason for paint failure on chrome. If the surface is still shiny, the primer and paint have nothing to hold on to. Take the time to dull the finish completely.
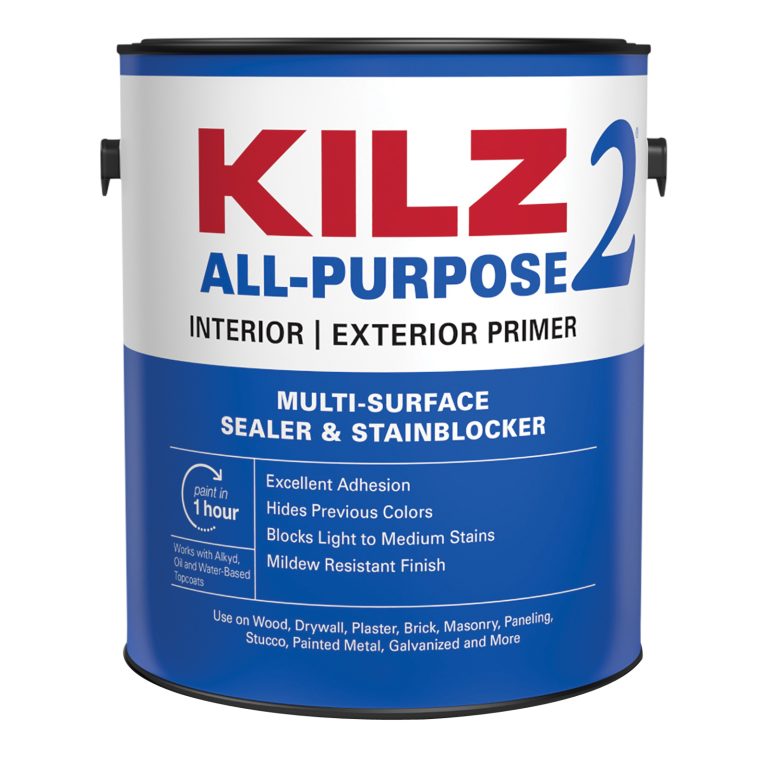
- Using the Wrong Primer: Regular all-purpose primer is not strong enough for chrome. You absolutely must use a self-etching primer to get that crucial chemical bond.
- Applying Paint Too Heavily: It’s tempting to lay on a thick coat to get it done faster, but this almost always leads to ugly drips, runs, and a very long drying time. Light coats are always better.
- Forgetting to Clean: Any oils from your hands, leftover cleaner residue, or sanding dust will act as a barrier between the metal and your primer, causing the paint to lift or bubble.
- Painting in Bad Conditions: Spray painting in very high humidity, direct sunlight, or cold temperatures can ruin your finish. Aim for a dry day with temperatures between 50°F and 90°F (10°C to 32°C).
Frequently Asked Questions (FAQ)
What is the most durable paint to use on chrome?
For maximum durability, a 2K urethane paint (often called “2-component”) is the strongest you can get. It uses a separate hardener that you mix in before spraying. However, for most DIY projects, a high-quality epoxy or automotive enamel spray paint combined with a good clear coat provides excellent, long-lasting durability.
Do I really have to sand chrome before painting?
Yes, absolutely. This is the most critical step. Without sanding (or scuffing), the chrome surface is too smooth and slick for the primer to adhere to properly. Sanding creates a micro-rough surface that gives the primer a mechanical grip, preventing peeling and flaking down the road.
Can I paint directly over chrome without primer?
No, you should never paint directly over chrome. Even if the paint seems to stick initially, it will not have a strong bond and will be very prone to chipping and peeling with even the slightest bump or scratch. Self-etching primer is the essential bridge between the chrome and the paint.
How do I fix a drip or run in my spray paint?
If you catch it while it’s still wet, you can sometimes gently dab it with the corner of a clean rag or a small brush to smooth it out. If it has already dried, the best way to fix it is to wait until the paint is fully cured (at least 24 hours), then carefully sand the drip down with fine-grit sandpaper (400-grit or higher). Clean the dust away and apply another light coat of paint to the area.
How long will painted chrome last?
When done correctly using the steps above (clean, scuff, prime, paint, and clear coat), a painted chrome finish can last for many years. Its lifespan depends on the item’s use. A decorative piece indoors might last indefinitely, while painted chrome wheels on a car may need a touch-up every few years due to exposure to road debris and harsh conditions.
Is it possible to paint chrome bumpers or wheels?
Yes, you can paint chrome bumpers and wheels using this same method, but durability is extra important. For high-impact items like these, using a high-quality automotive-grade epoxy or urethane paint and multiple coats of a durable clear coat is highly recommended to protect against rock chips and road salt.
What is the difference between matte, satin, and gloss finishes?
It’s all about how much light they reflect. A gloss finish is very shiny and reflective. A matte finish (or flat) has no shine at all. A satin finish is right in the middle, offering a smooth look with a low, gentle sheen. The choice is purely cosmetic and up to your personal preference!
Conclusion: Your New Black Chrome Finish Awaits
There you have it—the complete guide to transforming shiny chrome into a beautiful, durable black finish. It may seem like a lot of steps, but as you can see, each one is simple and straightforward. The entire process boils down to one core idea: preparation is everything. By taking the time to clean, scuff, and prime the surface properly, you are guaranteeing a fantastic result.
You no longer have to live with a chrome finish you don’t love. Whether it’s a piece of furniture, a bathroom fixture, or trim on your car, you now have the knowledge and the confidence to tackle this project. So gather your materials, put on some music, and enjoy the process of creating something new with your own two hands. Happy painting!