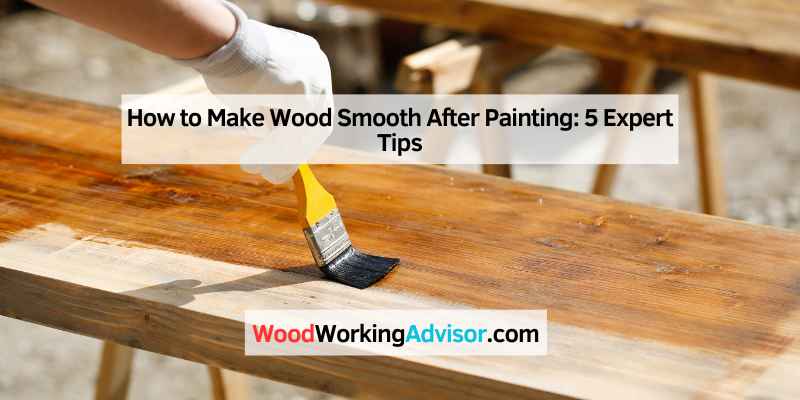
How to Make Wood Smooth After Painting: 5 Expert Tips
To make wood smooth after painting, lightly sand the surface using fine-grit sandpaper. Wipe it clean with a damp cloth to remove dust.
Achieving a smooth finish on painted wood is essential for aesthetics and durability. A rough surface can ruin the overall look of your project. Proper preparation and finishing techniques enhance the beauty of your wood piece. Begin by selecting the right type of sandpaper to avoid damaging the paint.
Sanding helps to eliminate imperfections, resulting in a sleek appearance. After sanding, cleaning the surface is crucial to ensure the next coat adheres properly. This simple process not only improves the look but also extends the life of your paint job. Enjoy your beautifully finished wood project!
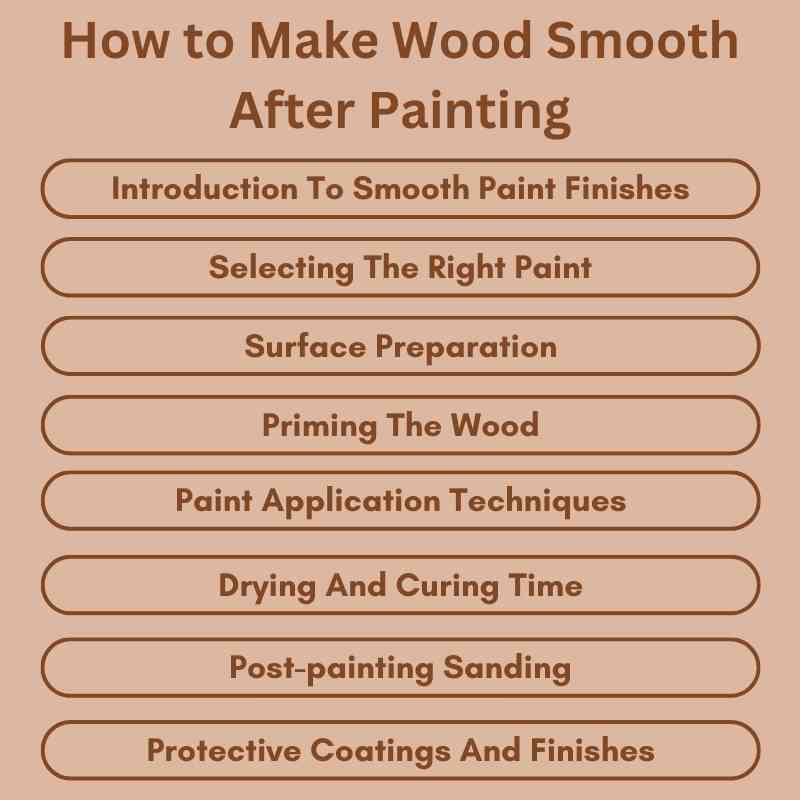
Introduction To Smooth Paint Finishes
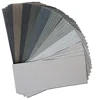
400 through 3000 grit — everything you need for the wet-sanding technique this guide covers.
- Best for: the glass-smooth, factory-like finish on painted furniture and cabinets
- Why we picked it: covers the full range from 220-grit dry sanding through fine wet-sanding grits
- Main drawback: wet sanding is slower and messier than a quick dry pass


As an Amazon Associate, we earn from qualifying purchases.
A smooth painted finish isn’t just cosmetic – a rough surface flakes and chips sooner because paint has less to grip evenly. Three things usually cause a bumpy result: uneven wood texture that paint can’t bond to consistently, the wrong paint type for the job (leading to bubbling or streaking), and skipping surface prep before the first coat goes on.
Selecting The Right Paint
Selecting the right paint is important for achieving a smooth finish. Oil-based paints are durable and provide a hard surface. Water-based paints dry faster and are easier to clean. Both types can work well on wood.
Choosing high-quality paint offers many benefits. It covers better and lasts longer. High-quality options resist peeling and fading. This means less maintenance over time. A smooth finish improves the look of the wood.
| Type of Paint | Benefits |
|---|---|
| Oil-Based | Durable, hard surface, great for outdoor use |
| Water-Based | Fast drying, easy to clean, low odor |
Surface Preparation
Sand with medium-grit (120-150) sandpaper first to knock down imperfections and give the wood an even base, then wipe it down with a damp cloth to pull off dust and debris – paint won’t bond evenly over either. Let the surface dry fully before the first coat; painting over damp wood is one of the most common causes of a blotchy or peeling finish.
Priming The Wood
A primer suited to your wood type hides minor imperfections and gives the topcoat something consistent to grip – skipping it is a common reason paint looks patchy despite careful sanding. Apply it thin with a brush or roller (thick coats drip and pool), let it dry fully, then scuff lightly with fine-grit sandpaper before the first coat of paint goes on.
Paint Application Techniques
Choosing between brush and spray painting can affect your project’s outcome. Brush painting allows for more control and detail. It’s great for smaller areas and intricate designs. Spray painting covers larger areas quickly, providing a smooth finish. However, it may require more practice.
To achieve a stroke-free finish, prepare the surface well. Sand the wood until smooth before painting. Use high-quality paint for better results. Apply thin layers of paint instead of thick ones. Allow each coat to dry completely before adding another. This prevents drips and uneven surfaces.
Using the right tools can make a big difference. A good brush helps spread the paint evenly. For spray painting, keep the can at a consistent distance. Move steadily to avoid overspray.
Drying And Curing Time
Drying and curing time are crucial for achieving a smooth finish. Allow the paint to dry completely before handling the wood. This can take several hours or even days, depending on the type of paint.
Patience is key. Rushing the process can lead to uneven surfaces and mistakes. Ensure that the area is well-ventilated. Good airflow helps the paint dry faster.
Ideal conditions for drying include:
| Condition | Ideal Level |
|---|---|
| Temperature | 70-75°F (21-24°C) |
| Humidity | 30-50% |
| Airflow | Good |
Keeping these conditions in mind will help in achieving a smooth surface.
Post-painting Sanding
Sanding is key for a smooth finish after painting wood. Wait until the paint is completely dry. This usually takes 24 hours, but check the paint can for specifics. Sanding too soon can ruin the paint job.
Use fine-grit sandpaper, like 220-grit, for best results. Lightly sand the surface in a circular motion. This helps avoid scratches. Make sure to sand the edges and corners well.
Always clean the surface after sanding. A damp cloth can remove dust and debris. This prepares the wood for another coat or a final finish.
Consider using a sanding sponge for tricky areas. It can easily reach curves and corners. This technique ensures an even and smooth finish.
The Pro Technique This Guide Was Missing: Wet Sanding
Dry sanding with 220-grit gets you a good finish, but it has a ceiling — past a certain point, dry sandpaper just clogs with paint dust instead of cutting cleanly. For the glass-smooth, factory-like finish you see on painted cabinets and furniture, professionals switch to wet sanding once they’ve dry-sanded up through 220 grit.
The technique: lightly mist the surface with water, then sand with 400-grit sandpaper using even strokes, wiping away the resulting slurry as you go. Repeat with 600-grit for an even finer result. The water lubricates the sandpaper, flushing away particles that would otherwise clog it, which lets the fine grit cut evenly instead of scratching. It’s also what allows sanding between coats of paint or topcoat without ever risking a scratched-up final layer — most pros sand lightly with 400-grit between each coat for that flawless look.
Protective Coatings And Finishes
Choosing the right top coat is key for a smooth finish. Here are some popular types of top coats:
| Type | Description |
|---|---|
| Polyurethane | Offers strong protection and a glossy finish. |
| Varnish | Great for outdoor projects; resists moisture and UV rays. |
| Shellac | Quick-drying and easy to apply; not very durable. |
| Lacquer | Fast-drying with a high gloss; used for furniture. |
Applying sealants enhances durability. Sealants protect wood from water and damage. They create a barrier against moisture, ensuring longevity. Always choose a sealant that suits your project. Follow the instructions for the best results.
Maintenance And Touch-ups
Regular maintenance helps keep your wood surfaces looking great. Dust them regularly with a soft cloth. Use a mild cleaner for tough stains. Avoid using harsh chemicals that can damage the finish. Consider applying a protective sealant every few years. This keeps the wood smooth and shiny.
To deal with chips and scratches, start by cleaning the area. Use a soft cloth and some warm, soapy water. Once dry, apply a matching wood filler. Smooth it out with a putty knife. After it dries, sand it lightly for a smooth finish. Finally, touch up with paint or stain to match the original color.
What Is Wet Sanding And When Should I Use It?
Wet sanding uses water as a lubricant while sanding with fine-grit paper (400-600 grit), which flushes away particles that would otherwise clog dry sandpaper and lets it cut more evenly. It’s the technique professionals use for a glass-smooth, factory-like finish on painted cabinets and furniture, applied after dry sanding up through 220 grit.
Conclusion: Achieving Professional Results
To achieve a smooth finish on wood after painting, follow these key steps:
- Start with sanding the wood surface to remove rough spots.
- Use a fine-grit sandpaper for a smoother touch.
- Wipe away dust using a damp cloth or tack cloth.
- Apply a primer to prepare the wood for paint.
- Choose a high-quality paint for the best results.
- After painting, let it dry completely before sanding again.
- Finish with a clear sealant for added durability.
Trying these steps can lead to amazing results. Enjoy the process and be proud of your work!
Frequently Asked Questions
How Can I Smooth Wood After Painting?
Use fine-grit sandpaper (220-grit) once the paint is fully dry. For a truly glass-smooth, professional-looking finish, follow up with wet sanding at 400 then 600 grit, misting the surface with water as you go. Wipe off dust or slurry with a damp cloth before applying a second coat or sealant.
What Tools Do I Need For Smoothing Painted Wood?
You’ll need fine-grit sandpaper (220-grit for dry sanding, 400-600 grit for wet sanding), a sanding block or electric sander, a spray bottle for wet sanding, and a damp or tack cloth for dust removal.
Is It Necessary To Sand Painted Wood?
Yes, sanding painted wood is necessary for achieving a smooth finish. It helps eliminate imperfections and prepares the surface for additional coats, and wet sanding at fine grits takes this further for a professional-grade result.
When Should I Sand Painted Wood?
Sand painted wood once the paint is completely dry, usually several hours or overnight depending on the paint type. Sanding too early can gum up the sandpaper and damage the finish rather than smoothing it.
Sponsored / affiliate links. As an Amazon Associate I earn from qualifying purchases. I may earn additional commission from eligible campaigns.