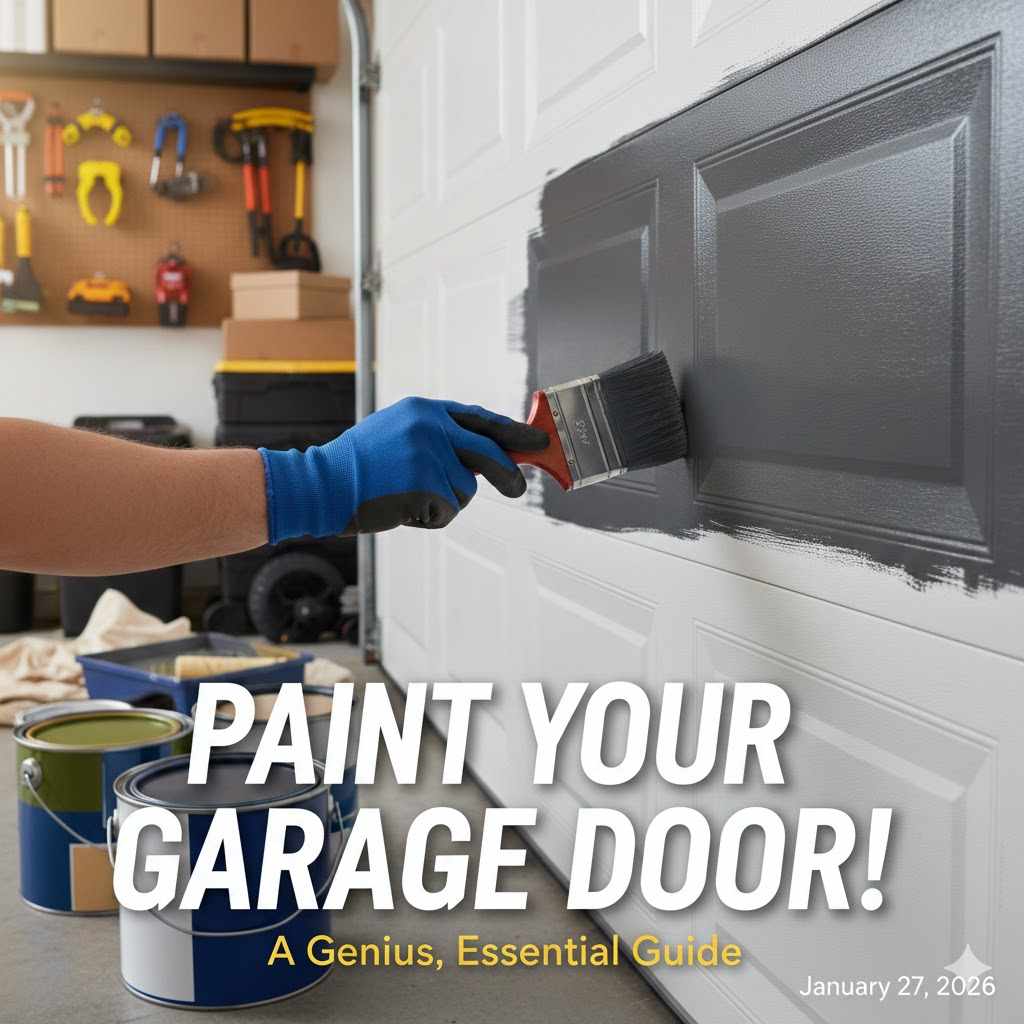
Can I Paint Garage Door? A Genius, Essential Guide
Yes, you absolutely can paint your garage door! It’s a rewarding and budget-friendly weekend project that dramatically boosts your home’s curb appeal. With the right preparation and materials, you can achieve a durable, professional-looking finish that protects your door and makes your home shine. This guide will walk you through every simple step.
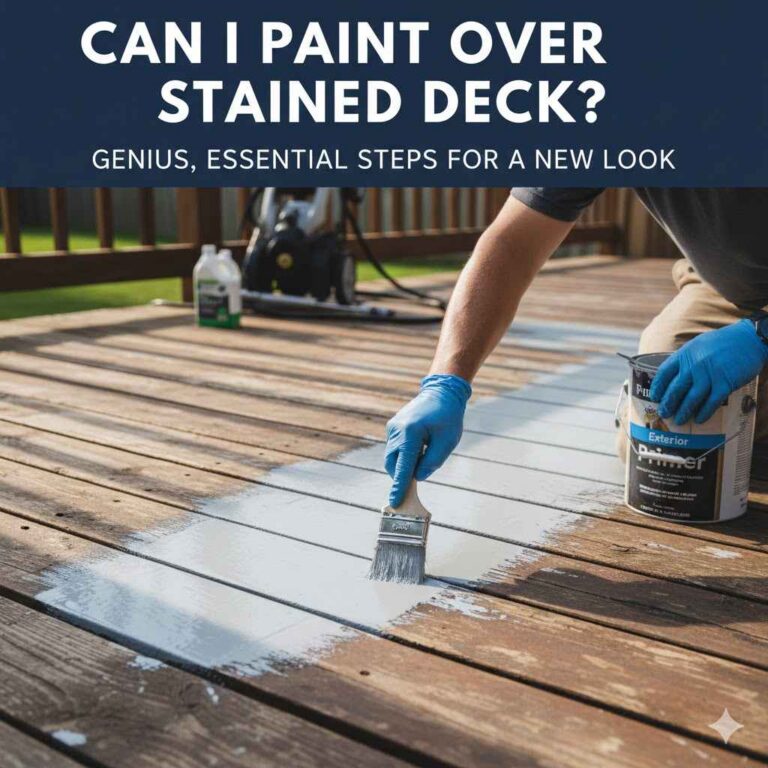
Does your garage door look a little tired? Maybe it’s faded, chalky, or just the wrong color. You might think you need a brand-new door, but I’m here to tell you there’s a much easier way. A fresh coat of paint can work wonders. It’s one of the most effective DIY projects for improving your home’s look.
Many homeowners feel unsure about painting a garage door. They worry about the material, the type of paint, and getting a smooth finish. Don’t worry! I’ll break it all down for you. We’ll go through everything, from checking your door material to applying the final coat. Let’s get that garage door looking brand new again.
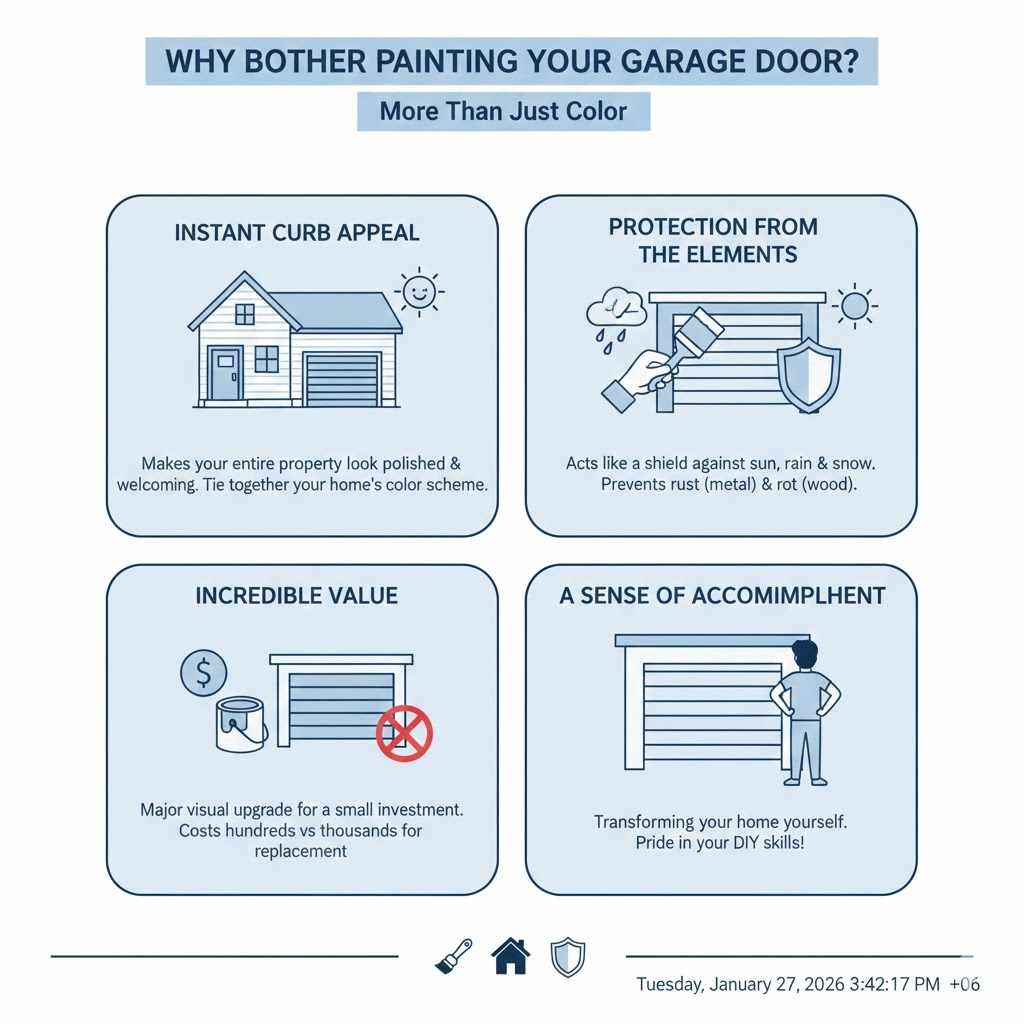
Why Bother Painting Your Garage Door? More Than Just Color
Painting your garage door is about more than just changing its color. It’s a smart home improvement project with several great benefits. For a small investment of time and a few materials, you get a huge return.
- Instant Curb Appeal: The garage door is a huge part of your home’s exterior. A fresh, clean coat of paint makes your entire property look more polished and welcoming. It can tie together your home’s color scheme and make it stand out in the neighborhood.
- Protection from the Elements: Your garage door faces sun, rain, wind, and snow every day. A quality coat of exterior paint acts like a shield. It helps prevent rust on metal doors and rot on wooden ones, extending the life of your door for years to come.
- Incredible Value: Replacing a garage door can cost thousands of dollars. Painting, on the other hand, usually costs less than a couple of hundred dollars. It’s one of the most cost-effective ways to get a major visual upgrade for your home.
- A Sense of Accomplishment: There’s nothing quite like stepping back to admire a project you completed yourself. Transforming your own garage door gives you a fantastic sense of pride and shows what you can accomplish with your own two hands.
First Things First: Can Your Specific Garage Door Be Painted?
Before you get excited and buy paint, let’s make sure your door is a good candidate. The great news is that most garage doors can be painted! The key is to know what material you’re working with, as that determines the preparation and the type of primer you’ll need.
Not sure what your door is made of? Tap it with your knuckle. A metal door will have a slight ringing sound. Wood sounds solid and dull. Vinyl and fiberglass often have a textured grain and sound more like plastic. Here’s a quick guide to common materials.
| Door Material | Can It Be Painted? | Key Prep Step | Best Primer |
|---|---|---|---|
| Steel | Yes (Most common) | Scrub to remove chalky residue and sand any rust spots. | Rust-inhibiting metal primer. |
| Aluminum | Yes | Clean thoroughly and scuff sand with fine-grit sandpaper for adhesion. | Acrylic or galvanized metal etching primer. |
| Wood | Yes | Sand to remove old paint/stain. Fill cracks with wood filler. | Exterior oil-based or high-quality acrylic primer. |
| Vinyl | Yes (with correct paint) | Clean extremely well with a 3:1 water/vinegar mix. Do not sand. | Adhesion primer formulated for plastics/vinyl. |
| Fiberglass | Yes | Clean well and lightly scuff sand the surface to remove the gloss. | Adhesion or bonding primer. |
A quick note: If your door has deep rust, severe peeling, or large dents, you may need to do more significant repairs first. But for general fading and wear, a paint job is the perfect solution.
Choosing Your Armor: The Best Paint and Primer for the Job
Walking into the paint aisle can be overwhelming. Let’s make it simple. For a garage door, you need a high-quality exterior paint that can handle temperature changes and direct sunlight. The single most important choice you can make is to buy 100% Acrylic Latex Exterior Paint. It is flexible, durable, and easy to clean up with water.
Avoid interior paints at all costs. They are not formulated to withstand moisture or UV rays and will fail quickly, leaving you with a peeling, faded mess.
Primer is Not Optional
I know it’s tempting to skip the priming step to save time, but please don’t. Primer does three crucial things:
- It ensures the paint sticks to the surface for a long-lasting bond.
- It blocks stains and prevents old colors from showing through.
- It helps you use less of the more expensive topcoat paint.
Always use a primer that is recommended for your specific garage door material (check our table above!). Using the right primer is the secret to a professional finish that lasts.
Paint Type and Finish Comparison
You’ll generally choose between latex and oil-based paint, though acrylic latex is the winner for most DIYers. You also need to select a finish, or sheen. A satin finish is the most popular choice for garage doors—it has a slight sheen that’s easy to clean but doesn’t highlight imperfections like a high-gloss finish would.
| Category | 100% Acrylic Latex Paint | Oil-Based (Alkyd) Paint |
|---|---|---|
| Durability | Excellent. Flexible, so it resists cracking and peeling with temperature changes. | Very good. Creates a hard, durable shell. Can become brittle over time. |
| Ease of Use | Very easy. Dries quickly and cleans up with soap and water. | More difficult. Dries slowly and requires mineral spirits for cleanup. Strong fumes. |
| Best For | Steel, aluminum, vinyl, fiberglass, and wood doors. The go-to for almost all projects. | Traditionally used for wood and heavily rusted metal after proper priming. |
| Finish Choice | Satin is highly recommended. It offers durability and a cleanable, low-glare look. | Semi-gloss or gloss finishes are common. |
Gather Your Gear: The Ultimate Garage Door Painting Checklist
Having everything ready before you start makes the whole process smoother. You don’t want to be running to the store with a half-painted door! Here’s what you’ll need.
Cleaning and Prep Supplies:
- Drop cloths or plastic sheeting
- Bucket and hose with a spray nozzle
- Stiff-bristle brush
- Degreaser or all-purpose cleaner (like TSP substitute)
- Painter’s tape
- Sandpaper (medium and fine-grit) or a sanding block
- Rags or cloths
- Putty knife and exterior-grade spackle (for dents) or wood filler (for wood doors)
Painting Supplies:
- High-quality exterior primer
- High-quality 100% acrylic latex exterior paint (Satin finish recommended)
- Paint tray and liners
- 2-inch angled paintbrush (for cutting in edges and grooves)
- 4- to 6-inch high-density foam roller or a 3/8″ nap roller
- Optional: An airless paint sprayer for the fastest, smoothest finish
Safety Gear:
- Gloves
- Safety glasses
- Dust mask (especially for sanding)
The Golden Rule: Flawless Prep for a Flawless Finish
Ask any pro painter, and they’ll tell you that 80% of a great paint job is the preparation. Rushing this stage will lead to a finish that peels, bubbles, or just looks sloppy. Take your time here—it’s worth it!
Step 1: Pick the Right Day
Weather is your biggest variable. Paint needs time to dry and cure properly. Look for a two-day window with ideal conditions. Check the national weather forecast and find a time when:
- Temperatures are between 50°F and 85°F (10°C and 29°C).
- Humidity is low.
- There is no rain in the forecast for at least 24-48 hours.
- The door will not be in direct, blazing sunlight while you paint. An overcast day is perfect!
Step 2: Clean, Clean, Clean!
You cannot paint over dirt, dust, or chalky residue. Paint needs a clean surface to grip onto.
- Start by sweeping away any cobwebs or loose debris.
- Mix your cleaner (like TSP substitute) with water in a bucket according to the directions.
- Using a stiff brush or sponge, scrub the entire garage door, section by section. Pay extra attention to the bottom, where dirt accumulates.
- Rinse the door thoroughly with a hose. Make sure no soap residue is left behind.
- Let the door dry completely. This can take several hours, so be patient. You can wipe it down with a clean, dry cloth to speed things up.
Step 3: Repair and Smooth the Surface
Now is the time to fix any small imperfections. For minor dents in a metal door, you can use an exterior-grade spackle or a body filler compound. Apply it with a putty knife, slightly overfilling the dent. For wood doors, use a quality wood filler for any cracks or holes.
Once the filler is completely dry, sand it smooth so it’s flush with the door’s surface. Your goal is a perfectly smooth canvas for your paint.
Step 4: Scuff and Sand
Sanding helps the primer and paint adhere better. If your door has a glossy finish or any peeling paint, this step is essential. Use medium-grit sandpaper (around 120-grit) to lightly scuff the entire surface. You don’t need to remove all the old paint, just take away the shine and smooth out any rough patches. For any bare metal or rust spots, sand them down completely and wipe them clean.
After sanding, wipe down the entire door with a damp cloth to remove all the dust. Let it dry.
Step 5: Tape and Protect
Use painter’s tape to carefully mask off anything you don’t want to get paint on. This includes the handles, locks, windows, and the trim around the door frame. Lay drop cloths down on your driveway to protect it from drips and spills.
Let’s Paint! Your Step-by-Step Guide to a Perfect Garage Door
The prep is done, and now for the fun part! You’ve got your paint, your tools, and a perfectly clean surface. Open the garage door halfway so it’s comfortable to work on. Let’s begin.
Step 1: Apply the Primer
Pour your primer into a paint tray. Using your 2-inch angled brush, “cut in” by applying primer to the edges and any recessed or detailed areas of the panels first. Then, use your roller to apply a thin, even coat of primer to the larger, flat sections of each panel.
Work from top to bottom, one panel at a time. Don’t apply it too thickly; a thin coat is all you need. Check the can for the recommended drying time and let the primer dry completely before moving on.
Step 2: Apply the First Coat of Paint
Once the primer is dry to the touch, it’s time for the color. Follow the same process as you did with the primer.
- Stir your paint thoroughly. Pour it into a clean tray liner.
- Use your angled brush to paint the recessed areas, grooves, and edges of the panels first.
- Switch to your roller for the large, flat surfaces. Apply a thin, even coat. Overlapping your strokes slightly will help you avoid lines.
- Work systematically from top to bottom. If your garage has horizontal panels, complete one full panel before moving down to the next.
A high-quality paint manufacturer like Sherwin-Williams offers paint specifically designed for durability on exterior surfaces, ensuring a great result. Don’t worry if the first coat looks a little thin or uneven. That’s what the second coat is for!
Step 3: Check for Drips and Apply the Second Coat
After applying the first coat, check for any drips or runs and smooth them out with your brush before they dry. Let the first coat dry for the amount of time specified on the paint can—usually at least 4-6 hours.
Once it’s ready, apply the second coat using the exact same technique. The second coat will deepen the color and give you that beautiful, uniform, professional finish. It also adds another layer of protection. This coat is what makes all your hard work pay off.
Step 4: Curing Time and Clean-Up
Once the second coat is done, carefully remove the painter’s tape while the paint is still slightly tacky (but not wet). Pull it off at a 45-degree angle to get a clean line.
Now, it’s time for patience. The paint may feel dry to the touch in a few hours, but it needs to “cure,” which means fully hardening. This can take several days to a week, depending on the paint and weather. During this time, be gentle with the door. Try to avoid closing it if possible for the first 24 hours to prevent the weatherstripping from sticking to the fresh paint. If you must close it, you can place a piece of wax paper between the door and the stripping.
Clean your brushes and rollers with soap and water (for latex paint) so they are ready for your next project.
Oops! Common Mistakes to Avoid When Painting Your Garage Door
We all make mistakes, but here are a few common ones you can easily sidestep for a better result.
- Skipping the Cleaning: Painting over dirt or mildew is the number one cause of paint failure. The paint will bubble or peel off, taking the grime with it.
- Painting in Direct Sunlight: Hot sun can cause the paint to dry too quickly, before it has a chance to level out and bond properly. This leads to brush marks and premature peeling.
- Using the Wrong Paint: Never use interior paint outside. It simply won’t last. Always choose a high-quality 100% acrylic latex exterior paint.
- Applying Paint Too Thickly: A thick coat of paint is more likely to drip, sag, and take forever to dry properly. Two thin coats are always better than one thick coat.
- Forgetting to Check for Lead: If your house was built before 1978, your old garage door paint could contain lead. You can buy a lead test kit at any hardware store. If it tests positive, consult the EPA’s guidelines for safe removal.
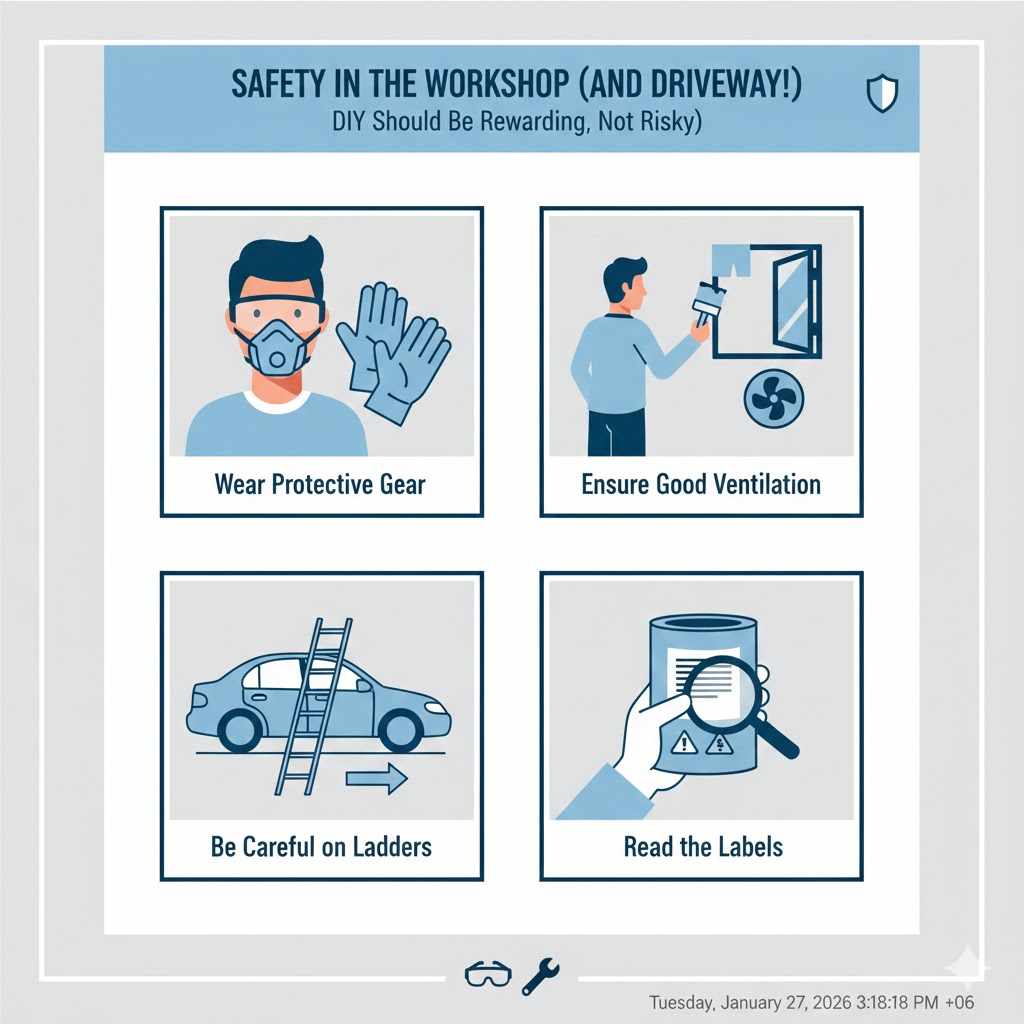
Safety in the Workshop (and Driveway!)
Your safety is the most important tool in your workshop. DIY should be rewarding, not risky. Here are a few simple safety reminders.
- Wear Protective Gear: Always wear safety glasses to protect your eyes from splashes and a dust mask when sanding. Gloves will keep your hands clean.
- Ensure Good Ventilation: Even though you’re outside, paint fumes can be strong. Make sure there’s good airflow in the area where you are working.
- Be Careful on Ladders: If you need a step ladder to reach the top of the door, make sure it’s on a stable, level surface. Never overreach; it’s better to move the ladder.
- Read the Labels: Always read the instructions and safety warnings on your paint and primer cans. They contain important information about drying times and handling.
Frequently Asked Questions (FAQ)
1. What kind of paint should I use on my garage door?
The best choice for almost any garage door (metal, wood, or vinyl) is a high-quality 100% acrylic latex exterior paint. It’s durable, flexible in changing temperatures, and cleans up easily with water. A satin finish is most recommended as it’s easy to clean and doesn’t show imperfections.
2. How long does it take to paint a garage door?
Plan for a full weekend. Day one is usually for cleaning, prep, and priming. Day two is for applying the two coats of paint. The actual painting doesn’t take that long, but you must account for drying time between each step.
3. Do I really need to prime my garage door before painting?
Yes, absolutely. Priming is a critical step that ensures your paint will stick to the door, provides a uniform base for your color, and prevents stains or rust from bleeding through. Skipping primer is the fastest way to a failed paint job.
4. What’s the best way to apply paint: brush, roller, or sprayer?
A combination of a brush and roller is best for most DIYers. Use a brush for the detailed, recessed parts of the panels and a roller for the flat surfaces. This gives you great control and a smooth finish. A paint sprayer is fastest but requires more prep and cleanup, and can be tricky for beginners to control.
5. Can I paint my garage door a dark color?
You can, but proceed with caution. Dark colors absorb more heat from the sun. On vinyl or fiberglass doors, this intense heat can cause the panels to warp, buckle, or expand. Many door manufacturers recommend sticking with lighter shades. If you want a dark color, check your door manufacturer’s guidelines or look for special “vinyl-safe” paints.
6. How much does it cost to paint a garage door myself?
A DIY garage door paint job is very affordable. You can typically buy all the necessary supplies—primer, one gallon of quality paint, tape, rollers, and brushes—for between $100 and $200. This is a fraction of the cost of hiring a professional or replacing the door.
7. When is the best time of year to paint a garage door?
Spring and fall are generally the best seasons. They offer moderate temperatures, lower humidity, and less chance of intense, direct sun or unexpected rain. Avoid painting in the middle of a hot summer or in the cold of winter.
Your Beautiful New Garage Door Awaits
And there you have it! Painting your garage door is a completely achievable project that makes a massive difference. It might seem like a big job, but when you break it down into simple, manageable steps, it’s not so intimidating after all. You’ve learned how to check your door’s material, choose the right paint, and most importantly, how to prepare the surface for a finish that will last for years.
Taking the time to do it right will reward you every time you pull into your driveway. You’ll have a garage door that not only looks fantastic but is also better protected against the weather. So go ahead, gather your tools, pick a color you love, and get ready to transform your home. You’ve got this!