How to Apply Varnish Without Brush Marks (Tipping-Off Method)
Varnish goes on brush-mark-free when you thin the first coat by half and “tip off” each pass with a nearly-dry brush before it starts to set — skipping that step is why most DIY finishes show ridges. Varnish applied outside the 55–90°F, under-85%-humidity range most manufacturers specify streaks the same way. This guide covers progressive thinning ratios, the tipping-off technique, and oil-based versus water-based dry times.
Quick Answer
Thin the first coat about 50/50 with mineral spirits (oil-based) or water (water-based), apply with a foam or natural-bristle brush in one direction with the grain, then immediately drag a dry brush tip through the wet film — this “tipping off” pass is what actually erases the ridges a loaded brush leaves behind. Sand lightly with fine-grit paper between every coat.
Quick Steps to Apply Varnish Without Brush Marks
Best Foam Brush Pick
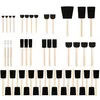
Pro Grade 2-Inch Foam Brush Set (48-Pack) – $15.99
Foam brushes leave the fewest brush marks of any applicator — the exact reason this guide recommends starting with one before moving on to a bristle brush and the tipping-off technique.
- Best for: first-timers avoiding brush marks entirely
- Why we picked it: no bristle lines to tip off in the first place
- Main drawback: disposable — can’t be cleaned and reused like a bristle brush
Compare more varnish application tools
 Option 1 Purdy 2″ Angle Sash Brush – $14.39
|
 Option 2 3M Wetordry Sandpaper Pack – $5.99
|
 Option 3 Dura-Gold Tack Cloth (12-Pack) – $12.99
|
As an Amazon Associate we earn from qualifying purchases.
- Clean and sand the surface: Wipe away dust and grease, then sand progressively from 120 to 220-grit so the varnish has a smooth, even base to sit on.
- Thin the first coat: Cut it roughly 50/50 with mineral spirits (oil-based) or water (water-based) so it soaks in and levels instead of sitting on top.
- Apply with the grain: Load the brush lightly and lay the varnish on in one direction, working in sections small enough to keep a wet edge.
- Tip off immediately: While the coat is still wet, drag a nearly-dry brush tip lightly across the surface in one continuous pass to flatten ridges.
- Let it cure fully before sanding: Check the product’s data sheet for recoat time — oil-based and water-based varnishes dry at very different speeds.
- Sand lightly and repeat: Knock down dust nibs with 320-grit, wipe with a tack cloth, then apply progressively less-thinned coats until the final coat goes on undiluted.
Preparing the Surface
Wipe the wood down with a barely-damp cloth to lift dirt and grease, then let it dry fully — any moisture trapped under the first coat will cloud or fisheye later.
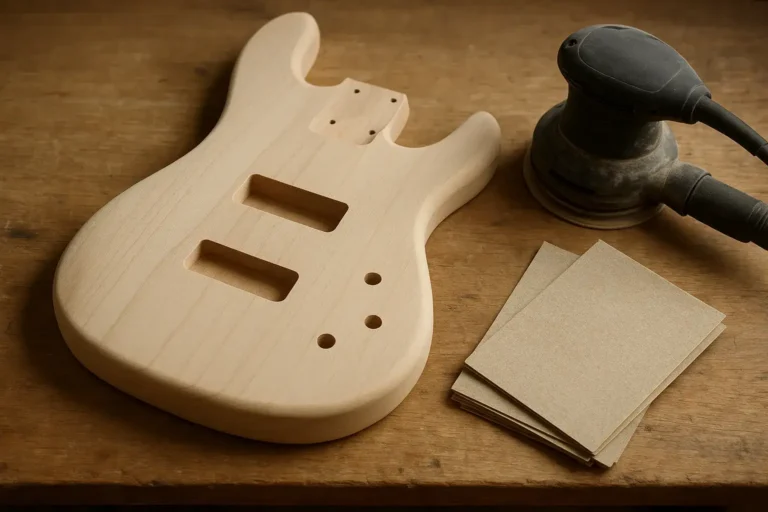
Prepping wood for varnish means sanding in stages: medium-grit first to level the surface, then fine-grit to close the grain, finishing with a tack cloth to lift dust the sandpaper leaves behind. Test your chosen varnish on an offcut or a hidden spot first — oil-based versions amber with age and dry slower, while water-based stays clear and dries faster, which changes how much working time you get per coat.
Choosing the Right Brush or Applicator
Foam brushes leave the fewest brush marks because they have no bristle lines to drag through the film — they’re the easiest starting point for a first-timer. Natural (China) bristle brushes hold more oil-based varnish and lay it down smoother once you’ve got the technique down, but they go gummy in water-based finishes. Synthetic bristle brushes are the right pick for water-based varnish specifically.
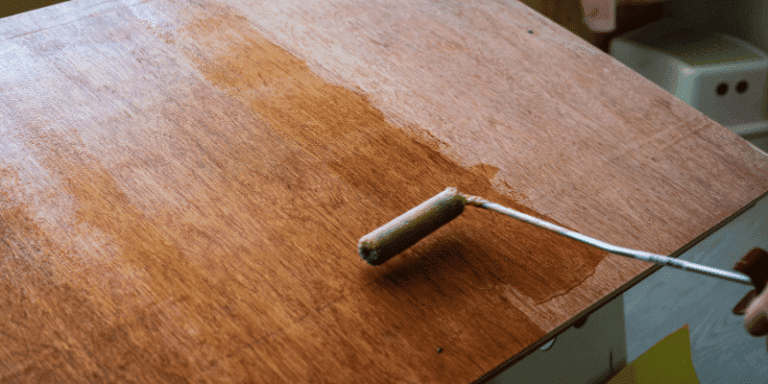
A foam roller can replace a brush entirely, and it does help — but only under the right conditions. Use a small, dense foam roller (around 10mm nap) rather than a thick nap meant for wall paint; a thick nap traps air and leaves a stippled texture that reads as its own kind of “mark.” If you still see roller stipple after laying the coat on, add a small amount of flow-out additive or drying retarder to the varnish before your next coat — it slows leveling just enough for the stipple to flatten out on its own.
Thinning and Mixing Varnish the Right Way
Thin progressively, not at a single flat ratio. Cut the first coat about 50/50 with mineral spirits (oil-based) or water (water-based) so it soaks into open grain instead of sitting on the surface. Thin the second coat closer to 75% varnish/25% thinner, and apply the final coat undiluted for full film build and sheen. Not sure how much you’ll need for the piece in front of you? Our wood varnish calculator converts surface area into coats and coverage before you open the can.
Stir varnish slowly from the bottom up with a clean stick rather than shaking the can — shaking whips air into the finish as tiny bubbles that show up once the coat dries.
📊 Apply only between 55–90°F with relative humidity under 85% for oil-based spar urethane — outside that window the film skins over unevenly and won’t level, which is one of the most common causes of brush texture that never sands out. Recoat time for this product is 8 hours. — Source: Rust-Oleum/Varathane Oil-Based Spar Urethane Technical Data Sheet
The Tipping-Off Technique That Actually Erases Brush Marks
Most brush-mark advice stops at “use thin coats,” but the step that actually removes the ridges a loaded brush leaves is called tipping off, and it happens right after you lay the coat on, not instead of it.
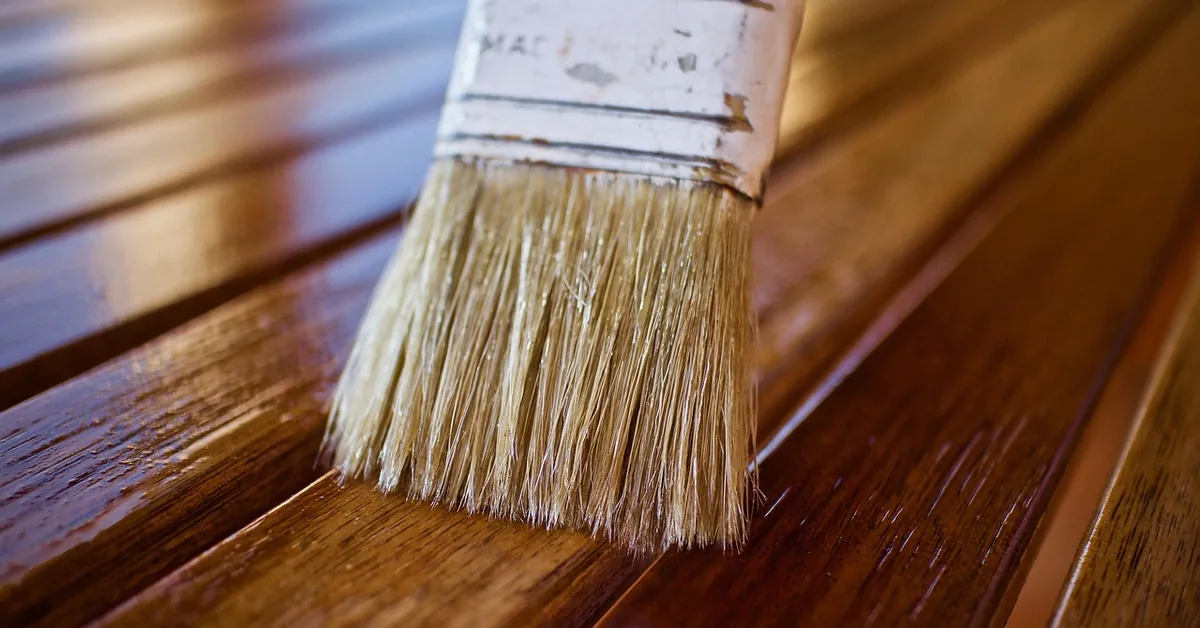
Load the brush and lay the varnish on generously across a section, working with the grain. Then wipe almost all of the varnish off the brush against the rim of the can and, holding the brush nearly vertical, drag just the tip through the wet film in a single continuous pass, end to end, without pressing down. That last pass has almost no varnish left on it — its only job is to drag the surface tension flat before the film starts to flash off (the point where it stops being wet enough to move). Stop as soon as you’ve covered the section once; going back over a coat that’s already started to set is what drags a second set of ridges into a nearly-level surface.
Oil-Based vs. Water-Based Varnish: Dry Times and Recoat Windows
The “wait 24 hours” advice you’ll see everywhere isn’t accurate for every product — oil-based and water-based varnishes cure on very different schedules, and recoating too soon traps solvent under the next coat and softens the whole film.
| Varnish Type | Dry to Touch | Recoat Time | Best For |
|---|---|---|---|
| Oil-based spar urethane | 4–6 hours | 8 hours | Interior furniture, deeper amber tone |
| Water-based spar urethane | 1 hour | 2 hours | Fast turnaround, stays clear/light |
| Triple-thick oil-based | 2–3 hours | 2 hours | Fewer coats needed for full build |
Times shown are manufacturer-reference figures at roughly 70–77°F and 50% humidity; cooler rooms or higher humidity extend every number in this table.
“Apply only between 55–90°F, humidity below 85%.”
Avoiding Common Mistakes
Varnish goes on best in thin, even coats — thick coats are what actually drip and sag. Work in sections small enough that you can spot a drip while it’s still wet, and wipe it away immediately rather than waiting for the whole piece to dry. Keep the workspace closed up and dust-free; airborne dust is the second most common cause of a “brush mark” that’s really just debris trapped in the film. Wait for the full recoat window from the table above before sanding — sanding a coat that’s still soft just smears it instead of leveling it.
Sanding Between Coats
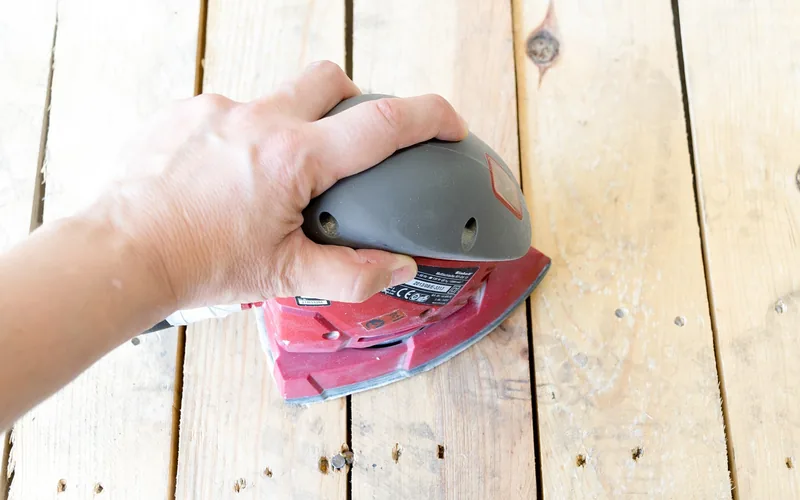
Grit progression matters more than any single “use fine sandpaper” tip. Prep the bare wood at 120 to 180-grit, then finish surface prep at 220-grit right before the first coat. Between coats, switch to 320-grit — it’s fine enough to knock down dust nibs and light ridges without cutting through the thin film underneath. For the final rub-out after the last coat has fully cured, step up to 400 or 600-grit wet sandpaper, then buff with 0000 steel wool for a hand-rubbed, low-sheen result.
Sand with light, even pressure and change paper as soon as it loads up — worn sandpaper burnishes instead of cutting and can burn through a thin coat. Wipe every pass with a tack cloth before recoating; dust left behind gets sealed under the next coat and shows as a rough patch permanently.
Final Coat, Polishing, and Inspecting for Flaws
Polishing the Surface
Once the final coat has cured fully, knock down any remaining texture with fine-grit paper, then wipe the dust away with a soft cloth. Work a small amount of polishing compound into the surface with a clean pad, then buff with a dry cloth — this is what turns a level coat into a genuinely glassy finish.
Inspecting for Flaws
Check the surface under raking light (a lamp held low and to the side shows texture that overhead light hides). Run a flat palm across the finish — you’ll feel a ridge before you see it. Sand any flaw lightly, clean the area again, and let the next coat cure fully before repeating the check.
Frequently Asked Questions
How do you avoid brush marks when varnishing?
Thin the varnish, apply thin coats with the grain, and tip off each pass with a nearly-dry brush tip immediately after laying it on. Sand lightly with fine-grit paper between coats and wipe with a tack cloth before recoating.
Does a foam or sponge roller actually prevent brush marks?
Yes, conditionally. A small, dense foam roller with a thin nap (around 10mm) spreads varnish without brush lines, but a thick wall-paint-style nap traps air and leaves its own stippled texture. If stipple shows after rolling, add a small amount of drying retarder to slow leveling and let the texture flatten out on its own.
Why does my varnish still show brush marks even when I’m careful?
The most common cause is skipping the tip-off pass — a loaded brush leaves ridges that only a final, nearly-dry pass will flatten. Applying outside the recommended 55–90°F temperature range, using varnish straight from the can without thinning the first coat, or going back over a coat that’s already started to set will all leave marks too.
Does temperature or humidity affect how varnish lays down?
Yes. Manufacturer guidance for oil-based spar urethane calls for 55–90°F and relative humidity below 85% — outside that range, the film skins over unevenly before it can level, which reads as brush texture even with good technique. Cooler rooms also stretch every dry and recoat time significantly.
Can you sand or buff out brush marks after the varnish has dried?
Yes, if the marks are shallow. Wet-sand with 400 to 600-grit paper to level the ridges, then buff with 0000 steel wool or polishing compound to restore sheen. Deep ridges may need a full extra coat after leveling, since sanding too aggressively can cut through the film to bare wood.
Spar varnish vs. polyurethane: which shows brush marks less?
Neither is inherently more forgiving — both show brush marks the same way when applied too thick or without tipping off. Spar varnish stays more flexible and is the better choice outdoors or on doors exposed to sun and moisture; polyurethane builds a harder film indoors. See our full guide to applying polyurethane without brush marks if that’s the product you’re using.
Should you sand between varnish coats, and what grit?
Yes — use 320-grit between coats to knock down dust nibs and light texture without cutting through the thin film. Save 400 to 600-grit plus 0000 steel wool for the final rub-out once the last coat has fully cured.
Conclusion
A brush-mark-free varnish finish comes down to three things: thin the varnish progressively, apply it with the grain in workable sections, and tip off every pass before it starts to set. Match your recoat times to whether you’re using oil-based or water-based varnish rather than a flat “24 hours,” and sand with the right grit at each stage — 220 before the first coat, 320 between coats, 400–600 plus steel wool for the final rub-out.
Whichever finish you’re working with, our broader wood finishing guide covers how varnish compares to oils, sealers, and paints if you’re still deciding what to put on the project in front of you.
Sponsored / affiliate links. As an Amazon Associate I earn from qualifying purchases. I may earn additional commission from eligible campaigns.