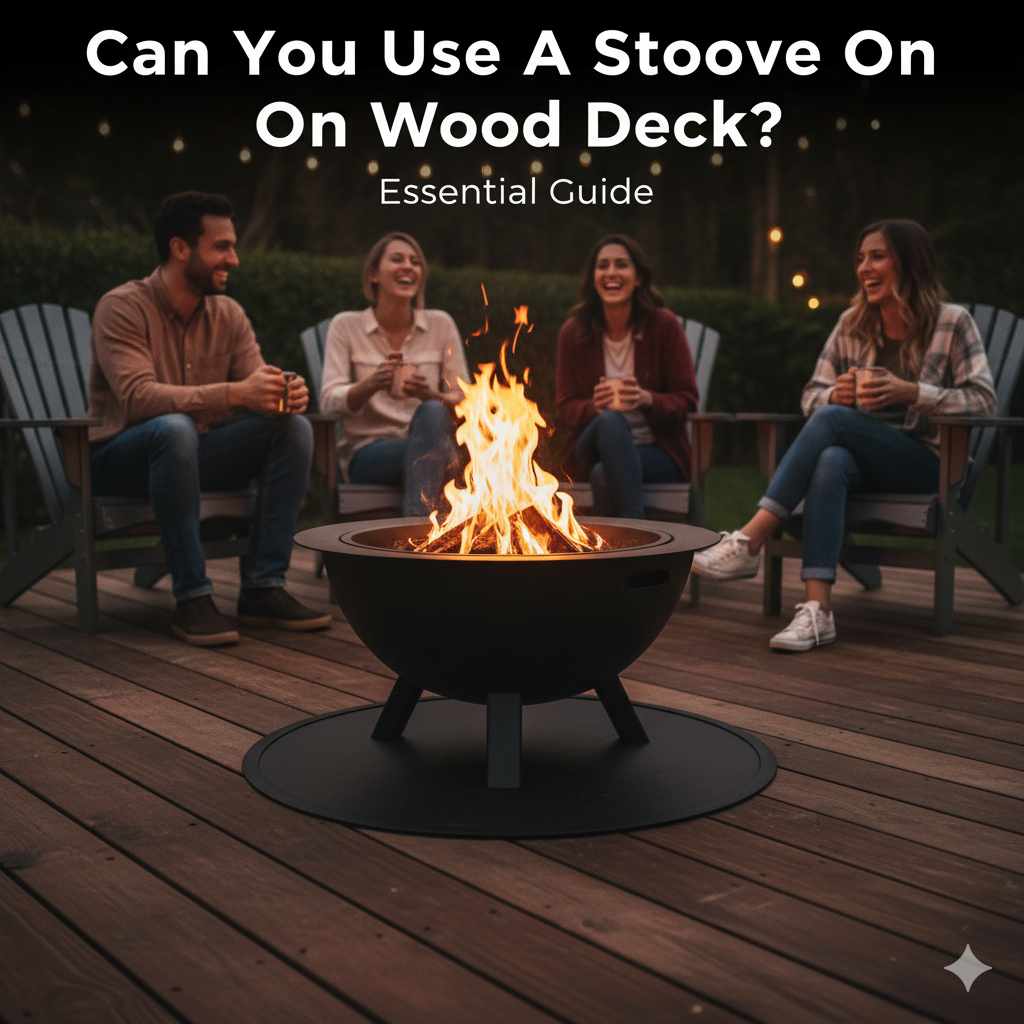
Can You Use A Solo Stove On A Wood Deck? Essential Guide
Yes, you can use a Solo Stove on a wood deck, but only with proper precautions and heat protection. Never place a hot Solo Stove directly on wood. This essential guide covers the safe methods, materials, and crucial steps to enjoy your fire pit without risking your deck.
Ah, the cozy glow of a campfire right on your deck! It’s a dream many of us share. Imagine warm evenings, crackling flames, and good company, all just steps from your back door. But then, a nagging question pops up: is it safe to put something that burns wood, like a Solo Stove, directly onto a wooden deck? It’s a super common concern, and for good reason! Wood and fire aren’t the best of friends when they’re too close. Many folks worry about scorch marks, damaged wood, or even worse. Don’t let this uncertainty keep you from enjoying your outdoor space. This guide is here to simplify everything, giving you the clear, step-by-step instructions you need to use your Solo Stove safely and confidently on your deck. We’ll walk through exactly what you need to do to keep your deck, your stove, and yourself safe and sound, so you can focus on enjoying those beautiful firelight moments.
Understanding the Heat: Why Decks Need Protection
Solo Stoves and similar portable fire pits are amazing because they create intense heat, especially at the base. This concentrated heat is what makes them burn so efficiently. However, wood is a flammable material. When wood is exposed to high temperatures for extended periods, it can begin to degrade, char, and eventually combust. Think of it like leaving a piece of wood too close to a regular fireplace – over time, it’ll get damaged. Direct contact between the hot underside of a Solo Stove and your wood deck is a direct path for that heat to transfer, creating a significant fire hazard. It’s not just about scorching; it’s about preventing the wood from reaching its ignition point.
The Science of Heat Transfer
Heat travels in three main ways: conduction, convection, and radiation. When it comes to your deck and a fire pit, all three play a role:
- Conduction: This is direct heat transfer. The hot metal base of the Solo Stove touches the deck. Heat moves from the stove, through the base, and into the wood.
- Convection: Hot air rises. The flames and heated air above the Solo Stove rise and can heat the underside of anything above it, like a deck railing if it’s low enough, or any structures nearby.
- Radiation: This is heat that travels in waves, like the warmth you feel from the sun. The flames and hot surfaces radiate heat outwards, which can also impact the deck surface directly in front of or around the stove.
While Solo Stoves are designed to be efficient, they still produce a lot of heat at their base. Understanding these heat transfer methods highlights why a simple barrier is absolutely necessary.
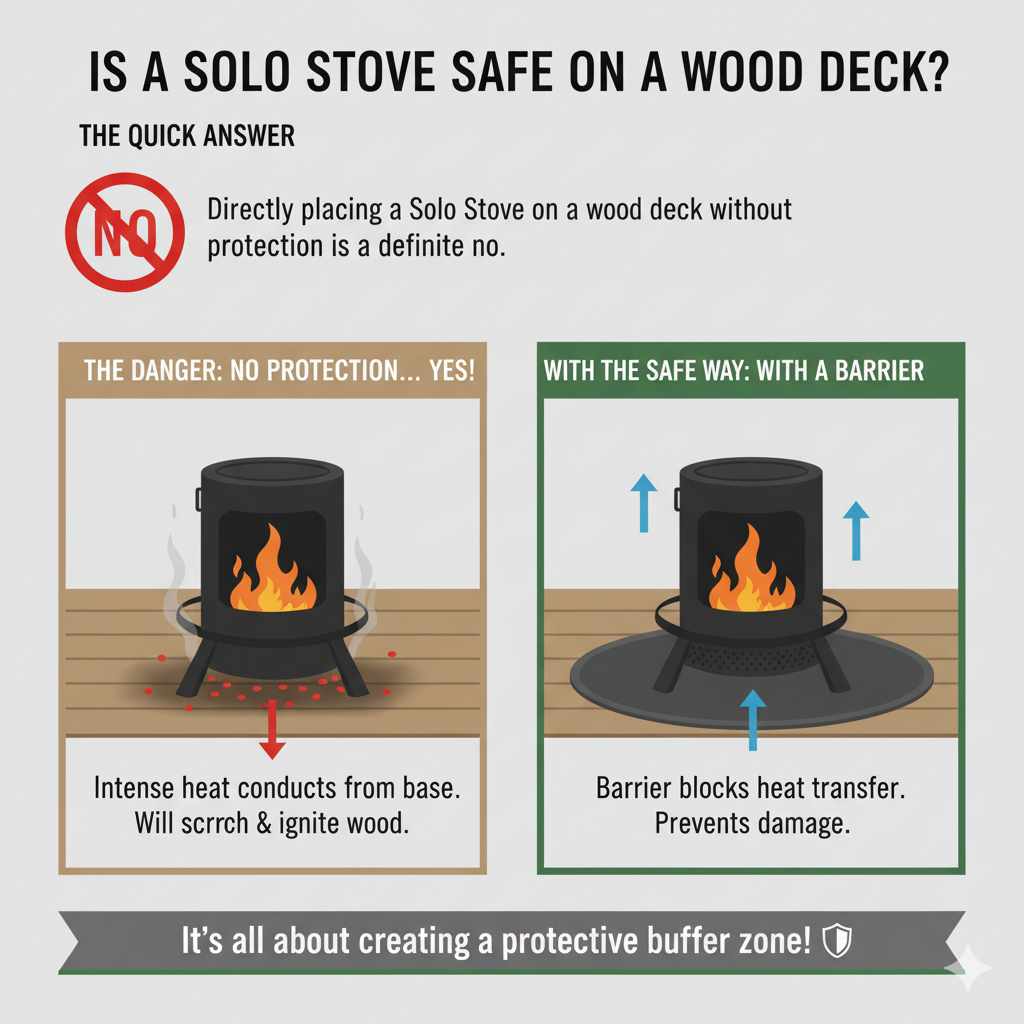
Is a Solo Stove Safe on a Wood Deck?: The Quick Answer
Directly placing a Solo Stove on a wood deck without protection is a definite no. The intense heat radiating and conducting from the stove’s base can easily scorch, damage, or even ignite your deck. However, with the right protective layer between the stove and the deck, it can be used safely to prevent heat transfer. It’s all about creating a barrier!
Essential Safety Gear and Materials
Before you even think about lighting up your Solo Stove on your deck, gathering the right safety gear and materials is crucial. These items act as your shield against the heat.
Heat-Resistant Mats and Surfaces
This is your primary line of defense. You need something that can withstand high temperatures and prevent the heat from reaching the wood. Here are some excellent options:
- Fire Pit Mats: These are specifically designed for this purpose. Look for mats made from materials like fiberglass, silicone-coated fiberglass, or even durable rubber compounds rated for high temperatures. They are often circular or rectangular to fit under your stove and extend a few inches around it. Ensure the mat is rated for temperatures well above what your Solo Stove generates, and check that it provides a good barrier against radiant and conductive heat transfer. A good tip is to look for mats that are heat-resistant up to 2000°F or more. Check out resources for fire safety products from organizations like the National Fire Protection Association (NFPA) for general fire safety guidelines.
- Paver Stones or Bricks: Laying down a layer of concrete pavers or fire-rated bricks directly on the deck can create a sturdy, heat-resistant base. You’ll want to arrange them closely together to cover the area beneath the stove and extend outwards. Ensure these are specifically rated for outdoor use and high heat.
- Concrete Paver Base/Gravel: For a more permanent or robust solution, you could create a designated area. This might involve laying down a layer of concrete paver base material, followed by a layer of sand and then pavers or bricks. For a temporary setup, you could potentially place a large, flat metal sheeting (like steel) on top of a fire pit mat to create a combined heat shield.
- Heat-Resistant Blankets: While often used to smother fires, some heavy-duty heat-resistant blankets made from ceramic fiber or fiberglass can also be used as a temporary protective layer, especially if they are placed under a more solid barrier like pavers.
Protective Layering (The “Sandwich” Method)
Often, the safest and most effective method involves a bit of layering. Think of it like protecting your deck with a multi-part shield:
- Bottom Layer (Mat): Start with your high-temperature fire pit mat directly on the deck.
- Middle Layer (Optional, depending on mat): Some people like to add another layer of protection, like a thin sheet of rigid insulation designed for high heat applications (ensure it’s not standard foam insulation!), or even a sturdy, flat metal sheet (like steel or aluminum) on top of the mat for added heat distribution and reflection.
- Top Layer (Stove Support): Your Solo Stove then sits on top of this protective system. If using pavers or bricks directly on the mat, ensure they are level and stable.
Basic Safety Equipment
Beyond just protecting your deck, always have these on hand:
- Fire Extinguisher: A Type ABC fire extinguisher is ideal for home use and can handle wood fires. Keep it easily accessible.
- Water Source: A garden hose or buckets of water should be nearby, just in case.
- Fire Poker or Grabber Tool: For safely moving logs or embers.
- Heat-Resistant Gloves: For handling the stove if it needs to be moved (when it’s completely cool, of course!).
Step-by-Step Guide: Using Your Solo Stove Safely on a Wood Deck
Now that you have your protective gear, let’s get to how you actually set it up and use it. Safety first, always!
Step 1: Choose the Right Location on Your Deck
Even with protection, picking the right spot matters. Don’t place your Solo Stove right next to the house, under an overhang, near bushes, or close to any flammable materials like outdoor furniture cushions or umbrellas. Aim for the most open space on your deck, generally in the center or further away from the house walls.
Step 2: Prepare the Deck Surface
Ensure the area where you plan to set up your protection is clean and dry. Remove any leaves, debris, or flammable materials from the deck surface. A clean slate is a safe slate!
Step 3: Lay Down Your Protective Barrier
This is the most critical step. Follow the instructions for your specific heat-resistant mat or material. Ensure the mat or arrangement of pavers/bricks completely covers the area directly beneath the Solo Stove and extends outwards by at least a few feet. The goal is to create a buffer zone.
Example Setup (using a mat and pavers):
- Place your high-temperature fire pit mat centered on your chosen deck spot. Make sure it’s lying flat and covers a circular area of at least 3-5 feet in diameter, depending on the mat’s size.
- If your mat is large enough and rated sufficiently, you might place the Solo Stove directly on it.
- However, for extra security, you can then carefully place fire-rated pavers or bricks on top of the mat. Arrange them so they form a solid, level surface where the stove will sit. Ensure there are no gaps between the pavers where heat could sneak through to the mat below.
Step 4: Position Your Solo Stove
Carefully place your Solo Stove on the prepared protective surface. Ensure it is stable and level. Make sure the bottom of the stove is not making direct contact with the wood deck by any means.
Step 5: Gather Your Firewood and Lighting Supplies
Have your dry, seasoned firewood ready. Use only recommended firewood types (typically dry hardwoods) for your Solo Stove. Avoid accelerants like lighter fluid. Use natural fire starters designed for wood fires.
Step 6: Light Your Fire Safely
Follow the manufacturer’s instructions for lighting your Solo Stove. Start with small pieces of kindling and gradually add larger pieces as the fire grows. Never leave a lit fire unattended.
Step 7: Enjoy Responsibly
Keep children and pets at a safe distance. Be mindful of wind conditions. Have your safety equipment (extinguisher, water) within easy reach. Enjoy the ambiance, but always stay alert.
Step 8: Extinguish the Fire Completely
When you’re done, allow the fire to burn down naturally. Do not douse the embers with water while they are still glowing hot, as this can warp your Solo Stove. Once embers have cooled significantly, you can carefully spread them out on the protective surface to cool faster. Ensure the stove and embers are completely cool before attempting to move or store them. This can take several hours.
Step 9: Clean Up and Inspect
After the stove has cooled and you’ve cleaned out the ashes, inspect your protective barrier and the deck beneath. Check for any signs of scorching, damage, or heat discoloration. If you notice any, you’ll need to reassess your protection method or consider if your deck material is suitable.
Table: Heat Protection Options – Pros and Cons
Choosing the right protection is key. Here’s a quick comparison to help you decide:
| Protection Option | Pros | Cons | Best For |
|---|---|---|---|
| High-Temperature Fire Pit Mat | Lightweight, portable, specifically designed for heat, often aesthetically pleasing, good heat reflection. | Can be expensive, durability varies by material, can be damaged by extremely intense heat or rough handling. | Temporary setups, frequent use, those seeking convenience. |
| Paver Stones/Fire Bricks | Excellent heat resistance, durable, can create a very stable base, readily available, relatively affordable. | Heavy, less portable, requires careful arrangement to cover the area, can create a slightly uneven surface. | More permanent setups, those who prioritize maximum heat resistance and stability. |
| Concrete Paver Base + Pavers | Ultimate protection, creates a completely non-combustible zone, very durable. | Most labor-intensive, least portable, can be expensive, requires significant setup. | Permanent fire pit areas where the deck is essentially being converted into a patio space. |
| Metal Sheet (with mat) | Adds a robust layer of heat reflection and distribution, can help protect mats from abrasion. | Can be sharp, requires careful handling, can get very hot, might not be visually appealing on its own. | Adding an extra layer of defense under extreme conditions or for added peace of mind. |
Understanding Deck Materials and Heat Resistance
Not all wood decks are created equal. The type of wood, its treatment, and its age can all affect how it reacts to heat. Composite decking, while generally more durable than natural wood, can also be damaged by prolonged, intense heat.
Natural Wood Decks (Cedar, Redwood, Pressure-Treated Pine)
These woods are more susceptible to heat damage. Pressure-treated wood has chemicals to resist rot and insects, but it can still char and burn. Exotic hardwoods might offer slightly better resistance, but direct, prolonged heat is problematic for any natural wood. Always use a substantial, well-tested barrier.
Composite Decks
Composite decking is made from a mix of wood fibers and plastic. While it’s more resistant to rot and wear, it’s not entirely immune to heat. Low-quality composites can warp, melt, or discolor under direct heat from a fire pit. Even higher-quality composites can be damaged if heat isn’t managed properly. A good heat mat is still essential. For specific guidance on your brand of composite decking, consult the manufacturer’s warranty and recommendations.
Tile or Stone Decks
If your ‘deck’ is actually paved with tiles or stone, you might have more leeway. However, it’s still wise to place a protective mat or even a layer of sand beneath the stove to prevent intense, direct heat from potentially cracking the tiles or loosening grout over time. This also helps contain ash and embers.
Common Pitfalls to Avoid
Even with the best intentions, mistakes can happen. Here are some common pitfalls to watch out for:
- Underestimating Heat: Thinking your Solo Stove isn’t “that hot” is a dangerous assumption. Modern stoves are designed for efficiency, which means intense heat generation at the base.
- Skipping the Mat: Believing that gaps between pavers are okay, or that a thin mat is sufficient, can lead to trouble. A full, continuous protective layer is vital.
- Overfilling the Stove: Piling on too much wood can lead to flames that extend higher and produce more radiant heat, potentially impacting nearby structures or furniture.
- Ignoring Wind: Strong winds can blow embers onto surrounding surfaces or cause flames to flicker dangerously close to railings or other structures.
- Leaving it Unattended: A fire, even a contained one, should never be left unwatched, especially on a combustible surface like a deck.
- Moving a Hot Stove: Always wait until the stove and ashes are completely cool before attempting to move it.
- Damaged Protection: Using a torn mat or cracked pavers puts your deck at risk. Always inspect your safety gear before use.
Tips for a Better Outdoor Fire Experience
Beyond safety, here are a few tips to enhance your deck fire pit experience:
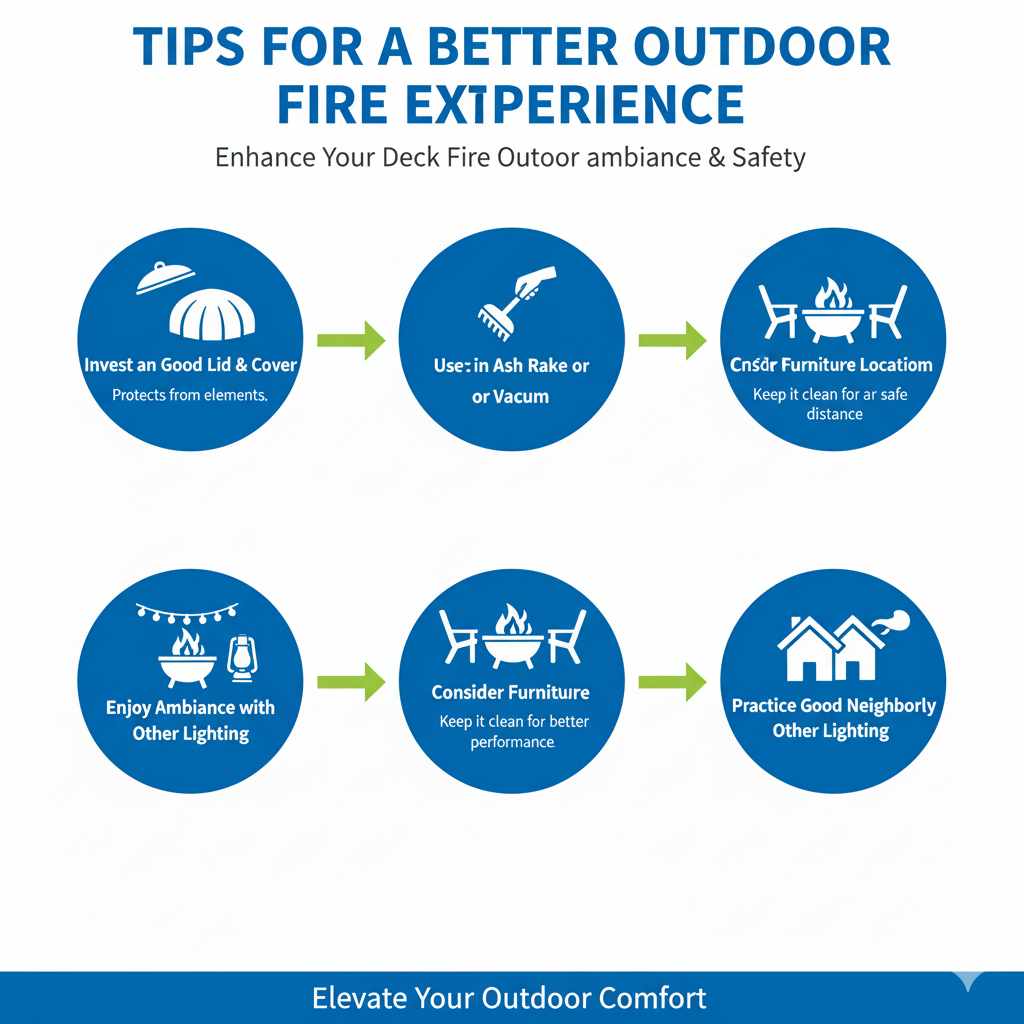
- Invest in a Good Lid and Cover: When not in use, a lid helps keep your stove clean and protected from the elements. A cover adds another layer of protection for your stove itself.
- Use a Ash Rake or Vacuum: Cleaning out ashes regularly helps your stove perform better and keeps things tidier.
- Consider the Location of Your Furniture: Arrange seating at a safe distance from the fire.
- Enjoy Ambiance with Other Lighting: Complement your fire pit’s glow with string lights or lanterns for a complete outdoor atmosphere, but ensure all lighting is safely installed and away from direct heat.
- Practice Good Neighborly Conduct: Be mindful of smoke direction and keep fires to a reasonable size late at night.
Frequently Asked Questions (FAQ)
Here are some common questions beginner’s might have about using their Solo Stove on a deck:
Q1: Can I use my Solo Stove on a composite deck?
Yes, but with the same precautions as a wood deck. Composite materials can still be damaged by intense heat. Always use a high-temperature heat-resistant mat or barrier between the Solo Stove and the composite surface to prevent warping, melting, or discoloration.
Q2: How much space do I need around my Solo Stove on a deck?
You need enough space for your protective barrier to extend at least 2-3 feet in all directions from the base of the stove. This creates a safe zone that captures radiant heat and prevents direct contact with the deck. Always check your Solo Stove’s manual for specific clearance recommendations.
Q3: What is the best heat protection for a wood deck?
The best protection is a combination of a high-temperature, heat-resistant mat specifically designed for fire pits, often layered with concrete pavers or fire bricks on top of the mat. This creates a robust barrier against conductive and radiant heat all around your Solo Stove.
Q4: Can I put my Solo Stove directly on concrete pavers on my deck?
While concrete pavers offer good heat resistance, placing them directly on a wood deck without a high-temperature mat underneath is still risky. The pavers will absorb and radiate heat down onto the wood. A dedicated fire pit mat beneath the pavers is highly recommended to diffuse and block this heat.