DIY Drill Bit Organizer: Ultimate Guide to Tidy Your Tools
Are your drill bits scattered everywhere, making your projects take longer than they should? Imagine having all your drill bits neatly organized and easy to find exactly when you need them.
With a DIY drill bit organizer, you can save time, reduce frustration, and protect your tools from damage. You’ll discover simple and clever ways to create your own organizer using materials you probably already have. Ready to transform your workspace and boost your efficiency?
Let’s dive in!
Benefits Of A Drill Bit Organizer
A drill bit organizer helps keep your tools neat and easy to find. It makes your work smoother and faster. You spend less time searching and more time working. Organizing your drill bits can also protect them from damage. A tidy workspace feels safer and more comfortable. Here are some key benefits of using a drill bit organizer.
Save Time And Increase Efficiency
A drill bit organizer keeps every bit in its place. You can quickly pick the right size without searching. No more digging through messy boxes or drawers. This saves valuable time during projects. Your workflow stays steady and focused. Efficiency improves because everything is ready and easy to access.
Protect Your Drill Bits
Drill bits are sharp and need care. A good organizer stops bits from banging into each other. This prevents dulling and damage. It also stops bits from getting lost or misplaced. Keeping bits safe means they last longer. You save money by not replacing broken or worn-out bits.
Enhance Workspace Safety
A cluttered workspace can cause accidents. Loose bits on a bench or floor are a hazard. An organizer keeps bits off surfaces and out of harm’s way. You reduce the risk of cuts or trips. A neat space helps keep your mind clear. Safety and order go hand in hand.
Materials Needed
Creating a DIY drill bit organizer requires a few basic materials. These materials help keep drill bits neat and easy to find. Choosing the right supplies makes the project simple and effective. This section covers the common tools, storage options, and extra accessories needed.
Common Tools And Supplies
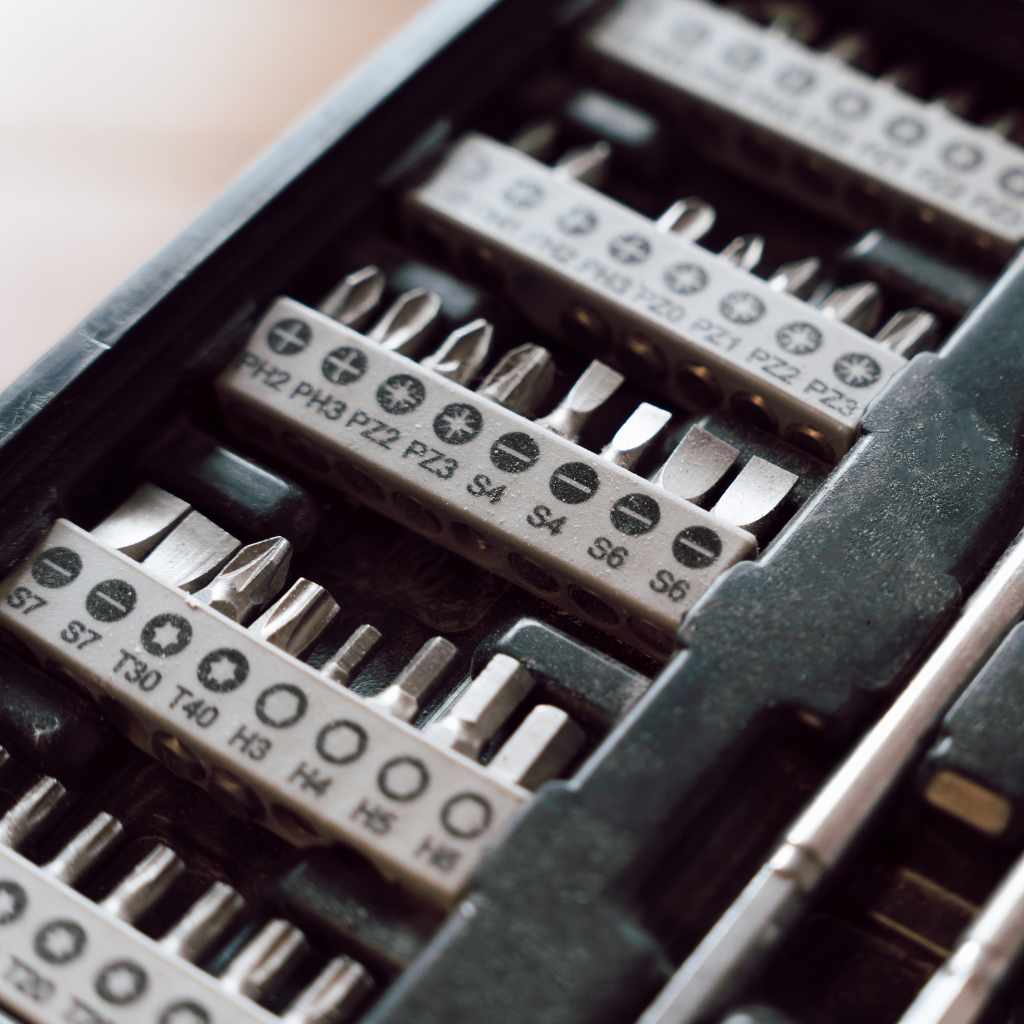
You will need a drill, screws, and a screwdriver. A ruler or measuring tape helps with precise placement. Sandpaper smooths rough edges. A marker or pencil marks drill bit sizes. Wood or plastic sheets work well for the base. These supplies form the core of your organizer.
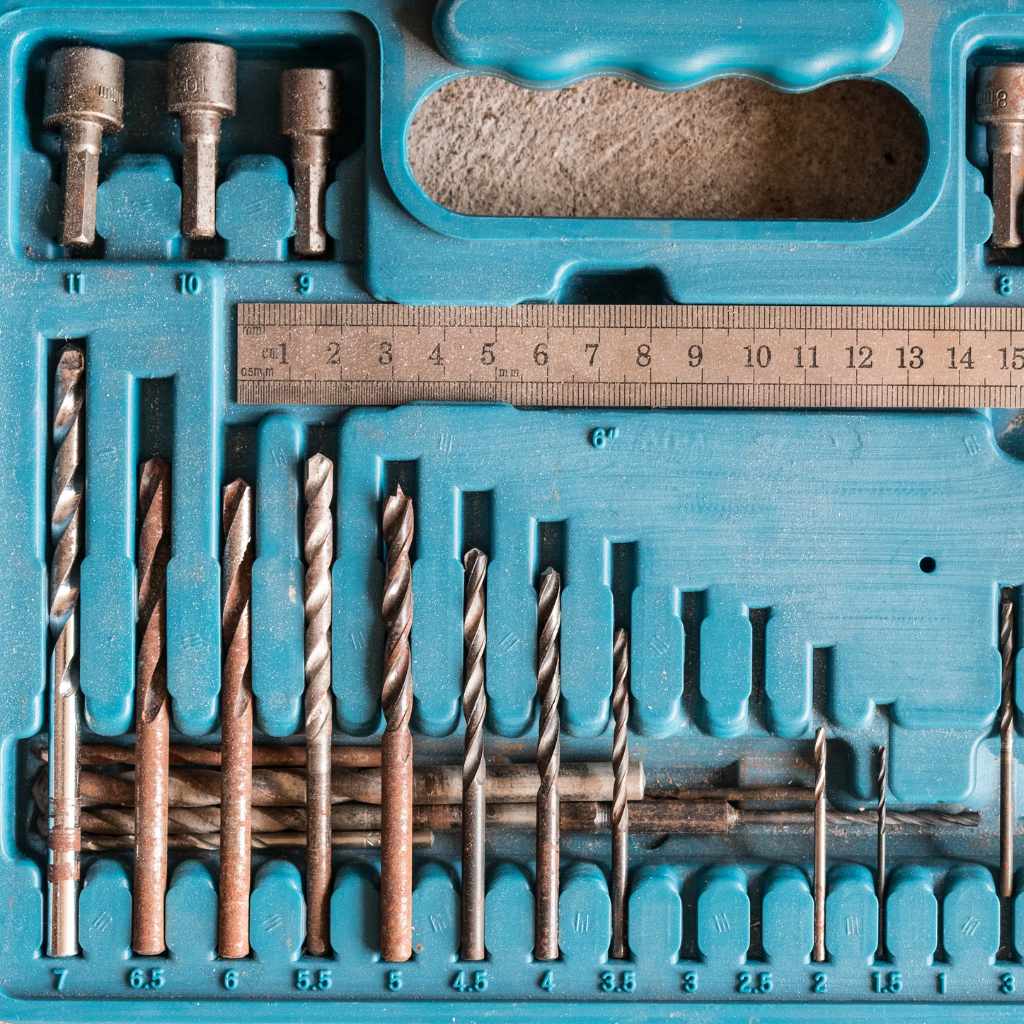
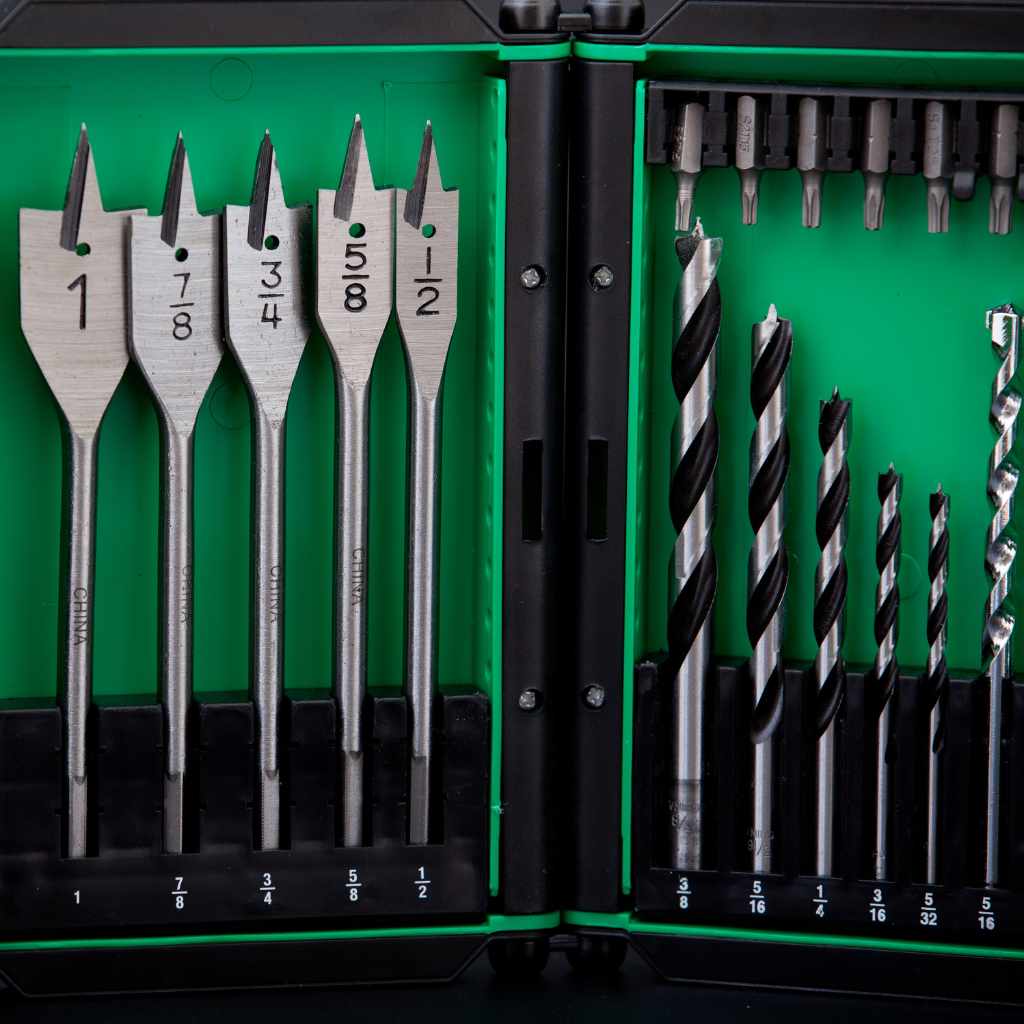
Choosing The Right Storage Container
Pick a container that fits your drill bits well. Small plastic boxes or tackle boxes are great options. Look for containers with compartments to separate sizes. Transparent lids help see bits without opening. The container should be sturdy to protect bits from damage.
Additional Accessories
Magnetic strips hold bits securely in place. Foam inserts prevent bits from moving inside the container. Labels help identify bit sizes quickly. Small hooks or clips can add extra storage space. These accessories improve organization and ease of use.
Design Ideas For Organizers
Organizing drill bits makes your workspace neat and efficient. A good organizer saves time and protects your tools. There are many design ideas to fit different needs and spaces. Choose the style that suits your work habits and storage space.
Wall-mounted Options
Wall-mounted organizers keep drill bits off the workbench. They use vertical space and are easy to reach. You can build one with wood or metal strips. Drill holes or slots fit different bit sizes. This design helps you see all bits at once. It also keeps your workspace clear and tidy.
Portable Cases
Portable cases protect drill bits during travel and storage. They come in plastic or metal and have compartments. You can make one using a small box with dividers. Foam or fabric inserts prevent bits from moving. Cases keep bits organized and easy to carry. Great for people who work on different job sites.
Custom Foam Inserts
Custom foam inserts hold drill bits firmly in place. Cut foam to match each bit’s shape and size. This method prevents scratches and damage. Foam inserts fit inside drawers or cases. They help you find the right bit quickly. Creating your own insert is affordable and effective.
Step-by-step Building Process
Building a DIY drill bit organizer is simple and fun. Follow these steps to create a neat storage solution. This process helps keep your drill bits safe and easy to find. Each step is clear and easy to follow. Let’s start with measuring and planning.
Measuring And Planning
First, decide the size of your organizer. Measure the drill bits you have. Note the longest and shortest bits. Plan space between each bit to avoid crowding. Draw a simple sketch with measurements. This makes cutting and assembly easier.
Cutting And Assembly
Use a saw to cut wood or plastic to size. Cut pieces for the base and the bit holders. Sand edges to make them smooth. Attach the holders to the base with glue or screws. Make sure everything fits well and holds tight.
Labeling And Finishing Touches
Label each section for different drill bit sizes. Use a marker or printed labels. This helps find bits quickly. Apply paint or varnish to protect the wood. Let the organizer dry completely before use. Now your drill bits are organized and ready.
Maintenance Tips
Keeping your DIY drill bit organizer in good shape helps your tools last longer. Regular care makes sure everything stays neat and easy to find. Follow these simple maintenance tips to keep your organizer working well.
Regular Cleaning
Dust and dirt can build up on your organizer. Clean it often with a soft cloth. Wipe down each slot and surface. Avoid harsh chemicals that may damage the material.
Remove drill bits before cleaning. This prevents rust and keeps bits sharp. A clean organizer looks better and works smoothly.
Inspecting For Damage
Check your organizer for cracks or broken parts. Small damage can get worse over time. Fix minor issues quickly to avoid bigger problems.
Look at each slot to ensure it holds bits firmly. Loose or damaged slots can cause bits to fall out or get lost.
Updating Your Collection
Sort through your drill bits regularly. Remove bits that are worn out or broken. Replace missing or damaged bits to keep your collection complete.
Organize bits by size or type for easy access. A well-kept collection helps you work faster and smarter.
Alternative Storage Solutions
Finding the right place for your drill bits can be tricky. Alternative storage solutions help keep your workspace tidy and tools easy to find. These ideas save space and protect your drill bits from damage.
Magnetic Strips
Magnetic strips hold drill bits securely on a wall or workbench. They keep bits visible and easy to grab. Mount the strip at a comfortable height for quick access. Magnetic strips work best for metal bits and small tools.
Drawer Organizers
Drawer organizers create separate spots for each drill bit size. They stop bits from rolling around and getting lost. Use foam or plastic inserts to keep bits in place. Label the sections for faster tool selection.
Repurposed Household Items
Old containers like spice jars or pillboxes make great drill bit holders. They keep bits sorted and protected from dust. Small boxes, ice cube trays, or egg cartons also work well. Repurposing saves money and reduces waste.
Frequently Asked Questions
What Materials Are Best For A Diy Drill Bit Organizer?
Wood, plastic, and foam are popular materials. Wood offers durability, while foam provides custom-fit slots. Plastic organizers are lightweight and affordable. Choose based on your toolroom setup and budget.
How Can I Customize A Drill Bit Organizer At Home?
Use foam inserts or wooden dividers to create specific slots. Label each slot with bit sizes for easy identification. Customizing improves organization and speeds up your workflow.
What Are The Benefits Of Using A Drill Bit Organizer?
It prevents drill bit loss and damage. Organizers save time by keeping bits sorted. They also enhance workspace safety and efficiency.
Can I Make A Portable Drill Bit Organizer?
Yes, use compact materials like plastic cases or small wooden boxes. Add foam inserts for secure bit placement. Portable organizers are perfect for on-the-go projects.
Conclusion
A DIY drill bit organizer keeps your workspace neat and tools ready. It saves time by making drill bits easy to find. You can customize it to fit your needs and space. Creating your own organizer is simple and cost-effective.
This small project helps maintain order and boosts efficiency. Try building one today to enjoy a tidier workshop. Simple steps lead to big improvements in your tool storage.