DIY Drill Holder Plans: Easy, Budget-Friendly Workshop Organization Ideas
Looking for a simple way to keep your drill organized and within easy reach? You’re in the right place.
DIY drill holder plans can help you create a custom storage solution that fits your workspace perfectly. Imagine saving time, reducing clutter, and protecting your tools—all with a project you can finish in just a few hours. Keep reading, and you’ll discover easy-to-follow steps that make building your own drill holder not just possible, but enjoyable.
Your workshop will thank you.
Choosing Materials
Choosing the right materials is key for a sturdy and useful drill holder. The material decides how long the holder lasts and how well it holds your tools. Pick materials that fit your skill level and available tools.
Wood Options
Wood is easy to work with and widely available. Pine and plywood are good choices for beginners. They are light and simple to cut. Hardwoods like oak offer extra strength but need more effort. Wood allows for easy customization and painting.
Metal Alternatives
Metal makes a very strong and durable drill holder. Steel and aluminum are common metals used. Steel holds heavy drills well but needs welding skills. Aluminum is lighter and rust-resistant but can bend under heavy weight. Metal holders last longer in tough environments.
Recycled Materials
Recycled materials save money and help the environment. Old wood, pallets, or scrap metal can work great. These materials often have unique looks and character. Check for damage or rot before using recycled wood. Recycled metal might need cleaning or cutting tools.
Basic Tools Needed
Building a drill holder requires some basic tools. These tools help you cut, shape, and assemble the parts easily. Having the right tools makes your work safe and accurate. Below is a list of essential tools to prepare before starting your project.
Power Tools
A power drill is the main tool for drilling holes. A jigsaw or circular saw helps to cut wood pieces smoothly. A sander smooths the surfaces for a clean finish. These tools save time and effort during the build.
Hand Tools
Measuring tape is necessary for precise measurements. A screwdriver helps to fasten screws tightly. A hammer can be useful for small adjustments. Clamps hold the wood steady while you work.
Safety Gear
Safety glasses protect your eyes from dust and debris. Ear protection reduces noise from power tools. Gloves protect your hands from splinters and cuts. Always wear safety gear to avoid injuries.
Simple Drill Holder Designs
Simple drill holder designs help keep your workspace neat and tools easy to find. These designs use basic materials and are quick to make. They save space and protect your drills from damage. Anyone can build these holders with little effort.
Here are three easy ideas for drill holders you can try today.
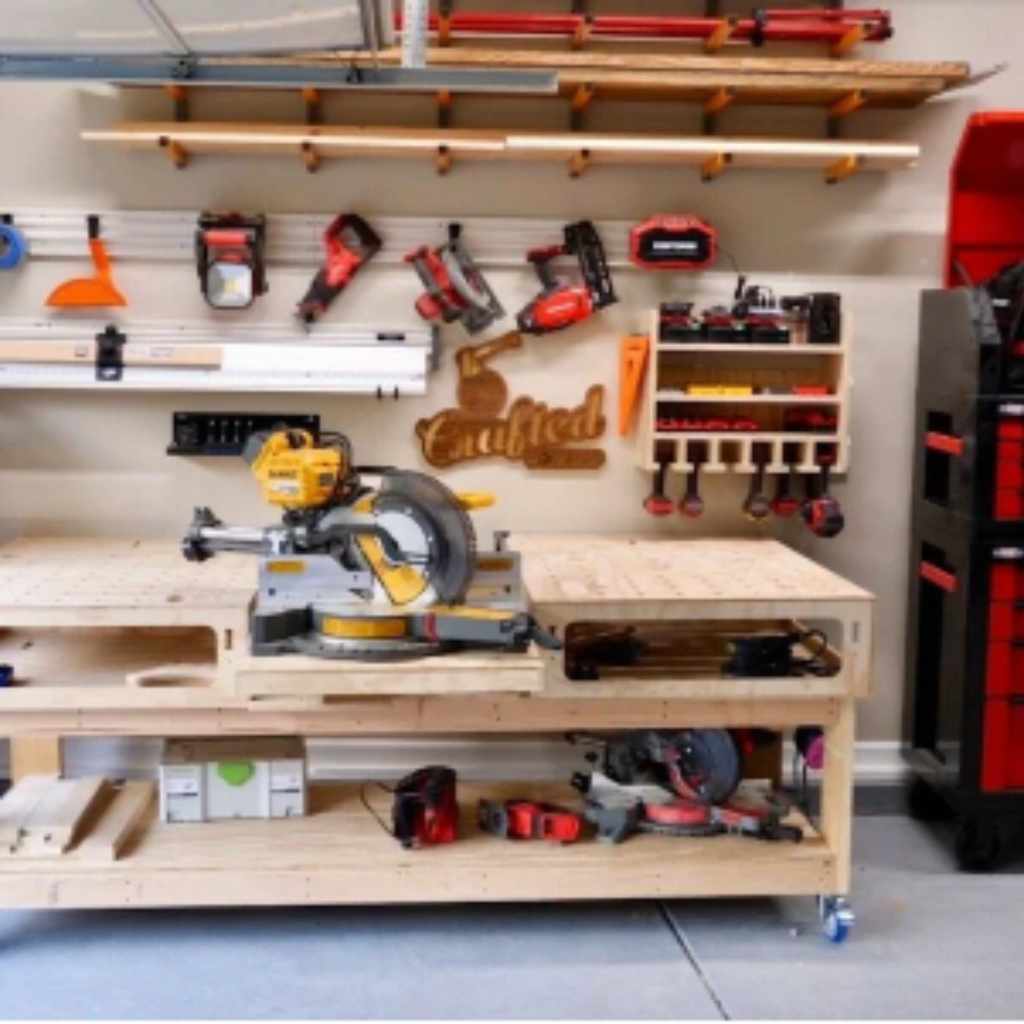
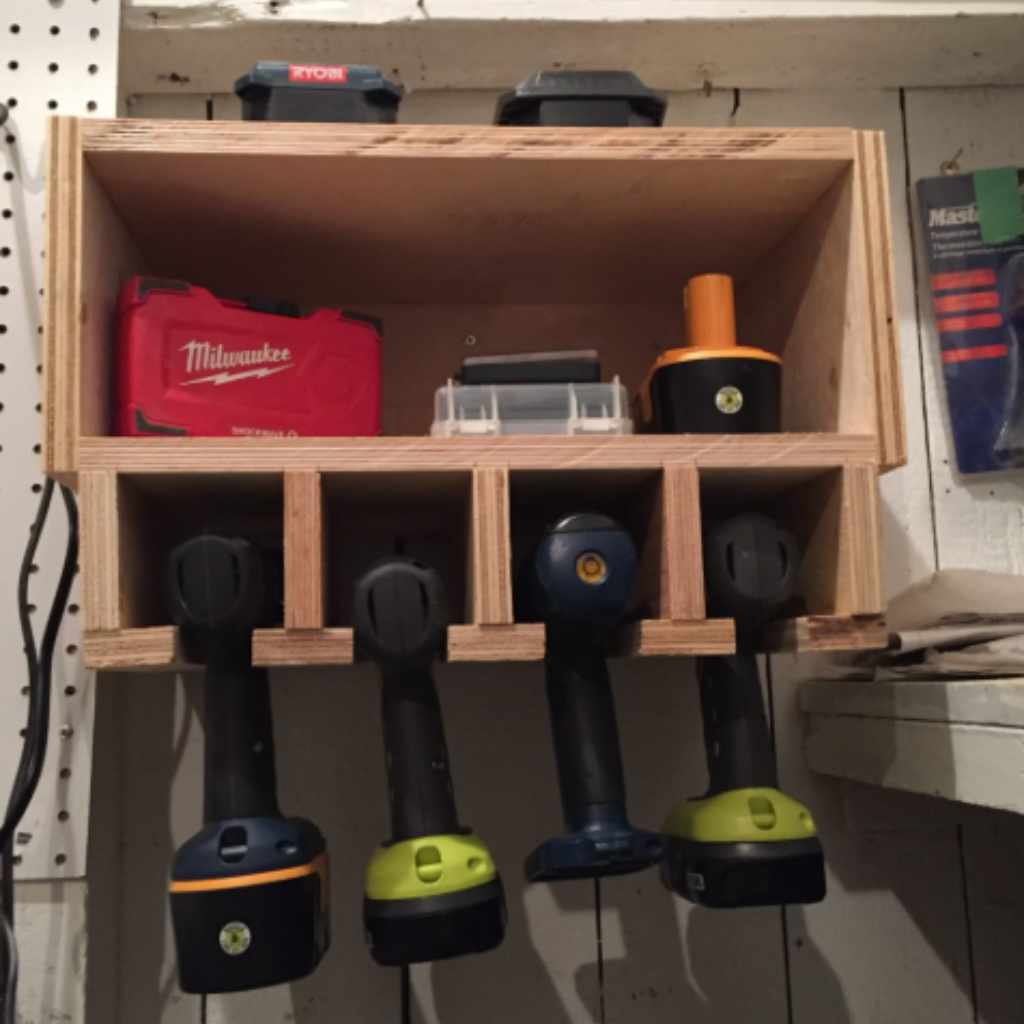
Wall-mounted Racks
Wall-mounted racks keep drills off the workbench. They use hooks or slots to hold drills securely. These racks free up space and make drills easy to grab. You can build them from wood or metal strips. Mount them near your workspace for quick access.
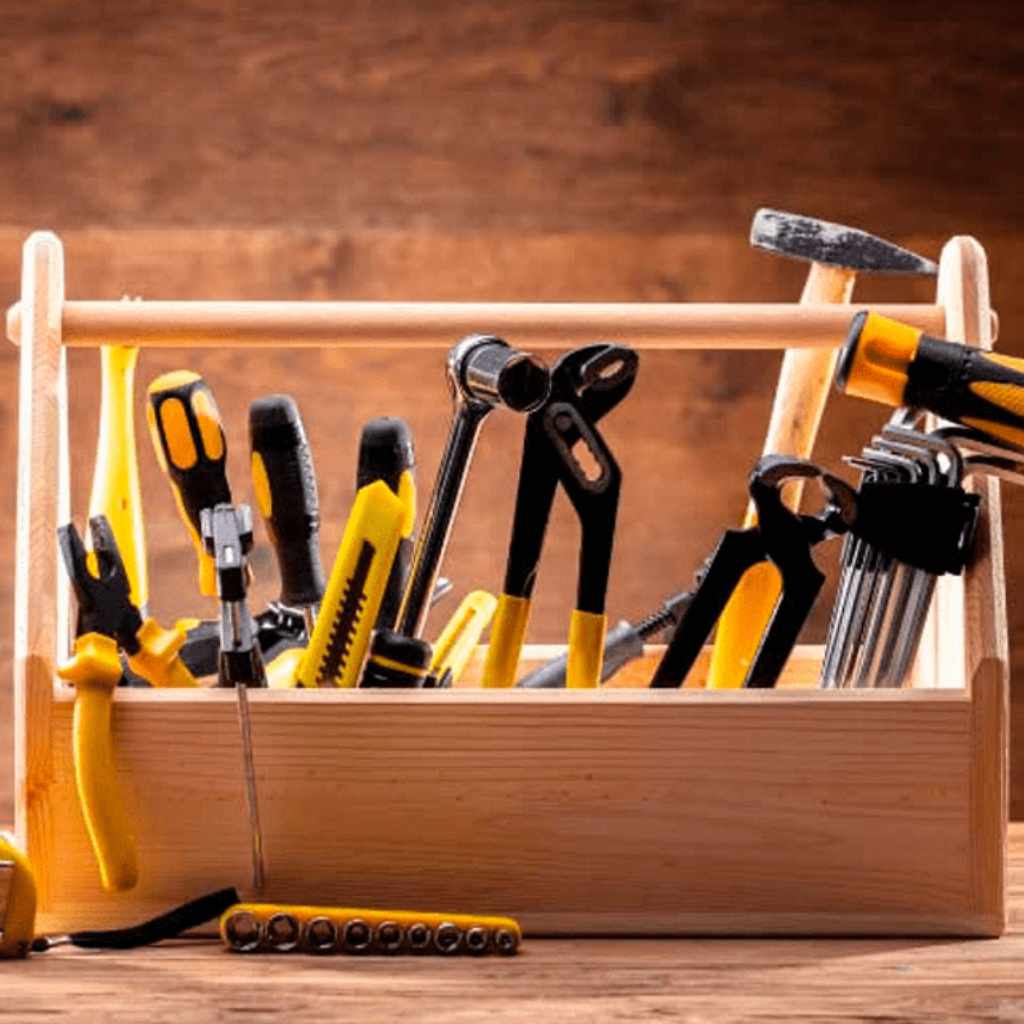
Portable Boxes
Portable boxes store drills safely and allow easy transport. They often have compartments for drills and batteries. These boxes keep tools organized and protected on the move. Use plastic or wooden boxes with foam inserts. Portable boxes are perfect for job sites or small workshops.
Magnetic Strips
Magnetic strips hold drills using strong magnets. They attach to walls or workbenches. These strips provide fast, easy storage without bulky racks. Drills snap on and off the strip quickly. Magnetic strips save space and keep tools visible at all times.
Step-by-step Building Guide
Building your own drill holder is a rewarding project. It helps organize your workspace and keeps drills handy. Follow this simple guide to create a sturdy and neat drill holder.
Measuring And Cutting
Start by measuring your drills and the space for the holder. Use a ruler or tape measure for accuracy. Mark the wood pieces according to these measurements. Cut the wood carefully with a saw, following the lines. Smooth the edges with sandpaper to avoid splinters.
Assembly Tips
Arrange the cut pieces on a flat surface before joining them. Use wood glue to hold parts together temporarily. Secure the pieces with screws or nails for strength. Drill pilot holes first to prevent wood from splitting. Check the alignment often during assembly to keep everything square.
Finishing Touches
Sand the entire holder to create a smooth surface. Apply paint or wood stain to protect the wood and improve its look. Let the finish dry completely before use. Add hooks or slots if you want extra storage for drill bits. Your DIY drill holder is now ready to use.
Customization Ideas
Customizing your DIY drill holder makes it fit perfectly in your workspace. It helps keep tools organized and easy to find. Simple changes can make your holder more useful and personal. This section shows creative ways to customize your drill holder for better use.
Labeling And Color Coding
Label each drill spot with its size or type. Use clear, big letters for easy reading. Color coding helps identify tools quickly. Paint sections in different colors for different drills. This saves time and keeps the workspace tidy.
Adding Storage Compartments
Create extra compartments for drill bits and small tools. Use small boxes or trays attached to the holder. Keep screws, nails, and other bits nearby. Compartments prevent losing small parts and save space. Your workspace stays neat and efficient.
Incorporating Charging Stations
Add a charging station for cordless drills. Build a space with power outlets or USB ports. Keep batteries charged and ready for use. This makes your drill holder even more practical. No more searching for chargers or cords.
Budget-friendly Tips
Building a drill holder does not have to be costly. Many simple tricks help keep your project affordable. These budget-friendly tips save money and reduce waste. You can create a practical drill holder without spending much.
Explore these ideas to make your DIY drill holder plan wallet-friendly and efficient.
Using Scrap Materials
Scrap wood and leftover pieces work great for drill holders. These materials are often free and ready to use. Cut scraps to size and assemble your holder easily. This method saves money and gives new life to old wood.
Repurposing Old Items
Old boxes, containers, or even unused shelves can hold drills well. Look around your home for items that fit your needs. Repurpose them by adding hooks or dividers. This reduces waste and keeps costs low.
Buying Tools On A Budget
Buy tools during sales or at discount stores. Secondhand tools often work fine and cost less. Check local markets or online shops for good deals. Investing smartly in tools helps complete your project affordably.
Maintenance And Upkeep
Keeping your DIY drill holder in good shape is important. Regular care helps it last longer and work better. A well-maintained holder keeps drills safe and easy to find. Simple steps can keep your holder clean and strong.
Cleaning Techniques
Dust and dirt can build up on your drill holder. Use a soft cloth to wipe it regularly. For wood holders, a dry or slightly damp cloth works best. Avoid soaking the wood to stop damage. For metal parts, use a mild cleaner to remove grime. Clean every corner, especially small slots holding drills. This keeps your holder looking fresh and neat.
Repairing Damages
Small cracks or loose parts can appear over time. Fix cracks with wood glue or filler to stop spreading. Tighten screws and nails that become loose. Replace broken hooks or holders to keep drills secure. Check for any sharp edges and sand them smooth. Quick repairs prevent bigger problems later. Keep your holder safe and sturdy.
Upgrading Over Time
Your drill holder can grow with your needs. Add more slots if your drill collection increases. Use stronger materials for extra weight support. Paint or stain the holder to refresh its look. Add labels to organize drills by size or type. Simple upgrades make your holder more useful. Keep improving it as your tools and skills grow.
Frequently Asked Questions
What Materials Are Needed For Diy Drill Holder Plans?
You need wood, screws, sandpaper, wood glue, and paint or varnish. Choose sturdy wood like pine or plywood. These materials ensure durability and a neat finish for your drill holder.
How Long Does It Take To Build A Drill Holder?
Building a drill holder usually takes 1 to 2 hours. Time depends on skill level and design complexity. Following clear plans speeds up the process and yields better results.
Can I Customize The Drill Holder Size?
Yes, you can customize the drill holder size easily. Adjust dimensions based on your drill and workspace. Custom sizing improves storage efficiency and accessibility.
What Tools Are Required For Making A Drill Holder?
Basic tools include a saw, drill, screwdriver, measuring tape, and clamps. These tools help cut, assemble, and secure the holder properly. Having the right tools ensures safety and precision.
Conclusion
Creating your own drill holder saves space and keeps tools organized. These DIY plans are easy to follow and affordable. You can adjust the design to fit your needs and workshop size. A well-made holder protects your drills and makes work faster.
Try building one today to enjoy a tidier workspace. Simple projects like this build skills and bring satisfaction. Give it a go, and see how neat your tools stay!