DIY Modern Bench: Sleek Builds to Try
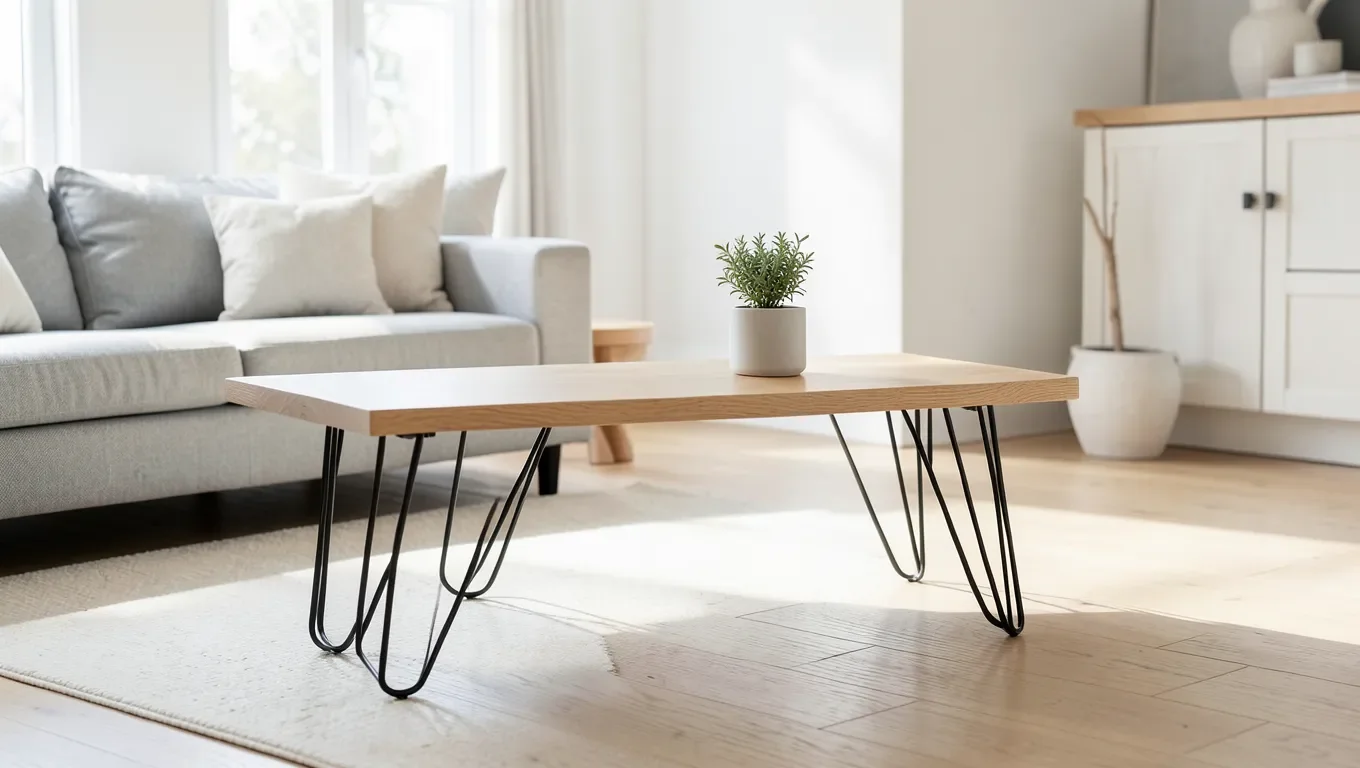
The fastest way to a genuinely modern-looking DIY bench is a flat wood slab paired with black steel hairpin legs – the exposed metal legs and clean top are what read as “modern” rather than the wood species or joinery itself.
This guide covers the actual build: cutting and finishing a solid or glued-up top, attaching hairpin legs squarely so the bench doesn’t wobble, and the finish choices that keep the minimalist look intact. For a more traditional cozy-seat bench build with a wood frame and legs instead, see our general DIY wood bench guide.
Introduction To DIY Modern Bench
The Look-Defining Hardware
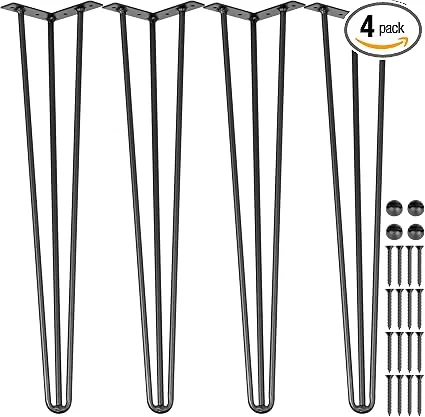 |
VEVOR Hairpin Table Legs, 24″ Black, Set of 4 The single hardware choice that turns a plain wood slab into a modern-looking bench – 3-rod design rated for 880 lbs total, includes mounting screws.
|
What separates a “modern” bench from a traditional one isn’t the wood – it’s the restraint in the design. Traditional benches usually hide their joinery and legs under skirts, aprons, or turned spindles. A modern bench does the opposite: it exposes a single flat slab and lets simple, thin metal legs do all the visual work. This is also why a modern bench is genuinely one of the easier furniture builds for a beginner – there’s no mortise-and-tenon leg joinery to cut, since the legs bolt on with pre-drilled hardware.
Why This Build Works For Small Spaces
Hairpin and other thin metal legs take up far less visual and physical space than a solid wood leg or trestle base of the same load capacity, which is exactly why this style became popular for small apartments. A bench with 3/8-inch steel rod legs reads as much lighter in a room than the same footprint built with 2-inch square wood legs, even though the actual seating surface is identical.
Choosing A Style Within “Modern”
Modern isn’t one single look. Scandinavian leans toward light wood (ash, birch, white oak) left natural or lightly oiled. Industrial pairs a darker or reclaimed-look top with black steel hardware, which is the pairing most people picture first. Mid-century uses warmer wood tones (walnut, teak) with tapered or angled legs rather than straight hairpins. All three share the same core build – a flat slab top and exposed metal or thin-profile legs – the difference is wood tone and leg shape, not construction method.
Materials Needed
For a single-slab modern bench, the tool list is short: a circular saw or track saw for cutting the top to length, a drill/driver for the leg mounting screws, a tape measure and square for accurate layout, and sandpaper (120 through 220 grit) for the edges and surface. A set of pipe or bar clamps is worth having if you’re gluing up multiple boards into one wide slab rather than using a single piece.
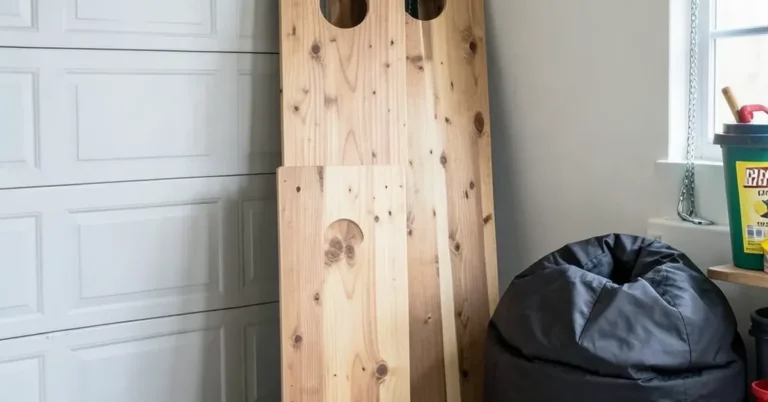
For the top itself: a single glued-up slab of oak, walnut, or ash gives the cleanest modern look since there’s no seam or leg joinery to break up the surface. Pine is a budget option but dents more easily on a bench that gets stepped on or used as extra seating. Whatever species, look for the flattest, straightest boards you can find – a modern bench’s whole visual appeal depends on a dead-flat top, since there’s no apron or skirt to hide a warp.
For hardware, hairpin or straight metal legs are the defining choice – see the product recommendation above for a real 3-rod set rated for real load. You’ll also need the mounting screws (usually included with the legs), wood glue if gluing up a slab, and a finish – either a penetrating oil (Danish oil or hardwax oil) for a natural matte look, or a water-based polyurethane if the bench needs more durability against spills.
Design Inspiration
Before cutting anything, settle the dimensions against the bench’s actual job. A entryway or dining-table bench typically sits 18 inches high and 12-16 inches deep. A coffee-table-height bench for a living room runs closer to 16-18 inches high but can be deeper, 18-24 inches, if it needs to double as a low table. Measure the actual space, including clearance for the hairpin legs’ outward splay, which adds a few inches to the footprint compared to straight legs.
Color and material choice should follow the room, not the trend. A pale ash or white oak top with black legs is the most common modern pairing and works in almost any room. A dark walnut top leans more mid-century and pairs well with warmer, more traditional surroundings. If the bench needs to double as extra seating regularly rather than just decor, plan for a slightly thicker top (at least 1.5 inches) so it doesn’t flex noticeably under weight between the leg mounting points.
Step-by-step Guide
Cut the slab to final length and square both ends with a track saw or a circular saw against a straightedge – an out-of-square cut is one of the most visible flaws on a single-slab design, since there’s no apron to hide the seam. If gluing up multiple boards for a wider top, do that first and let the glue cure fully before cutting to final dimensions.
Sand through the grits (120, then 180, then 220) before attaching the legs – it’s far easier to sand a bare slab flat on a bench than to sand around installed hardware later. Ease the top and bottom edges slightly with sandpaper or a router roundover bit; a hard 90-degree edge looks unfinished on this style and catches on clothing.
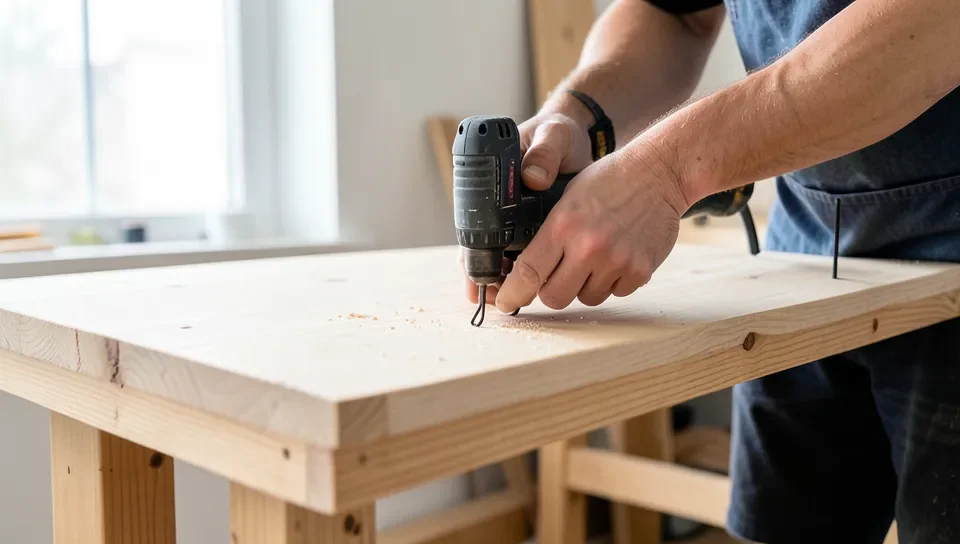
Flip the slab upside down and mark the leg positions, typically 2-3 inches in from each end and centered across the width. Pre-drill pilot holes to prevent splitting, then screw the hairpin legs on using the hardware included with them – snug but not overtightened, since overtightening thin sheet-metal mounting plates can strip the screw holes. Check that all four legs sit flush against the underside before flipping the bench right-side up; a gap under one leg is the most common cause of a wobble on this style of build.
Finishing Touches
For the modern look specifically, a natural or lightly-tinted finish that lets the grain show through almost always reads better than paint – solid color hides the one material feature (real wood grain) that makes the design feel intentional rather than generic. A penetrating hardwax oil or Danish oil gives a low-sheen, matte result that’s also easy to spot-repair later, since you just re-oil the worn patch rather than sanding and refinishing the whole top.
If the bench will see heavy use or spills, a water-based polyurethane in a satin sheen adds real durability while staying close to the natural look – avoid high-gloss finishes, which read as more traditional/formal and work against the minimalist aesthetic. Whatever finish you choose, wipe the bare wood down with a tack cloth immediately before applying it; dust trapped under a clear finish is far more visible on a plain modern slab than it would be on a busier, more detailed traditional design.
Styling Your Bench
A single neutral cushion or a folded wool throw adds comfort without cluttering the clean lines that make the design work in the first place – resist the urge to pile on multiple patterns, which fights against the minimalist look. A small plant or a single decorative object on one end reads as intentional; several small items scattered across the top reads as clutter.
This style of bench works especially well at the foot of a bed, in an entryway, or as a low coffee-table substitute in front of a sofa, since the light visual footprint of hairpin legs doesn’t compete with other furniture nearby. In a dining space, it works as extra seating along one side of the table, though a thicker top (2 inches or more) is worth it if it’s used as a seat regularly rather than just for display.
Maintenance Tips
Wipe the top with a soft, slightly damp cloth for regular cleaning – avoid soaking an oil-finished top, since standing water can leave dark spots on some wood species. Re-oil a hardwax-oil or Danish-oil finish every 6-12 months depending on use; a top that starts looking dry or pale is the visual cue that it needs a fresh coat.
Check the hairpin leg mounting screws periodically and snug any that have loosened – this is the most common maintenance item on this style of bench, since the legs bear all the weight through just a few small screws rather than a full wood joint. A small scratch on an oiled finish usually blends back in with a light sanding and a fresh coat of oil; a painted or polyurethane finish needs a proper touch-up to avoid a visible patch.
Frequently Asked Questions
How Do You Make A Modern Bench?
To make a modern bench, gather materials like wood, screws, and paint. Follow a step-by-step guide to assemble and finish the bench.
What Materials Are Needed For A DIY Bench?
You’ll need wood, screws, paint, and tools like a saw, drill, and sander. Choose high-quality materials for durability.
How Long Does It Take To Build A Bench?
Building a modern bench can take around 4-6 hours. This depends on your experience and the complexity of the design.
Can I Customize My DIY Bench?
Yes, you can customize your bench with different colors, finishes, and sizes. Personalize it to fit your style and space.
Conclusion
Building your own modern bench can be a fun project. It adds a personal touch to your space. With clear steps and basic tools, anyone can do it. Plus, it’s cost-effective. Your new bench will look stylish and unique. Remember, patience is key.
Take your time and enjoy the process. Soon, you’ll have a piece of furniture you’re proud of. Happy building!
Sponsored / affiliate links. As an Amazon Associate I earn from qualifying purchases. I may earn additional commission from eligible campaigns.