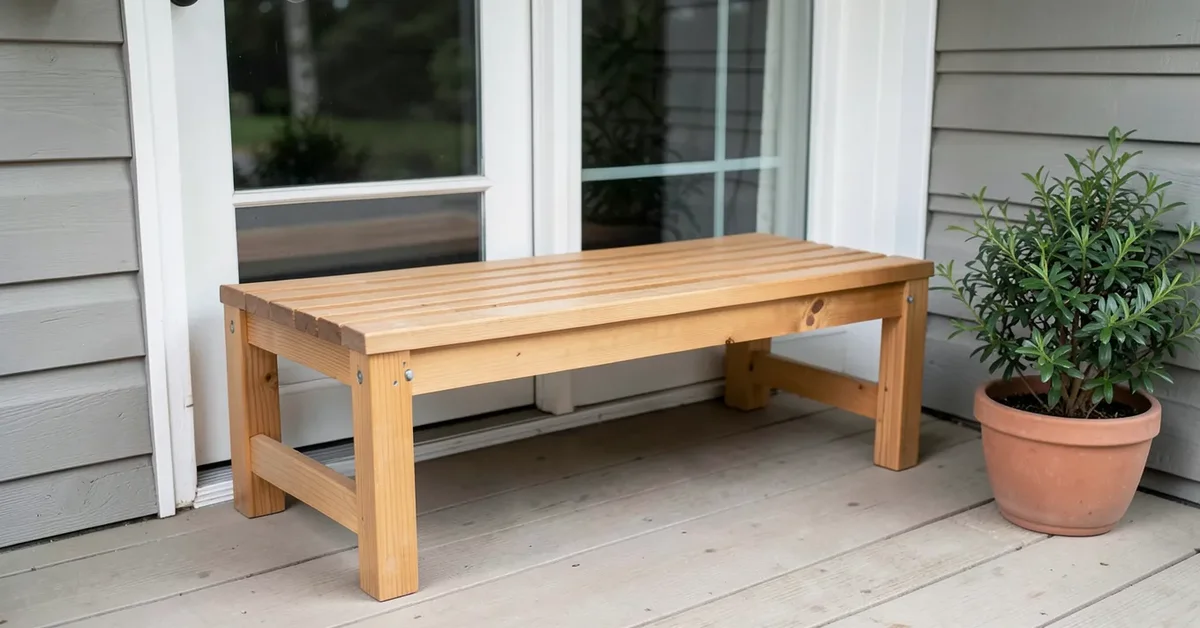
DIY Porch Bench: Real Cut List for a 48″ 2×4 Bench (Weekend Build)
A basic 48″-long porch bench uses standard 2×4 and 4×4 lumber, pocket-hole joinery, and about $40-60 in materials for a weekend build. Below is a real cut list with actual dimensions — not just “measure and cut” — plus the joinery approach that keeps a bench from racking or wobbling under regular outdoor use.
Most porch bench guides skip the part that actually matters: what size lumber, how many pieces, and how the joints go together so the bench doesn’t loosen up after a season of people sitting down on it. This plan is sized for a standard 48″ bench (comfortable for two adults) built from construction-grade 2x4s and 4×4 legs, using pocket screws rather than exposed fasteners on the visible faces.
Cut List (48″ Bench, Seat Height ~18″)
Best Jig For Hidden Joints On This Bench
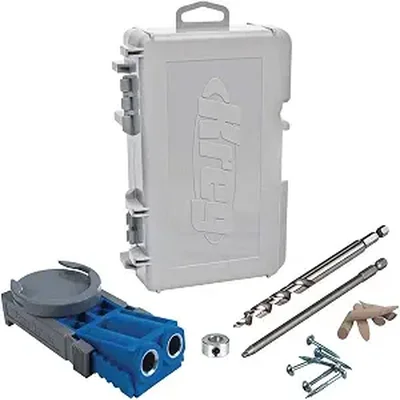 |
Kreg R3 Jr. Pocket-Hole Jig System – $34.00 This is what lets the apron-to-leg joints on this bench go together without visible screw heads on the outward-facing sides.
|
| Part | Material | Qty | Length |
|---|---|---|---|
| Legs | 4×4 | 4 | 17″ |
| Seat slats | 2×4 | 4 | 48″ |
| Front/back aprons | 2×4 | 2 | 45″ |
| Side aprons | 2×4 | 2 | 15″ |
| Diagonal corner braces | 2×4 | 4 | 8″ (cut at 45°) |
This gives a bench roughly 48″ long by 18″ deep by 18″ tall to the seat — comfortable porch-seating proportions. Scale the seat slat and apron lengths up or down in 2-3″ increments if you need a different width, but keep the 17″ leg height and 18″ seat height ratio, since that’s what makes the bench comfortable to sit on rather than either a step-stool or an oversized platform.
Tools and Materials
- Pressure-treated or cedar lumber (both hold up outdoors; cedar looks nicer natural, pressure-treated is cheaper and needs paint or solid stain to look finished)
- A pocket-hole jig and matching exterior-rated pocket screws (this is what lets you join the aprons to the legs without visible fasteners on the outward faces)
- Exterior wood glue rated for outdoor use
- Circular saw or miter saw, drill/driver, tape measure, speed square, clamps
- 120-grit sandpaper, and an exterior stain, paint, or sealant
- Deck screws or exterior wood screws if you’re not using a pocket-hole jig (a valid alternative, just with visible screw heads on the apron faces)
Building the Frame
- Cut all pieces to the dimensions above, and square every cut with a speed square before moving to assembly — an off-square leg is the single most common cause of a wobbly bench later.
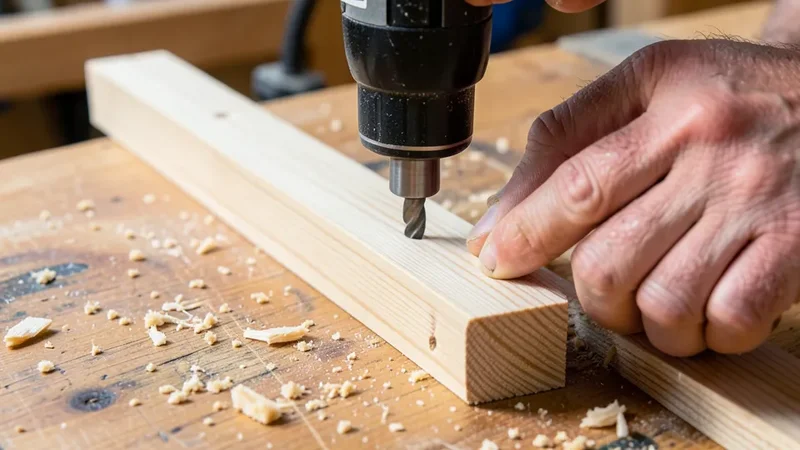
- Drill pocket holes in the ends of the front, back, and side aprons (two holes per end, angled to hit the inside face of the leg they’ll attach to).
- Attach the aprons to the legs with pocket screws and exterior glue, keeping everything flush at the top of the legs. Build one long side first (front apron to two legs), then the matching back side, then join the two sides with the shorter side aprons to complete the box frame.
- Check for square by measuring both diagonals across the frame — they should match within about 1/8″. If they don’t, clamp and adjust before the glue sets.
- Add the diagonal corner braces underneath, running from partway up each leg to the apron, on all four corners. This is the step that actually prevents racking (the frame twisting side-to-side) — a bench built without corner braces will loosen at the joints within a season of regular use, even with a solid pocket-screw frame.
- Attach the seat slats across the top, spacing them evenly with a consistent gap (a 1/4″ gap between slats lets rainwater drain instead of pooling on the seat). Screw or pocket-screw each slat into the front and back aprons.
Finishing for Outdoor Durability
Sand all surfaces to 120-grit before finishing, breaking any sharp edges so the bench doesn’t splinter where hands and legs contact it. From there:
- Pressure-treated lumber needs to dry out for several weeks after purchase (it’s shipped wet from the treatment process) before stain or paint will actually adhere. A moisture meter reading under 15%, or simply letting it sit covered for 2-4 weeks in dry weather, is the practical test.
- Cedar can be left to weather naturally to a silver-gray, or sealed with an exterior oil/stain to keep its original tone. Either is a legitimate choice — weathering doesn’t harm cedar’s structural durability.
- Any exposed end grain (the tops and bottoms of the legs especially) absorbs water fastest and is where rot typically starts first. Give end grain an extra coat of sealant compared to the flat faces.
- Elevate the bench off direct ground contact if it’s not staying on a porch deck — even treated lumber lasts longer without constant contact with wet soil or standing water.
Common Mistakes That Cause Early Failure
- Skipping the corner braces to save a few minutes. This is the most common reason a DIY bench loosens up and starts wobbling within months.
- Finishing pressure-treated wood too soon. Stain or paint applied to still-wet PT lumber won’t bond properly and will peel or flake within a season.
- No drainage gaps between seat slats. A solid seat with no gaps holds standing water after rain, which accelerates rot right where you sit.
- Using interior-rated screws or glue. Standard interior wood glue and non-coated screws corrode or fail outdoors much faster than exterior-rated hardware — the small cost difference is worth it for something staying outside year-round.
Frequently Asked Questions
How do I prevent my DIY porch bench from rotting?
Use pressure-treated or naturally rot-resistant wood like cedar, apply an exterior sealant or paint (after letting pressure-treated lumber dry fully first), leave drainage gaps between seat slats, and keep the bench off direct ground contact where possible.
What’s the cheapest wood for an outdoor bench?
Pressure-treated pine is typically the least expensive option that still holds up outdoors. It needs a few weeks to dry out before it will properly accept stain or paint.
What seat height and backrest angle work best for a porch bench?
An 18″ seat height matches standard chair height and feels natural to sit down into. If you’re adding a backrest, angling it back 5-10 degrees from vertical (roughly 100-110 degrees from the seat) is the comfortable range most bench and chair plans use.
Can I build this bench from pallet wood instead?
Yes, but pallet boards vary in thickness and condition, so treat the cut list above as a target size rather than exact stock dimensions, and inspect every board for splits, embedded staples, or chemical treatment markings before using it for outdoor furniture.
Bottom Line
A basic 48″ porch bench built from 2x4s and 4×4 legs is a genuinely doable weekend project once you have real dimensions to work from instead of guessing. The corner braces and proper outdoor-rated hardware are the two details that separate a bench that lasts years from one that loosens up in a season.
Sponsored / affiliate links. As an Amazon Associate I earn from qualifying purchases. I may earn additional commission from eligible campaigns.