Wood Flooring Calculator
Estimate flooring boxes, waste, and total material cost for wood flooring and wood-look flooring projects.
Quick Answer
Flooring estimates start with room length times width, then add waste. Most straight layouts use about 5-10% waste, while diagonal layouts and rooms with many cuts may need 10-15% or more.
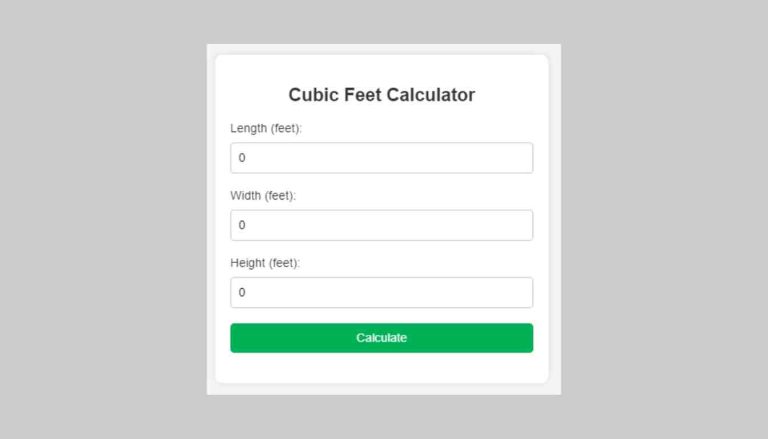
Wood Flooring Calculator
Enter your project values below. The calculator gives a planning estimate, then the guide explains the formula, example calculation, common mistakes, and when to adjust the result.
Enter your values and click calculate.
How to Use This Calculator
Use the same unit shown beside each field and measure the actual project area, board size, stack, or member span.
Select the closest wood species, surface condition, moisture condition, or safety factor for your project.
Most woodworking projects need a waste buffer for cuts, defects, finishing loss, or measurement error.
Use manufacturer labels, product data, local code, and real measurements before final decisions.
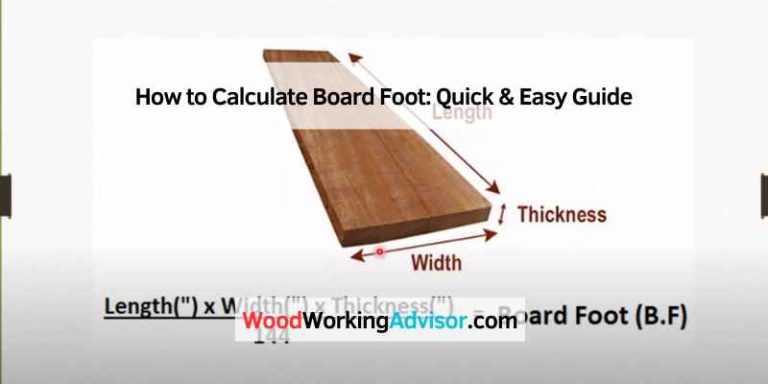
Wood Flooring Calculator Formula
Boxes needed = room area × waste buffer ÷ square feet per box, rounded up.
Reference Table
| Project factor | Planning guidance |
|---|---|
| Straight layout | 5-10% waste |
| Diagonal layout | 10-15% waste |
| Many closets/cuts | add more waste |
| Matching future repairs | save extra boards |
Common Mistakes to Avoid
- Measuring only visible walking area.
- Forgetting closets and transitions.
- Buying exact boxes with no waste.
- Ignoring pattern direction or plank matching.
When the Estimate May Be Wrong
Calculators are useful for planning, but real woodworking materials vary. Wood species, moisture content, grain direction, defects, product label coverage, board straightness, installation method, and local conditions can all change the final result.
For safety-sensitive projects, structural members, fasteners, load limits, decks, stairs, or code-regulated work, treat this as an educational estimate and verify the result with a qualified professional or official design data.
Wood Flooring Calculator FAQs
How much extra flooring should I buy?
Most projects need 5-10% extra; diagonal layouts need more.
Should I round up boxes?
Yes. Flooring is sold by box, so round up.
Can I use this for hardwood and laminate?
Yes for material estimates, but check product-specific box coverage.
Sources and Methodology
This page is written as an original Woodworking Advisor calculator guide. The calculator combines practical woodworking formulas with conservative planning assumptions, waste buffers, and clear limitations.
- Wood properties, moisture movement, shrinkage, density, and engineering concepts are based on standard wood science references such as the USDA Forest Products Laboratory Wood Handbook.
- Firewood cord calculations use the standard full-cord volume of 128 cubic feet.
- Span, deflection, and structural planning pages use basic beam formulas for educational estimates and should be verified with code-approved span tables or professional design tools.
- Finish and stain calculators use coverage-rate logic from product labels: area multiplied by coats and divided by square feet per gallon, with a waste factor for wood porosity and application method.