How to Clean Wood After Sanding (Right Wipe for Each Finish)
The best way to clean wood after sanding is to vacuum with a brush attachment, then wipe with a tack cloth or a solvent-dampened rag that matches your finish. Dust left in the pores shows up as gray flecks under stain and as grit under paint, and OSHA treats wood dust as a respiratory hazard. This guide covers the correct order, which wipe suits each finish, and the cleanup habits that backfire.
How to Clean Wood After Sanding: Vacuum First, Then Match the Wipe to the Finish
| Best Tack Cloth Pick | |
 |
Trimaco SuperTuff Tack Cloth, 18 x 36 in, 6-Pack, $6.38 A large cloth you can refold to a clean face for each pass, which suits the light-pressure final wipe described in the tack cloth section below.
|
| As an Amazon Associate we earn from qualifying purchases. | |
Cleaning sanded wood is a sequence, not a single wipe. Each step removes a different size of dust, and the last step depends on what is going on the wood next. A tack cloth is the right last step for many oil-based jobs, but it is the wrong one for some others, which is why one-size-fits-all advice so often leads to a gritty topcoat.
The order that works on almost every project: (1) vacuum the surface with a soft brush attachment, (2) brush or vacuum the pores and corners, (3) wipe with a dry microfiber cloth, and (4) finish with the one final wipe that suits your finish. The table below shows that final wipe by finish type.
| Finish going on | Best final wipe | Skip this | Why |
|---|---|---|---|
| Oil-based stain, varnish, or polyurethane | Light tack cloth pass, or a rag barely dampened with mineral spirits or naphtha | Soaking the wood with water | Solvent wipes suit the finish chemistry and flash off without raising the grain |
| Water-based stain, polyurethane, or paint | Dry microfiber, or a slightly damp microfiber after you have raised the grain on purpose | Heavily waxed tack cloths | Wax or resin transferred from a tack cloth can interfere with adhesion; check the finish can for its own prep notes |
| Shellac or French polish | Vacuum plus dry cloth, or a lint-free cloth lightly dampened with denatured alcohol | Anything that leaves oil behind | Alcohol evaporates in seconds, so dust has little time to resettle |
| Penetrating oil (Danish, tung, linseed) | Vacuum, dry microfiber, then a light tack cloth pass | Compressed air as the last step | Dust blown into the air settles straight onto the wet oil |
| Primer or paint on raw wood | Vacuum, then a damp microfiber; let dry; scuff with 220 grit; vacuum again | Skipping the re-sand after a damp wipe | Water lifts the grain, and the scuff pass flattens it before the primer goes on |
The wax warning on tack cloths is a label issue, not a universal rule, so treat the water-based row as a prompt to read your finish can rather than as a ban. For the full grit-by-grit prep for paint, see our guide to what grit sandpaper to use before painting.
Why Sanding Dust Ruins a Finish
Sanding does not just create loose dust on the surface. It packs fine particles into the open pores and scratches of the wood, and static charge makes that fine dust cling instead of falling off. That is why a board can look clean under shop lights and still show a gritty film once the first coat goes on.
Under a clear or pigmented topcoat, trapped dust causes small raised bumps you can feel with your fingertips. Under stain, it blocks absorption in spots and leaves pale, uneven flecks. It is most obvious on dark stains over open-pored woods such as oak and ash, where the pores trap the most dust.
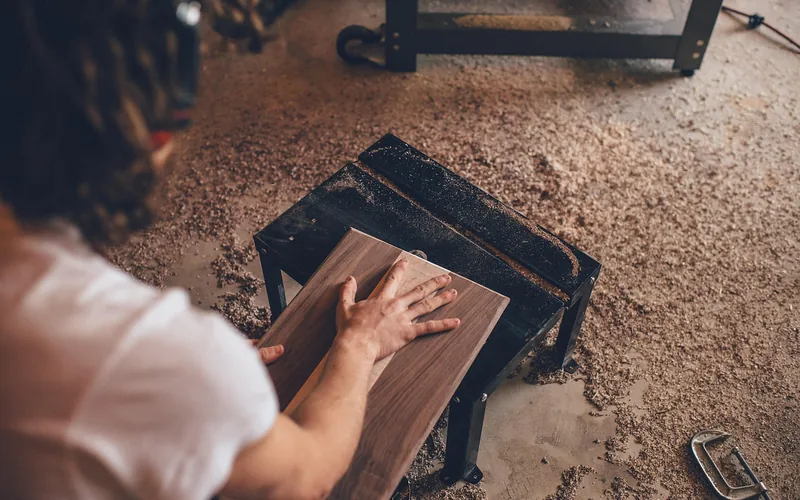
The dust is also a health issue, not only a finish issue. OSHA’s Woodworking eTool lists certain hardwoods, including oak, mahogany, beech, walnut, birch, elm, and ash, as reported causes of nasal cancer in woodworkers. Wear at least a NIOSH-approved dust respirator while sanding and cleaning, and keep the shop ventilated.
OSHA lists a permissible exposure limit of 15 mg/m3 total dust (5 mg/m3 respirable fraction) for wood dust, as an 8-hour time-weighted average, while NIOSH recommends 1 mg/m3. Source: OSHA Woodworking eTool, wood dust
Tools You Need to Clean Wood After Sanding
You do not need much, but the quality of the vacuum matters more than anything else on the list.
- Vacuum with a soft brush attachment: an ordinary shop vac with a basic filter can blow the finest dust back into the room, so use a HEPA or fine-dust filter if you have one. For a bigger shop, a home dust collector cuts the amount of dust that lands on the work in the first place.
- Stiff nylon brush: a clean, dry nylon brush follows the grain and lifts dust out of open pores and corners.
- Dry microfiber cloths: a few clean ones, washed without fabric softener, which can leave a film.
- Tack cloth: the sticky final pass, used with light pressure.
- Mineral spirits or naphtha, and denatured alcohol: for the solvent wipes in the table above, plus a lint-free cloth for each.
- Respirator, gloves, and eye protection: especially when using solvents.
Step-by-Step: How to Clean Wood After Sanding
- Ventilate the shop: Open doors or run a fan that exhausts outdoors, and let airborne dust settle for a few minutes before you start wiping.
- Vacuum every surface: Work top to bottom with the soft brush attachment, following the grain, and do the edges, corners, and any carvings.
- Brush the pores: On oak, ash, and other open-pored wood, drag a dry nylon brush along the grain, then vacuum again so the loosened dust leaves the board.
- Wipe with dry microfiber: One light pass in the direction of the grain picks up the surface film the vacuum leaves.
- Check in raking light: Hold a flashlight or lamp low and nearly parallel to the surface so leftover dust, glue spots, and sanding scratches show up.
- Do the final wipe for your finish: Use the matching row from the table above, with a light touch and a fresh section of cloth for each pass.
- Finish soon: Apply the first coat once any solvent has fully flashed off, before new dust settles on the surface.
Tack Cloth Technique: Light Pressure, Fresh Folds
A tack cloth is coated with a sticky resin that grabs the finest dust. Unfold it, then loosely re-crumple it so it is soft and open rather than flat and slick. Glide it over the wood with almost no pressure, in the direction of the grain, and refold to a clean face as the surface loads up.
Pressing hard is the classic mistake, because it can transfer the sticky coating onto the wood and leave a film that shows up later as dull patches or poor adhesion under the finish. If a cloth feels wet or leaves a visible sheen, stop and use a fresh one.
Compressed Air and Other Habits That Backfire
Several common shortcuts make dust problems worse. Here is what to drop and what to do instead.
| Habit | What goes wrong | Do this instead |
|---|---|---|
| Blowing the piece off with compressed air | Throws fine dust into the air, where it settles on the wood again and on a wet finish | Vacuum first; use air only inside carvings or hardware recesses, then vacuum again |
| Wiping with bare hands | Skin oils can transfer to the surface and cause patchy stain absorption or finish adhesion trouble | Use clean gloves or a cloth |
| Sweeping with a dry broom | Raises the same fine dust you are trying to remove | Vacuum, or use a damp cloth on the floor |
| Skipping the vacuum between grits | Loose coarse grit and dust can get ground in by the next, finer abrasive | Vacuum after every grit, then do the full cleanup after the last one |
| Using a soaked wet rag | Swells the grain and can leave water marks | Wring a cloth until it is barely damp, or use a solvent wipe that suits the finish |
Mineral Spirits and Denatured Alcohol: When to Use Each
Mineral spirits or naphtha before oil-based finishes
A rag lightly dampened with mineral spirits lifts dust and traces of oily residue, and it gives you a useful preview: while the wood is wet, it looks close to how it will look under a clear oil-based finish. That makes missed sanding scratches, glue spots, and uneven color easy to spot before you commit. The wet look fades as the solvent evaporates. We cover the evaporation question in does mineral spirits leave a residue.
Denatured alcohol before shellac, stain, or oil
Denatured alcohol evaporates very quickly and does not raise the grain the way water does, so it is a clean final wipe when you want no wax and no moisture. Use a lint-free cloth, work in sections, and do not use it over a finish you want to keep, since alcohol can soften some existing coatings.
Fire and ventilation safety
Both solvents are flammable, so keep them away from open flames, pilot lights, and sparks, and work with ventilation. Rags that contain drying oils such as linseed or tung oil can heat up and ignite on their own as they cure, so lay them flat outdoors to dry or store them in a sealed metal container with water, following your local fire guidance. Wear gloves, eye protection, and a respirator rated for organic vapors when solvents are involved.
Cleaning Before Painting vs Before Staining
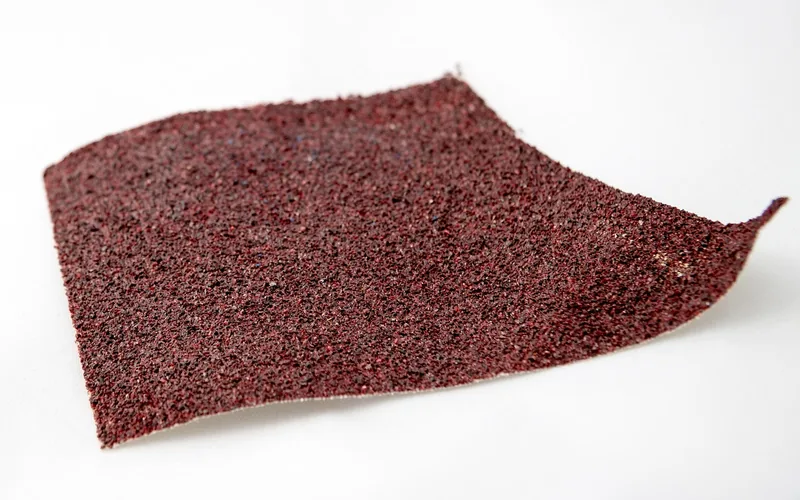
Paint hides color differences but highlights every bump, so the goal is a smooth, grit-free surface. After the vacuum and microfiber steps, a barely damp cloth is fine for raw wood that will be primed. Let the wood dry fully, scuff it with 220 grit to knock down raised fibers, vacuum again, and then prime.
Stain is the opposite: it shows every flaw because it soaks into the wood rather than covering it. That means no water before an oil-based stain and a careful hand with the tack cloth. Blotch-prone woods such as pine, maple, and cherry also benefit from a pre-stain conditioner applied to clean, dust-free wood, and our guide on why maple blotches and how to fix it explains the details.
Refinishing kitchen or bathroom cabinets? Those need a degreasing step before any sanding, which we cover in the separate guide to cleaning cabinets after sanding. For tables that are already finished, see how to clean wood tables instead.
Dealing With Sticky Residue After Sanding
If a spot feels tacky or gummy after sanding, it is usually dried glue, sap, or finish that the sandpaper smeared rather than removed. A tack cloth will not lift it. Test mineral spirits on a hidden area first, dampen a clean cloth, wipe the spot, and follow immediately with a dry cloth. For hardened glue or thick sap, lift the bulk with a sharp chisel or plastic scraper held at a low angle before you sand again, since sanding over residue only spreads it.
FAQ: Cleaning Wood After Sanding
What should I wipe wood with after sanding?
Vacuum first, then wipe with a dry microfiber cloth. For the last pass, use a tack cloth or a mineral spirits rag before oil-based finishes, and a dry or slightly damp microfiber before water-based finishes. Denatured alcohol works well before shellac.
Can I use a damp cloth to clean wood after sanding?
Yes, but only a barely damp one and only when the finish allows it. Water raises the grain, so it suits water-based finishes and paint prep, where you sand lightly again after drying. Avoid it right before an oil-based stain.
Do I need a tack cloth after sanding?
No, a tack cloth is optional. A thorough vacuum and dry microfiber wipe do most of the work. A tack cloth helps with the last fine film, but press lightly and check your finish can first if you are using a water-based product.
Is mineral spirits safe to wipe wood with before staining?
It is commonly used before oil-based stain and finish, and it helps reveal flaws, but it is flammable and needs ventilation. Let it evaporate completely before staining, and dispose of used rags safely.
Should I vacuum between sanding grits?
Yes. Vacuuming between grits keeps loose coarse grit and dust from being dragged around by the next sandpaper. Do the full cleanup, including the final wipe, after the last grit.
How long should I wait before finishing after cleaning?
After vacuuming and dry wiping, you can finish right away. After a damp wipe, wait until the wood is completely dry, and after a solvent wipe wait until it has fully evaporated, following the instructions on your finish can.
Conclusion
Vacuum first, brush the pores, wipe with dry microfiber, and finish with the one wipe that suits your coating. Check the surface in raking light, wear a respirator, and treat compressed air as a shortcut to avoid. A few extra minutes of cleanup is cheaper than sanding back a finish that trapped the dust.
Sponsored / affiliate links. As an Amazon Associate I earn from qualifying purchases. I may earn additional commission from eligible campaigns.