Does Pine Stain Well? Avoid Blotching With Gel Stain
Pine stains well only if you slow down its absorption first – its soft, uneven grain otherwise soaks up color in blotchy patches instead of an even tone. Skip that prep and even a premium stain can leave dark streaks next to pale streaks on the same board. This guide covers why pine blotches, how a pre-stain conditioner or gel stain fixes it, and how to rescue a blotch after it has already dried.
Why Pine Absorbs Stain Unevenly
Pine is a softwood with a much more open, uneven grain than hardwoods like oak or maple, and that unevenness is the entire reason it stains unpredictably. Different types of pine – knotty pine, white pine, yellow pine – carry their own grain patterns, so knowing which one you have is the first step to a controlled result.
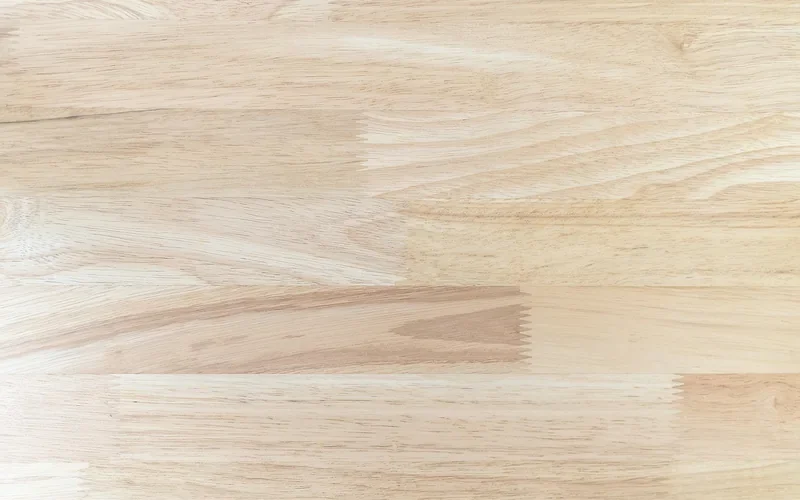
Grain Reversal Is the Real Mechanism Behind Blotching
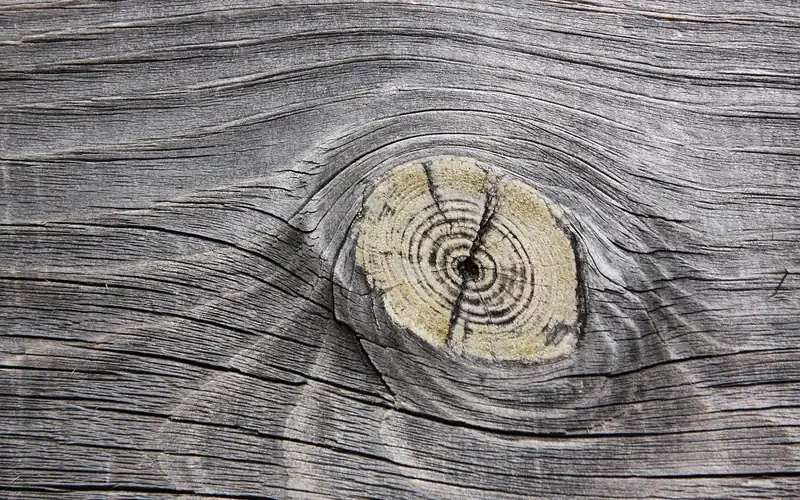
Every growth ring in a pine board has two layers: softer, more porous earlywood (spring growth) and denser latewood (summer growth). Most liquid stains only penetrate the porous earlywood well, so the softer wood turns darker than the dense latewood right next to it – the opposite of what you’d expect from looking at raw wood, which is why finishers call it grain reversal. Knots and the tight grain around them resist stain almost completely, leaving pale rings exactly where you’d expect the darkest color.
Common Staining Issues With Pine
The most common problem is blotching: dark patches sitting right next to light streaks because the stain penetrated the earlywood and latewood at very different rates. A second issue is color that looks nothing like the can – pine’s own pale, sometimes yellow undertone shifts almost every stain warmer or more orange than it looks on oak or walnut. A third is raised grain, where the wood fibers swell and feel rough once the stain and topcoat dry.
None of these are signs that pine “can’t” be stained – they’re signs the wood needs a step hardwoods don’t: something to even out how fast it drinks in color before the stain ever touches it.
📊 Gel stain and dye stains consistently come out ahead of straight liquid stain on blotch-prone woods like pine, because gel stain sits on the surface instead of soaking into the pores unevenly – the same reason it’s the standard fix finishers reach for on pine and birch. Source: Popular Woodworking, “How to Control Blotching”
Best Pre-Stain Prep Pick
 |
Varathane Pre-Stain Wood Conditioner (Quart) – $18.29 A pre-stain wood conditioner is what actually stops the blotching this guide covers in the sanding and prep steps above – apply it, let it sit the full 15 minutes, then stain within about two hours.
|
As an Amazon Associate we earn from qualifying purchases.
Preparing Pine for an Even Stain Job
Preparation is what separates a blotchy pine project from a smooth one – not the stain brand you buy. You need a clean, evenly sanded surface, and in almost every case, a pre-stain conditioner before the stain ever touches the wood.
Sanding Pine Wood
Start with 100-120 grit to remove mill marks or old finish, move to 150 grit, then finish with 180 or 220 grit. Always sand with the grain, never across it – cross-grain scratches show up clearly once stain goes on. Sanding past 220 grit on pine has a real downside: it can burnish the surface enough to make stain absorb even less evenly, so stop at 220.
- 100-120 grit: removes mill marks, old finish, and rough spots.
- 150 grit: smooths out the scratches left by the coarser grit.
- 180-220 grit: your finishing grit – stop here for staining.
Remove all dust afterward with a vacuum and a tack cloth or a lightly damp rag. Dust left in the pores shows up as gritty texture under the stain.
Using a Pre-Stain Wood Conditioner Correctly
A pre-stain conditioner (also sold as a wood conditioner or wood equalizer) partially seals pine’s most porous areas so stain penetrates more evenly across the board. It doesn’t add color – it just slows down how fast the thirstiest parts of the grain drink in stain.
Most bottle directions say to wait 5 minutes before staining. In practice, that’s too short for pine: let the conditioner soak in for the full 15 minutes the label allows, wipe off the excess with a clean, lint-free cloth until the wood feels damp but not wet, and then apply your stain within about two hours. Wait longer than that and the conditioner’s pores start closing back up, which brings the blotching right back.
Testing Your Stain and Finish First
Always test your full process – conditioner, stain, and topcoat – on a scrap piece of the same pine before touching your project. Pine is a natural material, so grain density and color shift board to board; a test piece confirms the actual color, lets you practice your wiping technique, and shows whether you need more conditioner before you commit.
Wood Conditioner vs. Gel Stain: Which Prevents Blotching Better?
Wood conditioner isn’t the only fix for pine’s uneven grain. Gel stain solves the same problem from the opposite direction: instead of slowing down how the wood absorbs a liquid stain, it barely soaks in at all. Gel stain has a thick, mayonnaise-like consistency that sits on top of the surface and colors the wood almost like a thin paint, so the earlywood and latewood end up nearly the same shade because neither one is doing much absorbing.
“The mistake we still see most on pine is trusting the 5-minute wait time printed on the wood conditioner can. Give it the full 15 minutes, wipe it dry, and get your stain on within about two hours – wait until the next day and you’ll get the same blotching you were trying to avoid.”
| Factor | Wood Conditioner + Liquid Stain | Gel Stain |
|---|---|---|
| How it prevents blotching | Partially seals porous areas so stain absorbs more evenly | Sits on the surface instead of soaking in, so absorption differences barely matter |
| Grain visibility | Preserves natural grain and depth | Mutes fine grain detail somewhat; still shows knots and figure |
| Working time | Must stain within ~2 hours of conditioning | No conditioner step needed; more forgiving timeline |
| Best for | Projects where crisp grain definition matters most | Beginners, vertical surfaces, and heavily blotch-prone boards |
Neither method is strictly “better” – they trade off differently. If you want pine to still look like real wood grain under the color, condition it and use a liquid stain. If you’ve already got a blotchy test piece staring back at you, or you’re staining a large flat surface like a tabletop, gel stain is the more forgiving choice.
Applying Stain to Pine
Once your pine is prepped and tested, application is where color depth gets decided. The goal with any method is even coverage in the direction of the grain.
Application Methods
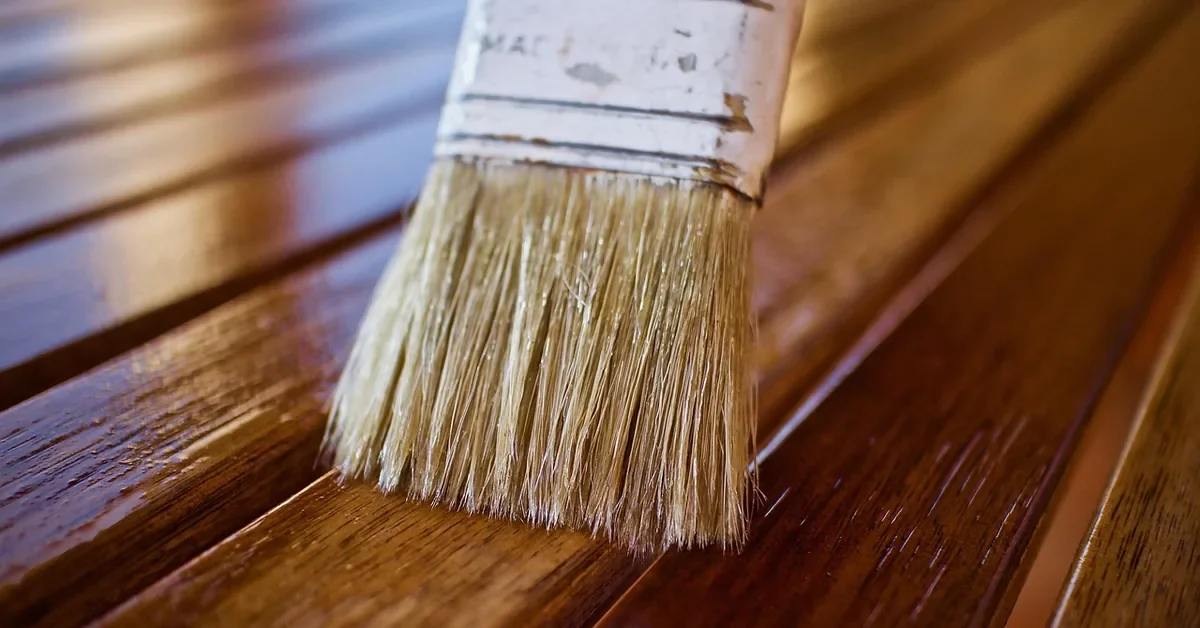
- Brush: a natural-bristle brush for oil-based stain or synthetic bristle for water-based; apply generously in long strokes with the grain, then move straight to wiping.
- Rag: dampen a clean, lint-free cloth and rub the stain in with the grain, working one section at a time before it dries.
- Foam applicator: good for a very smooth, even coat, though it tends to use more stain than a brush.
- Gel stain: apply with a rag or foam brush in a thin, even layer and wipe off any excess almost immediately – because it sits on the surface, leaving it on too long builds a hazy film rather than deeper color.
Wiping Off Excess Stain and Controlling Color Depth
The longer liquid stain sits before you wipe it, the darker the final color. Wipe within about 5 minutes for a lighter tone, let it sit 10-15 minutes for a medium tone, or up to 30 minutes for the deepest color the product allows. Always check the can’s own recommended window first. Blend the edges where you start and stop wiping so there’s no visible seam, and switch to a fresh rag once one gets saturated.
Fixing Blotches, Streaks, and Mistakes
If blotches show up after the stain dries, you have three real options: lightly sand just the blotchy spot with 220-grit or finer and carefully re-stain to blend it in; apply another even coat over the whole piece, which often reduces the contrast; or apply a wood glaze or a thin coat of gel stain over the top, since both sit on the surface and can even out color without stripping back to bare wood. Always test the fix on scrap first.
Streaks usually mean the stain dried too fast or too much was loaded on the applicator – feather the edges as you go, wipe promptly, and make sure you used enough conditioner if it’s a recurring problem. A mistake spotted right after application can often be wiped off with a rag dampened in mineral spirits (oil-based stain) or water (water-based stain), then reapplied more carefully.
Sealing and Finishing Pine
Once the stain has fully dried, a topcoat seals in the color and protects the surface. The right choice depends on the project.
- Polyurethane: oil-based gives a warm amber tone and strong durability but takes longer to dry and has stronger fumes; water-based dries faster with low odor but isn’t quite as hard. Good for tabletops and chairs.
- Varnish: thicker than polyurethane, with good UV and moisture resistance – a common pick for outdoor pine furniture.
- Lacquer: dries fast and gives a glass-smooth look, but it’s less durable and more sensitive to heat and solvents than polyurethane or varnish.
- Wax: a soft, natural sheen with the least protection of the four – often layered over another finish rather than used alone.
Apply topcoats in thin, even coats with the grain, letting each one dry fully before the next coat. Lightly sand between coats with 220-320 grit and wipe away dust with a tack cloth – this removes small imperfections and helps the next coat bond. Once finished, clean with a soft damp cloth and avoid harsh or abrasive cleaners, which can dull the stained wood over time.
Frequently Asked Questions
How long should I let pre-stain conditioner dry before staining pine?
You don’t let it dry completely. Apply it, let it soak in for the full 15 minutes on the label rather than the 5-minute minimum some brands list, then wipe off any excess until the wood feels slightly damp. Apply your stain within about two hours, or the conditioner stops preventing blotching.
What is the best sandpaper grit for pine before staining?
Start around 100-120 grit to smooth the surface, move to 150 grit, then finish at 180 or 220 grit. Stop at 220 – sanding pine finer than that can burnish the surface and make stain absorb even less evenly.
Is gel stain better than wood conditioner for pine?
They solve the same problem differently. Wood conditioner preserves more natural grain depth but only works if you stain within about two hours of applying it. Gel stain sits on the surface instead of soaking in, which is more forgiving for beginners, large flat surfaces, or wood that’s already prone to heavy blotching.
Can I skip the pre-stain conditioner if I want a darker stain?
No – even for dark stains, a conditioner or a switch to gel stain helps keep the color even. Skipping it on pine usually makes blotching worse, not better, because dark stains show the earlywood/latewood contrast even more clearly.
How do I fix a blotch that already dried on stained pine?
Lightly sand just the blotchy area with 220-grit or finer and carefully re-stain to blend it in, or apply a wood glaze or thin coat of gel stain over the whole piece to even out the color without stripping back to bare wood. Test any repair on scrap first.
Does Pine Stain Well? The Short Answer
Yes – pine stains well once you account for its open, uneven grain. Sand through 220 grit, condition it (or switch to gel stain), test on scrap, and control color depth by how long you let the stain sit before wiping. Finish with a topcoat suited to how the piece will be used, and pine holds color as evenly as any hardwood.
Sponsored / affiliate links. As an Amazon Associate I earn from qualifying purchases. I may earn additional commission from eligible campaigns.