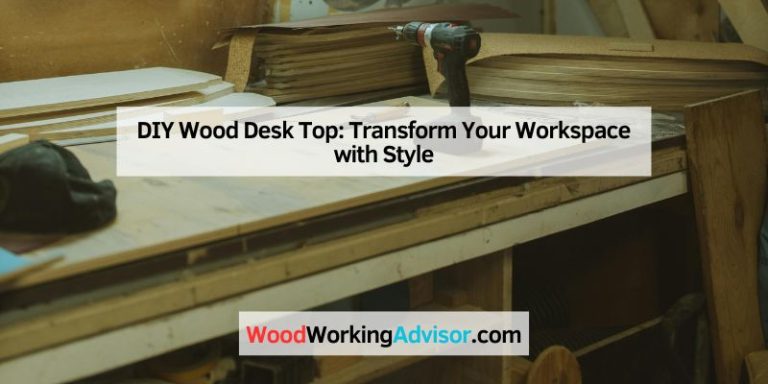
Easy DIY DIY Shoe Rack: Organize Your Space Effortlessly
Are your shoes always scattered around? Need a simple solution?
Building a DIY shoe rack is easier than you think. Creating your own shoe rack can save money and help organize your space. You don’t need to be a woodworking expert. With basic materials and tools, you can build a functional and stylish shoe rack.
This project is perfect for beginners and offers a sense of accomplishment. Plus, making something with your own hands adds a personal touch to your home. In this blog, we’ll guide you through the steps to create your own DIY shoe rack. Let’s get started on decluttering your hallway or closet with a practical and easy-to-make solution.
Credit: www.woodshopdiaries.com
Introduction To Diy Shoe Rack
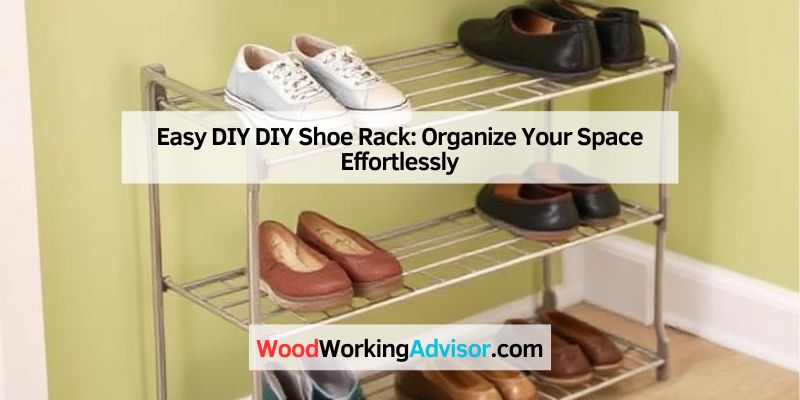
A shoe rack keeps your shoes organized. It saves space in your home. No more searching for lost shoes. Your room looks tidy. Your shoes are in one place. It is easy to find your favorite pair. Shoes last longer on a rack. They stay clean and neat. A shoe rack is a great addition to any home.
DIY shoe racks are fun to make. You can customize them. Use your favorite colors. Choose your own design. They are cheaper than store-bought racks. DIY projects are a great hobby. You feel proud of your work. Building things is a useful skill. It is good for the environment. Less waste. More creativity.
Materials Needed
You will need a hammer. Also, a screwdriver is very important. A tape measure will help. Nails and screws are needed. A saw is useful. Wood glue is helpful. Sandpaper is good. Drill is required.
Wood planks are essential. Brackets are needed. Paint or varnish is useful. Stain can be added. Brushes are required. Wood filler is helpful. Cloth for cleaning. Protective gear like gloves.
Design Ideas
Create an easy DIY shoe rack with simple materials and tools. Organize your shoes neatly and save space effortlessly.
Simple Designs
Start with a basic wooden shelf. This design is easy and quick. You need some wooden boards and nails. Place the boards on the wall. Use nails to secure them. This creates a strong shoe rack. You can add paint for color. The rack will look nice in any room.
Creative Inspirations
Try using old crates. You can stack them. This makes a unique shoe rack. Another idea is to use pipes and planks. Pipes can be used as supports. Planks are placed on them. This gives a modern look. You can even use plastic boxes. They are cheap and easy to find. Stack them for a simple rack. It is also easy to clean. These ideas are fun and creative.
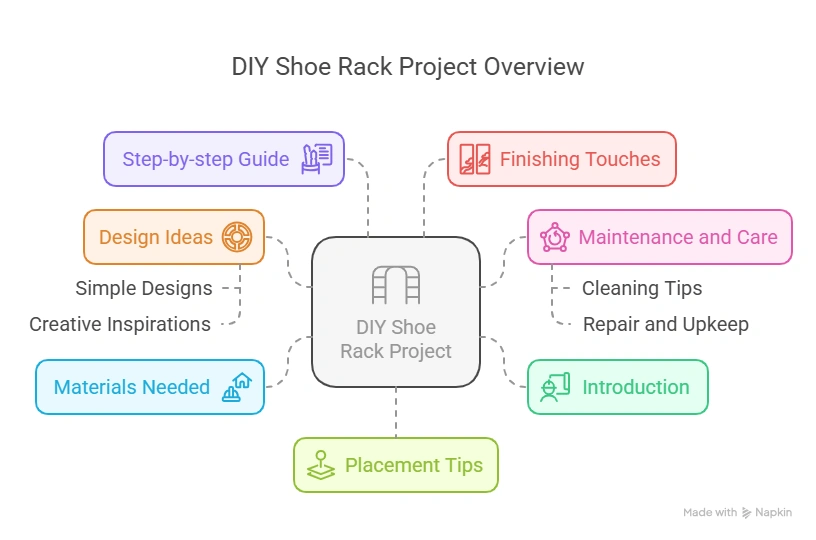
Step-by-step Guide
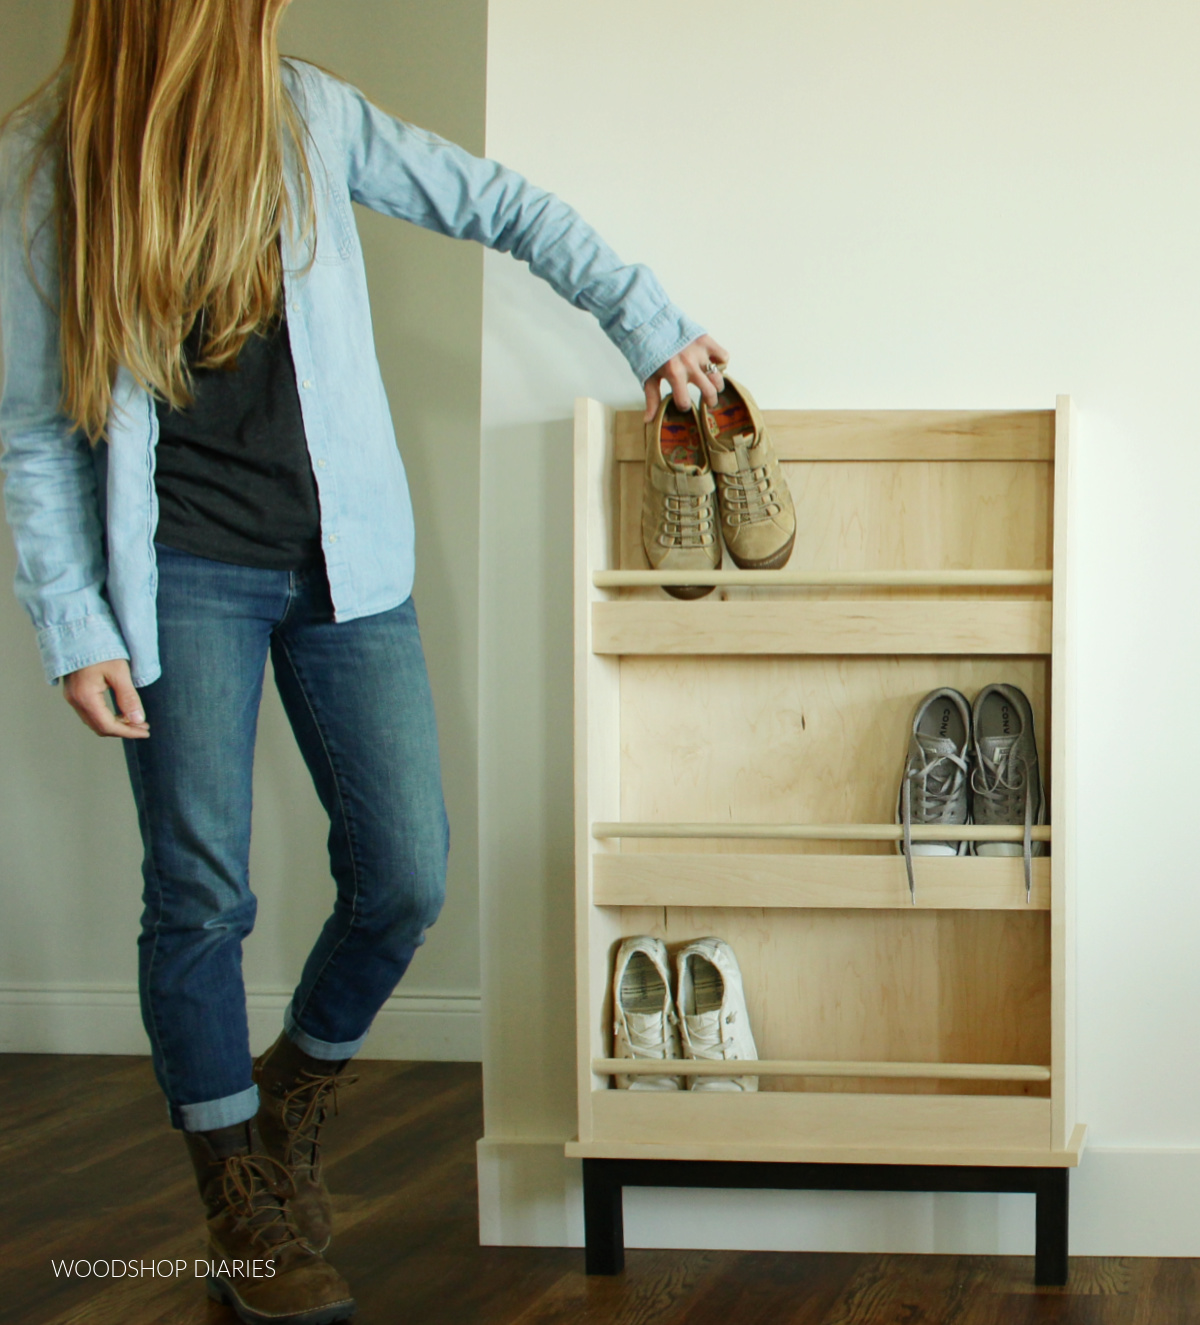
First, measure the space where the shoe rack will go. Use a measuring tape. Write down the measurements. Then, get the wood pieces. Use a saw to cut the wood to the right size. Cut all pieces carefully. Wear safety glasses and gloves. This keeps you safe. Check each piece to make sure it matches the measurements.
Lay out the wood pieces. Arrange them in the shape of the rack. Use screws to join the pieces. A drill helps a lot. Make sure each screw is tight. Check the rack for wobbling. Adjust if needed. Sand the edges to make them smooth. Paint or stain if you want. Let it dry. The shoe rack is now ready.
Finishing Touches
Painting gives your shoe rack a new look. Staining shows the wood’s beauty. Choose bright colors for a fun feel. Dark colors look more elegant. Use a brush to apply paint or stain. Let each coat dry fully. Lightly sand between coats. This helps the paint or stain stick well. Always work in a well-ventilated area.
Decorative elements can make your shoe rack unique. Add stickers for a playful touch. Use stencils to create patterns. Attach small hooks for keys or accessories. Paint designs by hand for a personal look. Add small shelves for extra storage. Use fabric to line the shelves. This protects shoes and adds color.
Placement Tips
A good spot is the entryway. This keeps shoes organized. Placing it near the closet saves time. Bedrooms are also great. Shoes stay tidy and easy to find. Avoid placing it in cramped spaces. Make sure it’s accessible.
Use vertical space. Tall racks are helpful. Stackable racks are smart. Folding racks save room. Under-bed storage is clever. Wall-mounted racks free floor space. Choose compact designs. Maximize every inch.
Maintenance And Care
Keep your DIY shoe rack looking great with regular dusting. Use a damp cloth to clean and remove spots.
Cleaning Tips
Keep your DIY shoe rack clean. Use a soft cloth to wipe dust. Warm, soapy water works for deeper cleaning. Avoid harsh chemicals; they can damage the rack. Dry the rack completely after washing. This prevents mold and mildew. Regular cleaning keeps your rack looking new.
Repair And Upkeep
Check screws and joints often. Tighten loose screws. Replace broken parts quickly. Fix any wobbly parts for safety. Sand rough edges to prevent splinters. Apply a fresh coat of paint if needed. Regular upkeep ensures a long-lasting shoe rack.
Frequently Asked Questions
What Can I Use Instead Of A Shoe Rack?
Use stackable bins, baskets, or shelves for storing shoes. Try under-bed storage boxes or over-the-door shoe organizers.
How Do You Make Easy Diy Shoe Storage?
Use stackable bins or shelves to create easy DIY shoe storage. Label each bin for quick access and organization.
How Can I Organize My Shoes Without A Shoe Rack?
Store shoes in clear plastic boxes under your bed. Use over-the-door organizers. Place them in labeled bins or baskets. Arrange shoes on a shelf. Use tension rods to create shoe dividers in your closet.
Where Do You Put Shoes When There Is No Space?
Store shoes in under-bed organizers, over-the-door racks, or stackable bins. Use wall-mounted shelves or a shoe cabinet.
Conclusion
Creating your own shoe rack is simple and rewarding. It saves space and keeps shoes organized. Follow the steps, and you’ll have a neat shoe rack in no time. Personalize it to match your home decor. Enjoy crafting and the satisfaction of making something useful.
Happy DIY!