How to Remove Subfloor: Tools, Cut Depth & Asbestos Check
To remove a subfloor, set a circular saw to the panel’s measured thickness, cut the sheets into strips about an inch off each joist, then pry the strips up and pull the nails. The exception: if the flooring on top could contain asbestos, have it tested before any saw touches it. This guide covers tools, cut depth, glued versus nailed panels, and how to judge the joists you uncover.
What Tools Do You Need to Remove a Subfloor?
Best Subfloor Pry Bar Pick
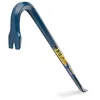 |
Estwing Gooseneck Wrecking Bar, 24-Inch ($18.89) The long gooseneck handle gives you leverage on the narrow strips this guide has you cut along each joist, and the slotted hook end pulls the nails left behind.
|
As an Amazon Associate we earn from qualifying purchases.
A pry bar alone will not do it. The tool list is short, but each item has a specific job in the cut, lift and clear sequence.
| Tool | What it does | Watch out for |
|---|---|---|
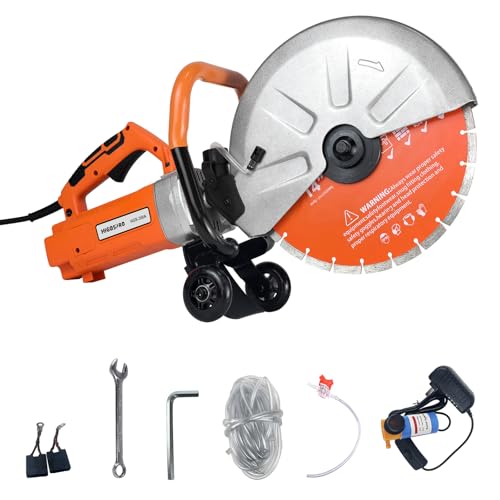
| Circular saw | Cuts panels into strips you can lift | Depth must match panel thickness so the blade does not score the joists |
| Reciprocating saw | Finishes cuts at walls and across plank boards; cuts through nails flush | Use a demolition blade, since nails dull a wood blade quickly |
| Pry bar or wrecking bar | Lifts cut strips and pulls nails | Put a scrap block under the bar so it does not crush the joist edge |
| Drill or impact driver | Backs out screws | Clear debris from the screw heads so the bit seats |
| Safety glasses, gloves, dust mask | Protects eyes, hands and lungs | A dust mask does not make suspect old flooring safe to cut |
Nails and screws in an old subfloor will dull a saw blade fast, so use a worn or inexpensive blade for this job, not the one you keep for finish work.
Stop Before You Cut: Asbestos, Lead, Wiring and Plumbing
Needs a human decision before work starts: the hazards below are the ones that turn a weekend demolition job into a health or structural problem. This page is general guidance, not a code reference.
Asbestos in old flooring and adhesive
The Consumer Product Safety Commission (CPSC) lists resilient floor tiles, the backing on vinyl sheet flooring, and the adhesives used to install floor tile as products that may contain asbestos. It advises against sawing, sanding, scraping or drilling asbestos materials, says a professional should take samples for analysis, and says asbestos material in good condition is best left alone. It also says new floor covering can go over asbestos flooring where possible. The EPA gives the same rule of thumb: if in doubt, treat the material as if it contains asbestos and leave it alone, and do not dust, sweep or vacuum debris that may contain it.
That matters here because the usual subfloor method saws straight through whatever is glued on top of the panels. If the house is old and has vinyl tile, sheet vinyl or black adhesive, treat it as suspect until a lab says otherwise. For workplaces, the OSHA construction asbestos standard (29 CFR 1926.1101) presumes asphalt and vinyl flooring installed no later than 1980 to be asbestos-containing unless it is tested; that is a good yardstick for a home too, though it is not a guarantee that newer flooring is clean. Do not break off a piece to test it yourself: have an inspector sample it. The EPA says to use an inspector who is properly trained and accredited by your state. If a test comes back positive, the next step is trained, qualified asbestos professionals for removal and major repair, not a stronger dust mask, and not this guide. See also asbestos in linoleum flooring.
Lead paint on trim and baseboards
The EPA says approximately three-quarters of U.S. homes built before 1978 still contain some lead-based paint. Its Renovation, Repair and Painting rule requires certified, trained firms for paid work that disturbs painted surfaces in those homes, and it generally does not cover homeowners working on their own homes. The rule does not exempt homeowners who rent out the property or flip houses. In a pre-1978 house, assume old paint on trim and baseboards may contain lead, avoid creating paint dust, and use an EPA lead-safe certified firm if you hire the work out.
Wiring, pipes and ducts under the floor
Before any saw comes out, turn off the breaker for circuits that run near the work area, and check for hidden cables, water lines, gas lines and ducts in the joist bays; an electrical safety group such as ESFI advises checking for hidden wires before cutting or drilling into walls, ceilings or floors. A cable or pipe can sit right under or against the panel, which is another reason to set the blade depth to the measured panel thickness and no deeper. If the floor may have hydronic tubing or electric heating cables, stop: get the layout from the installer, the plans or the system manufacturer first, and do not cut where you cannot confirm what is below. If you cannot tell, ask a licensed electrician or plumber to check before you cut.
Structure: what the subfloor is holding together
A subfloor is not just a surface. APA rated sheathing is used for subfloors, and the panels help tie the floor framing together, so removing them changes how the floor behaves until new panels are fastened down. Never cut into or notch a joist, and never cut a joist to make removal easier. Opening a large area at once, or working near a load-bearing wall, stairs or a floor that carries heavy loads, is a job for a qualified carpenter or structural engineer to review first. Work in sections, keep your weight on the joists and off the open bays, and cover or barricade the openings as you go. Do not remove the framing or panels under a wall or beam without temporary support in place.
Do You Need to Remove the Subfloor at All?
Many “rip it all out” projects end as a smaller repair. Match the problem to the fix first.
| What you found | Removal needed? | Better first move |
|---|---|---|
| Squeaks only, panels solid | No | Fasten the panels to the joists; see our guide to fixing squeaky wood floors |
| Soft spot or rot in one area | Partial | Cut out the damaged section back to the nearest joists and replace only that piece |
| Panels delaminated, swollen or crumbling (often wet OSB) | Yes, that area or all | Remove down to the joists and inspect them |
| Floor is uneven or low in spots | Often no | Check the joists with a straightedge; see how to level a floor |
| Old vinyl or adhesive that may contain asbestos | Not until tested | Leave it covered and untouched; test first |
Identify Your Subfloor Type
Removal depends on what you have. Pull up a floor register or look at the edge of an opening to see the material and thickness.
| Subfloor type | How to spot it | Best removal approach | Main problem |
|---|---|---|---|
| Plywood sheets | 4 x 8 panels with layered edges, often 5/8 or 3/4 inch | Cut into strips with a circular saw, then pry up | Construction adhesive on the joists makes panels fight back |
| OSB | Flakes of wood strand, no visible plies | Same as plywood: cut, then pry | If it ever got wet it swells and crumbles, so it may come up in pieces |
| 1×6 plank (board sheathing) | Narrow boards, often laid diagonally to the joists | Cut across boards over a joist with a reciprocating saw, then pry each piece | Old nails that hold hard, and boards that split |
| Concrete slab | Cold, hard, gray surface | Leave it; a slab is not a removable subfloor | Often confused with a subfloor in basements; see hardwood over concrete |
If you can reach the underside from a basement or crawlspace, look for the APA grade stamp printed on the panel. It identifies the panel type and thickness category, which tells you what you are dealing with before you cut. For what to install next, compare plywood subfloor types and grades and CDX plywood vs OSB.
Remove the Flooring and Baseboards First
Take the floor covering off down to the panels, after any asbestos question is settled. For carpet, cut it into strips, roll them, pull the pad, then remove tack strips and staples; removing tack strips covers that step. If the top layer is hardwood, taking up a hardwood floor shows how to save boards for reuse, and removing glued wood flooring from a subfloor covers the adhesive case.
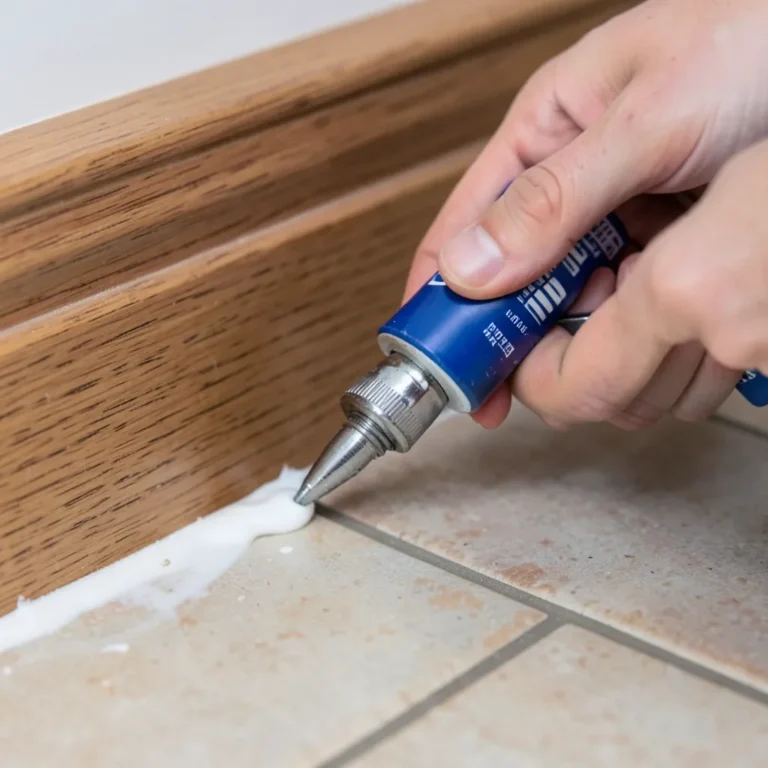
Score the caulk line, then pry the baseboards off gently with a flat bar and a thin scrap behind it. Number each piece on the back.
How to Cut Out an Old Subfloor
- Measure the panel edge. Use the measured thickness, not the number on the lumber label. APA notes that a panel’s Performance Category is a designation tied to nominal thickness, so a panel sold as 3/4 inch carries a 23/32 category and a 5/8 inch panel carries 19/32.
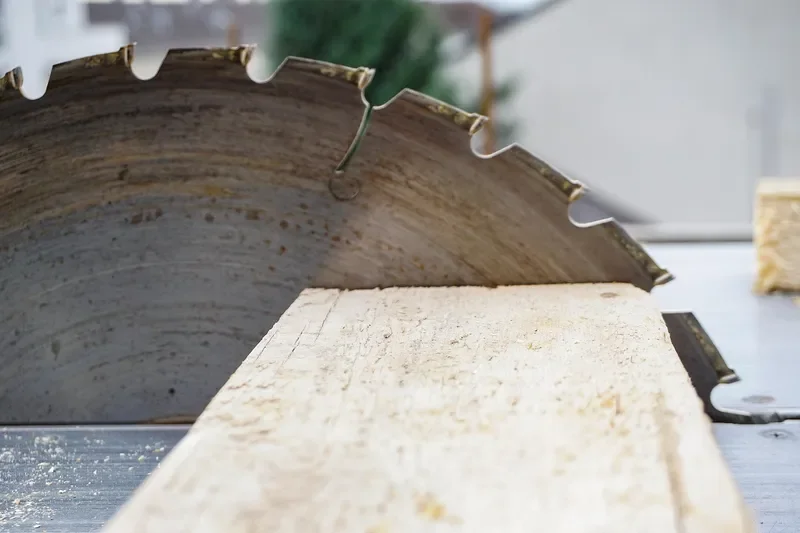
- Set the blade depth. Set the saw to that thickness or a hair less. Going deeper cuts into the top of the joists; a hair less leaves a thin skin that a pry bar or reciprocating saw finishes.
- Locate the joists. Spacing is commonly 16 inches on center; confirm it from below or by following the nail lines.
- Mark the cut lines. Snap chalk lines about an inch from both edges of each joist. The wide pieces between the lines lift out first.
- Plunge cut. Rest the front of the saw shoe on the panel, lower the guard, and cut along the line. Stop short of the walls.
- Finish at walls and corners. Use a reciprocating saw or multitool so you do not gouge baseboards or wall studs.
- Lift the center pieces, then the strips. Once the middle sections are out, the narrow strips left on each joist lift with far less force than a full panel.
Cutting an inch away from each joist leaves a narrow strip nailed to the joist top. That strip is easier to lift than a full panel, and it keeps the blade off the joist edge. Work one joist bay at a time and finish nail removal behind you.
Glued or Nailed? How to Tell and What Changes
Glued panels fight back because construction adhesive bonds them along the whole joist. You can usually tell from the first strip: if it lifts with a clean pop and you see bare nail shanks, it was nailed. If the strip tears and leaves wood fibers on the joist, or you see hardened beads of adhesive, it was glued.
- Nailed: pry the strip, then pull or cut the nails flush. Little cleanup afterward.
- Glued: add cross cuts about an inch apart over each joist so the glued strip breaks into short pieces, then rock each piece with the bar to break the bond.
- Stubborn remnants: a reciprocating saw with a metal-cutting blade run across the top of the joist, or a chisel, clears what the bar cannot.
Glued sections are the slowest part of the job. For leftover adhesive, see getting up glued-down hardwood flooring.
How to Remove an Old 1×6 Plank Subfloor
Older homes often have 1×6 boards nailed to the joists, sometimes laid at a diagonal. These do not need a circular saw. Start by prying up a single board where the boards are already loose. Once one is out, use the open gap to slide the bar under its neighbor.
If the boards are stuck, cut across each plank directly over a joist with a reciprocating saw so each piece breaks into a manageable length. Keep the cut beside the joist edge, not through the joist. Pull old nails with the bar rather than tugging on the board and splitting it.
Pulling Nails and Inspecting the Joists
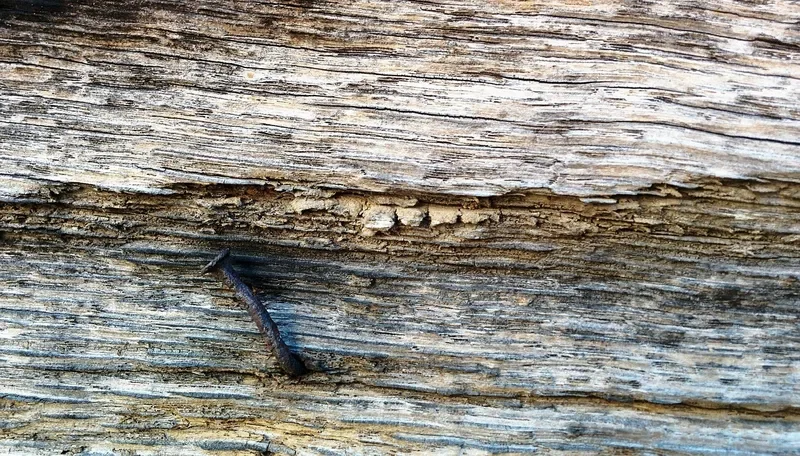
When the panels are out, the joists still carry nails and screws. Leaving them creates squeaks and can snag new panels. Back screws out with a drill, pull nails with the bar or a cat’s paw, and hammer any that will not pull flush with the joist top.
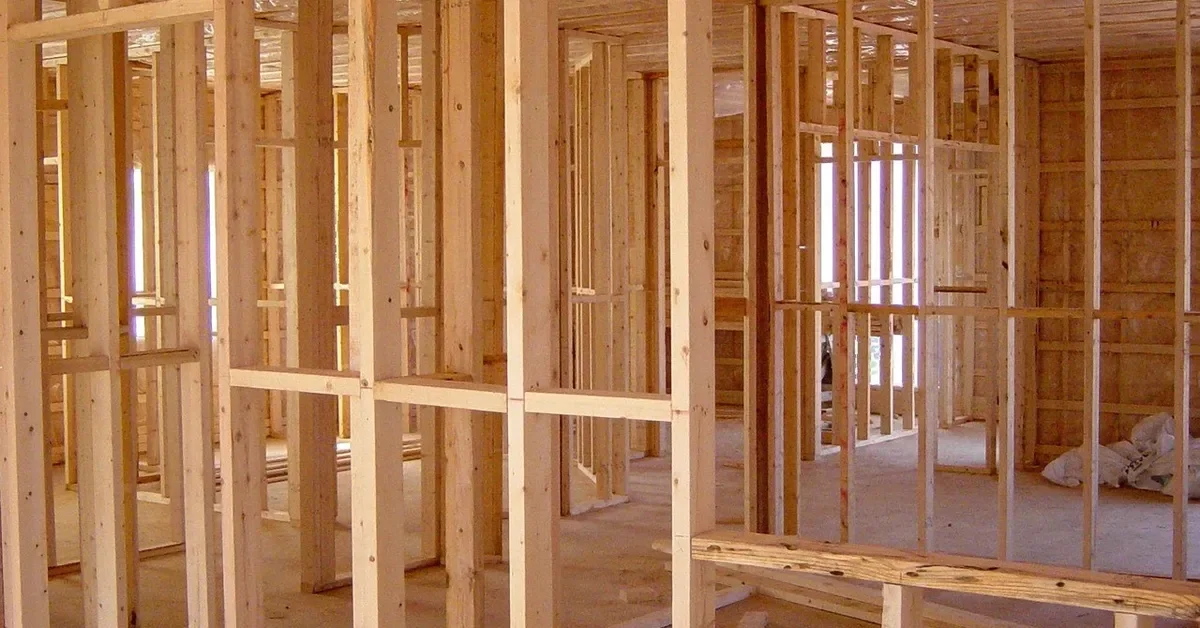
This is your one look at the framing. Check every joist along its length and press a screwdriver tip into any dark patch.
| What you see | What it may mean | What to do |
|---|---|---|
| Dry dark staining, solid wood | Old moisture that has since dried | Note it and look for the source of the water, then continue |
| Soft, crumbling or spongy wood | Rot | Do not cover it. Repair the framing first; see repairing wood rot with epoxy and repairing rotted wood without replacing it. Have a qualified person judge structural members. |
| Large cracks, splits or deep notches | Possible loss of strength | Do not enlarge them. Get a qualified carpenter or engineer to evaluate before closing the floor. |
| Sagging, crowned or uneven joist tops | Framing out of plane | Check with a long straightedge, then shim or plane high spots before new panels go on |
| Leftover nails, screws, adhesive | Future squeaks and bumps | Pull, set or scrape them off the joist tops |
Fastener spacing on the replacement matters too, and we cover it in subfloor screw spacing.
Clean Up and Prepare for the New Subfloor
Once asbestos has been ruled out, bag the pieces and vacuum the joist bays rather than dry-sweeping, since old panels and adhesive make fine dust. If asbestos has not been ruled out, do not sweep or vacuum at all. Check your local waste rules: debris from any asbestos-positive material follows separate handling, and some areas restrict what goes in a regular bin.
Before you install, check that the joists are level with a long straightedge. Fix low joists now, not after the floor is down. For the replacement layer, match thickness to the finished floor: if tile is going down, plywood subfloor thickness for tile gives the minimums, and AdvanTech vs plywood compares a common upgrade.
Frequently Asked Questions
What is the best tool to remove a subfloor?
A circular saw and a pry bar do most of the work. Set the saw to the panel thickness, cut the panels into strips, then lift the strips with the bar.
How do you cut out an old subfloor without damaging the joists?
Measure the panel edge and set the saw depth to that thickness, or a hair less. Cut about an inch away from each joist edge instead of directly over it, then lift the wide center pieces first.
How do you remove glued-down subfloor?
Cut the panel into strips, then add cross cuts about an inch apart over each joist so the glued strip breaks into small pieces. Work a pry bar under each piece, rocking it to break the glue, and finish stubborn remnants with a chisel or a reciprocating saw.
Do you have to remove the subfloor before installing new flooring?
Not always. If the panels are sound, flat and dry, new flooring can often go over them. Remove them when they are rotted, delaminated or swollen. If the layer on top may contain asbestos, leave it covered until it has been tested.
Can you replace a subfloor without removing walls?
Yes. Cut the subfloor along the wall edges, leaving a narrow strip beside the bottom plate if needed, and pry the rest out in strips. Work in sections rather than clearing a whole room at once.
Is it safe to remove an old subfloor yourself?
Often yes, once hazards are ruled out. Test suspect old flooring for asbestos first, switch off nearby circuits, check for hidden pipes, cables and radiant heating, never cut into the joists, and wear eye protection, gloves and a dust mask. Get a qualified person to look at rotted or damaged joists or any load-bearing question.
Conclusion
Removing a subfloor is a sequence, not a smash: rule out hazards, identify the material, cut to the panel thickness, lift strips, clear the nails, then inspect the joists before anything goes back down.
Sponsored / affiliate links. As an Amazon Associate I earn from qualifying purchases. I may earn additional commission from eligible campaigns.