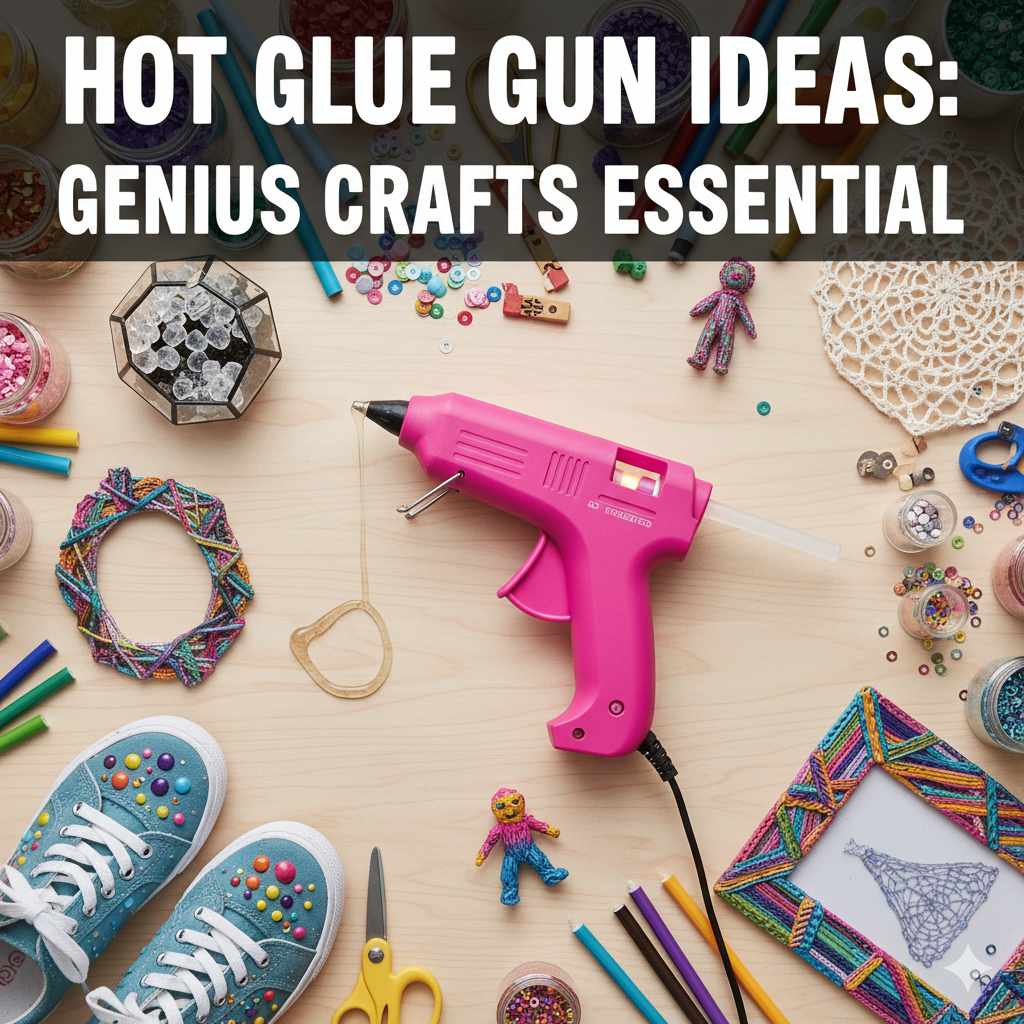
Hot Glue Gun Ideas: Genius Crafts Essential
Hot glue gun ideas unlock a world of creative possibilities for quick, durable projects. This versatile tool is perfect for beginners, offering simple ways to bond materials, embellish crafts, and even tackle minor repairs. Discover genius crafts you can make with just a hot glue gun!
Hey there, fellow makers! If you’ve ever found yourself admiring beautiful DIY decorations or wishing you could fix something without a fuss, a hot glue gun might be your new best friend. Sometimes, starting a new craft project or repair can feel a bit daunting, especially when it involves complicated tools. But with a hot glue gun, it’s genuinely simple. It’s a beginner’s dream tool, making it easy to stick things together and create amazing things. We’ll walk through some fantastic uses for this handy gadget, so you can feel confident and ready to create. Get ready to see how this simple tool can help you craft with ease!
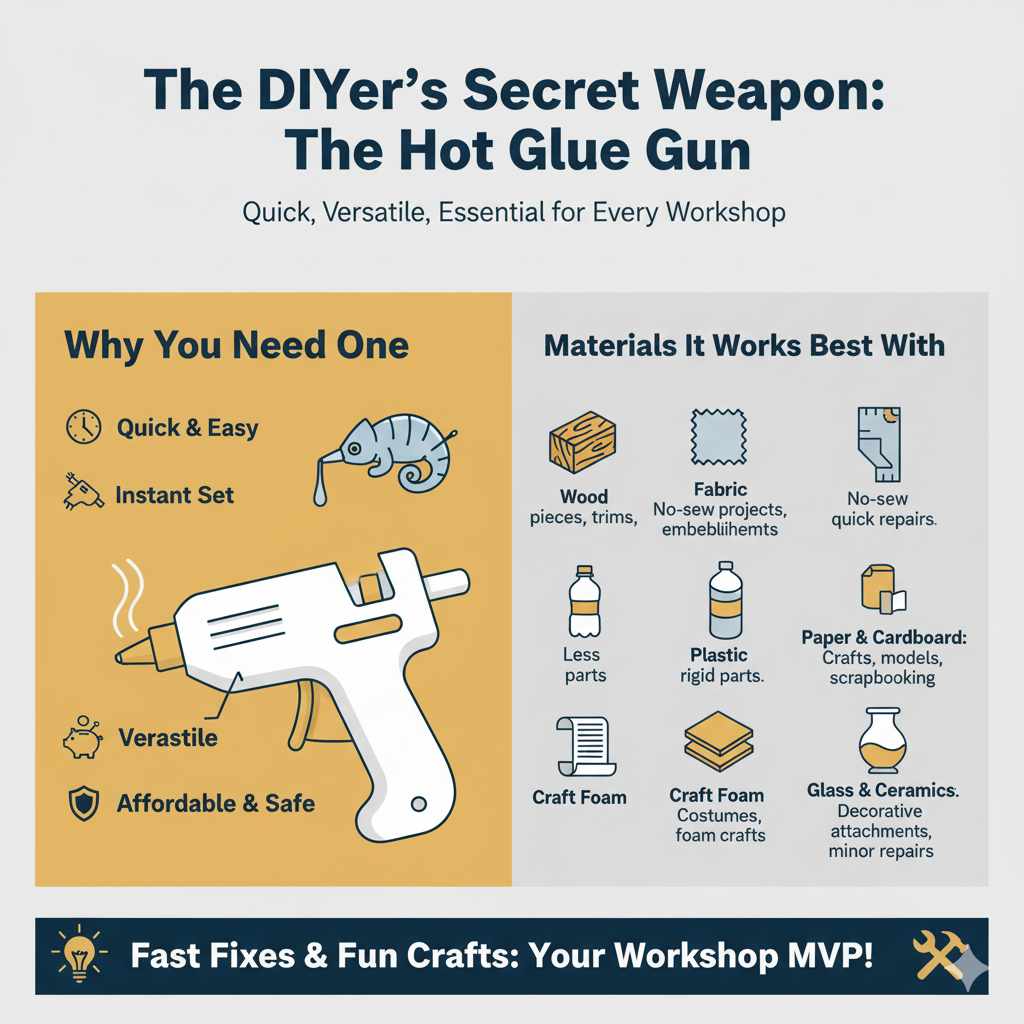
Why Every DIYer Needs a Hot Glue Gun
Imagine a tool that’s quick, easy to use, and sticks to a wide variety of materials. That’s the magic of a hot glue gun! For woodworkers and DIY enthusiasts, especially those just starting out, it’s an absolute game-changer. Unlike more complex adhesives that require clamping, drying time, and specific application techniques, hot glue sets almost instantly. This means you can build, decorate, and repair projects faster and with less frustration. It’s incredibly versatile, making it perfect for everything from small craft projects to essential home fixes.
When you’re just getting your workshop set up, a hot glue gun is one of the first tools you should get. It’s also very affordable, so you don’t need to break the bank to add it to your toolkit. Plus, it’s safe when used properly, which is always a priority for us hobbyists.
Materials It Works Best With
A hot glue gun is like a chameleon; it adapts to many materials. Here are some of the most common and successful applications:
Wood: Great for attaching small wood pieces, decorative trims, or quick repairs on wooden items.
Fabric: Ideal for no-sew projects, attaching fabric to other materials, or creating fabric embellishments.
Plastic: Works well for bonding plastic parts, though it’s best for less rigid plastics.
Paper and Cardboard: Perfect for scrapbooking, making models, or assembling paper crafts.
Craft Foam: A go-to for costume making and various foam crafts.
Glass: Can be used for decorative purposes, like attaching beads or trims to glass surfaces.
Ceramics and Pottery: Useful for minor repairs or attaching decorative elements.
Artificial Flowers and Plants: A fast way to assemble wreaths and floral arrangements.
While great with many things, it’s important to note that hot glue isn’t always the best choice for heavy-duty structural bonds or items that will experience extreme temperatures or constant moisture. For those, we’d look at wood glues or epoxies, which we can cover another time!
Getting Started: Your First Hot Glue Gun Project
Let’s dive into some easy, rewarding projects that showcase the power of a hot glue gun. These are perfect for building your confidence and getting a feel for the tool.
Project 1: No-Sew Fabric Garland
This is a fabulous way to add a pop of color to any room or party. It’s super simple, and you can customize it endlessly.
What you’ll need:
Hot glue gun and glue sticks
Fabric scraps (old clothes, fat quarters for quilting)
Twine, ribbon, or sturdy string
Scissors
Optional: Iron (to press fabric if desired)
Steps:
1. Prepare your fabric: Cut your fabric into strips. The width and length depend on the look you’re going for. For a classic bunting style, aim for strips about 3-4 inches wide and 6-8 inches long. You can also cut squares or circles.
2. Fold the fabric: Take a fabric strip and fold it in half lengthwise, creating a smaller, doubled-up strip.
3. Glue it to the string: Apply a line of hot glue along the folded edge of the fabric.
4. Attach to string: Quickly press the glued edge onto your twine or ribbon, with the string laying flat along the glue line.
5. Repeat: Continue adding fabric pieces along the string, spacing them as you like. You can overlap them, leave gaps, or create a continuous flow.
6. Finish: Once you’ve covered the desired length of string, tie off the ends. You can add a loop at each end for hanging.
This project is fantastic because it uses up fabric scraps and results in a charming decoration. It’s also a win for those who want to avoid sewing machines!
Project 2: Embellishing Picture Frames
Give a plain picture frame a personal touch with a few simple additions. This is a great way to upcycle an old frame or make a gift extra special.
What you’ll need:
Hot glue gun and glue sticks
A plain picture frame
Craft supplies for embellishing: beads, buttons, small shells, twine, dried flowers, craft gems, small wood shapes.
Optional: Acrylic paint and brush
Steps:
1. Clean the frame: Make sure your picture frame is clean and dry.
2. Plan your design: Lay out your embellishments on the frame to get an idea of how you want them arranged.
3. Apply glue: Apply a small amount of hot glue to the back of an embellishment. Work in small sections so the glue doesn’t dry before you place the item.
4. Attach embellishment: Press the embellishment firmly onto the frame. Hold for a few seconds until it’s secure.
5. Continue decorating: Repeat the process, adding your chosen items one by one. You can cover the entire frame or just add accents to corners or edges.
6. Let it set: Allow all the glue to cool and harden completely before handling the frame.
7. Optional finish: Once dry, you can paint the entire frame with acrylic paints for a uniform look.
This project is a fantastic way to practice fine motor control with the glue gun, focusing on detail. It’s also a brilliant way to personalize gifts.
Project 3: Quick Wood Repair – Loose Trim or Molding
For minor fixes around the house, your hot glue gun can be surprisingly handy. If a small piece of wood trim or molding has come slightly loose, hot glue can offer a temporary or reinforced bond. For critical structural repairs, always consult professional advice or use wood glues designed for load-bearing applications.
What you’ll need:
Hot glue gun and glue sticks
Loose wood trim or molding piece
Clamps (optional, but helpful)
Screwdriver or putty knife, for gentle prying
Rubbing alcohol or cleaner, for surface prep
Steps:
1. Assess the situation: Gently try to move the loose trim. If it’s just a small area that’s popped away from the wall or surface, hot glue might be suitable for a quick fix.
2. Clean the surfaces: Clean both the back of the trim piece and the wall surface where it will reattach. A little rubbing alcohol sprayed on a cloth works well to remove dust and grease. Ensure both surfaces are dry.
3. Apply the hot glue: Carefully apply a bead of hot glue to the back of the trim piece where it makes contact. You don’t need a lot; a thin, even line is usually sufficient.
4. Position and press: Quickly place the trim back into its original position. Press firmly for about 30-60 seconds.
5. Use clamps (if possible): If you have small clamps, gently clamp the trim in place while the glue cools. If not, just hold it steady.
6. Allow to cool: Let the glue cool and set completely, which happens very quickly.
7. Test stability: Gently test if the trim is now secure. For something like a decorative trim, this is often enough.
This method is quick and easy for cosmetic fixes. Remember, for anything that bears weight or requires significant structural integrity, tougher adhesives are a must. Resources like the U.S. Consumer Product Safety Commission offer great advice on home safety and repairs.
Advanced Hot Glue Gun Ideas
Once you’re comfortable with the basics, you can explore more intricate and impressive crafts.
Create 3D Art and Sculptures
Yes, you can sculpt with hot glue! By building up layers and shapes, you can create unique dimensional art pieces.
Poured designs: Drip and swirl hot glue onto parchment paper or a silicone mat to create abstract shapes. Once cool, you can peel them off and glue them together to form sculptures.
Wire armatures: Build a simple frame out of wire, then coat it with hot glue to create a solid form. This is great for making intricate figures or decorative elements.
Stenciling: Draw a design on paper, then trace over the lines with hot glue. Once set, you can create a raised outline or fill in sections for texture.
Custom Home Decor Items
Take plain items and transform them with personalized flair.
Mirror or Frame Borders: Get creative with patterns using glue sticks, beads, buttons, or even small mosaic tiles glued on.
Coasters: Glue craft sticks into patterns, then seal them with hot glue for a rustic look. Or, glue decorative materials onto a cork or wood base.
Lanterns and Luminaries: Glue decorative elements like lace, ribbons, or small wood cutouts onto glass jars or metal lanterns.
Wreaths and Garlands: Beyond fabric, use faux flowers, leaves, pinecones, or even painted pasta shapes glued onto a wreath form.
Functional Craft Projects
Hot glue isn’t just for looks; it can make things functional too.
Drawer Organizers: Cut cardboard or thin wood to size for drawer dividers, and use hot glue to assemble them quickly.
Cord Management: Create custom clips or guides to keep charging cables and cords tidy.
Tool Grips: Add a textured grip to tool handles for a more comfortable hold.
Temporary Jigs and Fixtures: For some woodworking tasks, you can even create temporary holding aids or guides with hot glue, though they won’t withstand heavy force.
Fabric and Textile Crafts
Scrap Fabric Art: Use fabric scraps to build up textured pictures or abstract designs on canvas.
Costume Embellishments: Quickly add details like sequins, beads, or appliques to Halloween costumes or cosplay projects.
No-Sew Hemming: For temporary fixes or for fabrics that don’t fray, hot glue can be used for a quick hem. Always test on an inconspicuous area first, as it might leave a stiff residue.
Choosing the Right Hot Glue Gun and Sticks
Not all hot glue guns are created equal, and neither are the glue sticks! Understanding these differences will help you pick the right tools for your projects.
Types of Hot Glue Guns:
There are a few main types available:
Mini Glue Guns: These are smaller, lighter, and use mini glue sticks. They’re great for small craft projects, detail work, and for kids (with supervision).
Full-Size Glue Guns: These use larger glue sticks and offer more power and a higher glue output. They are better for larger projects, faster gluing, and repairs.
Dual-Temperature Glue Guns: These are very versatile. They have a switch or setting to choose between low and high temperatures. Low heat is gentler and ideal for delicate materials like fabric, foam, and some plastics. High heat provides a stronger bond for wood, metal, and ceramics.
Cordless Glue Guns: Battery-powered, these offer portability and convenience, eliminating the need to be near an outlet. They are perfect for projects where you need to move around a lot.
Types of Glue Sticks:
Glue sticks come in various formulations and colors:
All-Purpose Sticks: These are the most common and work well for general crafting and bonding.
High-Temp vs. Low-Temp: Match these to your glue gun. High-temp sticks are for high-temp guns, and low-temp sticks are for low-temp guns. Using the wrong type can affect performance and safety.
Specialty Sticks:
Craft & Decor Sticks: Often come in various colors and finishes (glitter, metallic).
Fabric Sticks: Formulated to dry more flexibly, so they don’t create a stiff bond in fabric.
Wood Sticks: Designed for a stronger bond on wood.
Clear Sticks: For projects where you don’t want the glue line to be visible.
Here’s a quick comparison to help you decide:
| FeatureMini Glue GunFull-Size Glue GunDual-Temperature GunCordless Glue Gun | ||||
|---|---|---|---|---|
| Size & Weight | Small, lightweight | Larger, heavier | Varies, often full-size | Varies, can be compact |
| Glue Output | Lower | Higher | Adjustable | Varies by model |
| Best For | Small crafts, detail, beginners | Larger projects, faster work, repairs | Delicate materials & strong bonds | Portability, working away from outlets |
| Power Source | Corded | Corded | Corded | Battery-powered |
When selecting a glue gun, think about the types of projects you’ll be doing most often. For general crafting, a good quality full-size or dual-temperature gun is often a solid choice.
Safety First! Essential Hot Glue Gun Tips
Safety should always be our top priority in the workshop. Hot glue guns get hot*, and there are a few precautions to take:
1. Read the Manual: Always read the instructions that come with your specific glue gun.
2. Supervision for Kids: Hot glue guns should only be used by adults or with close adult supervision for older children.
3. Beware of the Tip: The nozzle tip is extremely hot and can cause serious burns. Never touch it!
4. Watch the Glue: Molten glue is also very hot. Avoid touching it until it cools completely. If you get hot glue on your skin, don’t try to pull it off immediately. Run cool water over the area and let the hardened glue peel off as it cools.
5. Stable Surface: Always place your glue gun on its stand on a stable, heat-resistant surface when not in active use. Never lay it on its side.
6. Ventilation: While hot glue is generally safe, it can release fumes. Work in a well-ventilated area, especially if you’re using a lot of glue.
7. Power Cord: Keep the power cord away from the hot nozzle and molten glue.
8. Unplug When Done: Always unplug the glue gun when you are finished using it or when leaving it unattended for an extended period.
9. Glue Stick Insertion: Only insert glue sticks into a heated or warming gun. Never force a cold stick into a hot gun, and don’t try to remove a partially melted stick.
Following these simple safety guidelines will ensure your crafting experience is fun and accident-free.

Frequently Asked Questions About Hot Glue Guns
Here are some common questions beginner crafters often ask:
Q1: How long does hot glue take to dry?
Hot glue sets very quickly, usually within 15-60 seconds of application. Full hardening and maximum bond strength can take a few minutes as it cools completely.
Q2: Can I use a hot glue gun on fabric?
Yes, you can! For best results on fabric, use a low-temperature glue gun or a dual-temperature gun on its low setting. Look for fabric-specific glue sticks, as they often dry with more flexibility.
Q3: Is hot glue permanent?
Hot glue is generally considered permanent once cooled and hardened, but it can be softened and removed with heat. It’s not typically as strong or durable as specialized wood glues, epoxies, or industrial adhesives for critical structural bonds.
Q4: What should I NOT use hot glue for?
Avoid using hot glue for items that will be exposed to extreme heat (like car engine parts), constant high moisture, or for heavy structural support. It can also melt or damage certain types of plastics and foam if used with a high-temperature gun.
Q5: How do I clean up hot glue?
Once cooled, you can usually peel or pick off excess hot glue. For stubborn bits or to clean the glue gun itself, let it heat up, then run a glue stick through it. For messes on surfaces, sometimes gently scraping with a plastic scraper once cool works. Rubbing alcohol can help dissolve residue on some non-porous surfaces.
Q6: How can I make hot glue last longer on a project?
To ensure a good bond, clean and dry both surfaces thoroughly before applying glue. Apply enough glue to cover the joining area, and press the pieces together firmly for at least 30-60 seconds while the glue cools.