How to Cut Crown Molding Laying Flat (31.6°/33.9° Angles)
Crown molding cut flat on a compound miter saw uses 31.6° miter and 33.9° bevel for standard 52/38 crown, or 35.3° miter and 30° bevel for 45/45 crown, but only at a true 90° corner. Most room corners are slightly off, and a wrong setting leaves a gap. This guide covers the flat-cut chart, which edge goes against the fence, and settings for corners that are not 90°.
How to Cut Crown Molding: Two Methods Explained
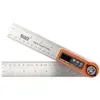 |
Best Angle Finder for Crown Corners Klein Tools 935DAF Digital Angle Finder (about $39.98) Reads the real angle of a wall corner, so you can look up the matching row in the non-90 degree chart below instead of guessing.
|
As an Amazon Associate we earn from qualifying purchases.
There are two ways to cut crown on a miter saw. The nested method stands the molding upside down and backward against the fence at its installed angle, so only a miter swing is needed. The flat method lays the back on the table with the decorative face up and uses a compound miter and bevel. Large crown is often easier to cut flat, since it does not have to fit between the fence and the table at its installed angle.
This page covers the flat method only. For coping, cabinet corners, and mitering both corner types, see our guide to cutting crown molding corners. If the way miter and bevel combine is new to you, how a bevel cut works explains the blade tilt, and using a compound miter saw covers the saw itself.
Crown Molding Flat Cutting Chart: Miter and Bevel Settings
These settings are for a standard 90° inside or outside corner. Pick the row that matches your molding.
| Crown type | Miter angle | Bevel angle | How to recognize it |
|---|---|---|---|
| 52/38 (38° spring angle) | 31.6° | 33.9° | Wall distance is about 1.28 times the ceiling distance on a framing square |
| 45/45 (45° spring angle) | 35.3° | 30° | Equal distances on both legs of a framing square |
Many saws mark these angles for you. Family Handyman notes that 31.6 is specially marked on most saws, and DeWalt’s own crown guide lists 31.62° miter and 33.85° bevel for standard 52/38 crown. That is the same setting to two decimals. The hundredths do not matter in practice: a 0.05° difference moves the cut by less than 0.01 inch across a 6 inch joint.
📊 DeWalt lists 31.62° miter and 33.85° bevel for standard 52/38 crown cut flat on a 90° corner. Source: DeWalt crown molding guide
The 45-Degree Setting Is Wrong for Crown
A 45° miter with 0° bevel is the setting for flat trim such as baseboard or picture frames. Crown leans at its spring angle, so the correct 52/38 cut at a 90° corner is 31.6° miter plus 33.9° bevel. The 45/0 setting has 13.4° too much miter and leaves out the bevel entirely.
Where the Numbers Come From
Both settings follow from geometry. With S as the spring angle and C as the angle between the two walls: miter = arctan(sin S / tan(C/2)) and bevel = arcsin(cos S times cos(C/2)). At S = 38° and C = 90° that gives 31.62° and 33.86°, matching the published saw settings. The same formulas produce the next chart.
Which Edge Goes Against the Fence? Inside and Outside Corners
Inside and outside corners use the same saw numbers. What changes is which edge of the molding sits against the fence, the direction of the miter, and which side of the cut you keep. This table is from DeWalt’s published crown guide for a single-bevel saw, with the molding flat, face up, at a 90° corner:
| Corner | Piece | Edge against fence | Bevel | Miter | Keep |
|---|---|---|---|---|---|
| Inside | Left | Top of molding | 33.85° | Right 31.62° | Left end |
| Inside | Right | Bottom of molding | 33.85° | Left 31.62° | Left end |
| Outside | Left | Bottom of molding | 33.85° | Left 31.62° | Right end |
| Outside | Right | Top of molding | 33.85° | Right 31.62° | Right end |
A double-bevel saw removes the flipping. DeWalt’s guide for its double-bevel models says the top of the molding always rests against the fence, and you change the bevel direction instead: for an inside corner, the left piece takes a left bevel with the miter right and you keep the left end; the right piece takes a right bevel with the miter left and you keep the right end. For an outside corner, the left piece takes a right bevel with the miter left (keep the left end) and the right piece takes a left bevel with the miter right (keep the right end).
Before cutting, pencil a label on the back of every piece, such as LI for left inside or RO for right outside. A piece cut for the wrong corner is a mirror image that cannot be used.
Flat-Cut Angles for Corners That Are Not 90 Degrees
Drywall corners are rarely exactly 90°, and rooms with angled walls are never 90°. Using the 90° settings on those corners is the most common reason a flat-cut joint opens. The table below was calculated with the formulas above (C is the angle between the two walls, 90° for a square corner and 135° for the corner of an eight-sided room), and each row should be confirmed on scrap.
| Corner angle | 52/38 crown: miter / bevel | 45/45 crown: miter / bevel |
|---|---|---|
| 85° | 33.9° / 35.5° | 37.7° / 31.4° |
| 88° | 32.5° / 34.5° | 36.2° / 30.6° |
| 90° | 31.6° / 33.9° | 35.3° / 30.0° |
| 92° | 30.7° / 33.2° | 34.3° / 29.4° |
| 95° | 29.4° / 32.2° | 32.9° / 28.5° |
| 100° | 27.3° / 30.4° | 30.7° / 27.0° |
| 108° (five-sided room) | 24.1° / 27.6° | 27.2° / 24.6° |
| 120° (six-sided room) | 19.6° / 23.2° | 22.2° / 20.7° |
| 135° (eight-sided room) | 14.3° / 17.6° | 16.3° / 15.7° |
Around 90°, every degree the corner opens changes the 52/38 miter by about 0.45° and the bevel by about 0.3°. Both settings move, the miter more, so a corner that measures 92° calls for roughly 30.7° miter and 33.2° bevel rather than the 90° numbers. Measure the corner with an angle finder or a protractor, then pick the nearest row or run the formula.

To work out how much molding to buy for the room, use our crown molding calculator.
How to Cut Crown Molding Laying Flat: Step by Step
- Identify the spring angle: Rest a piece of crown in the corner of a framing square and measure from the square’s corner to where each edge touches a leg. Equal distances mean 45/45 crown; a wall distance about 1.28 times the ceiling distance means 52/38 crown.
- Check the saw: Set miter and bevel to zero and confirm the saw cuts square before trusting any angle setting.
- Set miter and bevel: Dial in both angles from the chart: 31.6 degrees miter and 33.9 degrees bevel for 52/38 crown, or 35.3 degrees miter and 30 degrees bevel for 45/45 crown, at a 90 degree corner.
- Position the molding: Lay the molding on the table with its back down and decorative face up, with the top edge or bottom edge against the fence as the orientation table shows for that corner.
- Hold it firmly: Clamp or hold the molding against the fence with your hand well away from the blade path.
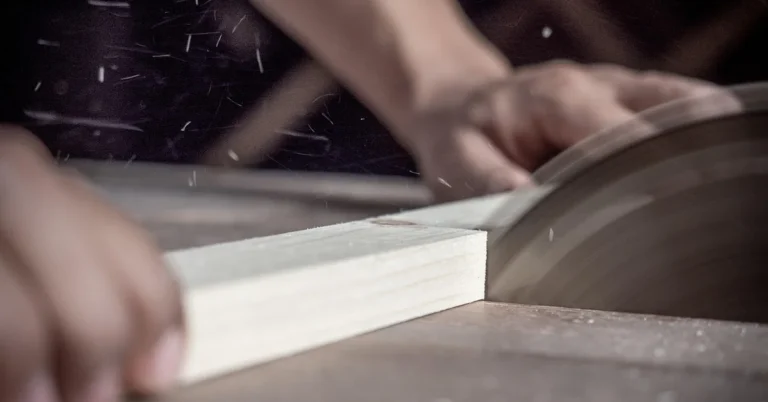
- Make the cut: Let the blade reach full speed, lower it slowly through the molding, and wait for the blade to stop before lifting.
- Test on scrap: Cut two scrap pieces at the same settings, hold them together as they meet at the corner, and adjust the angles slightly if the joint opens.
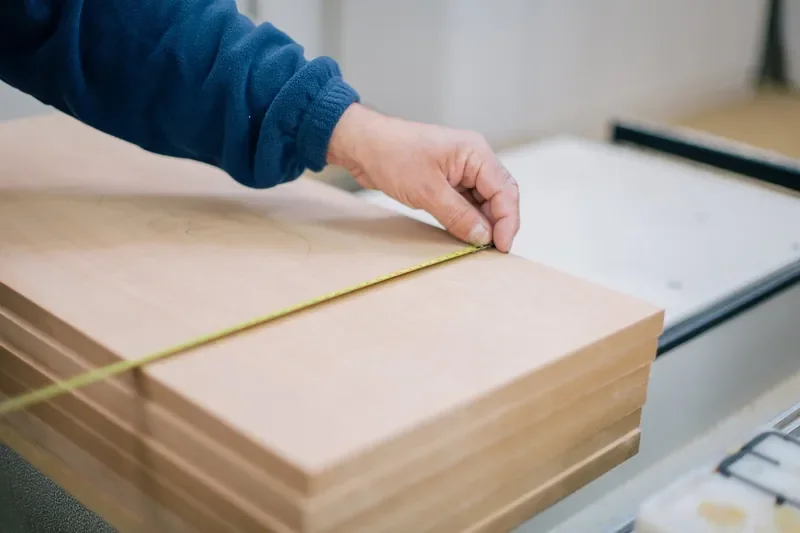
Cut each piece a little long and trim it to fit after a test fit. Check that the saw itself is square first; our guide to adjusting a miter saw for square cuts shows how to do that.
The DeWalt crown molding guide states that pretesting with scrap material is extremely important.
Crown Molding Cutting Mistakes That Cause Gaps
- Using 45 degrees with no bevel: that is the flat-trim setting; crown needs both miter and bevel.
- Assuming the corner is 90 degrees: a corner that is 2° open shifts the miter by about 0.9° and the bevel by about 0.7° from the 90° values.
- Flipping the orientation: putting the top edge on the fence when the table calls for the bottom edge produces a mirror-image piece.
- Cutting on a cupped or bowed piece: the back must lie fully flat on the table, so check it with a straightedge first.
- Cutting to exact length first: cut long and trim after a test fit, since a miter that is slightly off cannot be fixed by cutting shorter.
- Skipping the scrap test: two scrap pieces held together show a gap before good stock is cut.
After the Cut: Coping and Installing
Many installers cope inside corners rather than mitering them, and only miter outside corners. Coping, cabinet corners, and nailing are covered in the crown molding corners guide linked above, so this page stops at the cut itself.
Frequently Asked Questions
How Do You Cut Crown Molding Flat on a Miter Saw?
Lay the molding on the saw table with its back down and its decorative face up. Set both miter and bevel, 31.6 degrees miter and 33.9 degrees bevel for standard 52/38 crown at a 90 degree corner, then place the correct edge against the fence for an inside or outside corner. Always test on scrap first.
What Are the Miter and Bevel Angles for Cutting Crown Molding Flat?
For 52/38 crown (38 degree spring angle) at a 90 degree corner, set the miter to 31.6 degrees and the bevel to 33.9 degrees. For 45/45 crown, set the miter to 35.3 degrees and the bevel to 30 degrees. Corners that are not 90 degrees need different numbers, found with the chart above or the formula.
Can You Cut Crown Molding Flat With a 45-Degree Miter and No Bevel?
No. A 45 degree miter with the blade at 0 degrees bevel is the setting for flat trim such as baseboard or picture frames. Crown leans at its spring angle, so a flat cut needs both a miter and a bevel. On a 90 degree corner with 52/38 crown the miter is 31.6 degrees and the bevel is 33.9 degrees.
What Is a Spring Angle in Crown Molding?
Spring angle is the angle between the back of the crown molding and the wall when it is installed, not the angle you set on the saw. The two common spring angles are 38 degrees (sold as 52/38 crown) and 45 degrees (45/45 crown). Rest the molding in a framing square: equal distances on both legs mean 45/45.
Do You Cut Crown Molding Upside-Down or Flat?
Either works. Cutting upside down and backward against the fence needs only a miter swing, but the molding must be held in an awkward position. Laying it flat needs both a miter and a bevel from a chart, but the molding sits stable on the table, which many people find easier to control alone.
Can Crown Molding Be Cut Without a Miter Saw?
Yes. A hand saw with a miter box can cut crown, and a coping saw is used for coped inside corners. It takes more skill because flat compound angles are hard to set by hand, so practice on scrap pieces first.
Conclusion
Cutting crown flat comes down to three checks: the spring angle, the real corner angle, and which edge sits against the fence. Set both miter and bevel, label each piece, and test on scrap before cutting good stock.
Sponsored / affiliate links. As an Amazon Associate I earn from qualifying purchases. I may earn additional commission from eligible campaigns.