How to Shape Wood: 6 Curving Techniques + Best Woods to Use
To shape wood into a curve, pick the method by how tight the curve is and how thick the part is: saw it from solid for gentle arcs, and bend it for tight ones. A curve sawn across the grain leaves short, weak grain at the ends, while bending keeps the fibers running through the part. This guide compares six techniques with the spacing, timing and radius math, plus the species that bend best.
Pick the Method by Radius and Thickness
Best Spokeshave Starter Pick
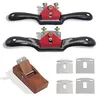 |
Boeray 9 in and 10 in Spokeshave Set with Spare Blades and Mini Plane, $21.99 The flat-sole spokeshave handles the convex and shallow curves covered in the hand-shaping section below, and the spare blades cover the resharpening that every edge tool needs.
|
As an Amazon Associate we earn from qualifying purchases.
The radius and the thickness decide it. Gentle curves, with a radius many times the thickness, can be sawn or bent. Tight curves, with a radius within a few thicknesses, have to be steamed, laminated or kerfed. For the bending side in more depth, see our companion guide on making wood curved.
| Method | Tightest curve it handles | What happens to the grain |
|---|---|---|
| Sawn from solid | Set by the blade: a 1/8 in band saw blade cuts a 3/16 in radius | Grain runs out across the arc, weakest at the ends |
| Hand shaping | Any curve you can reach with the tool | Follows the grain you already have |
| Template and router | Copies any pattern exactly | Same as sawing |
| Kerf bending | Set by kerf width, cut depth and spacing (formula below) | Cut grain behind a thin web, weakest bend |
| Bent lamination | Set by strip thickness, thinner is tighter | Continuous grain, strongest curved part |
| Steam bending | About 3 times the thickness for white oak with a strap | Continuous grain, 25% to 30% compression on the inside |
Technique 1: Saw the Curve
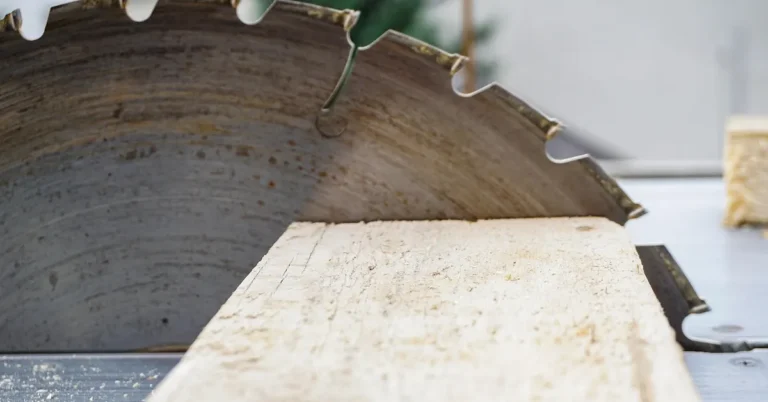
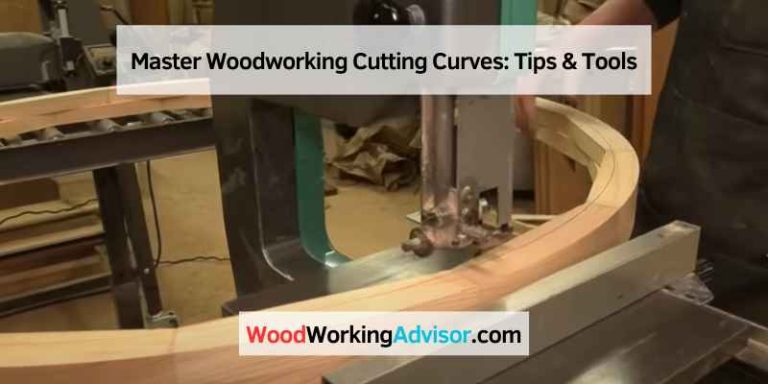
Sawing is the fastest route for gentle arcs and the only one that needs no form. The limit is the blade: a narrow blade turns tight, a wide blade tracks straight. The Rikon band saw blade selection guide lists the minimum radius each width can cut.
| Band saw blade width | Minimum radius it can cut |
|---|---|
| 1/8 in | 3/16 in |
| 1/4 in | 5/8 in |
| 3/8 in | 1-1/2 in |
| 1/2 in | 2-1/2 in |
| 3/4 in | 5-1/2 in |
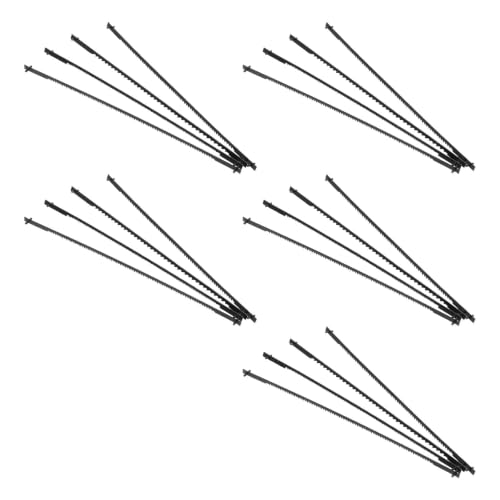
Source: Rikon band saw blade selection guide. For blade choices see our band saw blade comparison. A jigsaw handles the same arcs with a clamped board, covered in our jigsaw guide. Fretwork and tight inside curves belong to the coping saw, explained in what a coping saw is used for, or to a scroll saw, compared in our scroll saw comparison.
What does a sawn curve cost in board width and strength? Take a 24 in long arc with a 24 in radius. Its rise is 24 minus the square root of (24 squared minus 12 squared), which is 24 minus 20.785, or 3.215 in. A rail 3 in wide with that arc on its inner edge therefore needs a blank at least 3.215 plus 3, about 6-1/4 in wide, and half of it becomes offcut.
Short-grain check: at each end of that same arc, the cut leaves the board’s grain at 30 degrees to the edge (the sine of the angle is 12 divided by 24). That is a slope of about 1 in 1.7. The USDA Forest Products Laboratory advises bending stock to have grain no steeper than 1 in 15, about 3.8 degrees, so a deep sawn arc is far weaker at its ends than a bent part cut from straight-grained stock.
Technique 2: Shape It by Hand With a Spokeshave, Rasp and Drum
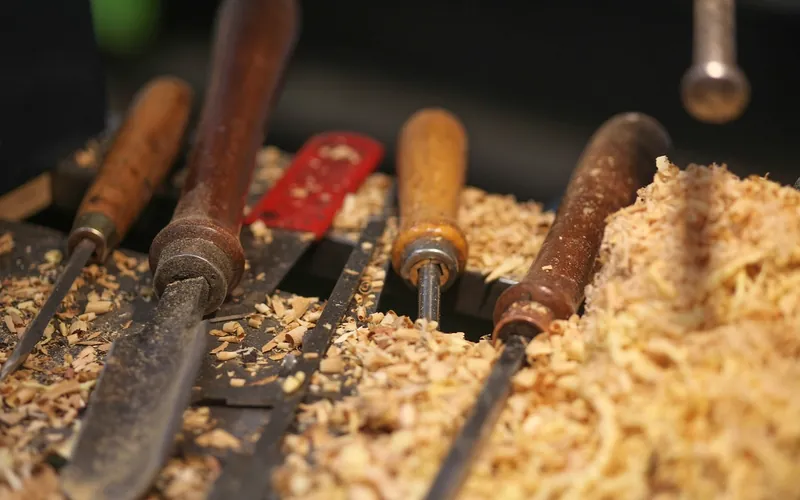
After sawing, hand tools turn a rough arc into a fair curve. A flat-sole spokeshave works convex and shallow curves, a round-sole one works concave edges, and both cut best pushed or pulled downhill with the grain to avoid tearout. A rasp removes stock quickly, a file refines the rasp marks, and sandpaper finishes the surface. Our guides on making a wooden spokeshave and how a flat file is used cover the tools themselves.
For inside curves, a sanding drum on a drill press or spindle sander does the work a spokeshave cannot. One geometry rule saves frustration: the drum’s radius must be smaller than the concave curve’s radius. A 2 in drum has a 1 in radius, so it cannot fairly sand a 3/4 in radius cove. Edge rounding is covered in rounding wood edges without a router.
Technique 3: Template and Flush-Trim Router Bit
When you need two or more identical curved parts, make one template and copy it. Cut the template from a stiff, smooth-edged sheet such as MDF or hardboard, sand the edge fair, then saw the real part close to the line and fasten the template to it. A flush-trim bit has a bearing the same diameter as its cutter, so when the bearing rides the template edge the cutter trims the part to the identical shape. Drawing the first curve is covered in drawing curves on wood, and transferring an existing shape in copying a curve into wood.
Remove most of the waste with the saw first so the router takes a light pass. Feed so the cutter pulls the work against the template instead of away from it, keep both hands clear of the bit, and never route a part that is not clamped or fastened.
Technique 4: Kerf Bending With the Spacing Formula
Kerf bending cuts a row of parallel saw kerfs across the back face of a board, leaving a thin web of wood uncut. The kerfs sit on the inside of the curve and close as the board bends. The Forest Products Laboratory notes that kerfed pieces are cut on the concave side and are commonly reinforced with splines, veneer or other pieces bonded to the curved base.
The formula comes from simple geometry. A kerf of width w and depth d closes when the board turns through an angle of w divided by d radians, because the faces hinge around the bottom of the kerf. On a curve of inside radius R, adjacent kerfs are separated by R times that angle:
Maximum kerf spacing = kerf width x inside radius / cut depth, where cut depth is board thickness minus the web left uncut.
Worked example: a 3/4 in board, a standard 1/8 in table saw kerf, and a 1/4 in web left uncut. The cut depth is 3/4 minus 1/4, or 1/2 in. Each kerf closes at 0.125 divided by 0.5, which is 0.25 radians or about 14.3 degrees. The spacing ceiling then follows from the radius:
| Inside radius | Maximum kerf spacing | Kerfs for a 90 degree bend at that spacing |
|---|---|---|
| 6 in | 1-1/2 in | 6.3, so 7 (arc length 9.42 in) |
| 12 in | 3 in | 6.3, so 7 (arc length 18.85 in) |
| 24 in | 6 in | 6.3, so 7 (arc length 37.70 in) |
Treat the result as a ceiling, not a target. Spacing exactly at the ceiling gives a visibly faceted curve, so cutting at roughly half to two thirds of it, 1-1/2 to 2 in in the 12 in example, gives a smoother arc at the cost of more cuts. Test the spacing on a scrap from the same board before cutting the real piece, and keep the web thick enough not to snap. Kerfs are also the principle behind the living hinges in our wooden hinge guide.
Technique 5: Bent Lamination
Bent lamination glues thin strips around a form. The Forest Products Laboratory Wood Handbook says thin laminates bent to a radius involve only moderate stress, need no steam or hot water, and make stronger curved members than bending a single thick piece. They also reach thickness-to-radius ratios that are impossible when bending one solid piece.
- Build a form with the exact inside curve, on a base wide enough for plenty of clamps.
- Rip strips from one straight-grained board, in order, so the grain and color match across the stack. A thin-strip jig such as the one in our thin strip jig guide keeps the cuts safe.
- Dry-fit the stack on the form with all clamps before opening the glue, so you know the clamp positions work.
- Glue every face with a slow-setting glue, stack the strips and clamp from the middle outward. Cure times by glue type are in our glue clamp time chart.
- Leave the part clamped for the full cure, then scrape off the squeeze-out.
Strip count is simple arithmetic: a 3/4 in finished thickness built from 1/8 in strips needs 6 strips. After release, expect a little springback, so many woodworkers make the form slightly tighter than the target curve.
Technique 6: Steam Bending Solid Wood
Steam bending softens the lignin so a solid piece can compress on the inside of the curve. The Wood Handbook explains why the outside face must barely stretch at all:
“Wood of certain species that is steamed, microwaved, or soaked in boiling water can be compressed as much as 25% to 30% parallel to the grain. The same wood can be stretched only 1% to 2%.”
A metal strap with end blocks keeps the whole piece in compression: the strap carries the tension that would otherwise stretch the outside face. Source: USDA Forest Products Laboratory, Wood Handbook (2010). Steaming time follows a rule from the laboratory’s Agriculture Handbook 125: about 1/2 hour per inch of thickness for wet stock and 1 hour per inch for dry stock.
| Thickness | Wet stock (1/2 hr per in) | Dry stock (1 hr per in) |
|---|---|---|
| 1/2 in | 15 min | 30 min |
| 3/4 in | 22.5 min | 45 min |
| 1 in | 30 min | 60 min |
| 1-1/2 in | 45 min | 90 min |
Those handbook figures are for steaming at normal atmospheric pressure. In the laboratory’s white oak tests, steaming at 35 pounds gauge for even 10 minutes was detrimental, so more heat is not better. For furniture parts the Wood Handbook recommends bending stock at 12% to 20% moisture content before steaming.
How tight can you go? The laboratory’s formula for a strap-and-end-block bend is radius = thickness x (1 minus c) / c, where c is the wood’s compressive strain at failure. For white oak, c averages 0.25, which gives a radius of 3 times the thickness and about a 50% success rate. Use 3 times thickness as a conservative starting point.
| White oak thickness | Minimum radius at c = 0.25 |
|---|---|
| 1/2 in | 1-1/2 in |
| 3/4 in | 2-1/4 in |
| 1 in | 3 in |
| 1-1/2 in | 4-1/2 in |
Choose straight-grained stock with a grain slope no steeper than 1 in 15, and avoid knots, pith, shake and decay. Hold the bent piece on the form while it cools and dries. To build the box and the safe venting details, see how to make a steam box for bending wood.
Best Woods for Bending and for Hand Shaping
The best woods for bending are not the best for carving. The Forest Products Laboratory ranked 25 hardwoods by how little they broke in a uniform bending test without end pressure, and white oak finished second while basswood finished last. Basswood, though, is described by the Wood Database as one of the most suitable woods for hand carving, with poor steam bending.
| Species | Janka hardness | Wood Database on steam bending | FPL bending rank (of 25) |
|---|---|---|---|
| White oak | 1,350 lbf | Responds well | 2 |
| Black walnut | 1,010 lbf | Responds well | 7 |
| Hickory (shagbark) | 1,880 lbf | Responds well | 8 |
| White ash | 1,320 lbf | Responds well | 13 (listed as ash) |
| Basswood | 410 lbf | Poor | 25 |
Sources: The Wood Database for Janka and steam-bending notes; the FPL rank comes from Agriculture Handbook 125. Ash gets a lot of attention for bending, but in that ranking it sits at 13, behind oak, walnut and hickory, although all of them bend well in practice. For the full ranking see our best wood for steam bending guide. When your curved part joins a frame, a mortise and tenon is the usual joint, and what a mortiser does explains the machine that cuts it.
Safety Notes for Saws, Routers and Steam
- Band saw: set the guides just above the work, and keep fingers out of the line of the blade, especially when turning tight curves.
- Router: clamp the work, take light passes, and feed against the rotation of the cutter.
- Steam box: never seal it. A closed box can build pressure, so keep a vent open. Wear heat-proof gloves, because the piece comes out hot and steam burns badly.
Common Problems and Fixes
- Cracks on the outside of a bent part: the stock was too dry, too thick for the radius, or had cross grain. Use straighter grain and a strap.
- The curve loosens after bending: the Wood Handbook says an increase in moisture can make a bent piece lose some curvature, so keep the part on the form until it is dry.
Frequently Asked Questions
What is the easiest way to shape wood into a curve?
For gentle curves, saw the curve on a band saw or jigsaw and smooth it with a spokeshave or sanding drum. For tight curves, laminate thin strips around a form, which needs no steam and is stronger than a sawn curve.
How far apart should kerf cuts be?
Maximum spacing equals kerf width times inside radius divided by cut depth. For a 1/8 in kerf, 1/2 in cut depth and 12 in radius, that is 3 in. Cutting at about half to two thirds of that gives a smoother curve.
How long should you steam wood to bend it?
The Forest Products Laboratory rule is about 1/2 hour per inch of thickness for wet stock and 1 hour per inch for dry stock, steamed at normal atmospheric pressure. A 1 in dry board needs about an hour.
What wood is easiest to shape by hand?
Basswood, which the Wood Database calls one of the most suitable species for hand carving, with a Janka hardness of 410 lbf. It is a poor choice for steam bending.
Choosing Your First Curve Method
Saw and hand-shape gentle arcs, use a template when you need copies, laminate tight curves that must be strong, and steam only when you have the box, strap and form ready. Test on scrap first.
Sponsored / affiliate links. As an Amazon Associate I earn from qualifying purchases. I may earn additional commission from eligible campaigns.