How to Clean Maple Cabinets: A Genius, Safe Method
The best way to clean maple cabinets is with a gentle, DIY solution. Mix one part white vinegar with two parts warm water and a few drops of mild dish soap. Use a soft microfiber cloth to wipe down the cabinets with the solution, then rinse with a clean, damp cloth and dry immediately with a third dry cloth.
Your maple cabinets are a centerpiece of your kitchen. Their light, beautiful grain can brighten up the entire room. But over time, everyday life happens. Fingerprints, cooking grease, and dust can leave them looking dull and tired. Many folks worry that cleaning them might damage the wood or its finish. It’s a common fear, and it’s why so many beautiful cabinets don’t get the care they deserve.
Well, I’m here to tell you that you can restore that warmth and shine without fear. Forget harsh chemicals and expensive store-bought cleaners. I’m going to show you a genius, safe method using simple ingredients you probably already have at home. Let’s get your cabinets looking brand new again, step by step.
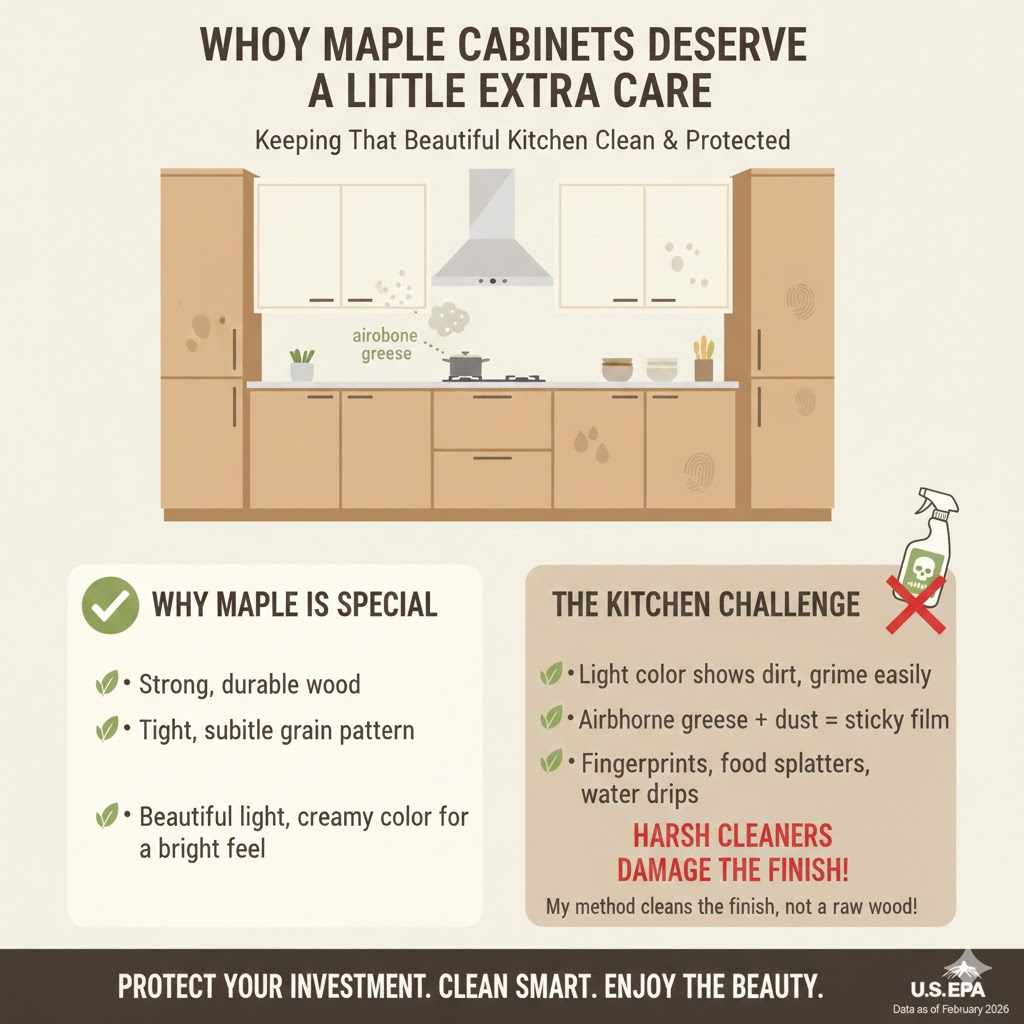
Why Your Maple Cabinets Deserve a Little Extra Care
Maple is a special kind of wood. It’s known for its strength and its tight, subtle grain pattern. That beautiful, creamy color is what makes it so popular in kitchens, giving the space a clean and airy feel. But that light color also means that dirt, grime, and grease show up more easily than on darker woods like cherry or walnut.
The biggest challenge in any kitchen is airborne grease. Every time you cook, tiny particles of oil float through the air and settle on your cabinet surfaces. Over time, this grease combines with dust to form a sticky, dull film that is hard to remove. Add in fingerprints, food splatters, and water drips, and your once-gleaming cabinets can start looking grimy.
This is where the “care” part comes in. It’s tempting to grab a powerful all-purpose cleaner to blast away the dirt. But this is the biggest mistake you can make. Maple wood itself is strong, but the finish protecting it is not invincible. Harsh chemicals can eat away at the lacquer or polyurethane topcoat, leaving the wood exposed to moisture and damage. My method focuses on cleaning the finish, not the raw wood, which is the secret to long-lasting beauty.
First, Know Your Finish: It Matters More Than You Think
Before you start cleaning, it’s helpful to understand what you’re actually working on. You’re not just cleaning wood; you’re cleaning the protective finish that sits on top of the wood. Most modern maple cabinets have a very durable, factory-applied finish. Knowing which one you have can give you extra confidence.
- Polyurethane or Varnish: This is the most common and durable finish for kitchen cabinets. It creates a hard, plastic-like shell over the wood that is highly resistant to moisture and stains. If your cabinets feel smooth and have a slight sheen, you likely have a polyurethane finish. Our cleaning method is perfectly safe for it.
- Lacquer: Another popular choice, lacquer provides a beautiful, clear finish. It’s also very durable, though it can sometimes be more sensitive to harsh chemicals and solvents than polyurethane. Again, our gentle vinegar solution is ideal here.
- Oil Finish: This is less common for modern kitchen cabinets because it offers less protection against water and stains. An oil finish soaks into the wood rather than sitting on top of it. You can tell if you have an oil finish if the wood feels more natural and less “sealed.” These cabinets need special care and periodic re-oiling, and you should avoid water-based cleaners. However, it’s very rare to find an oil-finished kitchen cabinet.
For the vast majority of homeowners with maple cabinets, you’ll be dealing with a durable sealed finish like polyurethane. This makes cleaning simple, safe, and effective when you use the right approach.
Gather Your Gentle Cleaning Arsenal
Great news! You don’t need a shopping cart full of expensive products. The best tools for this job are simple, gentle, and probably already in your cupboards. Having everything ready before you start makes the process smooth and easy.
- Three or More Soft Microfiber Cloths: These are your best friends. Microfiber is non-abrasive and great at grabbing dust and grime without scratching the finish. You’ll need one for cleaning, one for rinsing, and one for drying.
- A Spray Bottle: This helps you apply the cleaning solution evenly without oversaturating the surface.
- Distilled White Vinegar: The simple, acidic nature of vinegar is amazing at cutting through grease and neutralizing odors without harming the cabinet finish.
- Warm Water: Helps dissolve the dish soap and lift dirt more effectively.
- Mild Dish Soap: Just a few drops are needed. A gentle dish soap (like original blue Dawn) acts as a surfactant, helping to lift and carry away greasy residue.
- A Soft, Dry Towel: An extra towel for a final buff or for drying your hands.
- A Bucket (Optional): If you’re cleaning a large kitchen, mixing a bigger batch of the solution in a small bucket can be easier.
The “Genius” All-Purpose Maple Cleaner Recipe
This is my go-to recipe for nearly all finished wood surfaces. It’s effective enough to cut through kitchen grime but gentle enough to use with confidence. It avoids the residue-building chemicals found in many commercial wood cleaners, which can attract more dust over time. Here’s how simple it is:
| Ingredient | Amount | Purpose |
|---|---|---|
| Warm Water | 2 parts (e.g., 2 cups) | Acts as a gentle base and helps lift dirt. |
| White Vinegar | 1 part (e.g., 1 cup) | Its mild acidity cuts through grease and sticky residue. |
| Mild Dish Soap | 1 to 2 drops | Breaks the surface tension of grease, allowing it to be wiped away. |
Why does this combination work so well? The warm water and soap work together to loosen and lift grime. The vinegar’s acetic acid then breaks down the tough, greasy buildup that water alone can’t handle. Because you’re using such a small amount of soap and rinsing afterward, there’s no film or residue left behind—just a clean, natural shine.
The Step-by-Step Guide to Sparkling Maple Cabinets
Alright, let’s get to it. Follow these steps in order, and I promise you’ll see a wonderful difference. Take your time, work in small sections, and enjoy the process of bringing your kitchen back to life.
- Prep Your Space: If you have items on your counters, you might want to move them or cover them with an old towel to protect them from drips. It’s also a great time to empty the cabinets if you plan on cleaning the insides as well.
- Start with a Dry Dusting: Before you introduce any moisture, take a clean, dry microfiber cloth and wipe down all the cabinet surfaces. Start at the top and work your way down. This removes any loose dust, cobwebs, and debris. Skipping this step can turn dust into a muddy mess when you start cleaning.
- Mix Your Genius Solution: Combine your warm water, white vinegar, and a couple of drops of dish soap in your spray bottle. Give it a gentle swirl to mix everything together. Don’t shake it vigorously, or you’ll create too many suds.
- Always Do a Patch Test: This is a golden rule for any cleaning project. Find an inconspicuous spot—like the inside of a cabinet door or a low, hidden area—and test your solution. Apply a little bit with your cloth, rinse it, and dry it. If it looks great (and it will!), you’re ready to proceed.
- Clean from Top to Bottom: It’s simple physics—gravity makes drips run down. Always start with the upper cabinets first. Within each cabinet, start at the top and work your way to the bottom. This prevents you from having to re-clean areas where dirty solution has dripped.
- Spray the Cloth, Not the Cabinet: Lightly mist your cleaning cloth with the solution. Avoid spraying the solution directly onto the cabinet. This gives you more control and prevents excess moisture from getting into the seams and joints of the cabinet doors. Wiping the surface with a damp cloth, rather than a soaking wet one, is key.
- Wipe with the Grain: Gently wipe the cabinet surface, following the direction of the wood grain. This helps clean out the tiny grooves in the wood and gives a more uniform appearance. Use light to medium pressure; you don’t need to scrub hard.
- The Critical Rinse Wipe: Now, take your second clean microfiber cloth and dampen it with plain warm water. Wring it out well. Wipe down the surface again to remove any traces of the vinegar and soap solution. This step ensures you’re left with a streak-free, non-sticky finish.
- Dry Immediately and Thoroughly: This is the most important step for protecting your wood. Use your third, completely dry microfiber cloth or a soft towel to dry the surface right away. Make sure no moisture is left behind, especially around the hardware and in the corners. As research from the U.S. Forest Service shows, managing wood’s exposure to moisture is crucial for its long-term stability.
Stand back and admire your work! Your cabinets should look brighter, feel smoother, and smell fresh and clean.
Tackling Tough Spots: How to Beat Grease and Grime
Sometimes, you’ll encounter areas that need a bit more attention, especially the cabinets right next to the stove. Don’t worry; you don’t need to abandon our gentle method. We just need to give it a little boost.
Banishing Stubborn Grease Buildup
For those extra-sticky, greasy spots, you have a couple of options. First, try increasing the concentration of vinegar in your spray bottle to a 50/50 mix with water. Often, that extra acidity is all it takes.
If that doesn’t work, we can make a simple paste.
- Mix baking soda with a few drops of water until it forms a thick paste, similar in consistency to toothpaste.
- Gently apply the paste to the greasy spot with your fingertip or a soft cloth.
- Let it sit for 2-3 minutes. The baking soda will help break down the grease without scratching the finish.
- Gently wipe the paste away with a damp microfiber cloth.
- Rinse the area with a clean, damp cloth and dry it thoroughly.
Be very gentle when using this paste, as baking soda is a mild abrasive.
Erasing Water Stains and Rings
Light-colored rings or hazy spots are usually caused by moisture that has gotten trapped in the top layer of the finish. Often, a simple cleaning with our vinegar solution will remove recent, minor water spots. If the stain is older and has penetrated the finish, it may require more advanced techniques like refinishing, but always try the gentlest method first.
What NOT to Use on Your Maple Cabinets (The No-Go List)
Knowing what to avoid is just as important as knowing what to use. Using the wrong product can cause irreversible damage to your beautiful maple cabinets. Here is a clear guide on what to keep far away from your woodwork.
| AVOID These Products | Why They Are Harmful to Your Cabinets |
|---|---|
| Harsh or All-Purpose Cleaners | Products containing ammonia, bleach, or harsh solvents can strip the protective finish, leading to discoloration and permanent damage. |
| Abrasive Sponges or Pads | Steel wool, scouring pads, and abrasive sponges will create tiny scratches in the finish, making it look dull and cloudy over time. |
| Oil-Based Soaps or Polishes | Cleaners like Murphy’s Oil Soap can leave a residue that builds up over time, attracting more dust and creating a dull, greasy film. |
| Excessive Water | Never drench your cabinets in water. Too much moisture can cause the wood to swell, warp, or crack, and can damage the glue in the joints. |
| Silicone-Based Furniture Polish | These polishes create a slick surface but can make it very difficult to refinish or touch up the cabinets in the future, as noted in many woodworking guides like this one from the University of Minnesota Extension. |
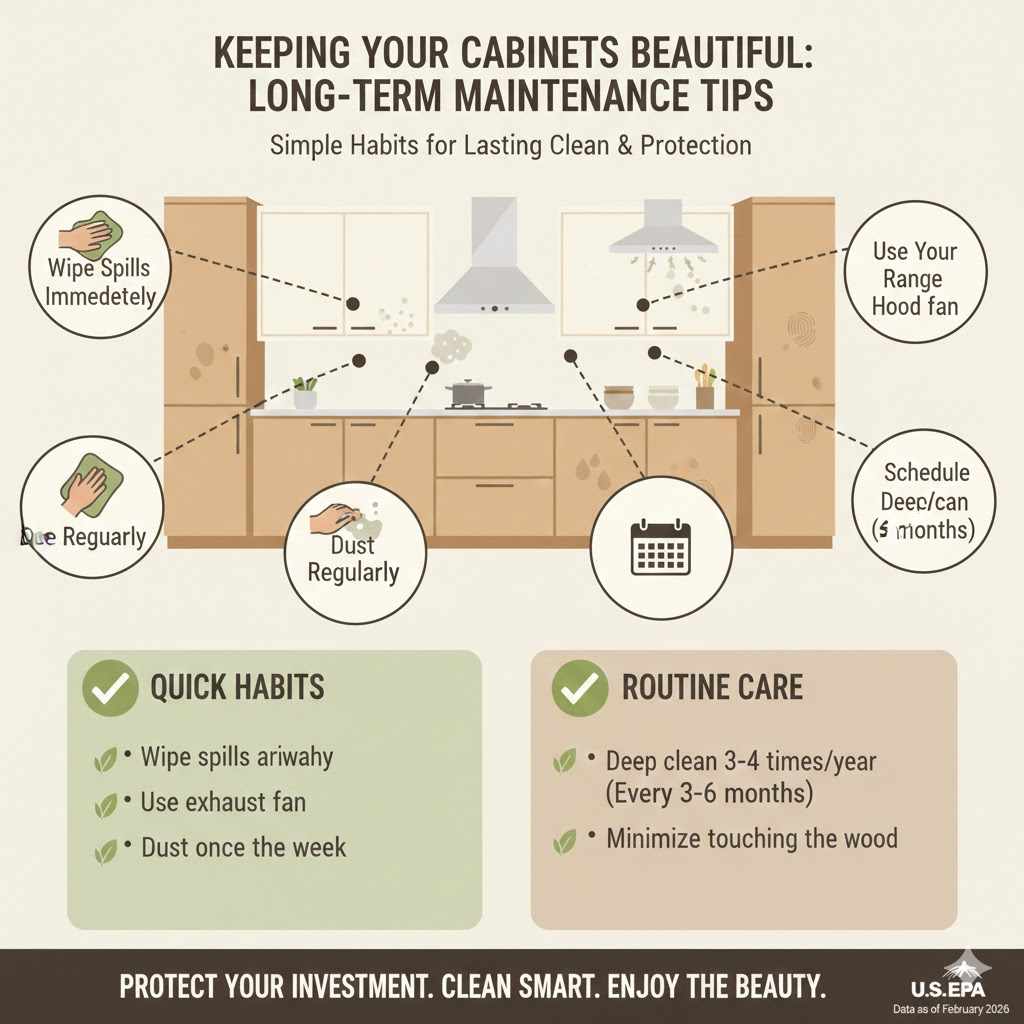
Keeping Your Cabinets Beautiful: Long-Term Maintenance Tips
Once you’ve done a deep clean, keeping your maple cabinets looking great is easy. It’s all about creating simple, consistent habits.
- Wipe Spills Immediately: The number one rule! Whether it’s a splash of spaghetti sauce or a drop of water, wiping it up right away with a damp cloth prevents it from setting in.
- Use Your Range Hood Fan: When you’re cooking, always turn on your exhaust fan. It pulls steam and airborne grease away from your cabinets, significantly reducing buildup.
- Dust Regularly: Just like any other furniture, a quick wipe-down with a dry microfiber cloth once a week will prevent dust from settling and combining with grease.
- Schedule a Deep Clean: Plan to give your cabinets a thorough cleaning with our vinegar solution every three to six months, or whenever they start to look a little grimy. For most households, four times a year is perfect.
- Handle with Care: Open and close cabinet doors and drawers using the handles and knobs. This minimizes the amount of natural oils from your hands getting onto the wood surfaces.
Frequently Asked Questions (FAQ)
Can I use Murphy’s Oil Soap on my maple cabinets?
I strongly advise against it. While marketed for wood, oil soaps can leave a residue that builds up over time, attracting dust and creating a dull film that is difficult to remove. Our simple vinegar and water solution cleans effectively without leaving any residue behind.
How often should I deep clean my maple kitchen cabinets?
A deep cleaning is typically needed every 3 to 6 months, depending on how much you cook. For regular upkeep, a quick wipe-down of high-touch areas (like around the knobs) every few weeks is a great habit.
My maple cabinets are turning yellow. Can cleaning fix this?
Yellowing can happen for two reasons. Sometimes it’s a layer of grease buildup, which our cleaning method will remove, restoring the wood’s natural color. However, older, oil-based finishes can naturally amber or yellow over time due to exposure to light. This type of yellowing is part of the finish itself and cannot be cleaned off; it would require refinishing.
Is this cleaning method safe for painted maple cabinets?
Yes, this method is generally safe for high-quality, factory-painted or professionally painted cabinets. The key is that the paint must be well-cured and in good condition. As always, perform a patch test in a hidden area first to ensure there is no discoloration or softening of the paint.
What’s the best way to clean the inside of my cabinets?
The same method works perfectly for the insides! Since the interiors don’t get exposed to kitchen grease, they usually just need a good dusting. If there are spills or stickiness, our vinegar solution is excellent. Just be sure to let the inside dry completely before putting your dishes and food items back in.
Can I add essential oils to the cleaning solution for a nice scent?
I recommend against it. Many essential oils can be quite potent and may have an unpredictable reaction with the cabinet finish. The clean, fresh scent of vinegar dissipates quickly as it dries, leaving behind a neutral, clean smell without any risk to your woodwork.
A Fresh Start for Your Beautiful Cabinets
And there you have it—a simple, effective, and completely safe way to bring the natural beauty of your maple cabinets back to the forefront of your kitchen. See? You didn’t need harsh chemicals or a lot of elbow grease. All it takes is a little bit of know-how and a few basic ingredients to achieve a professional-looking result.
Cleaning your cabinets is more than just a chore; it’s an act of caring for your home and restoring a sense of calm and order to one of its most important spaces. Your kitchen is the heart of your home, and with this method, you can ensure your beautiful maple cabinets continue to shine brightly for years to come. Now, step back, enjoy that sparkle, and take pride in a job well done.