How to Make Slab Plywood Cabinet Doors
Slab plywood cabinet doors are just a flat ¾-inch plywood panel cut to size, edge-banded, and hung on concealed hinges — no frame or panel-routing required. Skip finishing both faces evenly, though, and the door warps within a season as one side absorbs more moisture than the other. This guide covers the exact cut list, edge-banding steps, hinge specs, and what a set of doors actually costs to build yourself.
Insert your Affiliate Disclosure reusable block here.
What Is a Slab Cabinet Door, and Why Plywood?
Best Cabinet Door Hinge Pick
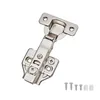
Full Overlay Cabinet Hinges 35mm Soft Close (10-Pack)
Standard 35mm cup, 3D-adjustable soft-close hinges sized for full-overlay slab doors on frameless cabinets.
- Best for: a full run of frameless slab doors that all need the same overlay hinge
- Why we picked it: 3-way adjustment (vertical, horizontal, depth) makes it realistic to get an even reveal gap without a hinge jig
- Main drawback: full-overlay only — check your overlay type before ordering, since inset and half-overlay doors need a different hinge
Compare more cabinet door hardware options
 Option 1 Edge Supply Birch Iron-On Edge Banding, 3/4in x 50ft
|
 Option 2 FastCap Quad Pro Edge Banding Trimmer
|
 Option 3 Kreg Accu-Cut Circular Saw Track Guide
|
As an Amazon Associate we earn from qualifying purchases.
A slab cabinet door is a single flat panel with no frame, rail, or raised center panel — the whole door is one piece of material, cut to size and hung directly on hinges. That’s what makes it the easiest cabinet door style to build: no router table, no rail-and-stile joinery, no glue-up beyond edge banding. Compare that to a shaker door (a frame around a recessed flat panel) or a raised-panel door (a frame around a beveled panel) — both need a router or table saw setup just to cut the joinery, on top of the panel itself.
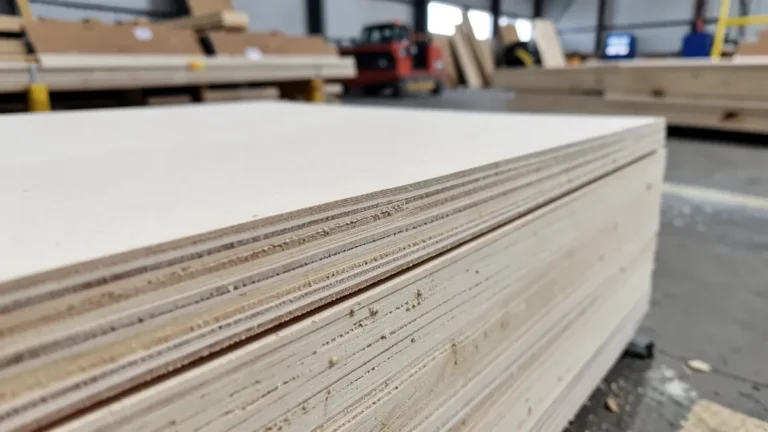
Plywood is the standard material for slab doors because a sheet good stays flatter than solid lumber and doesn’t need edge-glued boards. Not all plywood performs the same, though:
- Baltic birch (11–13 ply) — the most warp-resistant option and the one most cabinet shops reach for. Thin, void-free plies mean the sheet stays flat even in tall pantry doors.
- Cabinet-grade domestic plywood (oak, maple, birch face) — good for stain-grade doors where you want to see real wood grain; check the face veneer for voids before you buy.
- MDF-core plywood — very stable and edge-bands cleanly, but paint-grade only since there’s no wood grain to show through a stain.
- Construction-grade fir plywood — skip it for cabinet doors. It’s meant for sheathing, not furniture, and it warps and telegraphs face-grain texture through paint.
Materials and Tools You’ll Need
Use ¾-inch (actual 23/32-inch) cabinet-grade plywood — thinner stock flexes and sags over a typical 24″–30″ door width. A full 4×8 sheet runs roughly $55–$80 depending on grade (more on real pricing below), and yields about five doors sized around 24″×30″ once you account for kerf loss. If you’re unsure which thickness fits your specific cabinets, see our breakdown of plywood thickness for cabinet doors.
- Plywood: ¾-inch Baltic birch or cabinet-grade sheet stock
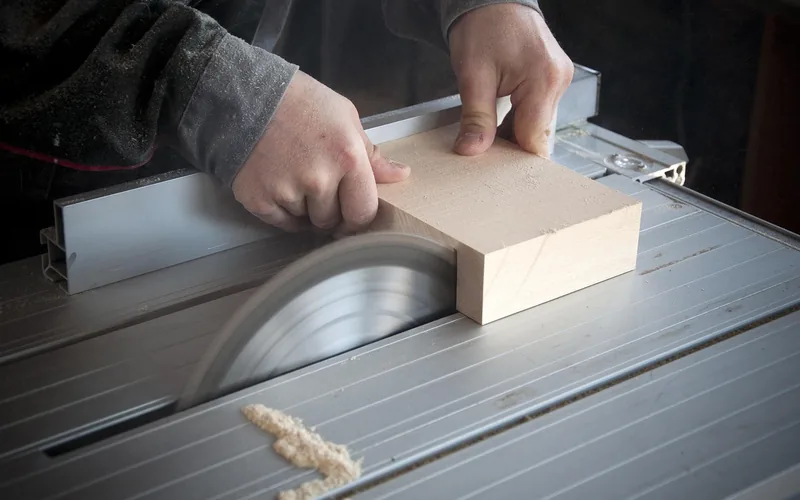
- Saw: table saw or circular saw/track saw with a 60–80 tooth plywood blade (fewer, coarser teeth tear out the face veneer)
- Edge banding: iron-on veneer tape matched to your plywood species
- Edge banding trimmer and a household iron
- Concealed 35mm cup hinges, soft-close, sized for your overlay type
- Drill with a 35mm Forstner bit for hinge cups
- Sandpaper: 120, 150, and 220 grit
- Clamps and a straightedge or guide rail for the initial cuts
How to Cut, Edge-Band, and Assemble Slab Plywood Cabinet Doors
Once you know your finished door sizes (typically ¾″–1″ larger than the opening on all sides for a full-overlay door — check your specific hinge’s overlay spec), the build itself is eight steps from sheet goods to a hung door.
- Plan the cut layout: Sketch every door on the sheet like a puzzle before cutting anything, leaving about ⅛-inch per cut for kerf loss, and keep the grain direction consistent on doors that will hang side by side.
- Cut the panels: Use a 60–80 tooth plywood blade on a table saw or a track/circular saw guide. Cut with the good face up on a table saw, good face down on a circular saw, to keep tearout on the back.
- Apply edge banding: Iron on pre-glued veneer tape to the two end-grain edges first, press with a scrap block while it cools, then do the long edges. Band all four sides, including the ones that will sit against another cabinet or the floor.
- Trim and sand the banding: Trim the overhang flush with an edge banding trimmer or sharp utility knife, then sand the whole door 120, then 150, then 220 grit, sanding with the grain and easing every corner.
- Finish both faces evenly: Seal or paint the front, the back, and all four edges — not just the show face. This is the step that prevents warping.
- Bore the hinge cups: Mark hinge centers (commonly 3″–4″ from the top and bottom edge, though this varies by hinge and door height) and drill 35mm cups with a Forstner bit to the depth listed on your hinge’s spec sheet, usually 11.5–13mm.
- Mount the hinge and plate: Screw the hinge cup into the door, then attach the mounting plate to the cabinet box at the matching height.
- Hang and adjust: Clip the door onto the plate and adjust the three-way screws (vertical, horizontal, depth) until the reveal gap is even — about ⅛-inch is standard between doors and drawers on a frameless cabinet.
“Uneven finishing is the most common reason a shop-built plywood door warps — not bad plywood. Seal one face and leave the other raw, and the sealed side stops absorbing and releasing moisture while the bare side keeps moving with shop humidity. The fix is simple: prime or seal both faces, even the back nobody sees.”
Choosing and Installing the Hinges
Almost every concealed cabinet hinge on the market — regardless of brand — uses the same 35mm cup, a standard pioneered by the Austrian hardware maker Blum and now shared across brands like Blum, Grass, and Salice. What differs between brands and models is the boring depth (commonly 11.5–13mm — always check your specific hinge) and the overlay type: full-overlay, half-overlay, or inset, matched to how your door sits relative to the cabinet frame.
For thin plywood doors specifically, screw depth and pilot holes matter more than on solid stock — see our guide to attaching hinges to thin plywood if you’re working with anything under ¾-inch. One workflow tip worth borrowing from cabinet shops: hang the doors raw and adjust the reveal gaps before you finish them, then pull the doors back off to paint or stain. It’s much easier to fix a binding hinge on bare plywood than after two coats of polyurethane have dried in place.
What Does It Actually Cost to Build Your Own Slab Doors?
A ¾-inch birch plywood sheet runs about $55–$80 at Home Depot as of this writing, and a 4×8 sheet yields roughly five doors sized around 24″×30″ after kerf loss. Add edge banding (about $2–$3 of material per door out of a $8–$16 roll) and a pair of soft-close hinges (about $4.50/door at roughly $2.26 per hinge), and the material cost lands around $18–$24 per door. Here’s how that compares to buying doors instead of building them:
| Method | Cost Per Door | Best For |
|---|---|---|
| DIY slab plywood (this guide) | ~$18–$24 in materials | Multiple doors, custom sizes, matching existing cabinets |
| Unfinished replacement door (retail) | ~$50–$100 | One or two doors, no tools or shop time |
| Fully installed by a pro | ~$180–$330 | No DIY time available, want it scheduled and done |
Cost estimates based on current material pricing researched for this guide; actual costs vary by region, plywood grade, and hinge choice.
Slab doors are only one piece of a larger project if you’re building more than replacement doors — if you’re also building the boxes, see our full walkthrough on building kitchen cabinets from plywood, or browse our plywood guides for sizing, pricing, and joinery reference.
Common Mistakes to Avoid
- Cutting all doors before deciding grain direction — lay out the full cut diagram first so grain runs the same way across doors that sit side by side on the same run of cabinets.
- Finishing before test-fitting hinges — hang the raw doors, adjust the reveal gaps, then pull them back off to finish (or mask the hinge plates and finish in place).
- Skipping edge banding on “hidden” edges — the bottom of a wall cabinet door and any edge that sits against an end panel still take on moisture; band all four sides, not just the visible ones.
- Overtightening hinge screws into a worn hole — if a screw spins without biting, fix the stripped screw hole before it fails again rather than forcing in a bigger screw.
Cleaning and Maintaining Slab Plywood Doors
Wipe doors down with a soft cloth and mild soap and water; skip harsh chemicals, which can dull the finish over time. For minor scratches, use a wood filler matched to your finish color, let it cure fully, then sand it flush. Small dents can often be raised by laying a damp cloth over the spot and pressing a warm iron on it briefly — the steam swells the compressed wood fibers back up. If a door starts to bow, it’s almost always the finishing-both-faces issue above, not the plywood itself.
Frequently Asked Questions
How Do I Choose the Right Plywood for Cabinet Doors?
Use ¾-inch cabinet-grade plywood with a void-free face veneer — Baltic birch is the most warp-resistant option, while cabinet-grade oak or maple gives a stain-grade look. Skip construction-grade fir; it’s meant for sheathing, not cabinetry, and will warp and telegraph texture through paint.
What Size Hinges Do Plywood Cabinet Doors Need?
Nearly all concealed cabinet hinges use a standard 35mm cup, regardless of brand. The boring depth typically runs 11.5–13mm, but check your specific hinge’s spec sheet, and match the overlay type (full, half, or inset) to how your door sits against the cabinet frame.
Do Plywood Cabinet Doors Need Edge Banding on Every Side?
Yes. Band all four edges, including the ones that will be hidden against an end panel or the cabinet floor. An unbanded edge still absorbs moisture and swells, even where nobody sees it, which is a common cause of doors that stop closing flush.
Can I Paint or Stain Slab Plywood Cabinet Doors?
Yes. Sand the surface smooth through 220 grit first. Use a primer before painting to improve adhesion, or a wood conditioner before staining for an even finish on plywood face veneer. Finish both faces and all edges, not just the front, to keep the door from warping.
Why Do Plywood Cabinet Doors Warp, and How Do I Stop It?
Warping usually comes from uneven moisture absorption, not bad plywood — sealing only the visible face leaves the back face free to keep absorbing and releasing shop humidity, which pulls the door out of flat. Seal or paint both faces and all edges evenly to prevent it.
How Long Does It Take to Make Slab Cabinet Doors?
Cutting and edge-banding a batch of doors typically takes a few hours once your cut list is planned. Add a day or two for finishing coats to dry between passes, and budget extra time if you’re hanging doors, adjusting reveal gaps, then removing them again to finish.
Conclusion
Slab plywood cabinet doors are the fastest cabinet door style to build because the door is the material — cut it square, band all four edges, finish both faces evenly, and hang it on a 35mm concealed hinge. At roughly $18–$24 in materials per door, it’s also the cheapest route to a full set of matching doors, provided you don’t skip the finishing step that keeps them flat.
Sponsored / affiliate links. As an Amazon Associate I earn from qualifying purchases. I may earn additional commission from eligible campaigns.
 Baltic Birch Plywood 1/8'' x 12'' x 18'', 6 Pack, B/BB Grade, Void-Free Core, Laser Cutting Ready, Flat Sheets for CNC, Engraving, DIY Crafts, Art Painting, Wood Burning, Staining
 Baltic Birch Plywood Sheets Box of 45 - Laser Engraving Cutting, Scroll Saw Nature Veneer Color, Stronger Than Basswood, A/A Grade,12 x 12 x 1/8”, 3mm Thickness Perfect for Wood Burning