How to Make MDF Shelves: Step-by-Step Guide
Have you ever looked around your home and thought about how you could use more storage space? If so, making MDF shelves might be the perfect solution for you.
MDF, or Medium Density Fiberboard, is a versatile material that’s easy to work with and affordable. Imagine transforming your cluttered room into a well-organized space with shelves that not only serve a purpose but also add a touch of style.
As you dive into this article, you’ll discover simple steps to create sturdy and attractive MDF shelves tailored to your needs. Whether you’re a DIY enthusiast or a beginner, you’ll find this guide packed with practical tips and insights. By the time you finish reading, you’ll be inspired and equipped to start crafting your very own MDF shelves. Get ready to unleash your creativity and make the most of your space!

Credit: www.lemonthistle.com
Materials And Tools Required
Building MDF shelves is fun. You need some basic tools. A tape measure is important. It helps you measure the wood. A saw cuts the MDF pieces. A drill makes holes for screws. Screws hold the shelves together. Sandpaper smooths rough edges. Paint or varnish makes the shelves pretty.
You will need MDF boards. They are strong and sturdy. Get the right size. Use a pencil to mark cut lines. Clamps help hold the wood steady. This prevents slipping when you cut. Wearing safety goggles is smart. They protect your eyes from dust.
Choosing The Right MDF
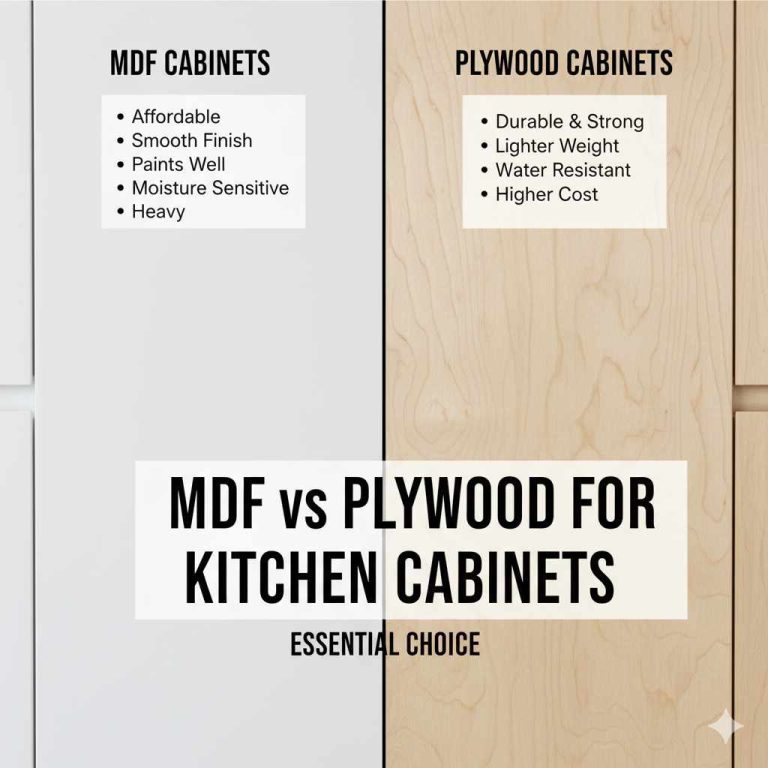
MDF stands for Medium-Density Fiberboard. It is made from wood fibers. They are mixed with wax and resin. Then pressed into sheets. MDF is strong and smooth. It is perfect for making shelves. There are different thicknesses available. Thicker MDF can hold more weight. Thinner MDF is lighter and easier to handle. Choose the right thickness for your shelf needs.
Check the quality of MDF before buying. Good quality MDF is dense and smooth. Avoid MDF with rough edges or cracks. Smooth surfaces are important for painting. Good MDF is also resistant to warping. It lasts longer and looks better. Always buy from trusted sellers. They usually have better quality MDF.
Designing Your Shelves
Start with a measuring tape. Measure your wall space. Note the height, width, and depth. Make sure there’s enough room. Shelves should be at eye level. This helps you see things easily. Think about the weight of items. Heavier things need strong shelves.
Plan your layout on paper. Draw a simple sketch. Show where each shelf will go. Leave space between shelves. It helps you fit tall items. Consider spacing for books or boxes. Shelves should be easy to reach. Use a pencil to mark spots on the wall. This guides you during installation.
Cutting MDF Panels
Always wear safety goggles to protect your eyes. Dust masks are important too. MDF dust can be harmful. Make sure the work area is well-ventilated. Keep your fingers away from the blade. Use a push stick for small pieces. Secure the MDF firmly before cutting. This prevents slipping. Choose the right saw blade for MDF. A fine-toothed blade works best. It gives smoother cuts.
Plug the saw into a safe power outlet. Check the cord for any damage. Adjust the blade depth to match the MDF thickness. Hold the saw firmly with both hands. Keep a steady pace while cutting. Rushing can cause mistakes. Follow the marked line closely. It helps with accurate cuts. After cutting, turn off the saw. Wait for the blade to stop before removing it.
Assembling The Shelves
Use screws and glue to join the shelves. First, align the MDF boards. Make sure they fit well. Then, drill holes for the screws. Place the screws carefully. Ensure they are tight.
Next, apply glue. Use wood glue for strong bonds. Spread glue evenly. Press the boards together. Hold them tight for a few minutes. Let the glue dry. Drying takes a few hours. This ensures stability.
Check the alignment again. Adjust if needed. Ensure boards are straight. This helps the shelves last longer. Your shelves will be secure and strong.

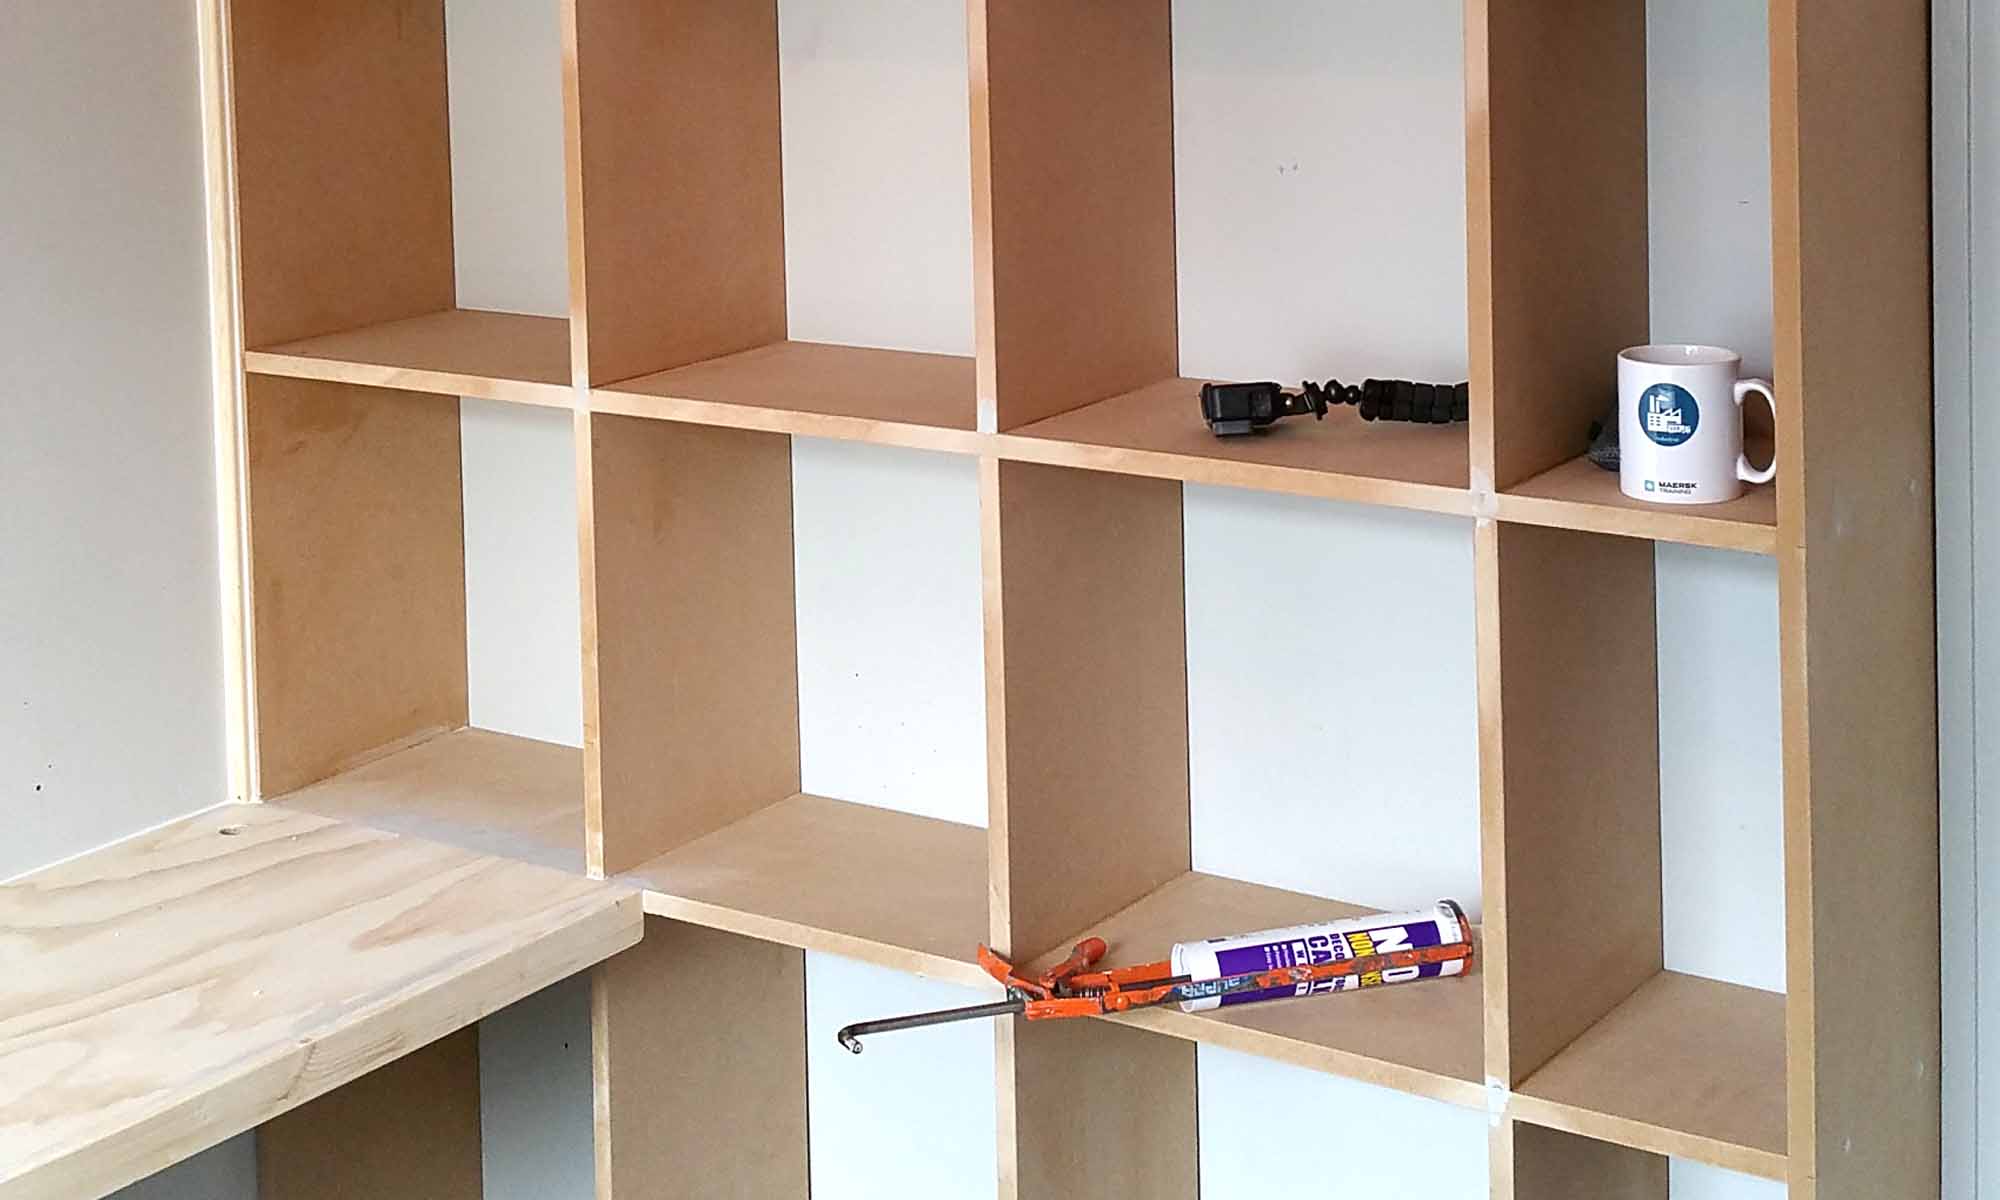
Credit: www.lemonthistle.com
Finishing Touches
Crafting MDF shelves involves careful sanding and painting for a smooth finish. Proper measuring ensures sturdy and balanced shelves. Secure brackets and screws add stability to your project.
Sanding And Smoothing
Start with a coarse sandpaper. Rub it over the MDF surface. This removes rough spots. Next, use a finer sandpaper. This makes the surface smooth. Always sand along the grain. This prevents scratches. Wipe away dust with a damp cloth. Let it dry completely. Smooth surfaces help the paint stick better.
Applying Paint Or Varnish
Choose either paint or varnish for finishing. Paint gives a vibrant look. Varnish highlights the wood’s natural beauty. Use a primer first. This helps the paint stick. Apply paint in thin coats. Let each coat dry before adding another. Varnish needs careful brushing. Avoid drips and bubbles. Both need good ventilation. Fresh air helps them dry faster. Your shelves will look neat and polished.
Installing The Shelves
Crafting MDF shelves adds functionality and style to any space. Start by measuring the wall for precise shelf placement. Cut the MDF boards to size, sand edges, and secure brackets for stability.
Wall Mounting
Start by marking the wall where the shelves will go. Use a level to keep the lines straight. Drill holes into the wall for the brackets. Insert wall plugs if needed. Attach the brackets with screws. Make sure they are tight. Place the MDF shelf on the brackets. Ensure the shelf is stable. Adjust if needed.
Adjusting For Stability
Check if the shelf is even. Use a level again. If the shelf wobbles, tighten the screws. Consider adding more brackets for support. Ensure all parts are secure. A stable shelf is important for safety. Make sure it can hold the weight you plan to put on it.
Maintenance Tips
Creating MDF shelves involves precise cutting and secure assembly. Use the right tools for smooth edges. Ensure shelves are level and properly anchored to support weight. Regularly check for loose screws and tighten them. Protect the surface with a sealant to prevent moisture damage.
Cleaning Advice
MDF shelves need care to last long. Dust them with a soft cloth. Use a mild cleaner on stubborn dirt. Avoid soaking the shelves. Water can damage MDF. Dry the surface right after cleaning. Polish to keep them shiny. Regular cleaning prevents grime buildup. Clean edges and corners well. They gather dust easily.
Repairing Damage
MDF shelves can chip or scratch. Fix chips with wood filler. Sand the area smooth after filling. Use paint to match the shelf color. Scratches need careful sanding. Apply a sealant to protect the surface. Deep scratches may need more work. Sometimes, replacing damaged parts is best. Prevent damage by not overloading shelves.
Frequently Asked Questions
Can You Build Shelves With MDF?
Yes, MDF is great for building shelves due to its smooth surface and affordability. Ensure proper support to prevent sagging. Paint or laminate for a polished look. Avoid using in areas with high moisture to prevent damage. MDF is versatile and widely used in furniture projects.
How Thick Does MDF Need To Be For A Shelf?
MDF shelves should be at least 3/4 inch thick for strength and durability. For heavier items, use 1 inch thick MDF. This prevents sagging and ensures long-lasting support. Always consider shelf length and load capacity to choose the right thickness.
Proper support brackets can also enhance stability.
Is MDF Ok For A Shelf?
MDF is suitable for shelves due to its smooth surface and affordability. It’s strong enough for light to moderate weight. Ensure proper support to prevent sagging. Seal it to protect against moisture. MDF can be painted or veneered for a stylish look, making it a versatile choice for shelving.
How Do You Strengthen MDF Shelves?
To strengthen MDF shelves, add support brackets underneath. Use thicker MDF boards for increased durability. Reinforce with metal strips or corner braces. Ensure proper weight distribution to prevent sagging. Secure shelves tightly to wall studs for stability.
Conclusion
Crafting MDF shelves is a rewarding DIY project. With the right tools and patience, anyone can succeed. Cut your MDF pieces carefully for the best fit. Sand the edges smooth to avoid splinters. Use strong brackets for secure installation. Paint or stain to match your decor style.
Always measure twice to ensure accuracy. Enjoy the satisfaction of your new, custom-made shelves. They add both function and style to any room. Your creativity shines through each shelf you build. Now, it’s time to display your favorite items proudly.
Happy building!