How to Paint Bathroom Cabinets That are Not Wood: Expert Tips
Have you ever stared at your bathroom cabinets and wished for a fresh look, but hesitated because they aren’t made of wood? You’re not alone!
Many homeowners face the challenge of revamping non-wood cabinets, wondering if it’s even possible without making a mess. The good news is, you can absolutely transform those cabinets into stunning focal points with a little know-how and the right tools.
Imagine walking into your bathroom and being greeted by a sleek, revitalized space that reflects your personal style. Whether your cabinets are made of laminate, metal, or another material, the secret to a flawless finish lies in the preparation and techniques you use. Don’t let the fear of the unknown hold you back from achieving the bathroom of your dreams. This guide will break down the process into simple, actionable steps that anyone can follow. We’ll reveal insider tips to ensure your paint job lasts, looks professional, and makes your bathroom cabinets the envy of all your guests. Ready to roll up your sleeves and get started? Let’s dive in and unleash your inner DIY expert!
Choosing The Right Paint
Cabinets made of plastic or metal need special paint. Acrylic paint works well on plastic surfaces. Oil-based paint is great for metal cabinets. Both types stick well and last a long time. Primer is important before painting. It helps the paint stick better. Make sure the primer matches the paint type.
Bright colors make a small bathroom look bigger. Light blue or soft green are nice choices. White is clean and fresh. Dark colors like navy or black can add drama. Think about your bathroom style. Match the cabinet color with walls and tiles. Test a small area first to see the color.
Preparing The Surface
Dirt and dust can ruin a paint job. Use a clean cloth to wipe away dirt. Warm soapy water works best. Scrub gently to avoid scratches. Rinse with water and let it dry. Inspect for any stubborn spots. Use mild cleaner for tough stains. Repeat if necessary. A clean surface is vital.
Sanding creates a smooth surface. Use fine sandpaper for best results. Sand until smooth. Remove dust with a damp cloth. Primer is important. It helps paint stick better. Apply primer evenly. Let it dry completely. Check for any missed spots. Sand again if needed. Prime the surface well. Ready for paint!
Tools And Materials
Painting bathroom cabinets made of non-wood materials requires specific tools and materials for a smooth finish. Use sandpaper, primer, and paint designed for laminate or metal surfaces. A high-quality brush or roller ensures even application, while painter’s tape protects edges from unwanted paint splatters.
Essential Equipment
Painting non-wood bathroom cabinets needs special tools. A screwdriver helps remove handles. Sandpaper smooths surfaces. A primer sticks paint to the cabinet. High-quality paint lasts longer. Use paintbrushes for small areas. Rollers work well on large surfaces. Drop cloths protect floors from spills. Painter’s tape keeps edges neat. Always wear gloves for safety. Face masks protect from fumes.
Optional Tools For Enhanced Finish
Some tools make the finish better. Paint trays hold paint. Stir sticks mix paint well. Foam rollers give a smooth look. Spray guns cover large areas fast. Detail brushes add fine touches. Sand blocks help with rough spots. Tack cloths remove dust before painting. Extension poles reach high places. These tools improve the finish.
Credit: www.cravingsomecreativity.com
Step-by-step Painting Process
Clean the cabinets with soap and water. Dry them well before starting. Use sandpaper to make the surface smooth. A smooth surface helps primer stick better. Apply a thin layer of primer with a brush or roller. Let it dry completely. This usually takes about one hour. A good primer prepares the cabinet for paint. It helps the paint last longer.
Choose the right paint for the cabinets. Use a brush or roller to apply the first coat. Apply the paint in thin layers. Thick coats can cause drips and lumps. Allow the paint to dry for at least two hours. Check for any missed spots or thin areas. Thin coats ensure a smooth finish. Repeat if needed for better coverage.
Inspect the cabinets for any spots or uneven paint. Use a small brush for touch-ups. Sand lightly if the surface feels rough. Apply a second coat if necessary. Wait for the paint to dry fully. This can take up to 24 hours. Once dry, reattach handles and doors. Enjoy your fresh-looking cabinets!
Drying And Curing
Prepare bathroom cabinets for painting by focusing on drying and curing. Clean the surface, then apply primer designed for non-wood surfaces. Allow ample time for the paint to dry and cure, ensuring a smooth, durable finish.
Optimal Drying Conditions
Painting cabinets need good drying conditions. Air circulation helps the paint dry. Open windows for fresh air. Use fans to move air around the room. Humidity affects drying too. Keep the room dry. Avoid painting on rainy days. The paint dries faster in a warm room. Check the temperature and keep it steady.
Curing Time Considerations
Curing takes longer than drying. Curing makes the paint strong. It can take days to cure fully. Avoid touching the cabinets too soon. Leave the cabinets alone for a few days. Heavy use can hurt the paint. Plan ahead and be patient. The wait is worth it for lasting results. Check the paint label for curing times.
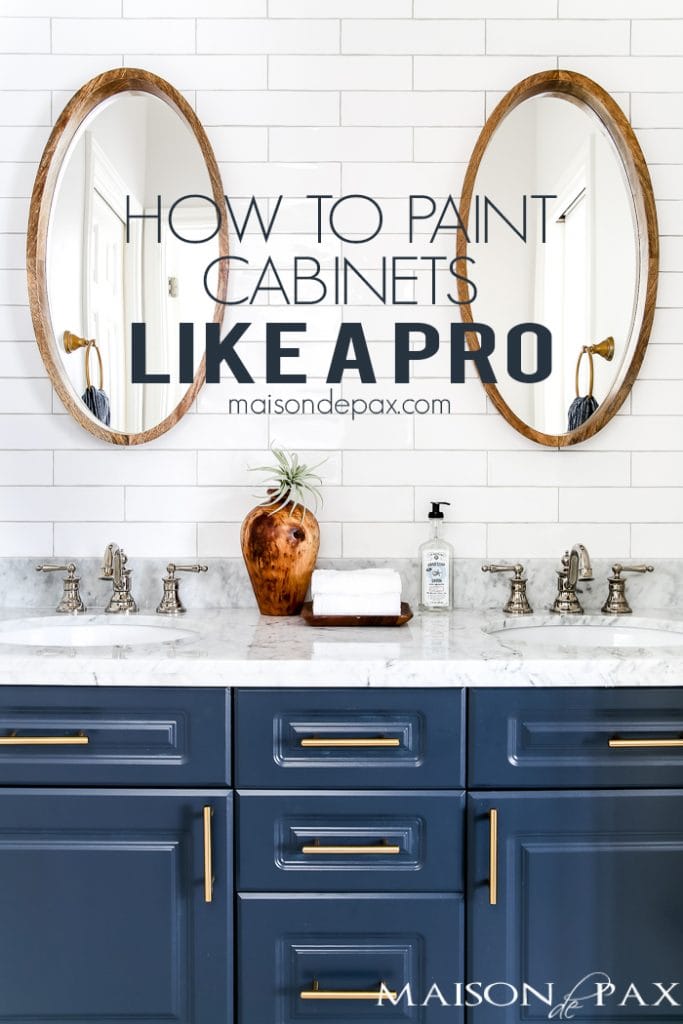
Credit: www.maisondepax.com
Maintenance Tips
Transform bathroom cabinets with vibrant paint. Clean surfaces thoroughly and sand lightly for better adhesion. Use primer designed for non-wood materials, then apply high-quality paint for lasting beauty.
Cleaning Painted Cabinets
Painted cabinets need regular care. Use a soft cloth to wipe them. A mild soapmixed with water works well. Dry the cabinets with a clean towel after cleaning. Avoid harsh chemicalsthat can damage paint. Gentle cleaning keeps cabinets looking new.
Preventing Damage
Protect cabinets from scratches. Use pads under heavy items. Avoid banging doors. Water can harmpainted surfaces. Wipe spills quickly. Be gentle while handling cabinets. This prevents paint from chipping. Regular checks help find problems early. Fix them to keep cabinets safe.
Common Mistakes To Avoid
Painting non-wood bathroom cabinets requires careful preparation. Clean and sand surfaces thoroughly to ensure paint sticks well. Choose the right primer and paint for best results. Avoid rushing; let each coat dry properly.
Skipping Preparation
Preparation is crucial for painting cabinets. Skipping this step can lead to bad results. Clean cabinets thoroughly before starting. Remove all grease and dirt. Sanding is also important. It helps paint stick better. Use a good sandpaper to smooth the surface. Don’t forget to tape edges. It keeps paint where you want it. Spend time on prep. It saves trouble later.
Using Wrong Paint Type
Choosing the right paint is essential. Wrong paint can peel or chip easily. Use paint made for cabinets. Oil-based or acrylic paint works well. Avoid latex paint. It’s not strong enough for cabinets. Choose paint that resists moisture. Bathrooms have lots of steam. Moisture-resistant paint lasts longer. Check paint labels carefully. Make sure it’s suitable for your cabinets.
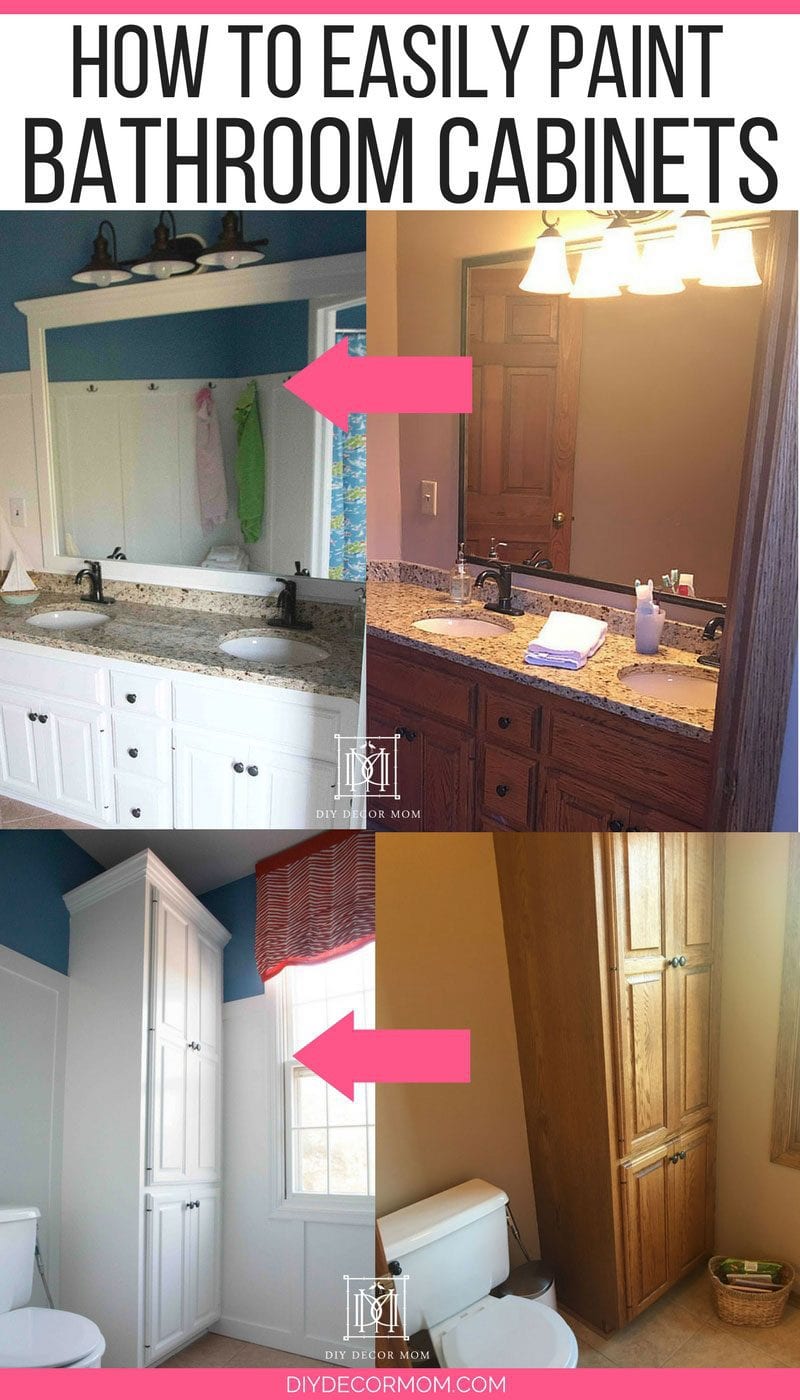
Credit: www.diydecormom.com
Frequently Asked Questions
Can You Paint Over Non-wood Cabinets?
Yes, you can paint over non-wood cabinets. Clean the surface thoroughly and use a suitable primer. Choose high-quality paint for a durable finish. Consider sanding glossy surfaces to ensure better paint adhesion. Always follow the manufacturer’s instructions for the best results.
What Is The Best Type Of Paint To Use On Bathroom Cabinets?
Use semi-gloss or satin latex paint for bathroom cabinets. They resist moisture and are easy to clean. Ensure the surface is primed before painting for best results. These paint types offer durability and a smooth finish, making them ideal for high-humidity areas like bathrooms.
How To Paint A Plastic Bathroom Cabinet?
Clean the cabinet thoroughly with soap and water. Sand the surface for better paint adhesion. Apply a plastic primer and let it dry. Use spray paint or acrylic paint suitable for plastics. Allow the paint to dry completely before reassembling or using the cabinet.
Is It Worth Painting Laminate Cabinets?
Painting laminate cabinets is worth it for a budget-friendly makeover. It enhances appearance and adds durability. Proper preparation ensures paint adhesion. Choose high-quality paint for a lasting finish. Transform your kitchen or bathroom affordably with painted laminate cabinets. Enjoy a fresh, updated look without the cost of replacing.
Conclusion
Transforming bathroom cabinets can be simple. Choose the right paint for lasting results. Clean surfaces thoroughly before starting. Primer is key for a smooth finish. Use light coats to avoid streaks. Let each layer dry completely. Sealing protects your hard work.
Enjoy your refreshed bathroom space. Painting cabinets is an easy upgrade. Personalize your bathroom with color. A little effort makes a big change. Share your project with friends. They might try it too. Painting is fun, affordable, and creative. Transform your space with minimal cost.
Dive in and start your cabinet project today!