Can You Sand Stained Wood? Yes, to Lighten or Refinish It
Yes, you can sand stained wood — 80- to 100-grit strips the color down to bare wood, while 320-grit and finer only smooths the topcoat without touching the stain underneath. Using the wrong grit is the single biggest reason refinishing jobs turn blotchy or patchy. This guide covers the grit sequence for full stain removal, the light-touch method for scuffing between coats, and what changes on soft woods like pine and walnut.
Insert your Affiliate Disclosure reusable block here.

What You Need to Sand Stained Wood
Best Sander Pick for Sanding Stained Wood

SKIL 5″ Random Orbital Sander with Cyclonic Dust Box
A budget-friendly corded sander sized right for tabletops, doors, and cabinet panels — the most common surfaces people ask about sanding stain off.
- Best for: Furniture, doors, and flat panels up to a full tabletop
- Why we picked it: Cyclonic dust collection keeps stain dust off the surface mid-job, which matters when you are switching grits repeatedly
- Main drawback: Corded only — not ideal if you are working somewhere without an outlet nearby
Compare more sanding options
 Option 1 HSYMQ 24-Piece Sandpaper Variety Pack (12 Grits)
|
 Option 2 4-Pack Sanding Sponge Set (120-400 Grit)
|
 Option 3 DEWALT Variable Speed 5″ Random Orbit Sander
|
As an Amazon Associate we earn from qualifying purchases.
You do not need a full workshop to do this correctly. For most furniture-sized jobs, gather:
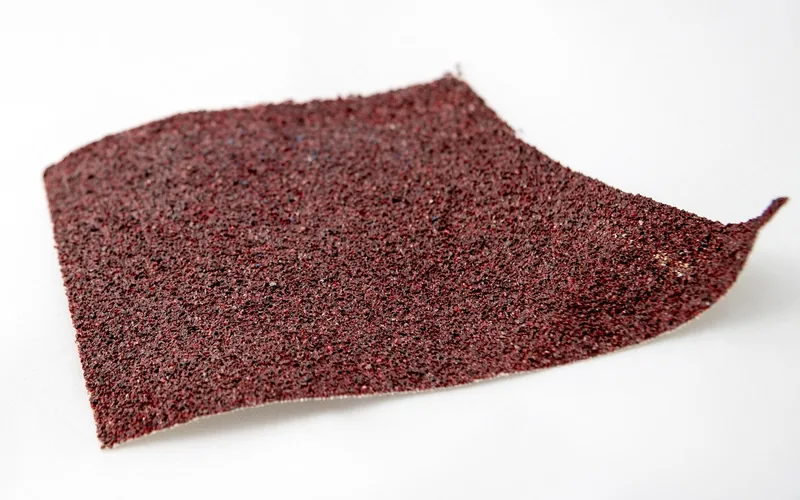
- Sandpaper or sanding sponges in 80, 120, 150, and 220 grit (finer grits if you are only scuffing between coats)
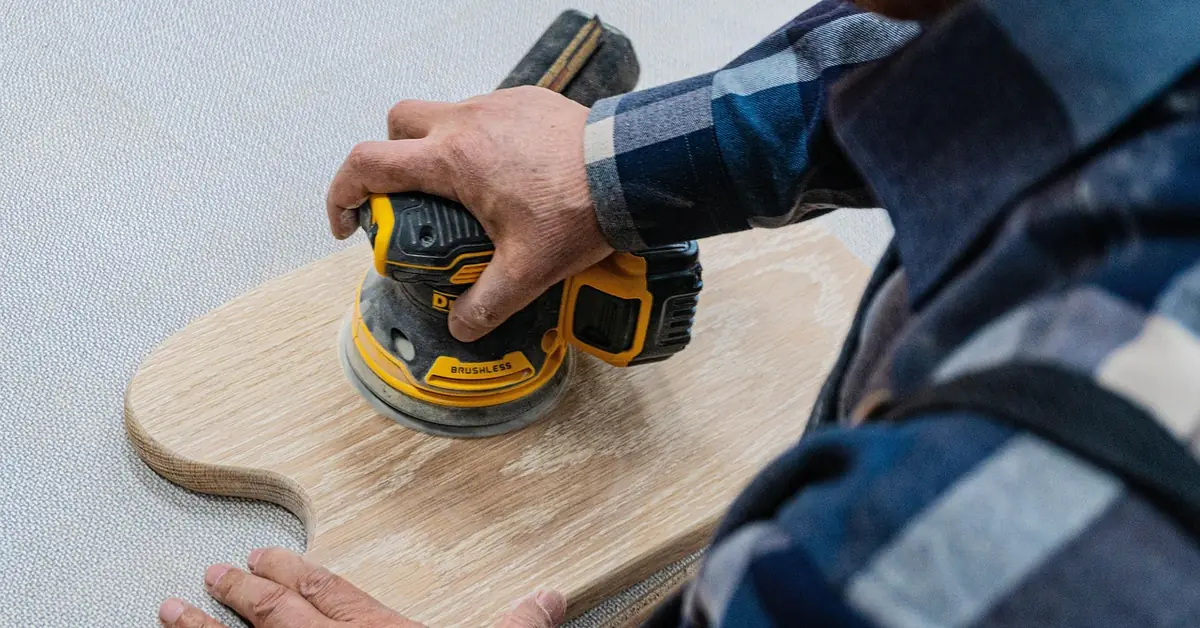
- A random orbital sander for flat panels, or a sanding block/sponge for hand control on edges and detail work
- A tack cloth or vacuum with a brush attachment
- A dust mask and eye protection — old stain and finish dust is fine enough to breathe deep
- A damp rag, if you plan to raise the grain before a fresh coat
Removing Stain, Lightening It, or Just Scuffing: Which Grit Does What
“Sanding stained wood” actually covers three different jobs, and each one calls for a different grit range. Mixing them up is why so many refinishing attempts come out blotchy.
| Goal | Grit Range | What It Does | Best For |
|---|---|---|---|
| Remove stain completely | 80-100, then 120 | Cuts through the finish and pigment down to bare wood | Full color change, deep damage, refinishing to natural |
| Lighten stain, keep some color | 150-220 | Takes off part of the topcoat and surface pigment without hitting bare wood everywhere | Softening a stain that came out too dark |
| Scuff without touching color | 320-600 | Smooths the finish texture only — the stain layer underneath stays intact | Recoating or leveling a topcoat between finish layers |
According to Minwax’s own staining guidance, wiping the surface with a damp cloth before the final grit pass raises the wood grain — skip that step and the raised fibers show up as roughness under a fresh coat of stain. Minwax’s wood staining tips cover this in more detail if you are staining after sanding.
How to Sand Stain Off Completely
- Clear the surface: Remove hardware and wipe down with a tack cloth to strip dust and wax buildup before the first pass.
- Start with 80-grit: Sand with the grain in overlapping passes until the stain color is gone and you have reached bare wood.
- Move to 120-grit: Smooth out the scratch marks the 80-grit left behind — do not skip this step to save time.
- Finish at 150-180 grit: Get the surface even and silky before any new stain or finish goes on.
- Vacuum and tack-cloth the dust: Leftover grit traps under the next coat and shows up as bumps once the finish dries.
- Raise the grain with a damp cloth (water-based stain only): Let it dry, then knock down the raised fuzz with 220-grit before staining.
How to Sand Stained Wood Without Damaging It
Sanding stained wood is not the same as sanding raw lumber — the finish on top changes how the paper cuts and how quickly you can see progress.
- Always sand with the grain, never across it — cross-grain scratches show through new stain even after multiple coats
- Let the sander do the work; pressing harder just glazes the paper and heats the finish instead of cutting faster
- Check your progress often under raking light — stain color hides shallow low spots until the light hits at an angle
- Change sandpaper as soon as it stops cutting — clogged paper burnishes stained wood instead of removing it, which can leave dark, shiny streaks
- On veneer or thin antique finishes, hand-sand instead of using a power sander — a few extra passes with an orbital tool can sand straight through a veneer layer
Sanding Stained Wood on Pine, Walnut, and Other Blotch-Prone Species
Softwoods like pine sand unevenly because the soft early-wood grain cuts faster than the harder late-wood grain, leaving faint washboard ridges under a power sander. Keep the sander moving constantly, stay at 150-grit or coarser on pine (finer grits polish the surface and cause blotching once new stain goes on), and finish the last pass by hand with the grain.
Open-pore hardwoods like walnut and oak show sanding marks more easily once stain highlights the grain. Finish these by hand at one grit finer than you would use on a tight-grained wood like maple, and always do the final pass in long, full-length strokes rather than short scrubbing motions.
Common Mistakes When Sanding Over Stain
- Starting at 220-grit instead of 80: Fine paper cannot cut through a finish layer — you will burn through sheets without making progress
- Sanding across the grain: Cross-grain scratches trap new stain and show as dark lines once the color goes back on
- Pressing hard with a random orbital sander: Leaves swirl marks that are invisible on bare wood but show up clearly once stain highlights them
- Skipping the vacuum between grits: Trapped dust from a coarser grit scratches the surface again under the next finer one
- Treating oil-based and water-based stains the same: Water-based finishes gum up fine sandpaper if you sand too soon after application — let the surface cure fully first
After Sanding: Refinishing or Restaining
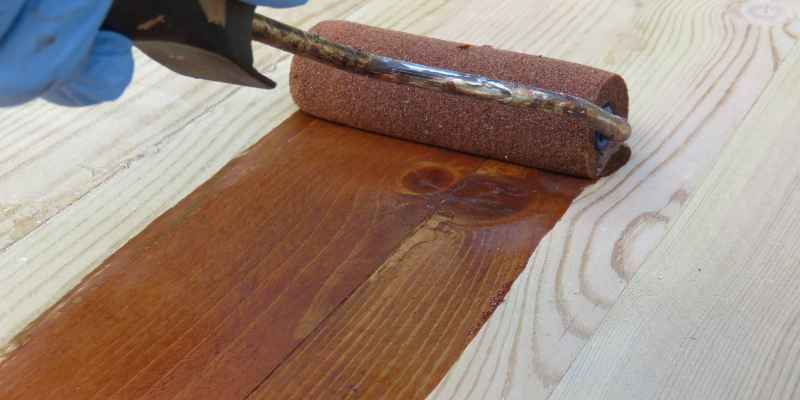
Once the surface is sanded to bare wood and dust-free, you have two directions: put down a new stain color, or seal it with a clear finish and skip stain entirely. If you are changing color, follow a full restaining process rather than just wiping on the new can — grit sequence and dry time both affect how evenly the new color takes. If this project started as bare wood rather than a strip-down, the sanding steps for preparing new wood for stain are slightly different, since there is no old finish to cut through first.
For general guidance on stain types, dry times, and interior application, see our interior wood stain guide. If you are unsure which finish to use once sanding is done, our wood finish comparison shows what each option looks like on real wood.
Frequently Asked Questions
Can you sand stained wood without damaging it?
Yes. Sand with the grain, start at 80-100 grit only if you are removing the stain completely, and let the sander’s own weight do the cutting instead of pressing down. Damage almost always comes from cross-grain scratches or a power sander held too long in one spot, not from sanding itself.
What grit sandpaper is best for stained wood?
It depends on the goal. Use 80-100 grit to strip stain down to bare wood, 150-220 grit to lighten color without full removal, and 320-600 grit if you are only scuffing a topcoat between finish coats and want the stain color untouched.
Do you have to sand off all the old stain before restaining?
Not always. A darker stain can usually go over an existing lighter one without full removal. Going lighter, or switching to a very different color, generally requires sanding down to bare or near-bare wood first, since old pigment underneath will muddy the new color.
Will sanding lighten dark stained wood?
Yes — the finer the grit, the lighter the result, since less pigment is being removed per pass. For a noticeably lighter look without hitting bare wood everywhere, sand evenly at 150-220 grit; for maximum lightening, sand to bare wood and consider a wood bleach step before restaining.
Can you sand over stain without removing the color?
Yes, if you stay at 320-grit or finer. That range is fine enough to smooth the topcoat’s texture — knocking down dust nibs or leveling between coats — without cutting into the stain layer underneath.
Conclusion
Sanding stained wood works the same way every time once you match the grit to the goal: coarse grit to remove color, mid grit to lighten it, and fine grit to scuff without touching it at all. Work with the grain, change paper before it stops cutting, and vacuum between passes — the finish problems people blame on “bad sanding” almost always trace back to one of those three habits, not the sanding itself.
Sponsored / affiliate links. As an Amazon Associate I earn from qualifying purchases. I may earn additional commission from eligible campaigns.