How to Refinish Pine Floors (Or Paint Them Instead): Step-by-Step
Refinishing pine floors can breathe new life into your home. It’s a rewarding project that enhances natural beauty.
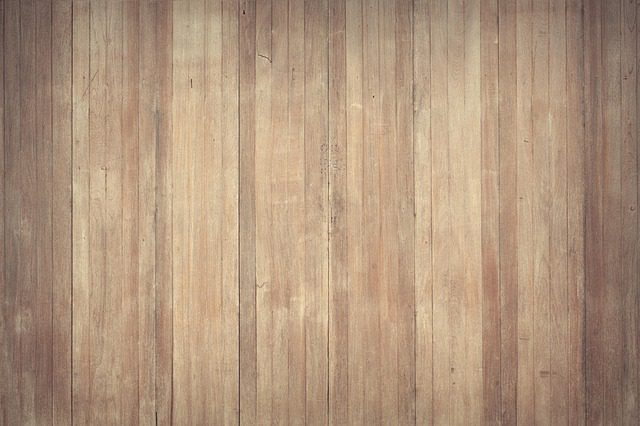
Pine floors add warmth and character to any space. Over time, however, they can become worn and dull. Refinishing not only restores their original charm but also extends their lifespan – see our wood flooring guide for the bigger picture on care and options. Whether you’re a seasoned DIYer or new to home improvement, refinishing pine floors is a manageable task.
With the right tools and a bit of patience, you can achieve professional-looking results. This guide will walk you through the steps, providing clear and easy-to-follow instructions. Ready to transform your pine floors? Let’s dive into the process and make your floors shine again.
Introduction To Pine Floor Refinishing
Refinishing pine floors brings out the natural beauty of the wood. Pine floors look fresh and new after refinishing. This process can increase the value of your home. It also extends the life of the floors. Clean, smooth surfaces are easier to maintain. They also improve indoor air quality. The floors become more resistant to wear and tear.
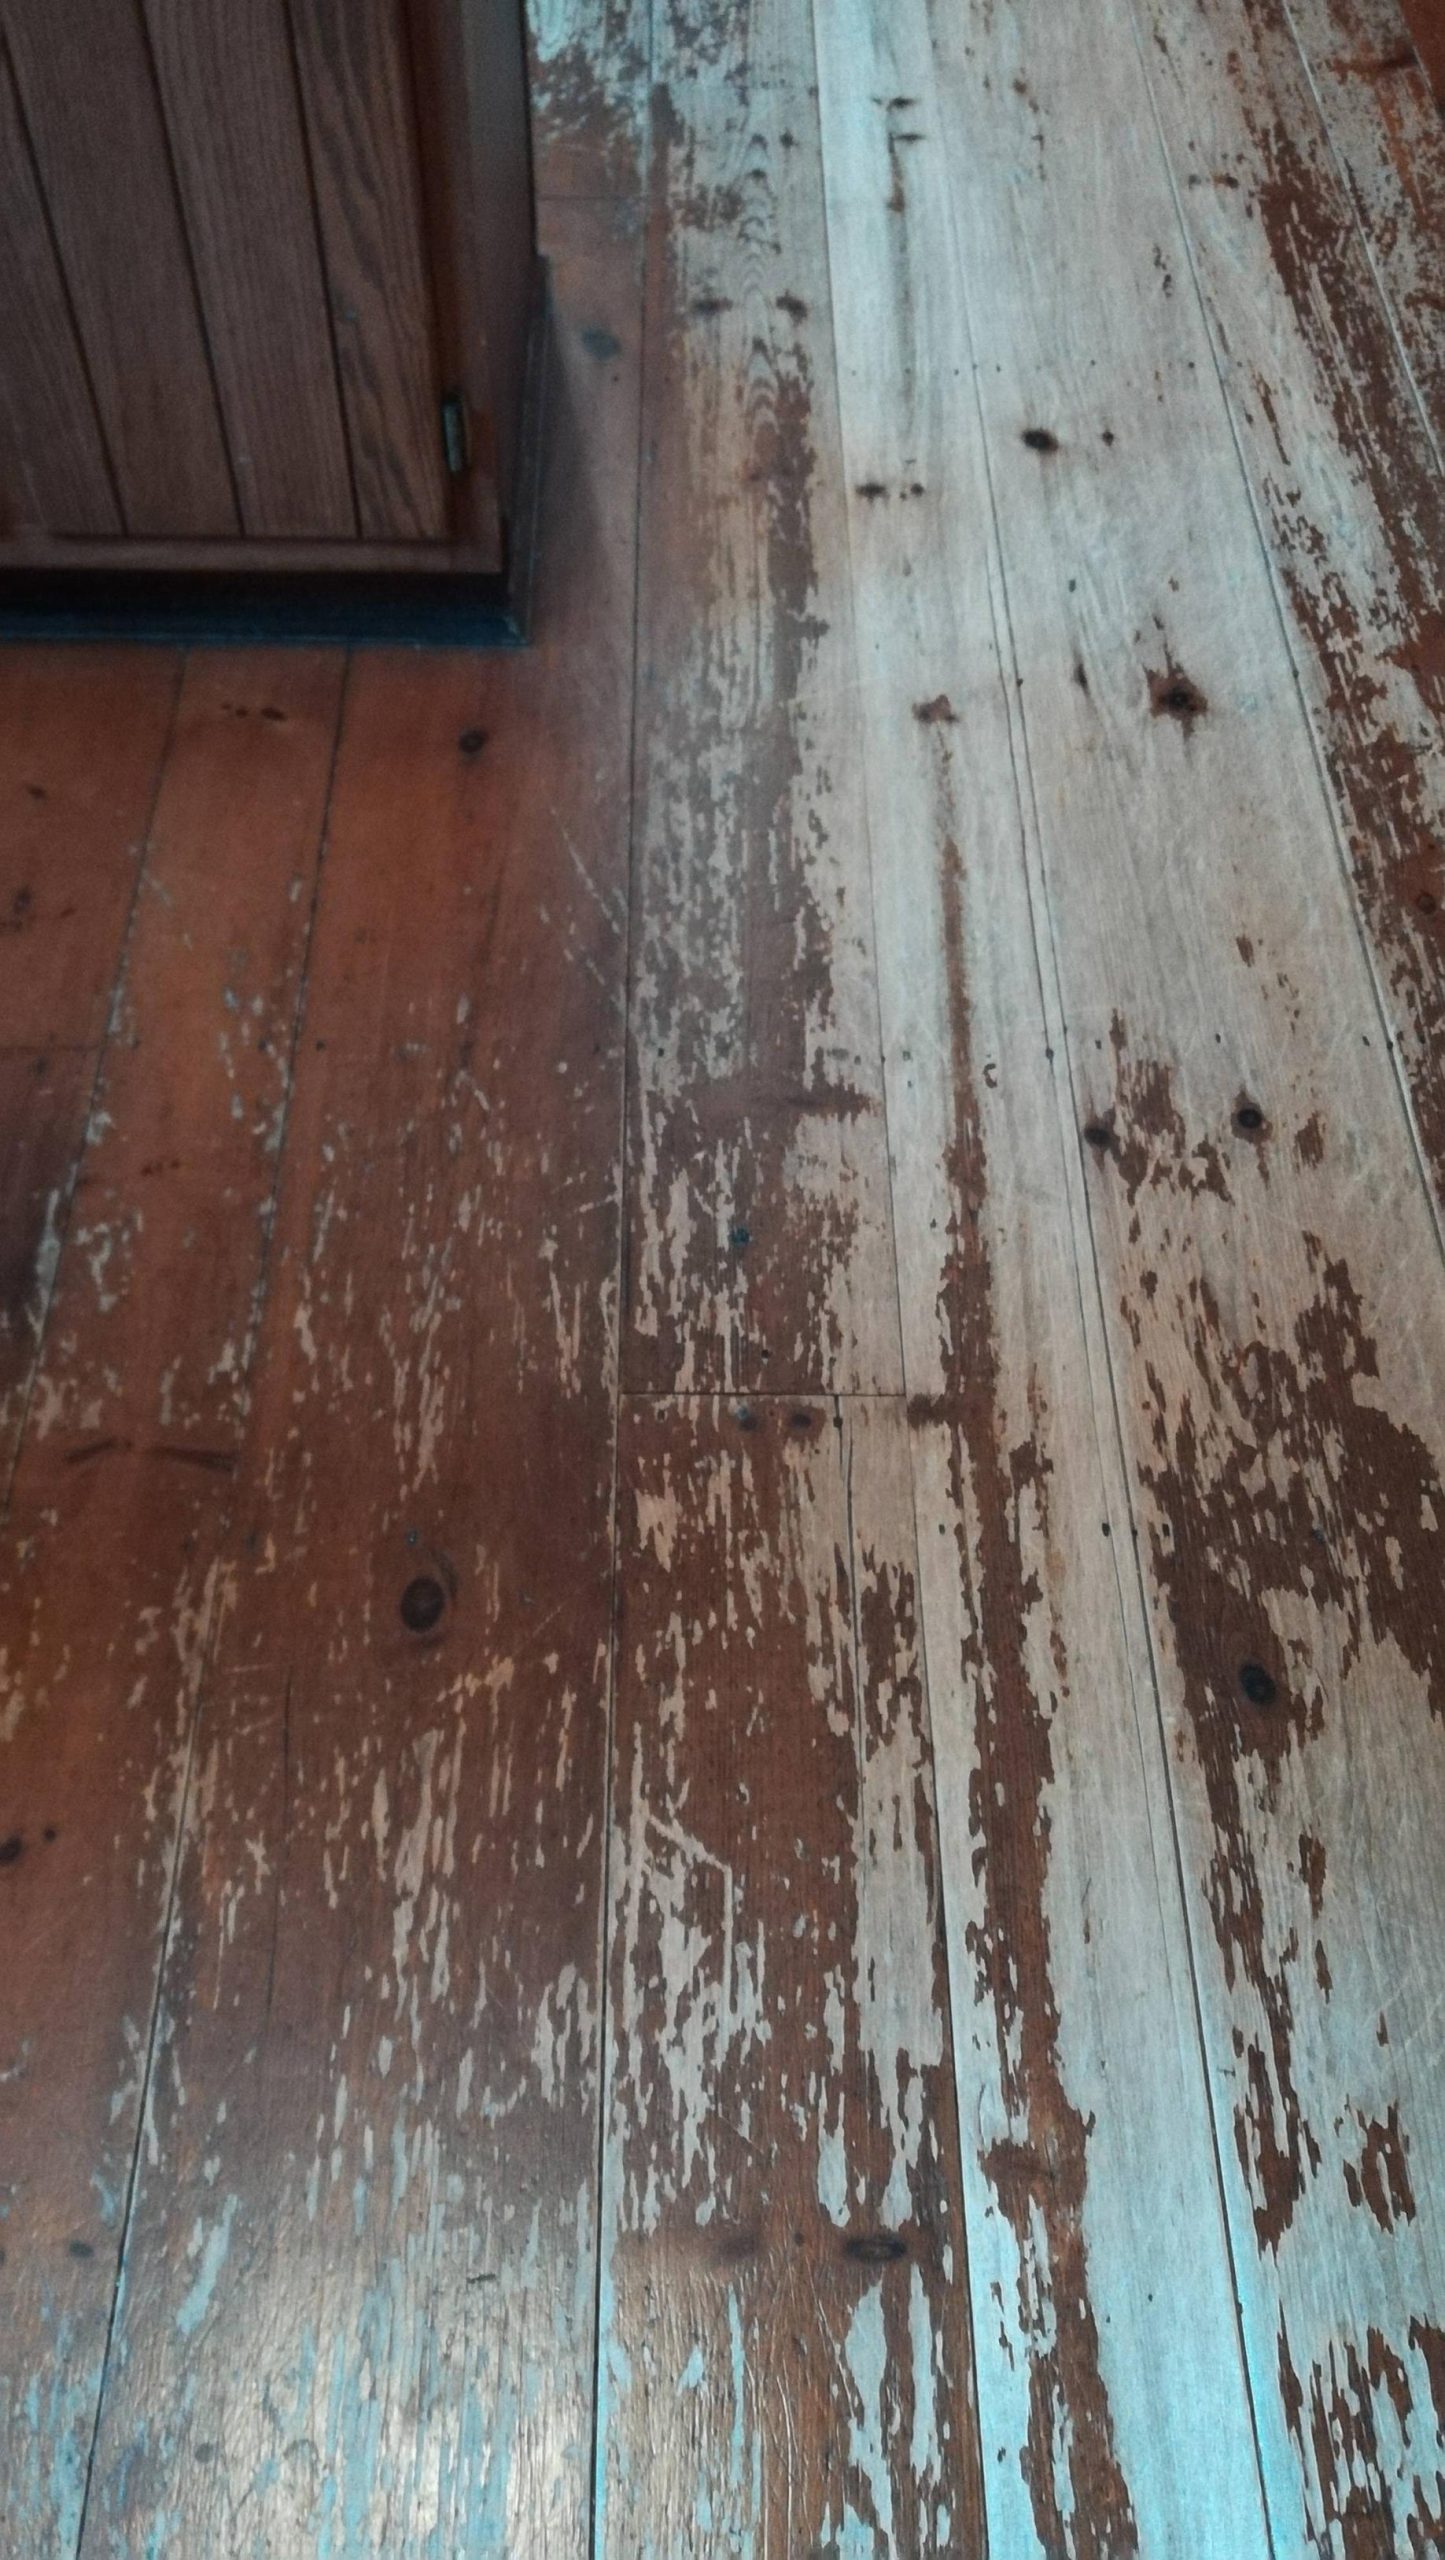
Refinishing pine floors can be tricky. Pine is a soft wood, so it can scratch easily. Dust and debris can cause problems during the process. Uneven sanding may lead to rough spots. Stains might not absorb evenly. The floor can look patchy. Time and effort are required to get good results.
Gathering Necessary Tools And Materials
You will need a few tools. A sander is a must. Get a vacuum for cleaning. A paintbrush is also important. You may need a putty knife. Safety goggles protect your eyes. Gloves keep your hands safe. Sandpaper helps with small areas.
Wood stain gives color to the floor. Floor finish adds shine. Wood filler repairs holes. You will need cleaning rags. Mineral spirits help in cleaning. Ensure you have masking tape. Drop cloths protect other areas.
Preparing The Pine Floors
Start by thoroughly cleaning the pine floors to remove dirt and debris. Sand the surface to smooth out any imperfections. Ensure all nails are countersunk to avoid damaging the sandpaper.
Clearing The Area
Move all furniture and items out of the room. This keeps the space clear. Cover vents and light fixtures with plastic. This prevents dust from entering them. Make sure pets and children stay away. This ensures safety and avoids accidents.
Cleaning The Floors
Sweep the floors to remove dust and dirt. Use a vacuum for corners and edges. A damp mop can help with sticky spots. Avoid using too much water. Let the floors dry completely before moving on. This prevents damage to the wood.
Sanding The Pine Floors
Picking the right sandpaper is key. Start with a coarse grit. It removes old finish and smooths rough spots. Then, move to a medium grit. This will smooth out the scratches from the coarse grit. Finally, use a fine grit. This makes the floor very smooth and ready for finishing. Always change sandpaper when it gets worn out. Worn sandpaper doesn’t work well.
Sand the floor with the grain. This avoids scratches. Keep the sander moving. Don’t let it sit in one spot. It can dig into the floor. Overlap each pass. This ensures you sand the entire floor. Vacuum the dust after each grit. Dust can cause problems with the finish. Take your time. Rushing can lead to mistakes.
Addressing Imperfections
First, clean the gaps and cracks. Dust and dirt can affect the filler. Use a putty knife to apply wood filler. Press it into the gaps. Fill each crack completely. Let the filler dry. It should dry for at least 24 hours. After drying, sand the filler smooth. Use fine-grit sandpaper. This makes the floor even and ready for the next step.
Check for rough spots on the floor. Use a floor sander for large areas. For small spots, use a hand sander. Sand with the grain of the wood. This prevents scratches. Start with coarse sandpaper. Then, use finer sandpaper. This makes the floor smooth. Always wear a mask when sanding. It keeps dust out of your lungs.
Applying Stain Or Finish
Eastern white pine rates only about 380 lbf on the Janka hardness scale, according to the Wood Database – compare that to roughly 1,290 lbf for red oak. That softness is exactly why pine floors dent and scratch so easily, and why a durable topcoat matters more here than on a hardwood floor.
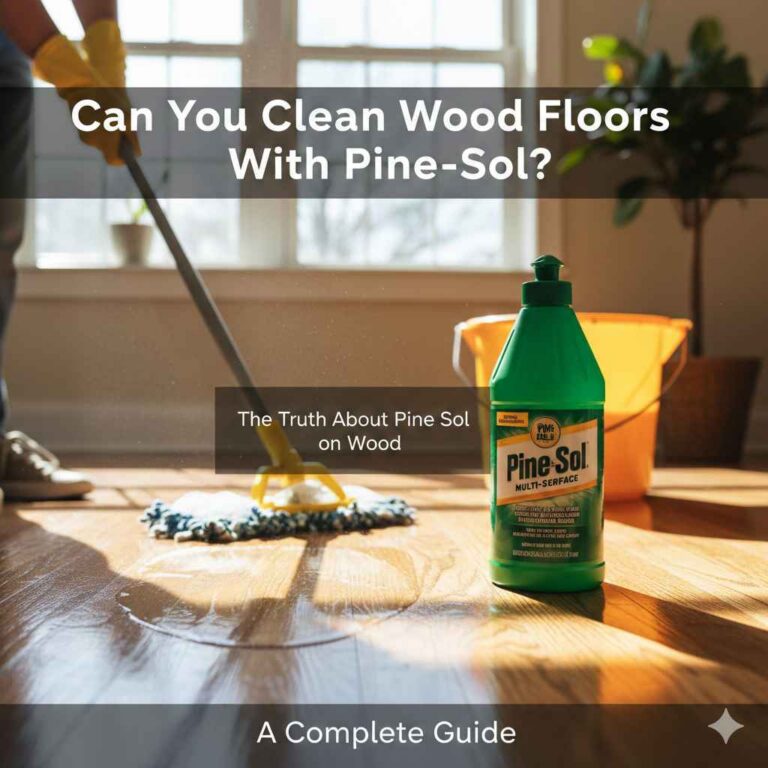
Choose a stain or finish that fits your style. Lighter stains show the natural grain. Darker stains can hide flaws. Oil-based finishes offer deep colors. Water-based finishes dry quickly – see our Danish oil vs polyurethane comparison for a deeper look at these tradeoffs. Consider wear and tear when picking.
Test the stain on a small area first. Apply with a brush or rag for even coverage. Work in sections to avoid streaks. Allow each coat to dry fully. Sand lightly between coats. This gives a smooth finish. Apply more coats for a darker color.
Drying And Curing
Drying time is important for refinishing pine floors. Ensure the room is well-ventilated. This helps the floor dry faster. Use fans to speed up the process. Keep the room temperature steady. Do not walk on the floor during this time. It might take 24 hours to dry.
Curing makes the finish strong and durable. It can take up to a week. Avoid placing heavy items on the floor. Keep pets and children away during this period. Proper curing ensures a long-lasting finish. Be patient for the best results.
Maintaining Refinished Pine Floors
Always sweep or vacuum your pine floors regularly. This removes dirt and dust. Use a soft broom or a vacuum with a hardwood floor setting. Avoid water or wet mops. Water can damage the wood over time. Use a dry or slightly damp mop instead. Choose cleaners made for wood floors. Harsh chemicals can harm the finish. Wipe up spills right away to prevent stains.
Place rugs in high-traffic areas. This protects the wood from wear. Use pads under furniture legs to avoid scratches. Keep pet nails trimmed to prevent damage. Avoid wearing high heels on the floor. They can cause dents. Use blinds or curtains to protect the floor from sun damage. Too much sun can fade the wood. Keep humidity levels consistent to prevent warping.
“Coniferous wood fibers contain resin or sap that actively resists stain” – which is why pine floors are so prone to blotching when stained rather than painted.
Troubleshooting Common Issues
Stains and scratches can make pine floors look old. Use a mild cleaner for stains. Avoid harsh chemicals. They can damage the wood. For scratches, light sanding can help. Use a fine-grit sandpaper. Sand gently. Apply a matching wood finish after sanding. This can hide the scratch.
Warping can occur due to moisture changes. Keep your home at a steady temperature. Use a dehumidifier if needed. Warped boards can be fixed. Remove the warped board. Replace it with a new one. Make sure the new board matches the old one. This keeps your floor looking good.

Frequently Asked Questions
What Tools Are Needed To Refinish Pine Floors?
To refinish pine floors, you’ll need a sander, sandpaper, vacuum, wood filler, stain, and a polyurethane finish.
How Long Does Refinishing Pine Floors Take?
Refinishing pine floors typically takes 3 to 5 days. This includes sanding, staining, and applying the finish.
Can I Refinish Pine Floors Myself?
Yes, you can refinish pine floors yourself. It requires basic tools, patience, and careful attention to detail.
How Do You Prepare Pine Floors For Refinishing?
To prepare pine floors, clear the area, clean thoroughly, and repair any damaged boards before sanding.
Can You Paint Pine Floors Instead Of Staining Them?
Yes – and for old, patched, or mismatched pine floors, painting is often the better choice. Pine’s fibers contain resin and sap that resist stain unevenly, which is why blotchy pine floors are so common. As flooring finisher Pete’s Hardwood Floors puts it, staining pine can look “a lot like putting a big, ugly tattoo on your floor.” Paint covers old repairs, mismatched boards, and stains sanding can’t fully remove.
Knot bleed-through is a real, well-documented problem on pine. Sap and resin in the knots will bleed through ordinary latex paint over time. Seal every knot with 2-3 coats of a shellac-based primer (alcohol-based, not water-based) before painting, then finish with an oil-based porch and floor enamel for durability underfoot.
- Sand and clean the floor the same way you would before staining.
- Seal every knot with a shellac-based stain-blocking primer – latex primer will not stop bleed-through.
- Apply 2 coats of a porch and floor enamel rated for foot traffic, sanding lightly between coats.
Best Knot-Sealing Primer Pick
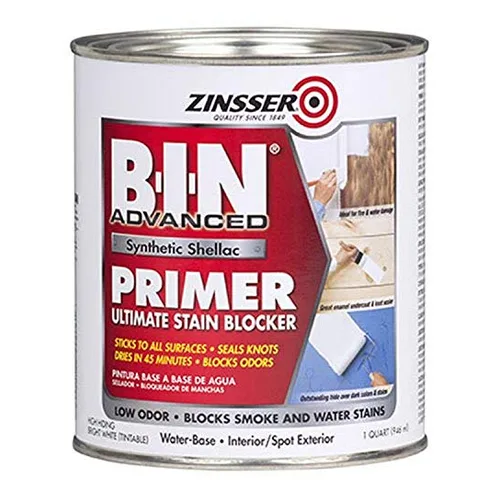
Zinsser B-I-N Shellac Primer
The step most DIYers skip before painting pine – and the reason their paint job shows knot stains within months.
- Best for: sealing pine knots before painting, not just priming for color
- Why we picked it: shellac-based formula actually blocks sap/resin bleed-through, unlike latex primer
- Main drawback: alcohol-based – needs good ventilation and denatured alcohol for cleanup
Then finish with
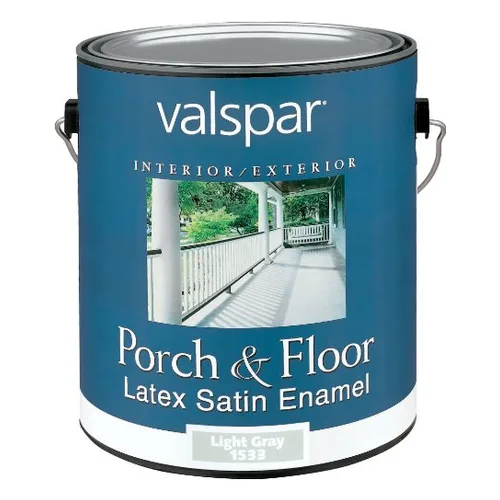 If Painting Valspar Porch & Floor Enamel
|
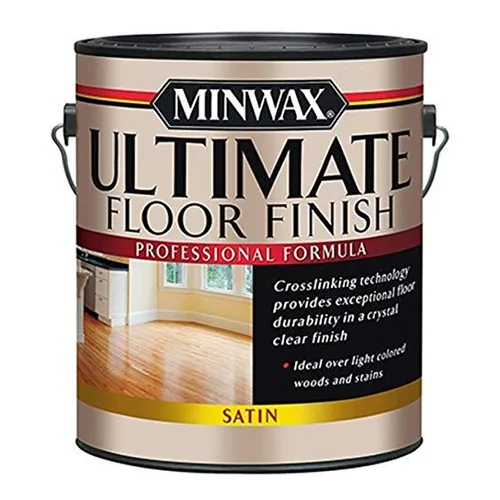 If Staining Minwax Ultimate Floor Finish
|
As an Amazon Associate we earn from qualifying purchases.
Conclusion
Refinishing pine floors can transform your home. Follow the steps carefully. Sand, clean, and apply the finish. This process brings out the wood’s beauty. Protect your floors with regular maintenance. Enjoy your refreshed space. Happy refinishing!