How to Stain Maple Plywood: Pro Tips for a Flawless Finish
To stain maple plywood, start by sanding the surface to a smooth finish. Apply a wood conditioner before staining for even color absorption.
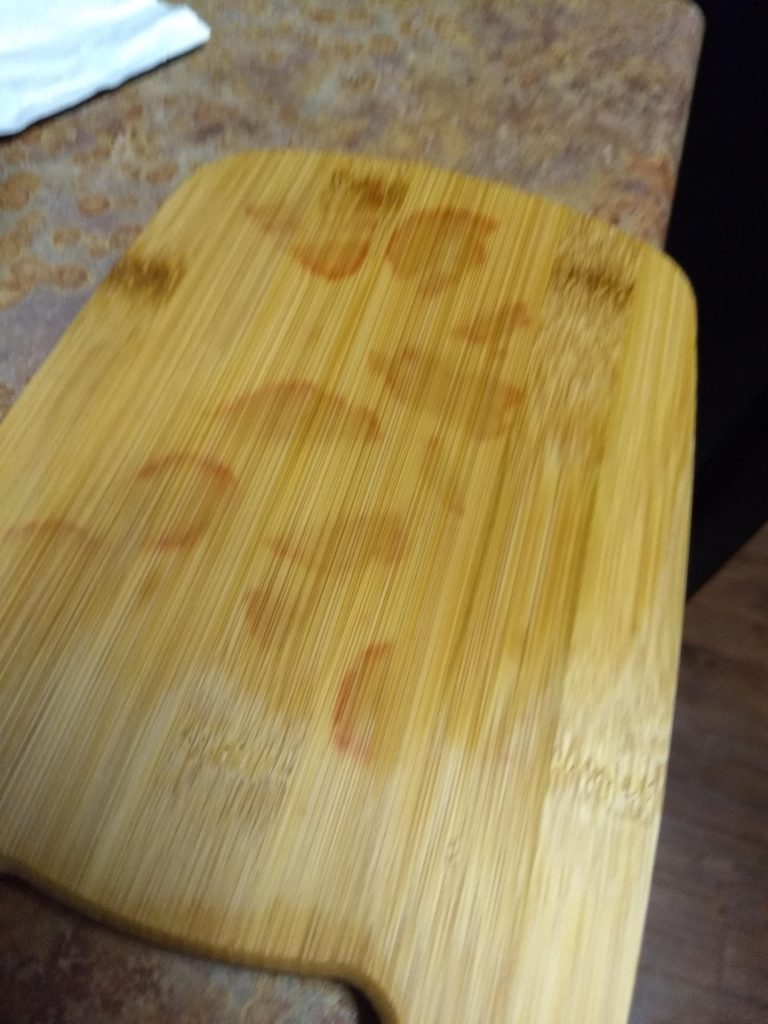
Maple plywood is a popular choice for furniture and cabinetry due to its durability and attractive grain. Staining enhances its natural beauty and allows you to achieve a desired color that complements your decor. Unlike softer woods, maple can absorb stain unevenly, leading to blotchy results without proper preparation.
Using a wood conditioner helps ensure an even application, giving a professional finish. Whether you’re aiming for a rich, dark hue or a light, natural look, following the right steps will make your project successful. This guide will walk you through the essential techniques for staining maple plywood effectively.
Introduction To Maple Plywood
Maple plywood is known for its beauty and strength. It has a smooth surface that is perfect for staining. The light color of maple allows stains to show nicely. This type of wood is also very durable, making it ideal for various projects.
Choosing maple for your projects offers many benefits. It resists warping and is less likely to crack. Maple plywood is also easy to work with and takes nails well. This wood type is perfect for furniture and cabinetry.
Many people love maple for its natural grain patterns. The wood can take on a rich, warm look with the right stain. It adds a touch of elegance to any project. Consider using maple plywood for your next creation!
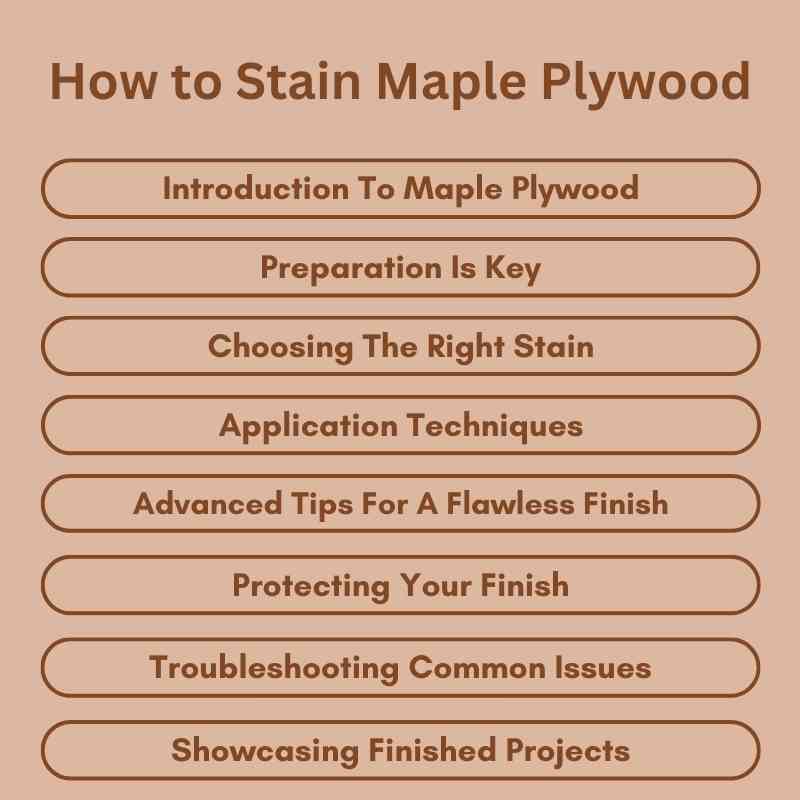
Preparation Is Key
Start by gathering the necessary materials for staining maple plywood. Key items include sandpaper, wood stain, brushes, and a clean cloth.
Ensure you have gloves and safety glasses for protection. A drop cloth will help keep the area clean.
Next, prepare the surface. Use sandpaper to smooth out any rough spots. This step helps the stain soak in better.
Wipe off any dust with a clean cloth. This makes sure the wood is ready for staining.
| Materials | Purpose |
|---|---|
| Sandpaper | Smooths the surface |
| Wood Stain | Adds color |
| Brushes | Applies the stain |
| Clean Cloth | Removes dust |
| Gloves | Protects hands |
| Safety Glasses | Protects eyes |
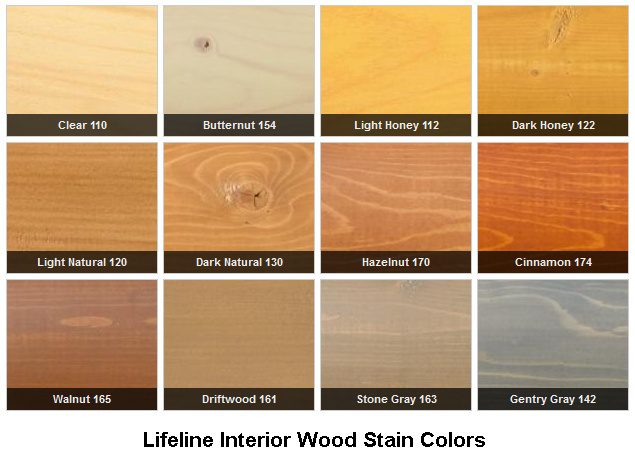
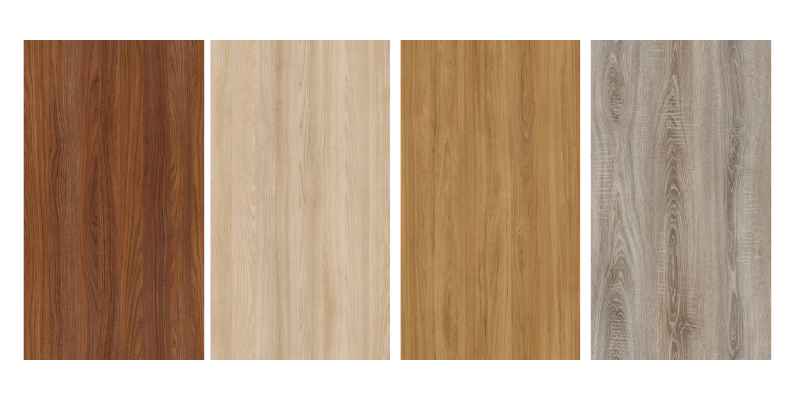
Choosing The Right Stain
Choosing the right stain for maple plywood can enhance its beauty. Different types of stains work well with this wood. Here are some suitable types of stains:
- Oil-based stains: They penetrate deeply and enhance wood grain.
- Water-based stains: These are easy to clean and dry quickly.
- Gel stains: They provide even color and are great for vertical surfaces.
Color selection is important. Light colors show the wood’s natural beauty. Dark colors can give a rich, elegant look. Consider the room’s lighting when choosing colors. Test stains on a small area before finalizing your choice.
Application Techniques
To achieve even staining on maple plywood, start with a clean surface. Use a fine-grit sandpaper to smooth the wood. Always work with the grain for the best results. Apply the stain with a soft cloth or brush. Make sure to spread it evenly to avoid dark spots.
Common mistakes include applying too much stain at once. This can lead to uneven coloring. Always wipe off excess stain after a few minutes. Test the stain on a small area first. This helps you see how the wood reacts.
Advanced Tips For A Flawless Finish
Using a wood conditioner is essential for staining maple plywood. It helps the stain absorb evenly. Apply the conditioner with a clean cloth or brush. Wait 15 to 30 minutes before applying the stain.
Sanding between coats improves the finish quality. Use fine-grit sandpaper, like 220-grit. Sand lightly to avoid removing too much stain. Clean the surface with a tack cloth after sanding. This step ensures a smooth, beautiful finish.
Protecting Your Finish
Choosing the right top coat is important for maple plywood. Consider polyurethane for a strong finish. This protects against scratches and moisture. Oil-based options provide a warm glow. Water-based choices dry faster and have low odor.
Application tips help improve durability. Always clean the surface before applying the top coat. Use a foam brush for smooth and even application. Apply in thin layers. This avoids drips and bubbles. Allow each layer to dry completely before adding another.
Sand lightly between coats. This helps the layers stick better. Follow the manufacturer’s instructions for best results. Properly finished maple plywood will look great and last longer.
Troubleshooting Common Issues
Blotches can ruin the look of your stained maple plywood. To fix this, use a pre-stain conditioner. This will help the wood absorb the stain evenly. Apply the conditioner with a brush or cloth. Wait for it to dry before staining.
If uneven stain appears, don’t panic. Lightly sand the area with fine grit sandpaper. Wipe off the dust with a damp cloth. Then, apply a new coat of stain. Make sure to use the same shade as before.
Testing stains on scrap wood helps avoid surprises. Always ensure even application for the best results.
Showcasing Finished Projects
Staining maple plywood can create stunning results. Many projects showcase beautiful finishes. Consider making a coffee table or a bookshelf. Use a rich stain to highlight the wood grain.
For inspiration, look at these ideas:
- Customized cabinets for a unique kitchen.
- Wall art pieces to enhance your living space.
- A desk that combines style and functionality.
- Decorative frames for your favorite photos.
Proper maintenance is key. Regular cleaning keeps the surface looking new. Use a soft cloth and mild cleaner. Avoid harsh chemicals that can damage the finish. Reapply stain or sealant every few years for added protection.
Frequently Asked Questions
How Do You Prepare Maple Plywood For Staining?
To prepare maple plywood for staining, start by sanding the surface with fine-grit sandpaper. This helps remove any rough spots and opens up the wood grain. Ensure you wipe away dust with a tack cloth before applying stain. Proper preparation ensures an even finish and enhances color absorption.
What Type Of Stain Is Best For Maple Plywood?
Oil-based stains are generally preferred for maple plywood. They penetrate well and enhance the wood’s natural beauty. Gel stains are also a good option, offering control over application. Always test the stain on a scrap piece first to ensure it achieves the desired color.
How Long Should You Wait Before Applying A Second Coat?
Typically, wait at least 4 to 6 hours before applying a second coat of stain. This allows the first coat to dry adequately, ensuring proper adhesion of the subsequent layers. Check for dryness by touching a small area. If it feels tacky, wait longer before applying more stain.
Can You Use Water-based Stains On Maple Plywood?
Yes, you can use water-based stains on maple plywood. They provide a fast-drying option and come in various colors. However, they may raise the wood grain, so sanding after the first coat is advisable. Always ensure good ventilation during application for the best results.
Conclusion
Staining maple plywood can enhance its beauty and durability. Following the right steps ensures a professional finish. Remember to choose quality stains and apply them evenly. With patience and practice, your projects will stand out. Enjoy the process and let your creativity shine through each piece you create.
Happy staining!